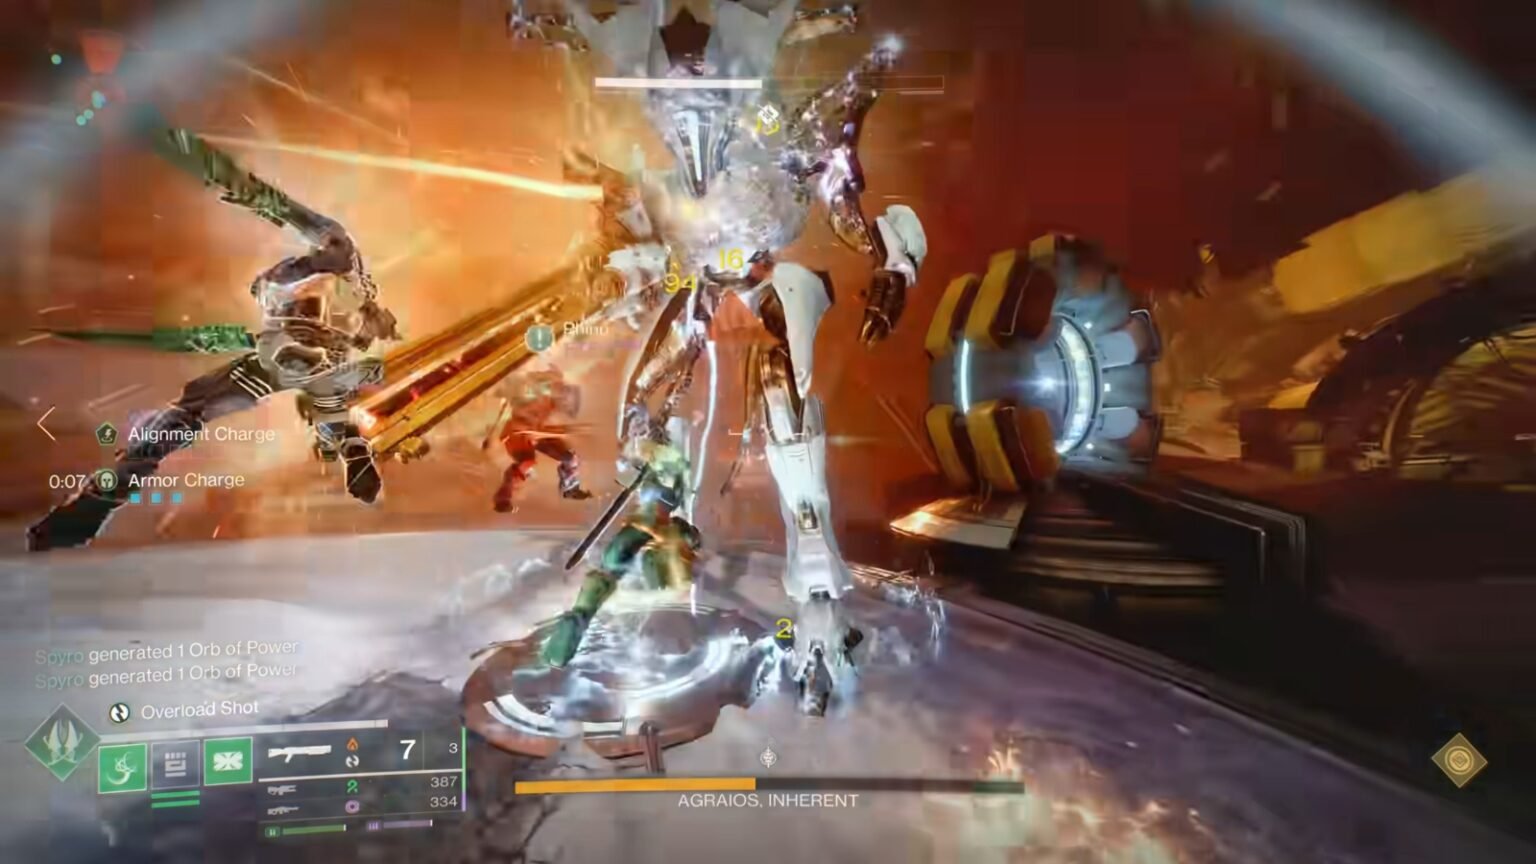
Agraios, Inherent in one of the bosses you’ll face in the opening encounter of The Desert Perpetual raid in Destiny 2: The Edge of Fate expansion. If you take on the boss in contest mode, the health pool will be a problem, as you need to have perfect DPS runs even to put a dent in its health bar.
However, if you’re going in Normal mode, damage dealing is a lot easier, though you still have to complete the mechanics to break the boss’s shield. Here’s a guide on how you can complete the mechanics and defeat the boss Araigos, Inherent in The Desert Perpetual raid.
How To Defeat Agraios, Inherent in The Desert Perpetual Raid in Destiny 2
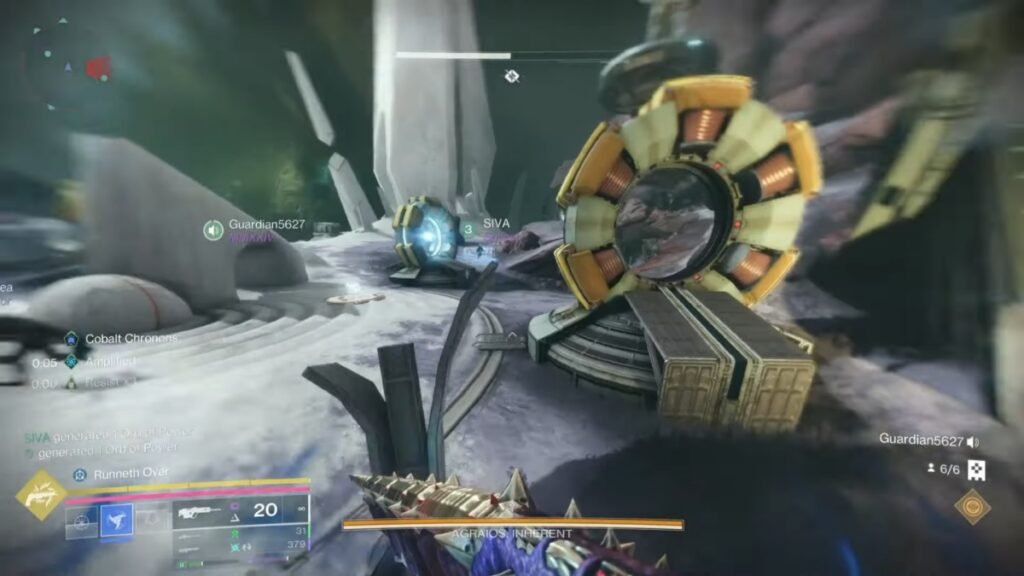
There are quite a few parts to completing this encounter, though the mechanical part needs to be focused on by only three players, while the other three will focus on taking care of ads and basic mobs, to keep the area clean.
How To Group Into Teams & Roles
Start the encounter by dividing your party into teams of three, where one group will focus on the mechanics, while the other three will clear mobs. Start the encounter with three of the players jumping onto plates in the middle of the room.
These plates will provide buffs called Cyclical, Constant, and Absolute. Once you obtain the buffs, Hydra will spawn in the room. Defeating the Hydra will spawn Minotaurs, which you must defeat, and they will drop a buff called Cobalt Chronons. This buff needs to be picked up by the players who are part of the mechanics team, while the ads team will help defeat the Hydra and Minotaurs.
Use the Chronons buff to light up the five coils you see in the middle of the room. Make sure you number the coils from one to five. Ideally, you should number them from the spawn point, either from the left or the right. This will spawn Wyvers, which you must defeat as soon as possible, since they will one-shot you. Use Golden Guns or heavy ammo to kill the Wyvers.
Alignment Buff
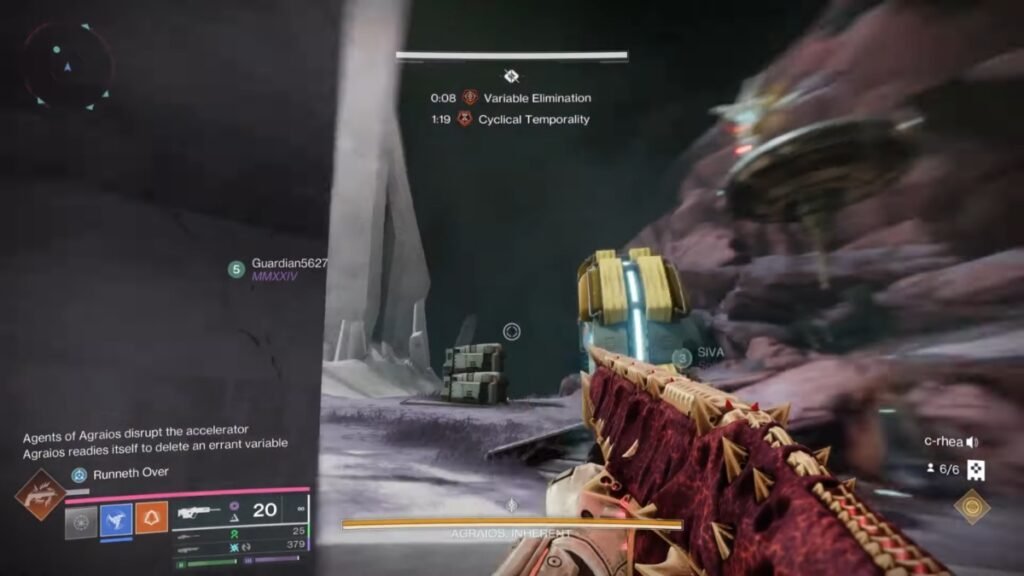
Now, once all the coils are lit and the Wyverns are dead, the boss will target the players with a gaze. Once they are targeted, a debuff called Variable Elimination will be placed on the players with a 10-second timer. If you’re in the line of sight of the boss, you will die once the time expires.
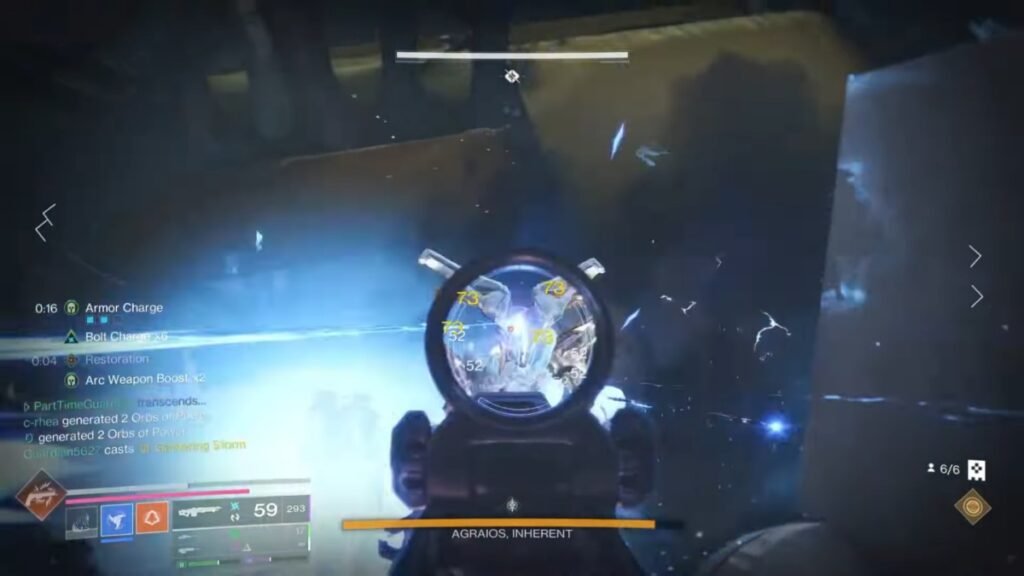
However, if you look up, you’ll notice there are three copies of the boss around the arena, and there are deposit areas underneath the copies of the boss. One of the players with the Cyclical, Absolute, and Constant buffs should go underneath one of the copies and deposit their buff on the terminal. This will give the player a buff called Alignment Charge, and it will be zero out of five.
During this time, the two other players who have the buffs but did not get targeted by the boss will notice that four of the coils are glowing with sparks. The sparks are easy to recognize, and each player will only get to see two, making it a total of four.
These players need to pick up the Chronons buffs from the Minotaurs again and deposit them in the coils to stabilize them. Once all four unstable sparking coils have been stabilized, the player with the Alignment Buff needs to pass through them until the charges go to five out of five. This will change their normal Grenade to a Detainment Grenade.
Using Detainment Grenade
Move to an area where the boss can see this player along with someone else to draw its attention. Use the Detainment Grenade and make the boss shoot. Upon doing this, the boss will now come down, and DPS will begin.
While DPS is going on, one player will randomly receive the Alignment buff. They need to pass through the hoops and use the Detainment Grenade to extend the DPS phase. Keep repeating this entire process until the boss is dead.
Also Read: Latest Destiny 2 Feature Has Divided the Community and Here’s Why
Recommended DPS weapons to defeat Agraios, Inherent
Here are some of the best DPS weapons that you should be using to defeat the boss Agraios, Inherent in the Desert Perpetual Raid:
- Thunderlord
- Queensbreaker
- Lord of Wolves
- Legend of Acrius
- Ikelos Shotgun
- Succession Sniper Rifle
- Tractor Cannon for Debuffs
Divinity isn’t needed, as you don’t want to miss out on the DPS of one person, since hitting the Bubble doesn’t really speed up the damage phase. Additionally, avoid Rockets since the distance from the boss will be quite close, so chances are you’ll end up damaging yourself and lose revives.


