Some of the last side quests you are likely to complete in Dragon’s Dogma 2 take place within the Battahl region. As you explore the vicinity, you get to know several important individuals. You’ll work with a couple of them to complete the A Candle in the Storm side quest.
Dragon’s Dogma 2 – How to Complete A Candle in the Storm
To access A Candle in the Storm, you must first complete the Shadowed Prayers side quest. That quest has multiple possible outcomes, not all of them good. You need to have saved the empress from an assassination attempt. That way, she remains alive for her enemy to try again. To complete A Candle in the Storm, thwart another attempt to assassinate the empress.

The quest initially becomes available when you meet with Menella near the hot springs at the Volcanic Island Camp. She only heads there after you complete Shadowed Prayers. The hot springs are where you also unlock the Magick Archer vocation. Getting to the hot springs from Battahl requires you to take a long journey to the south that includes a trip through Drabnir’s Grotto. At least, it does if you haven’t yet advanced the game’s story campaign enough to start a key story quest, The Guardian Gigantus. Early in that story quest, you open a massive doorway and gain access to a more direct route to the camp. However, that mission is very near the end of the game. If you are still earlier in the campaign, you’ll have to take the long route to the camp, as described in the below guide.
Also Read: How to Get Newt Liqueur in Dragon’s Dogma 2
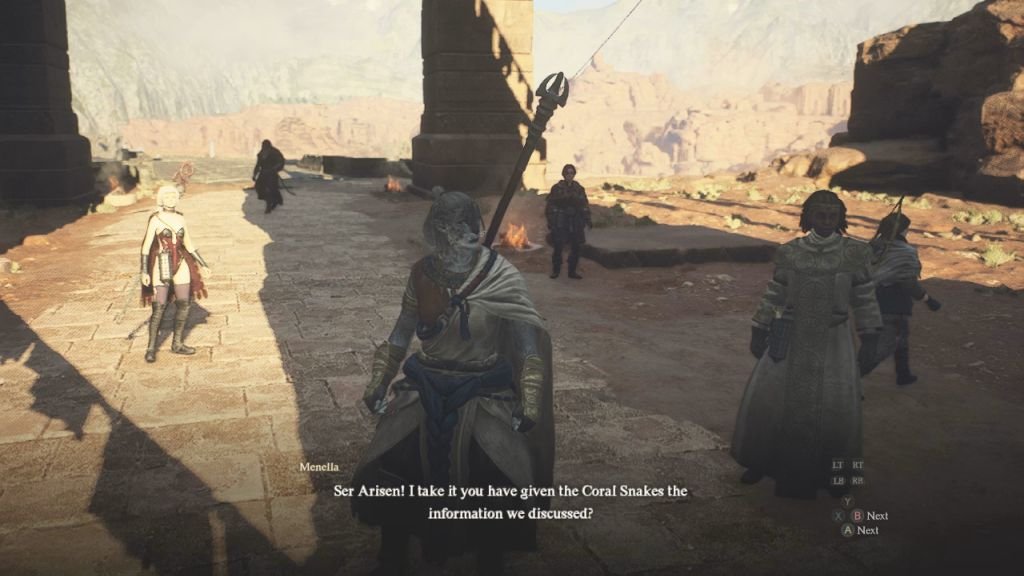
When you finally meet Menella at the Volcanic Island Camp, she asks you to speak with the gaoled brigand. After that conversation, I suggest that you set a portcrystal in the camp. That way, youcan fast travel to conveniently return to the area at a later date. Otherwise, you must make a dangerous, lengthy trip each time you want to pay it a visit. I didn’t have a lot of spare portcrystals at this point, and I wanted to leave one of them active in Bakbhattal. Therefore, I used a crystal I had previously placed in Sacred Arbor. Remember that you can grab any portable portcrystal you may have placed and set it up elsewhere, whenever you like.

After meeting with Menella at the hot springs, return to Battahl. There, make your way across the fields where the flowers grow for ink. The quest markers do a good job throughout this quest. You can follow them exactly where you need to go and even have a pawn guide you, if one of the ones you travel with possesses that ability. You should soon reach the gaol. Once you arrive there, head inside and meet with Herman. He is the assassin you caught in the Shadowed Prayers quest. Bribe him with 5000 G to learn that the Coral Snakes were behind the assassination attempt.
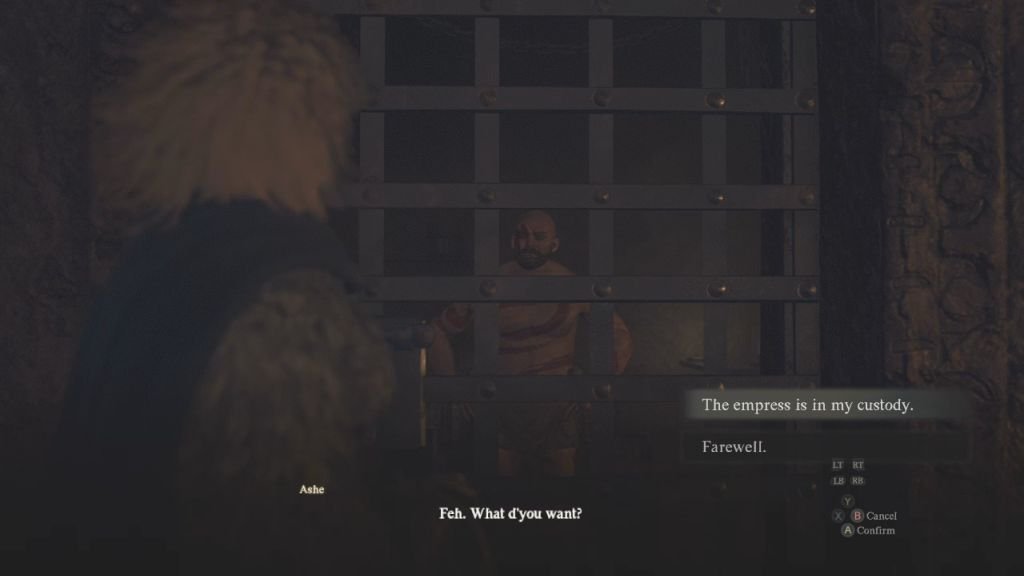
With this new information at your disposal, return to meet with Menella again. She is still at the Volcanic Island Camp. Let her know what you have learned and she will send you to the gaol once again. Fortunately, she hands over a Ferrystone so you can fast travel this time. When you arrive at the gaol, let the quest marker guide you to a different cell. There, you meet with a different prisoner, Ashe. Tell him you have the empress in your custody, and arrange the meeting place.

The game tells you to report back to Menella yet again. This time, she has changed locations. Have the quest marker guide you to her new location, near the western entrance to Battahl. She directs you to the final location you will visit for the quest. It lies northwest from the city. You’ll have to follow the winding road south and wrap around to the north to reach the Pilgrims’ Path Empty Abode.
At your destination, look for the door in the cliff face. I found it easy to overlook, but it’s right there. Enter the door to find Menella and the empress waiting in a small chamber. They have a discussion about how to proceed with the next step of the plan. You have a choice here. Choose to support the empress’s proposal. Then, you can confirm with Menella that you are ready, and put the plan into action.

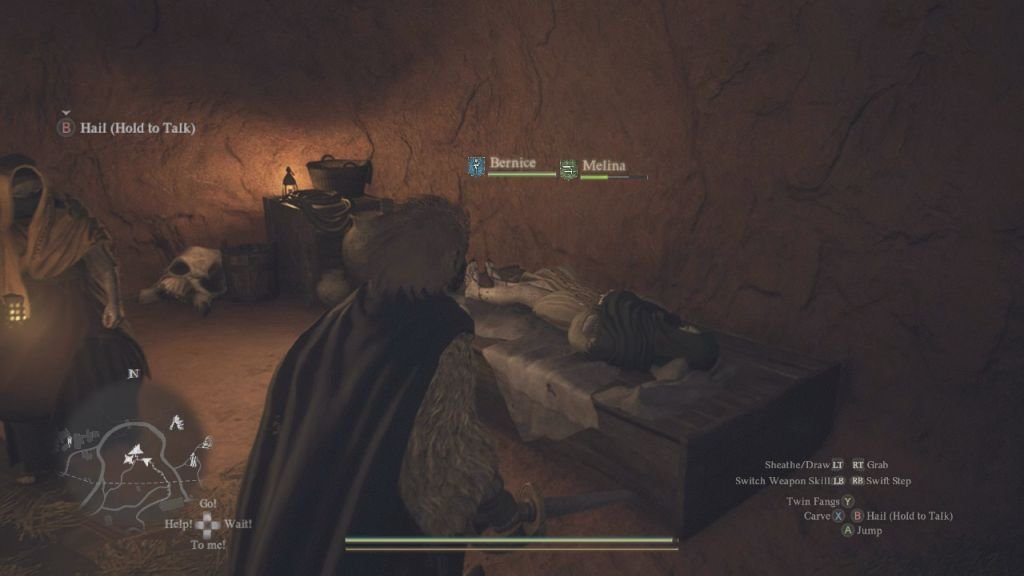
Shortly, the apparent villain emerges from the darkness. Lead them into the stone house. Inside, the empress is resting on the bed. Pleased, the new arrival tells you to kill the sleeping ruler. Unsheathe your weapon and step toward the bed. You don’t have to try to attack. The assassin is content that you have not attempted to trick them.
Of course, that’s when the villain finds out that not all was as it seemed. A brief scene follows. Then, the quest is marked complete. You receive your hefty reward for a job well done: 4800 XP, Quince, 25000 G, and the Ring of Amplification.


