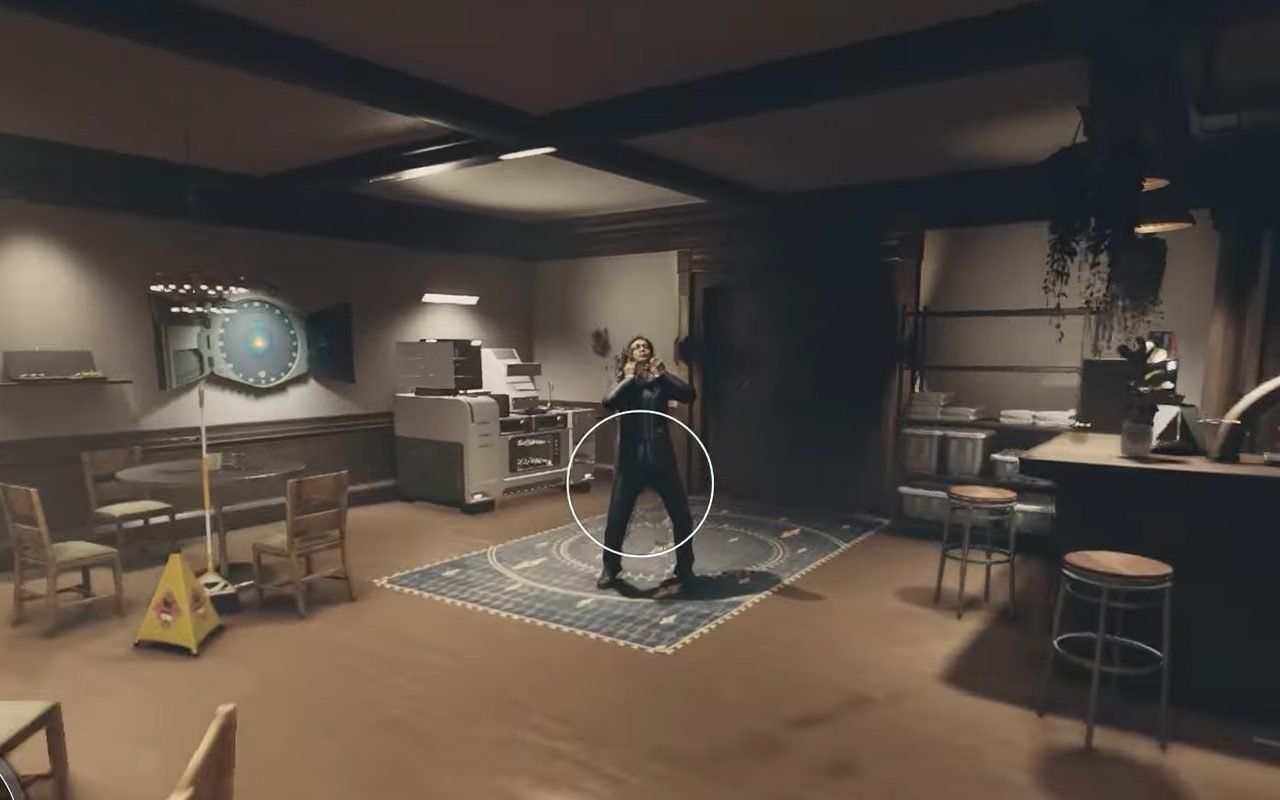
The Starfield High Price to Pay quest is one of the more intense plot points in the game that involves some crucial choices that could alter your gameplay experience substantially. This quest revolves around your companions, and you have to deal with a catch-22 situation.
Spoiler alert: No matter what objective you choose in this mission, one of your companions is going to die. There will be more spoilers ahead, so proceed with caution.
So, if there was someone that you were overly attached to or were looking to romance in Starfield, it is possible that they could be sent into the afterlife. Needless to say, you’ll need to do a bit of save-scumming to see how each scenario plays in the Starfield High Price to Pay quest.
Note: Being in possession of the artifact you stole from Petrov in No Sudden Moves allows you to start this quest at the time of your choosing.
Let’s explore the choices you will face in this quest and their outcomes.
Starfield High Price to Pay: Stay at the Lodge

When the mission first starts after speaking with Noel, you are informed of an attack aboard the Eye. Before you can absorb that, in there is another message, this time from someone named the Hunter who seems to be the one responsible for all the mayhem.
This person apparently wants to destroy you and all your companions since your role in ‘glimpsing the unity’ is apparently over. Random plot twist aside, the focus now is on the fact that things are going to get real bad real fast.
You are now given the choice to either stay at the lodge and defend against the hunter or head to the Eye and check on the people there.
If you choose the first option in the Starfield High Price to Pay quest and decide to stay at the lodge, you’ll get the first glimpse of the Hunter and a first-hand experience of his powers.
The Hunter seems to have some unusual powers, capable of being in multiple places at the same time, phasing on and off from places. In fact, when you first encounter him, he is in his invisible form with a telltale shimmer, holding Walter hostage. This is a difficult fight but is finished fairly early if you deal enough damage.
Once you’ve finished defending the lodge, you can head to the Eye only to find that one random companion is dead after the Starborn attack. Once you’ve triangulated everyone else and ensured their safety, you’ll be given the option of building the armillary.
Starfield High Price to Pay: Head to the Eye
If you choose to defend the Eye, your companions will inform you that they’ll be barricading the door after you leave.
You’ll eventually find out that it was a very futile attempt, but they did what felt was the best course of action at the time. Once you head to the Eye, you’ll discover that this was indeed the healthier of the two options. There is no fight involved here, and you can find all the companions here in as good a condition as possible given the situation. You can head back to the lodge at this point only to find out that the Hunter has claimed a victim.
At this point in the Starfield High Price to Pay quest, you are tasked to find everyone at the lodge. Speaking to Walter Stroud, you’ll discover that Noel is headed to the Well District through a secret door in the basement. You’ll catch up with her before she makes her escape, but as does the Hunter who has been hiding like the shadowy blob that he sometimes is. This of course means it’s time to hightail it out of there.

You can head back to the Eye, but while in space you are contacted again by the Hunter who drones on about glimpsing the unity. You can ignore all that space mumbo jumbo and simply head back to the Eye where you’ll unlock the option of building the Armillary.
How to determine which companion dies in Starfield High Price to Pay?
The location of some of the companions in this mission seems to depend on a few factors, one of which is their affinity towards you. You can always find Vladimir Sall and three randomly chosen Constellation companions aboard the Eye. Meanwhile Walter, Noel, Matteo, Vasco, and one random Constellation companion are always at the Lodge.
The locations of Barrette, Sarah Morgan, Sam Coe, and Andreja in the Starfield High Price to Pay quest are dependent on unknown factors. It is one of these companions that will always die though.
While their location is random, there is a way to determine who dies. It is either the character with the most affinity or second most affinity that dies in this mission. For example, if Sam Coe is your most favored companion, then he will be the one who dies. There have also been instances where the companion with the second most affinity dies instead of the first. So, you will need to save-scum a bit to see what outcome you get.
This is closest we got to narrowing down which companion dies in the Starfield High Price to Pay quest. You can check companion affinity using the console command getav com_affinity. Check out our Starfield console commands guide to see how they work and how to adjust each companion’s affinity. Too bad this only works on PC. If you are an Xbox user, save-scumming is your best bet.


