Search the Cellar is a quest that you can acquire while at the Blighted Village in Act 1 of Baldur’s Gate 3. While exploring the Blighted Village, you’ll come across a Shabby Wooden door next to an ancient rune in the middle of the village. Upon entering the house, you’ll find an Apothecary’s Ledger which will guide you to a cellar that apparently contains some special plants. This activates the quest.
Heading into the Cellar
Before starting the Search the Cellar quest in BG3, it is best to have a rogue character in your party as this level can also be approached through stealth. You’ll also need a cleric for various spells that will aid in completing this quest. The spells Guidance and Blessing of the Trickster will also come in handy.
Enter the lower level of the shabby wooden house through the wooden latch. On the lower level, you’ll find a giant wardrobe and some crates stacked next to it. Moving the topmost crate will expose a secret lever. Pulling that lever will automatically move the wardrobe and expose a secret cave. Heading through the cave you’ll reach an area with a bunch of mouldering caskets.
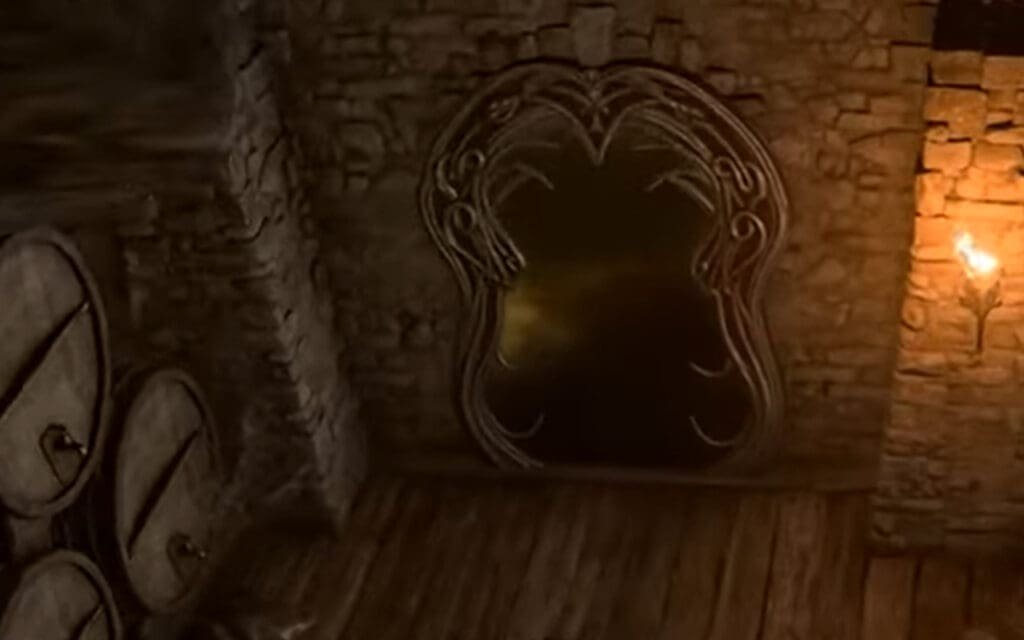
In one of those caskets, you can find another journal that reveals more about what the good doctor was up to. Heading ahead you can find an ornate mirror.
Baldur’s Gate 3 Search the Cellar Quest: Ornate Mirror Puzzle

The ornate mirror is quite loyal to its master and also fancies itself quite the quest-master. So, it will put you through a test that consists of four questions.
- Speak your name
You can try saying you are Ilyth Toth, but the mirror is too familiar with its master. Declaring yourself an ally seems to be the best course of action.
- What think you of the Zulkir known as Szass Tam?
Both answer options yield the same result. Or you could choose the intimidation check.
- Use for the Balsam Ointment.
To clean wounds.
- If you could see anything in me, what would it be?
Tell about your head-worm situation.
Once you’ve answered all questions correctly the mirror gracefully grants access to the next level.
‘Well-Guarded’ Laboratory
The ornate mirror leads to a laboratory with the skeleton of a giant creature hanging from the ceiling. It also houses a small storeroom that is blocked by a medium-level rusted iron gate. It is locked but can be picked if you have thieves’ tools. Alternately the gate can be broken down using a bludgeoning attack or an acid spell to which it is vulnerable.
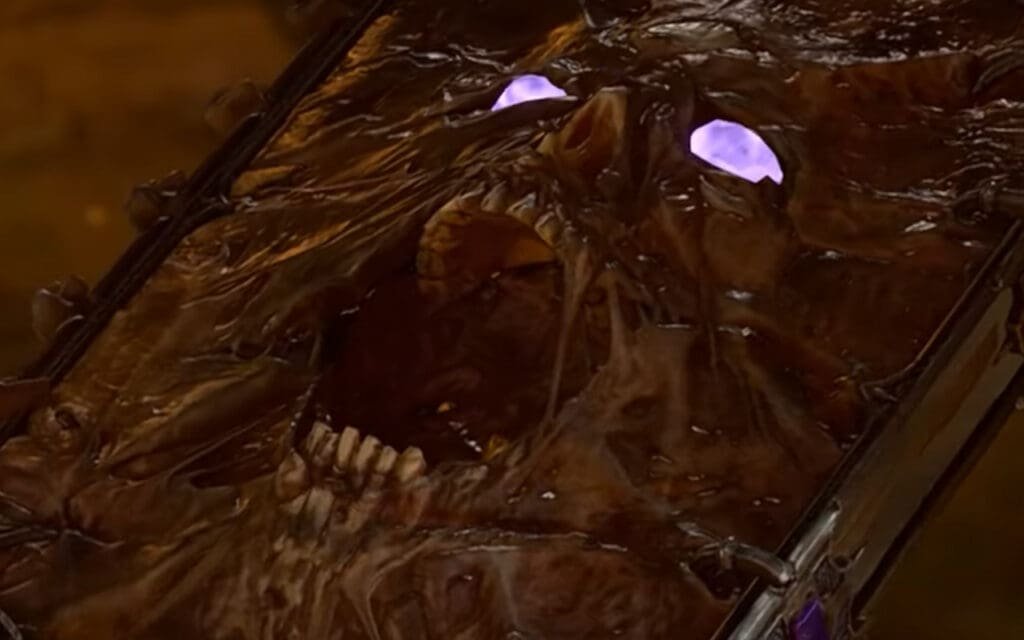
The little room houses the infamous ‘Necromancy of Thay’. Before you can access it though, there is one more trap you need to disarm. This one features a dexterity check of class 10.
Necromancy of Thay

Once you’ve acquired the book you’ll find out why Baldur’s Gate 3 is rated 18+. The freakish book will have your party divided. Each of your companions will have an opinion of the book. If you decide to take Gale or Astarion on this quest, both will seem to have favorable views of the book and will offer to take it off your hands. You then get two options on how to deal with the book.
Destroy the Book
The easiest option is to destroy the book. The book cannot be destroyed by conventional physical means though. Examining it will reveal that it is vulnerable to Radiant damage. The easiest spells that deal such damage early game are Sacred Flame and Guiding Bolt. If you are a cleric main or have Shadowheart as a companion, this should be quite easy. Once the spell is cast, the book just dissipates into thin air.
How to Open the Book
Opening the book and learning the knowledge contained within though is a quest in itself. Heading back to the surface through a ladder in the library, you can find a well. The bottom of the well seems to be just rock, not water. So you can climb down the well using the bucket and rope tied to it. This, of course, leads you directly to the whispering depths.
At the Whispering Depths, you can choose one of two options to explore, either a stealth option or a straightforward combat option. The latter will have you fight a bunch of Phase Spiders, Ettercaps, and a Phase Spider Matriarch. Stealth is a relatively easy option especially if you have a rogue in your party. Heading deeper down the maze-like cave system, you’ll find a dark amethyst.
Opening the Book and endings

Once you’ve acquired the dark amethyst you can shove it in the oval recess of the book and watch its amethyst eyes come to life. As the book gives out a purple glow, you are given four options. One is to destroy the book which yields the same result as before. Or you can open the book yourself which is easier said than done though.
The reading yourself part is the most difficult one in this Baldur’s Gate 3 quest as it requires you to pass three progressively difficult abilities checks. The last one is a class 20 wisdom check. So, this is where having a cleric will come in handy. Still, you’ll need to do a lot of save scumming to get through all three checks. Once you’ve read all the glyphs successfully, the rewards are pretty good. You’ll gain +1 to all Wisdom saving throws and checks, a new trait called ‘Forbidden Wisdom’ and an ability known as ‘Speak with the Dead.’
This option will also inspire Gale and improve his approval. It is worth noting that failing any one of the checks will impact Gale’s approval negatively. Alternately, you also have the option to give it to Astarion who will be more than happy to take it off your hands and use it for his own devious desires.
Note: This Baldur’s Gate 3 mission can be completed in any order. You could go through the well first and then head to the library. Both options will yield the same result.


