In Baldur’s Gate 3, the Adamantine Forge is a quest you can undertake in Act 1 of the game. This quest unfolds in the Grymforge region of Underdark where you ultimately gain access to a powerful forge of the same name. This quest is every bit as tricky as any Baldur’s Gate 3 adventure and there might be parts that will leave you perplexed. As always, we are here to guide you through the tricky bits.
How to start the Adamantine Forge quest in Baldur’s Gate 3
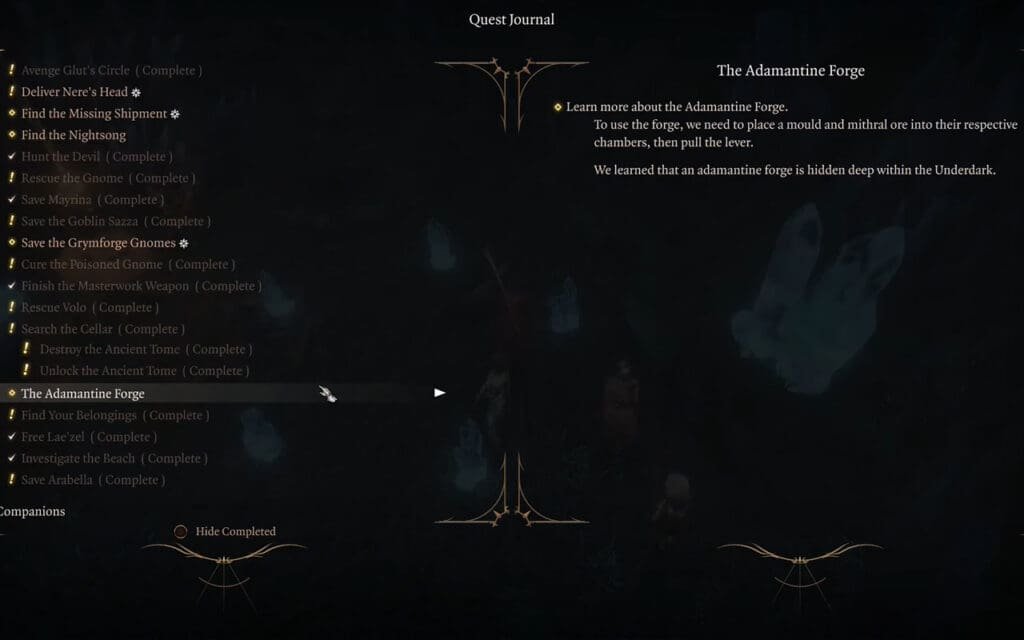
Ambiguity is what makes quest progression in BG3 so dynamic and the same is true of the Adamantine Forge. There are multiple ways to acquire this quest, all of which vaguely give away the notion of the start of a quest. The first way to activate the Adamantine Forge quest is by completing the Avenge Glut’s Circle and accessing the drow Xargrim’s carcass in the reward grove.
Firlo the Forgotten is a rather tricky source of the whereabouts of the forge. To gain knowledge of the forge’s location from this foul Drow boss, you’ll have to first defeat him and then wring it out from his cold dead lips by using the ‘Scroll of Speak with Dead’.
Dhourn is yet another Drow that holds the knowledge pertaining to the location of the Adamantine Forge. When you encounter him at first at the Temple of Selune, he is conveniently petrified – although not for long as the Spectator roaming the halls will reanimate him during combat. This, of course, will turn him hostile even if you manage to sneak in some dialogue.
Regardless of the source, either of the three Drows will reveal the location of the Adamantine Forge.
How to get to the Adamantine Forge in Baldur’s Gate 3
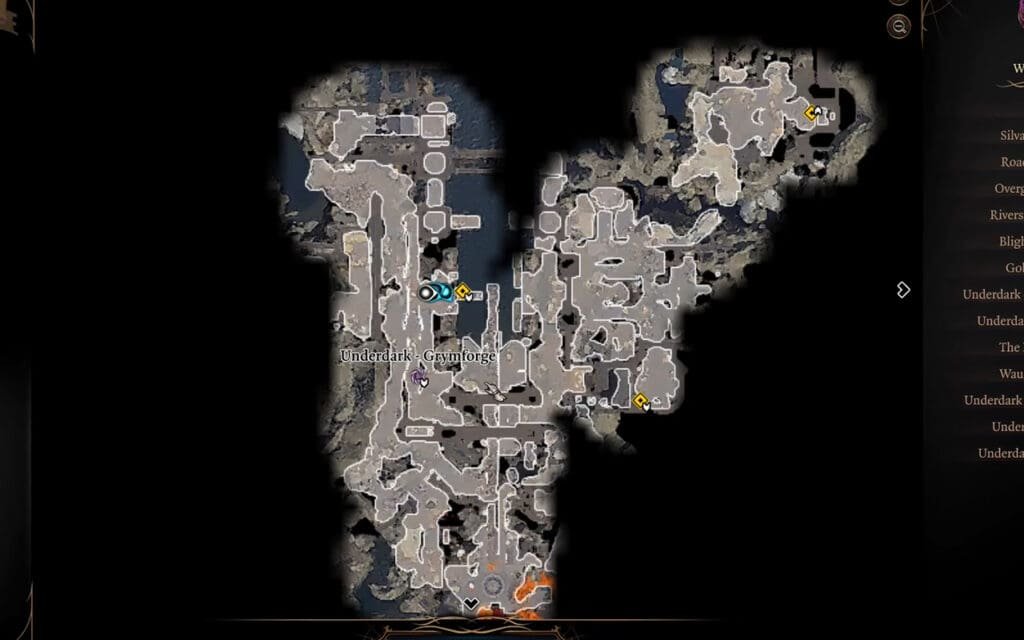
Once you’ve acquired the quest, the log will suggest that the forge is located somewhere deep within the Underdark. The exact location of the Adamantine forge is within the Grymforge which can be accessed by taking a boat from Underdark beach. The boat is commanded by a duergar named Corsair Greymon. He is fairly easy to deal with. You just need to pass a few abilities checks including a possible parasite check which will grant you passage through the waters of Underdark.
Once you’ve reached Grymforge, there are two ways to get to the Adamantine Forge, one of which includes obstacles and traps. So, depending on your party composition you can pick what suits you best.
Method 1:
The first path is the obvious one where you’ll encounter a cave-in that is blocking your path. You will have to deal with a duergar crew that is trying to clear the path with the help of some Deep Rothe. You can either fight the duergar or go around and avoid conflict.
Once you’ve cleared the rubble you can enter an area filled with many traps. It would be a good idea to bring Astarion along for this quest and ungroup at this point. Once he has cleared the pathway you can head down an iron ladder in the middle and you can head towards an area with a couple of levers and a moving platform that connects with another pathway. You can manipulate the levers to make it to the pathway. You can also explore this area further to collect some useful moulds.
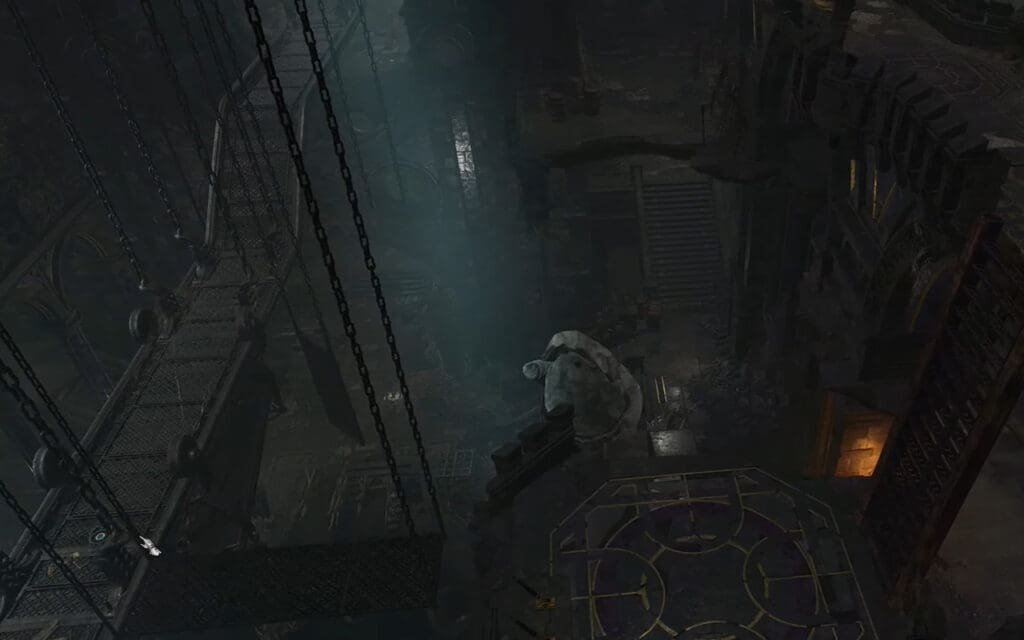
As you follow the pathway, you’ll reach the Ancient Forge Waypoint. This will take you further down the Grymforge to the Adamantine Forge which is just a giant leap away. The Misty Step spell will help accomplish this with ease.
Method 2:
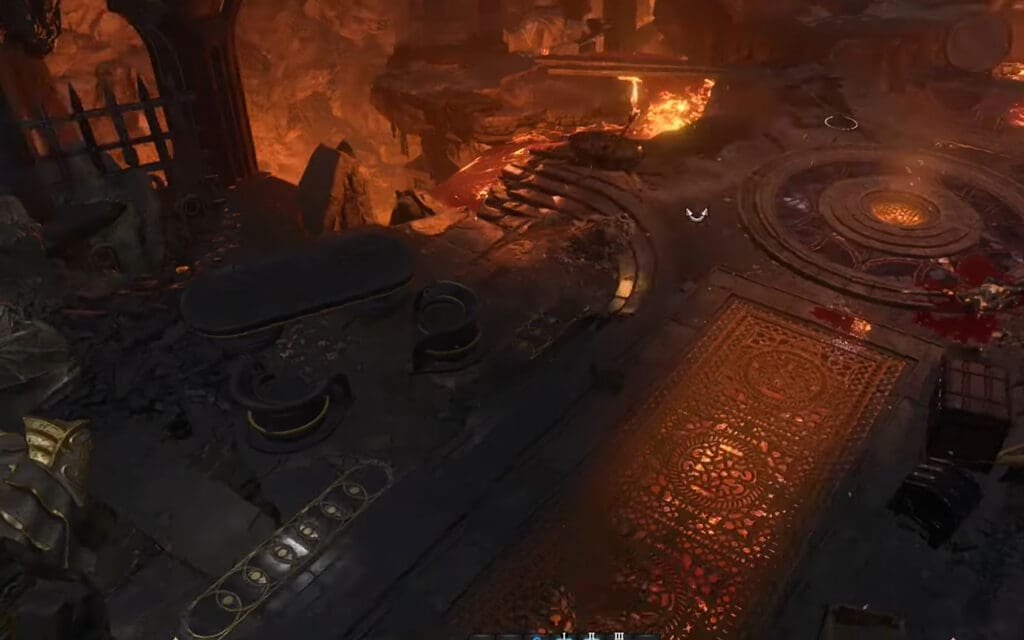
The complex conventional route to the Adamantine Forge can easily be bypassed by having a mage character in your party, either a Wizard or a Sorcerer. After you’ve reached the Grymforge waypoint, you can stay to the left and head through the staircases to reach a giant gorge. You can cast fly on one of your characters and you can reach a ledge across the gorge which can lead you to the fast travel point that leads you directly to the Adamantine Forge.
How to use the Adamantine Forge in Baldur’s Gate 3?

To activate the Forge, you need to access an ancient metal crucible in the middle of the forge which will allow you to place Mithral Ore and one of the moulds. To begin the forging process, you simply need to access a lever south of the forge platform and the hammer is dropped on the forge. You can then interact with another lever on the other side which will unleash lava. Doing so, of course, will summon the forge protector, Grym.
Dealing with Grym can be tough and you’ll need to use some great tactics to defeat the protector. You can make use of the hammer to gain an advantage in battle. He is vulnerable to lava as well. Once you have dispatched the boss to the afterlife, you can collect the forged item from its remains.
You can forge one more item, this time in peace by using the second Mithral ore. So it is prudent that you choose your items carefully.
Mithral Ores Locations
One piece of Mithral ore can be found toward the southwest of the Ancient Forge Waypoint with the lava flow. You’ll have to beat some tough enemies here to access the ore. You’ll also need to break the ore free from the vein.
The second ore is found on the Southeast side of the Ancient forge waypoint before the Adamantine Forge on a platform. You can jump to this platform to acquire the second piece of ore.
Moulds Locations
Splint Mould: Northeast of the Ancient Waypoint up the staircase
Scimitar Mould: Near the Ladder with the levers
Mace Mould: Southwest of the Ancient Forge on a table
Scale Mail: Southwest of the Ancient Forge very close to it
Shield Mould: East of the Gyrmforge Waypoint behind locked iron doors
Longsword Mould: Near the Hanging Platform on a metal pathway
It is recommended that you forge a Mithral weapon and an armor to get the best stat boosts.
That is all you need to know about the Adamantine Forge in Baldur’s Gate 3. For more guides like this, take a look at our Baldur’s Gate 3 coverage.


