Tools in Killing Floor 3 sit in a unique spot between weapons and support gear. They won’t replace your primary firepower, but they are extremely important for providing utility that can make survival easier for the entire team.
Some tools drop extra ammo, others activate traps or even confusing enemy Zeds. Every tool serves a specific purpose and knowing what each one does can help you coordinate better with your squad. Below is a comprehensive rundown of all the tools currently available in Killing Floor 3, along with their functions.
All Killing Floor 3 Tools and their functions

Ammo Bag
- Cost: 240 Dosh
- Function: Deploys a single supply bag that lets the team refill ammunition mid-battle. Each bag restores ammo for all current weapons and grants one grenade.
The Ammo Bag is a straightforward support option. It’s particularly valuable in longer waves where ammo pickups on the map won’t be enough to sustain the entire squad. Commandos benefit the most from this since their role involves sustained fire and consistent crowd control.
Multi-Tool
- Cost: 240 Dosh
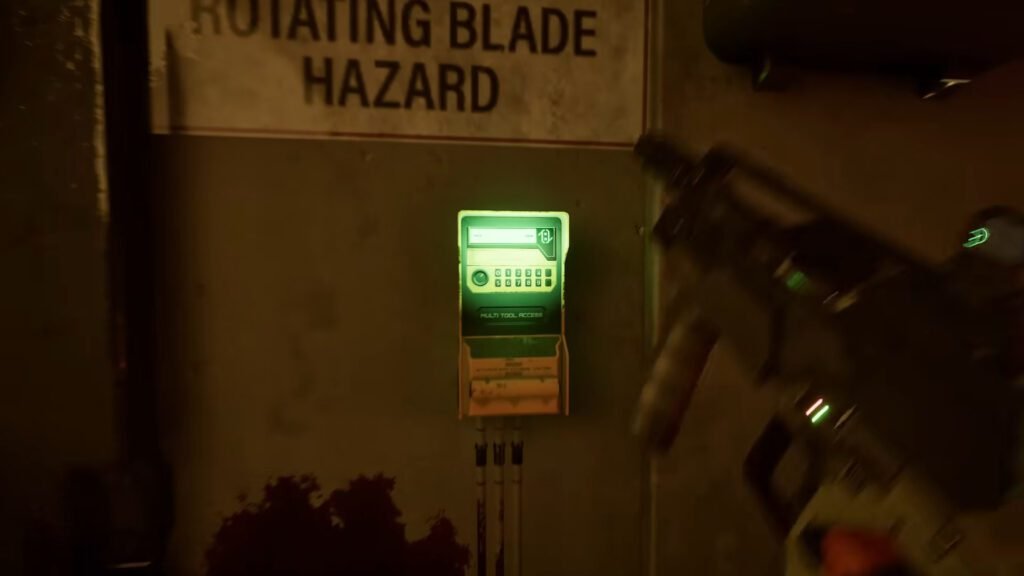
- Function: A versatile tool with that comes with three charges.
The Multi-Tool is arguably the most flexible utility in the game. It’s a staple for Engineers but also worth having in any group, as it allows players to interact with multiple map mechanics, including using the Automated Turret during matches.
Explosive Lock
- Cost: 240 Dosh
- Function: It can be used to reinforce doors and hold choke points. When destroyed, these locks detonate and cause a Stumble effect on nearby enemies while inflicting notable damage.
Sharpshooters or anyone holding defensive ground can make excellent use of Explosive Locks. They not only slow the Zeds down but also punish them for breaking through, creating space for teammates to regroup.
More Killing Floor 3 guides: How to Farm Biosteel Efficiently
Pulse Lure
- Cost: 240 Dosh
- Function: It deploys an ultrasonic lure that draws Zeds toward it and causes confusion, making them attack each other in its radius.
Pulse Lures are great for crowd control or buying time when the team is overrun. Firebugs pair well with this tool since it sets up perfect opportunities for AoE attacks.
Shock Trap
- Cost: 240 Dosh
- Function: A proximity trap that triggers when enemies come close, stunning and slowing them down. Plus, it comes with four charges.
Ninjas can use Shock Traps to control choke points or protect vulnerable teammates during reloads. The stun effect also gives melee-focused players an opening to safely clean up slowed enemies.
Syringe Bag
- Cost: 240 Dosh
- Function: A first-aid bag that provides two deployable syringes. Each syringe grants a single use of healing for your teammates.
While it’s tied to the Medic perk, this tool is also recommended for Commandos and Sharpshooters who want additional emergency healing. It’s especially helpful in longer waves where standard healing cooldowns might not be enough.
More Killing Floor 3 guides: How to get Weapons and customize them in Killing Floor 3
How to Equip and Use Tools in Killing Floor 3

In Killing Floor 3, you can select tools from the Tool Menu before starting a match. During gameplay, tools are activated by using the designated tool button, which is the Left D-pad on a controller or the 4 key on a keyboard by default. Keep in mind that you can only carry one tool at a time, so it’s beneficial to coordinate with your team to cover different roles.
While the other tools are important, I’d recommend carrying at least one Multi-Tool for your team as it offers the immense benefits of setting traps, activating ziplines, opening Armor Crates, and more. You can also check our guide for a detailed overview.


