Getting the Forge in Kingdom Come Deliverance 2 DLC right isn’t just about hammering metal until it looks sharp. The guild exam is set up to test both your knowledge and your practical skills, and slipping on either side can cost you. Passing means not only crafting a sword that meets the guild’s standards but also proving you can handle the process under pressure.
The test isn’t forgiving, but it also isn’t impossible. With the right preparation, good rhythm, and a bit of patience, Henry can walk away as a guild-approved blacksmith. Here’s what goes into making sure your forge attempt is successful.
How to make a Successful Forge in Kingdom Come Deliverance 2 DLC

The exam begins with a set of questions. Do well here, and you’ve already lowered the bar; crafting a quality II blacksmiths’ guild longsword will be enough to pass. Miss the answers, though, and you’ll likely need to push your sword up to quality III to make up for it.
If things still go south, the game does offer fallback options: pay 200 Groschen to retry, or, after failing twice, slip 400 Groschen under the table to buy your way through. The forging itself is where most players stumble. The steps are strict, and the guild is watching closely:
- Pick the right blueprint: Head to the forge menu and select the blacksmiths’ guild longsword from the longsword section.
- Heat carefully: Hold Q to bring the blade to temperature, moving the metal back and forth with your mouse until all three sections glow a straw yellow. If sparks fly, you’ve overheated—ease off before you ruin the piece.
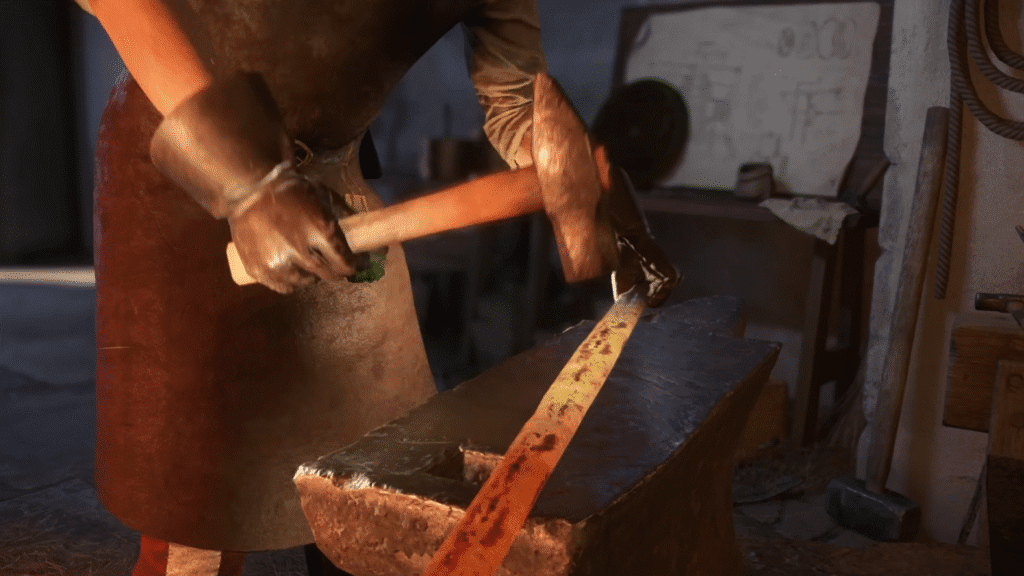
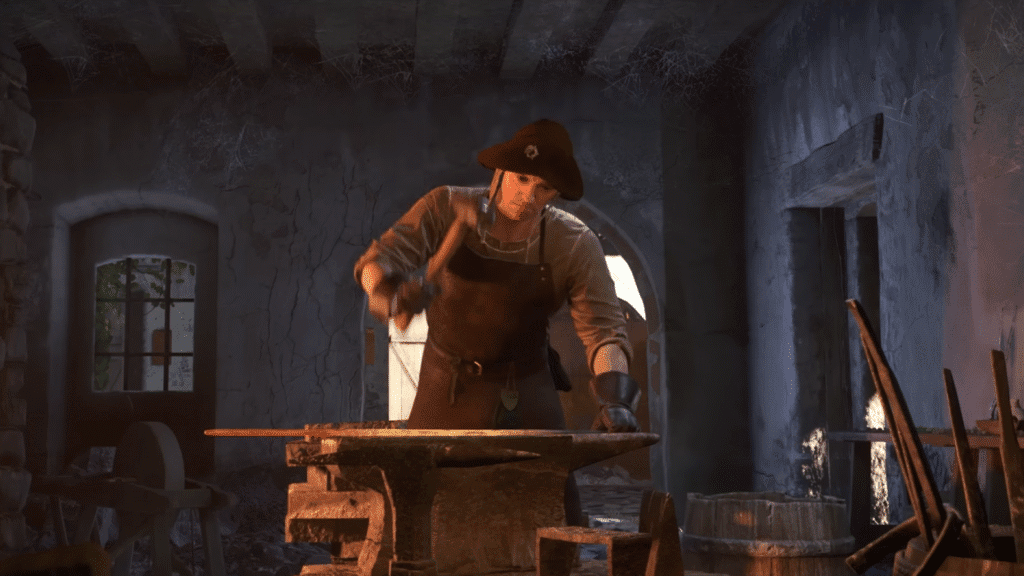
- Hammer in rhythm: Take it to the anvil (R), then hold and release the left mouse button to hammer, moving along the blade as you go. A consistent pace matters most. Keep it steady, and Henry will whistle while you’re in rhythm, a good indicator that you’re nailing it.
- Reheat when needed: The yellow glow won’t last forever. Once it fades, return to the forge and bring it back up to heat.
- Flip and repeat: Press F to turn the blade and repeat the process on the other side. Keep alternating until the weapon begins to take proper shape.
- Quench to finish: When the forging is complete, press E to quench the blade. That seals the process.
The blacksmiths may comment on your technique, sometimes even shouting that you’re “messing it up.” So, don’t panic as perfection isn’t required. Even without perfect rhythm, a consistent attempt can still produce a quality II sword, which is enough to pass if you nailed the questions earlier.
Once the practical is complete, Henry receives the blueprint and materials officially, and the guild acknowledges the effort. Hitting Gold quality, though, is the real mark of success: heating evenly, hammering to a steady beat, and remembering to flip the blade until both sides are balanced.
What Improves Your Chances of Building a Successful Forge in Kingdom Come Deliverance 2 DLC

While skill in the moment is key, there are ways to stack the odds. A higher Craftsmanship level naturally increases your chance of producing better quality swords, and Blacksmith perks give you more room for error. To push things further, earning Prestige also enhances your standing, unlocking better opportunities at the forge. So make sure to:
- Answering questions correctly: This lowers the sword quality requirement, making the test more forgiving.
- Consistent hammering: Even if you can’t keep Henry whistling, aim for steady strikes. Precision matters more than flair.
- Craftsmanship skill and perks: These push your final quality higher, giving you more margin for error.
If everything goes well, Henry ends up forging a Gold-quality longsword, impressing the guild and unlocking access to his own forge later on. Even producing a Bronze-quality sword won’t lock you out permanently, since retries are possible in Kingdom Come Deliverance 2 DLC.


