If you have yet to explore Dreaming City in Destiny 2, the Corsair Down quest will take you through most of it as you search and track down the bodies of fallen heroes. In typical Destiny fashion though, the quest doesn’t explain much about the location of these bodies.
Table of Contents
How To Get Corsair Down Quest In Destiny 2
Corsair Down is not a guaranteed quest you can get but instead has a chance of dropping after defeating Scorn and other enemies in Dreaming City. So, your best bet is to do Public Events and Blind Wells to try your luck until you get this quest.
Each Corsair Down will give you a hint about the location of Corsair bodies that you need to find. There are six different locations, with each location having five bodies. Finding the bodies will give you a Corsair Badge that needs to be given to a Corsair NPC.
Here are all the location hints and which location it points to:
- Something about Spine and Mist: Divalian Mists – Spine of Keres
- Something about a Harbinger: Harbinger’s Seclude
- Something about a Garden: Gardens of Esila
- Something about a Chamber: Chamber of Starlight
- Something about a Bay: Bay of Drowned Wishes
- Something about an Aphelion: Aphelion’s Rest
Destiny 2 Corsair Down Quest: All Body Locations
Note: There is a known bug that sometimes makes the bodies not spawn correctly. If the body isn’t there at the location, reload into the location and try again.
Spine of Keres
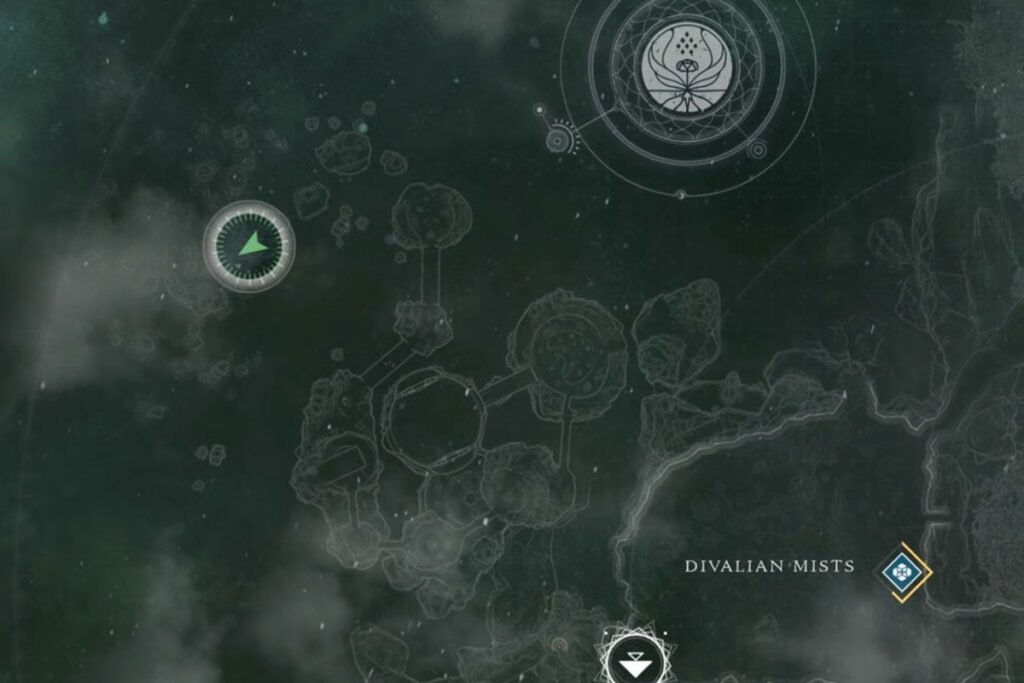
Travel to the Divalian Mists landing zone, head to the Spine of Keres, and go to the shore to start finding the bodies.
- Body 1: To the right side as you enter the shore area, right by the water.
- Body 2: Further ahead on top of a small hill next to a rock.
- Body 3: Below a cliff further, lying by the shore
- Body 4: Follow the path going down to the shore from the entrance until you find a body.
- Body 5: Go further ahead from Body 4’s location into the shallow waters near the shore; it will be there lying on a rock formation in the middle of the water.
Harbinger’s Seclude
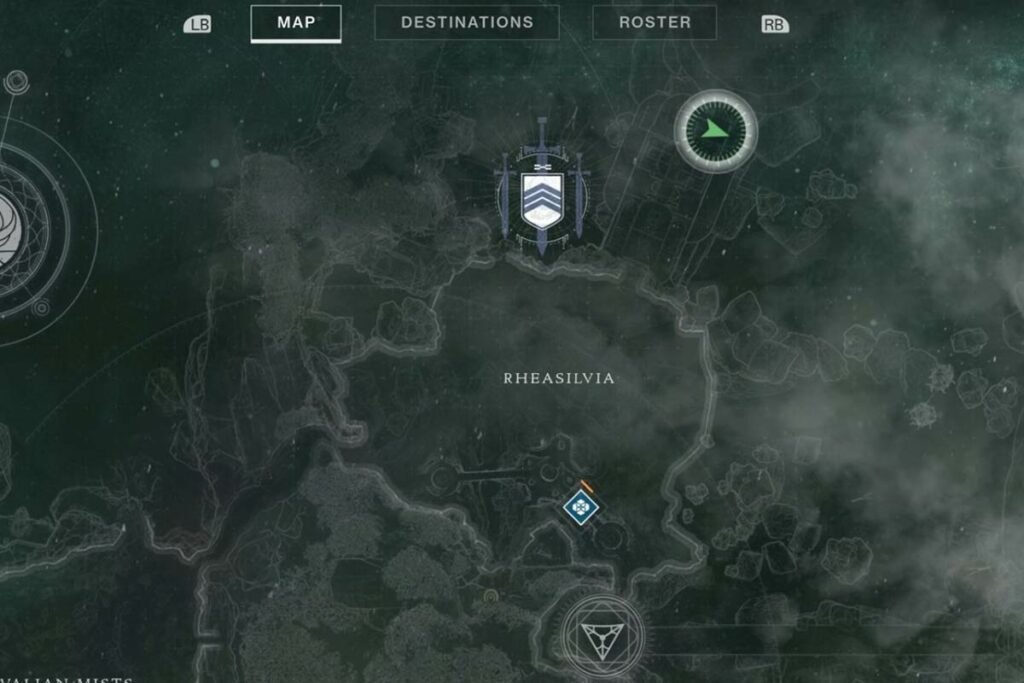
From the Landing zone in Divalian Mists, head to Rheasilvia then head further up north to reach Harbinger’s Seclude.
- Body 1: Lying in the open space to the left side of the entrance.
- Body 2: Take a left down the hallway from the first body.
- Body 3: From Body 2, take the exit to your right into the Crytoplith room; it will be lying in a shallow pond on the left near a boulder.
- Body 4: Going deeper into the building, you will find this body near an entrance of the Awoken building by the northern wall. It’s in the same area as Body 3.
- Body 5: Go down the elevator shaft in the other room and find it near a pillar.
Gardens of Esila
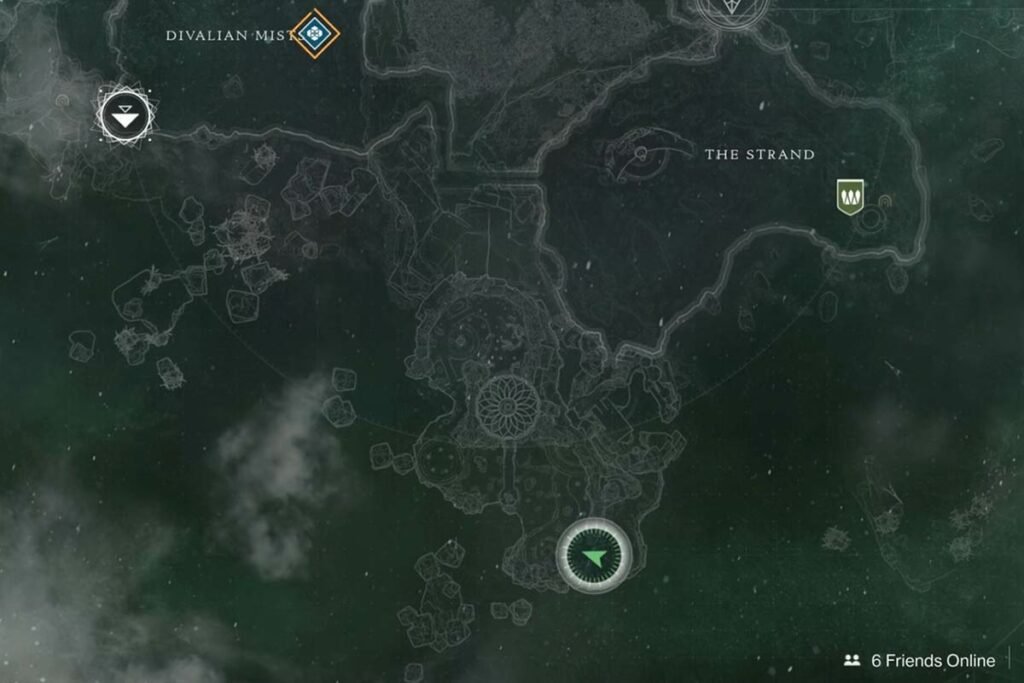
From Divalian Mists, head to The Strand area where you can find the entrance to the Gardens of Esila.
- Body 1: After the entrance, take the stairs going down and it will be lying opposite a tree in front.
- Body 2: Head north from there past the enemies, and you will find this one near a bench.
- Body 3: From the entrance, go towards the west this time and this body will be lying on the platform in the open.
- Body 4: Follow the path heading north from Body 3 until you find an Awoken statue; the body will be near to it.
- Body 5: Head to the portal that takes you to Harbinger’s Seclude and look to the right side of it.
Also Read: How To Complete Unveiled Quest In Destiny 2
Chamber of Starlight
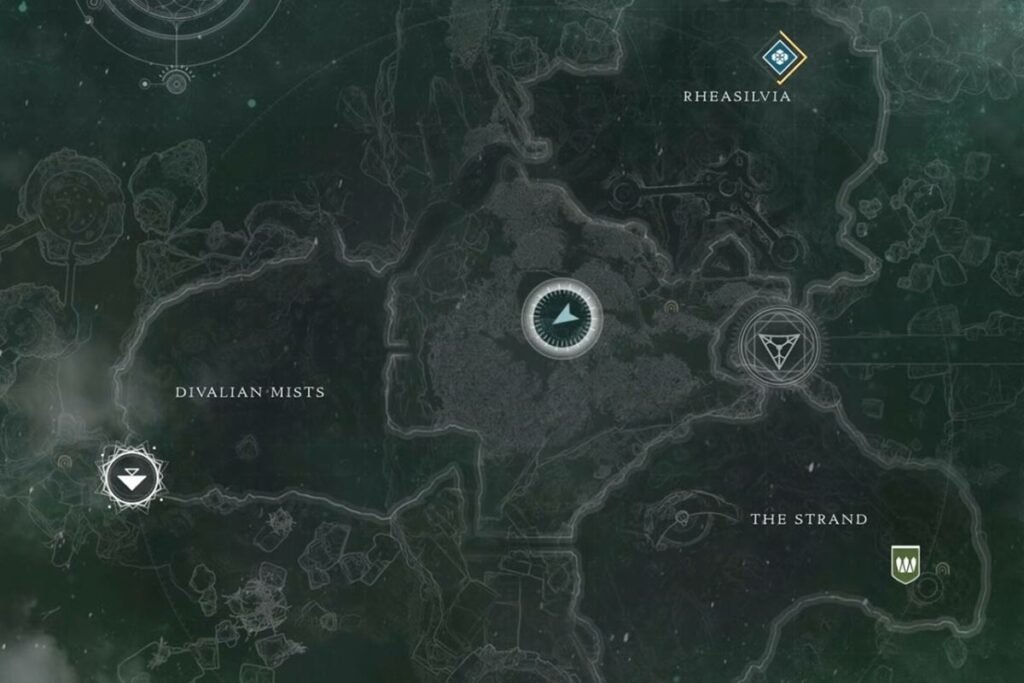
Follow the platforming going down a ravine in Rheasilvia’s Lost Sector to find the Chamber of Starlight at the bottom of it.
- Body 1: After you enter, you can find this body towards the left, lying in the path of grass near the central rock.
- Body 2: Follow the path into the next area; this body is on top of a ledge that enemies spawn on.
- Body 3: From the previous body, head in the opposite direction and you will find this one near a boulder along the way.
- Body 4: Follow along the path deeper into the cave until you eventually find this body near the corner of the cave.
- Body 5: Near the Dreaming City door, right side of the Lost Sector loot chest.
Bay of Drowned Wishes
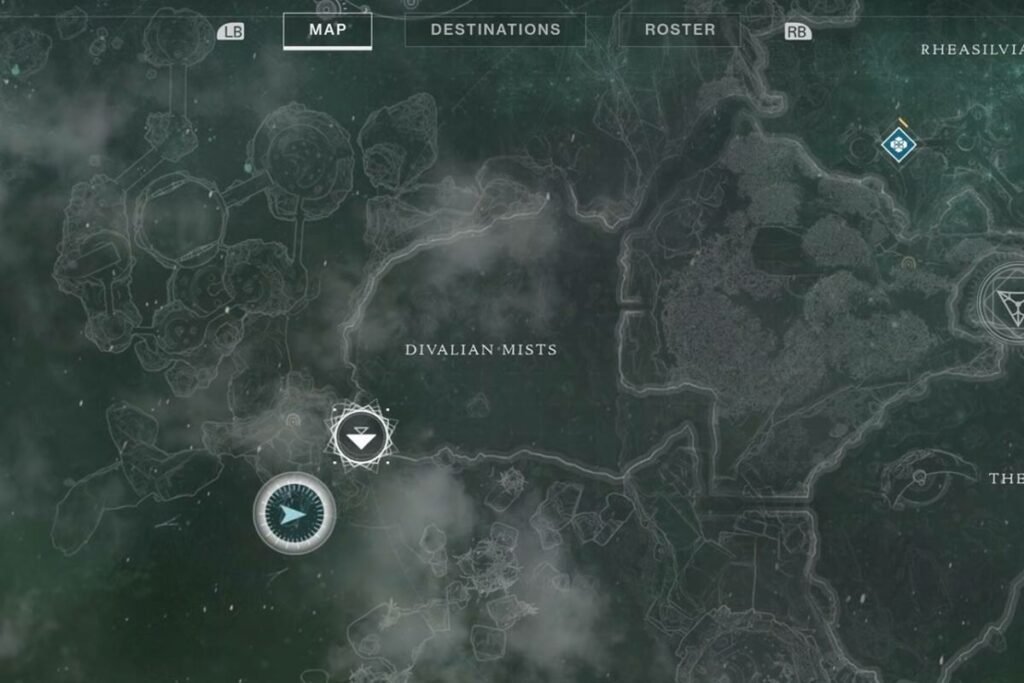
From the landing zone in Divalian Mist, turn around and head in the opposite direction from the open area which will take you to the Bay of Drowned Wishes.
- Body 1: Right behind the big boulder which is outside the entrance.
- Body 2: Go to the area behind the abomination enemy. It will be near a boulder that rises above the mists on the left-hand side.
- Body 3: From your current location, you will be able to see a boulder on the right side that is slightly inclined at an angle; it’s under this boulder.
- Body 4: From the entrance, take the right path and follow along until you reach a path that goes in the grass patch. The body will be lying in the grass.
- Body 5: Head into the cave that goes into the boss fight but just before it, you can find this body to the left near a boulder in the mist.
Aphelion’s Rest
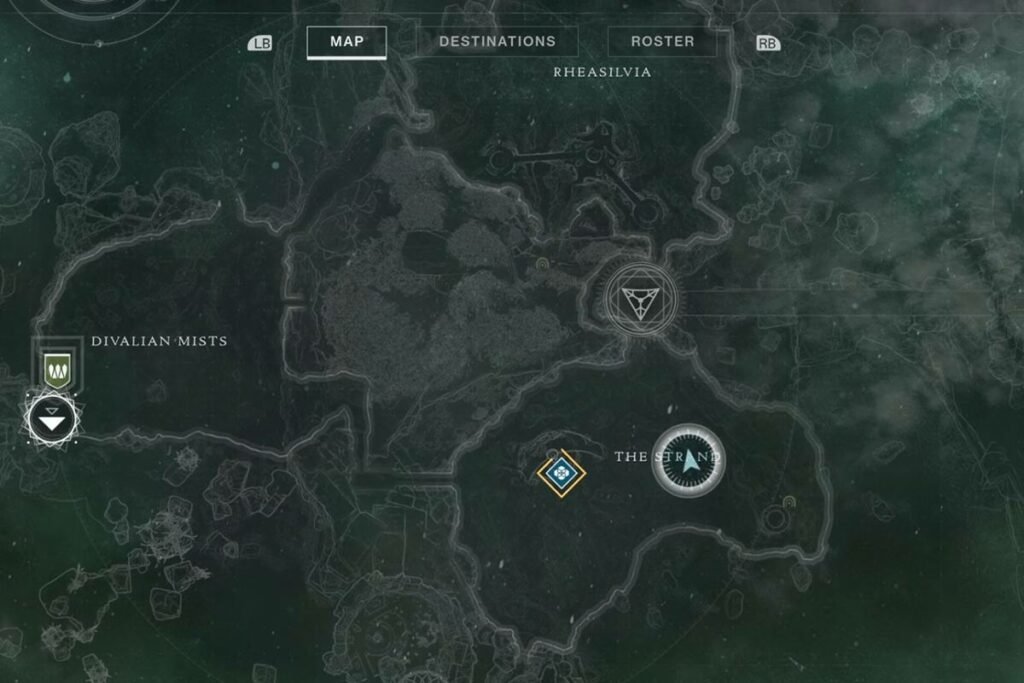
To get to Aphelion’s Rest, go to The Strand and head to the area where Petra Venj hangs out. You will find the entrance to this area here.
- Body 1: After the entrance, go past the enemies, and on the right, you will find this body near a boulder.
- Body 2: Head to the right from the entrance near the Tower statue; it will be near a wall.
- Body 3: Climb up to the ledge from the Dreaming City Tower statue on the left side of the room; it will be on this ledge.
- Body 4: On the left side of the Lost Sector loot chest in the cave.
- Body 5: Behind the Lost Sector loot chest, head up the ledges, and find this body on the right side.
How To Redeem The Corsair Badges In Destiny 2
After you get the Corsair Badges from all the bodies, you need to go talk to a Corsair NPC and give it to them. They can be found at Dreaming City Corsair outposts. The outposts can be found all over Dreaming City; the easiest one to get to is near the patrol space on the north side of Divalian Mists.


