Dragon’s Dogma 2 lets players spend a lot of time in the capital city of Vernworth, which is divided into several memorable districts. The slums are one of those districts. The downtrodden people who live there supply multiple side quests. One such quest, The Heel of History, is particularly memorable.
Dragon’s Dogma 2 – How to Activate and Clear The Heel of History
The Heel of History quest provides access to a hidden part of the slums. It ties into a quest you undertake while progressing the main adventure, plus it grants access to some valuable grimoires. To activate and clear The Heel of History, strike up an acquaintance with Kendrick and help him find the missing street urchin.

You will find Kendrick outside the church pretty much always. When you first talk to him outside the Gracious Hand, he’ll ask for alms. You can donate either food or 1000 G. When you talk to him again, he makes the same request. If you deny him, he’ll acknowledge that you can hardly give him money every time he might ask. However, you should accept his request rather than denying it. Once you help him out enough (for me, it required two donations of gold), he will ask you to help him find Malcolm.
Also Read: Where to Find the Sorcerer Maister
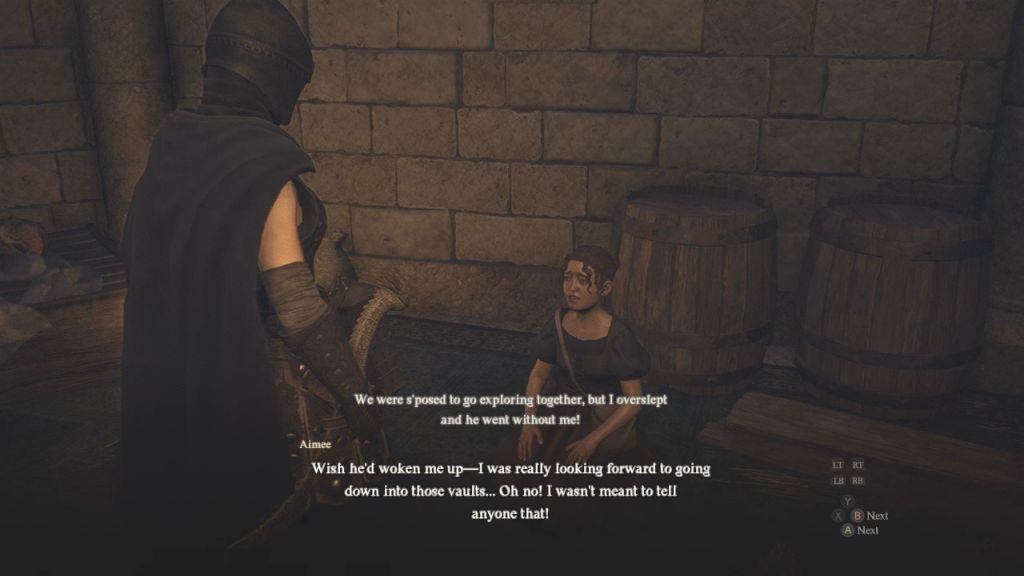
Your search for Malcolm is what The Heel of History is all about. The request for aid activates the quest, and your first job is to determine the lad’s location. The best way to do that is to talk to the other children in the area. I did this by daylight, so everyone was easier to find. You will find Rick near the ruined walls of a building, next to a well. Harvey is digging in some dirt by the side of the road that runs by the church. After talking to both boys, head into the church itself and find Aimee seated near the back wall on the main floor.

When you have talked to all three children, return to Kendrick. The information you have gathered gives him an idea. He leads the way to some rubble and clears a path. It reveals an opening. Pass through the opening and descend to reach an underground tunnel. This area is known as The Gracious Hand’s Vaults.
Proceed through the vaults, which is a straightforward sort of area. Not far inside, you’ll meet up with Malcom. Then you can continue through the passage, with Malcom leading. There aren’t a lot of enemies in this area. I mostly just encountered rats. You should be more than capable of dealing with any threats. At the end of the area, you find a secret chamber. You also receive your reward for completing the quest: 900 XP and 3000 G.
Before you leave, make sure to look around the shelves for the Igneous Melody, Thunderous Concord, and Hiemal Euphony grimoires, as well as a bag containing 820 G. As you backtrack, also check a recess near the gaping hole in the floor to find a Seeker’s Token. That’s a lot of loot in exchange for relatively little effort.


