Setting up everything manually will take a lot of your time in Schedule 1. When you are making a good amount of money in Schedule 1, you can hire people to do the most work for you in exchange for cash. Automated Mixing is possible if you hire the right person for the job. Here we will take a look at how to Automate Mixing in Schedule 1.
Automate Mixing In Schedule 1
You will need two people on your team to make automated mixing possible in Schedule 1. You must hire:
- Handler: They would be moving the ingredients to the proper places and packaging the end product.
- The job: The Handler would package the product and deliver the ingredient to the Chemistry Station for the Chemist to cook.
- Chemist or Botanist: Their job is to make the product in-hand.
The first part is to hire them, the next is to make them work by following a proper schedule. Each must be designated to a specific machine and carry out the task in a proper order for the Automated Mixing to work at its best. Follow the steps mentioned below:
- Assign them to the bed: Walk up to the bed and assign your Handler and Chemist to it. You will see a black suitcase on the bed; interacting with it allows you to pay your Handler or Chemist.
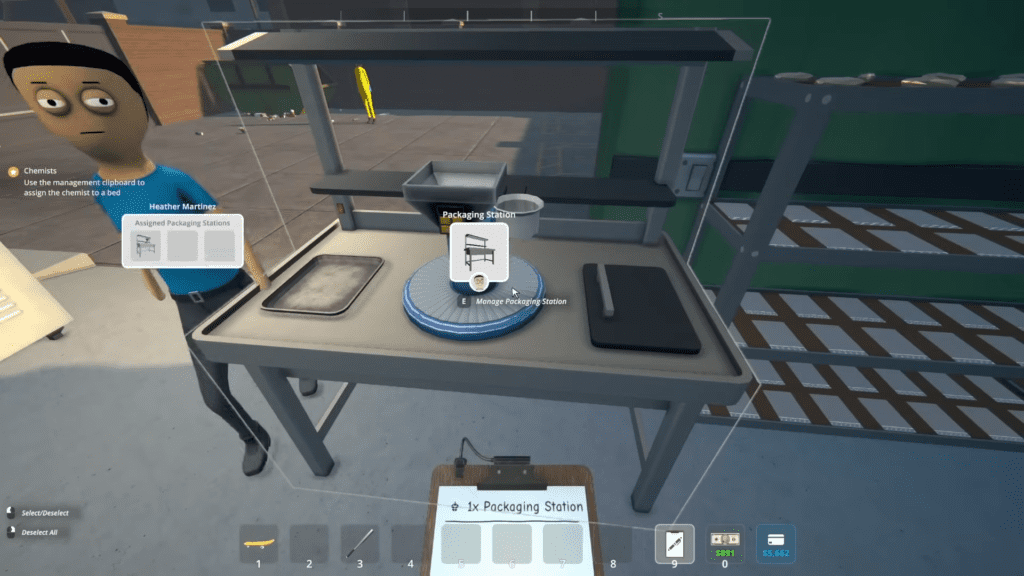
Assign the Handler to the Packaging Station:

- Interact with the Handler, click on the box titled the Assigned Station (0/3). Now head up to your Packaging Station, and assign your Handler to the machine.
- Click on +Add New under Routes. This will create two new boxes titled None.
- Click on the first None, and select the shelf where the raw product (Unpackaged) gets stored. And click on the second None to the Packaging Station.
- Click on the Packaging Station, you will get the prompt listing Destination. Select None and interact with the shelf where you want your packaged product to be stored.
- Interact with the Handler again, click + Add New, and here assign the Handler to the ingredient shelf and to the Chemistry Station. Here, the Handler will deliver the ingredient demands for the Chemist to make the product for the Chemistry Station.
Note: You will also see the arrow marker indicating the order of work the Handler has been assigned.
Once you have completely set up a proper sequential schedule for the Handler. He will first grab the product from the shelf and then run it through the Packaging System, and then place it on the other shelf.
Assign the Chemist:

- Assign the Chemist to a Chemistry Station: You can do that by interacting with the Chemist. Click on the Assigned Station option under his dialogue prompt. Then walk over to the Chemistry Station and click on the box Assigned Station to add a Chemist to the workforce.
- Assign the Chemist to Lab Oven: Same rule as the previous one, interact with the Chemist, click on the Assigned Station, and then interact with the Lab Oven and assign the Chemist to the machine.
- Work Schedule: Click on the Manage Chemistry Station to make the Chemist work on the specific drug of your choice. Click on the box under Unspecified to see the list of recipes and choose the one that fits your marketing.
- Right under Recipe, you will see the option for Destination, here choose Lab Oven. Now head over to Lab Oven and click on Manage Lab Oven. Here, under Destination, choose the shelf where the unpackaged product is placed. It should be on the same shelf, the Handler will take the product to the Packaging Station.
Meanwhile, check our guides on the game like the one here on how to fix a stuck car in Schedule 1, or how to get the Shrinking effect in Schedule 1.


