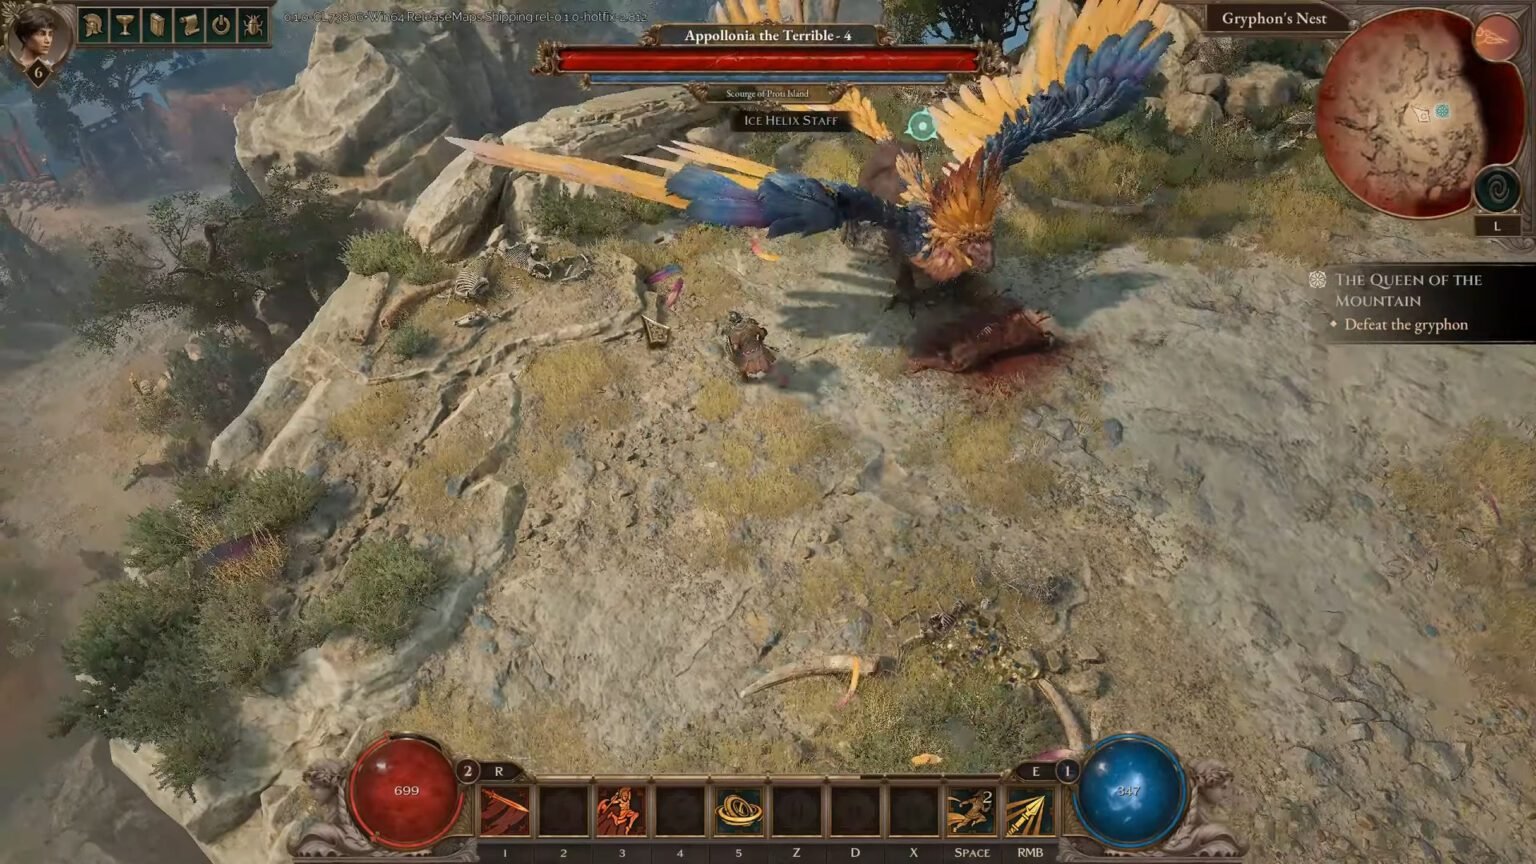
The Gryphon in Titan Quest 2, also called Apollonia the Terrible, isn’t your average tutorial boss. If you’re thinking you’ll breeze through it like early mobs, think again. This creature hits like a truck and punishes anyone who walks in unprepared.
If you want to move forward in the main quest on Proti Island, you’re going to have to earn it. On that note, here is how to deal with the Gryphon in Titan Quest 2 and all its tricky mechanics, without getting shredded in seconds.
How to defeat the Gryphon in Titan Quest 2

Apollonia or The Gryphon in Titan Quest 2 has multiple ways of fighting. Each skill has a pattern, and once you learn those, the fight becomes a lot more survivable. Here’s how each one plays out:
Swipe Combo
This is her close-range bread and butter. First, she slashes once from the right, then from the left, followed by a double claw lunge that sends a straight-line blast forward. If you’re melee, you do not want to eat this combo.
You can dodge through the attack, but the safer move is to strafe slightly to her side before it starts. Rolling into or past the claws helps you avoid the worst of it, but mistime it and you’ll get deleted. You should think about a respect if you’re having too much trouble.
The Death From Above (a.k.a. Lunge Slam)
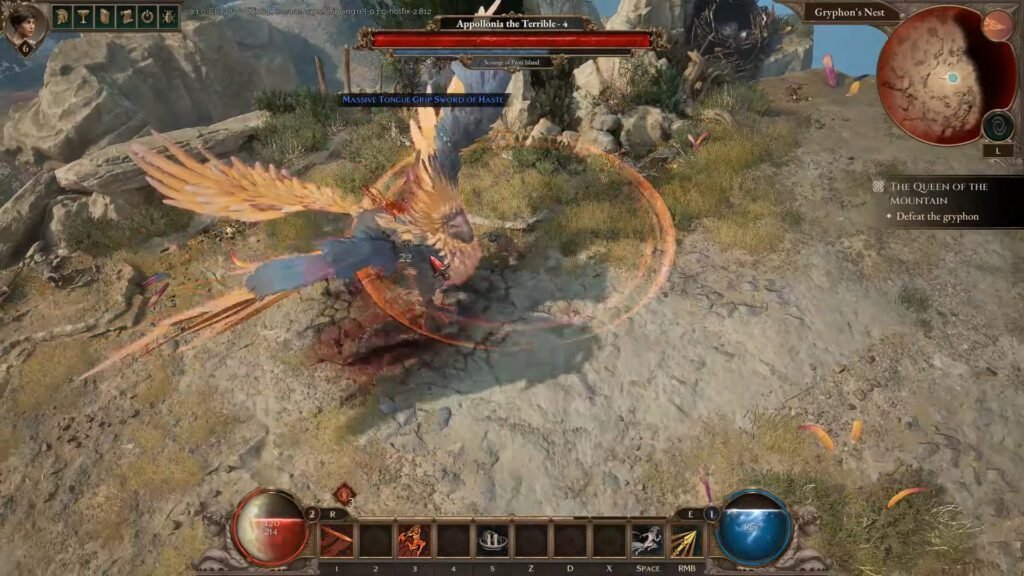
If you see a blue dot over her head and a glowing red circle on the ground, don’t panic, but don’t just stand there either. She’s about to launch into the air and come down hard with a massive AoE slam. However, don’t dodge it right away. We recommend waiting half a second after she takes off, then rolling out of the circle. Time it right, and you take no damage. Screw it up, and you’re likely one-shotted.
Wind Blast Hell
If you’re at range, she backs off and fires a long-range air blast in a straight line, easy enough to dodge. But that’s just the start. Right after, she fires two spreads of wind blasts in a trident pattern, and those will chew you up if you’re not paying attention.
To survive, we recommend standing in the gap between the blasts, not inside one. The trident layout creates natural safe zones if you’re not panicking, you’ll see them.
The Best Way to Handle Her as Melee
Getting close is risky, but not impossible. If you’re running a Whirlwind build with Modified Sweep, now’s your time to shine. Use hit-and-run tactics. Don’t stay planted. Circle around and use bleed or poison effects, especially if your weapons have a poison damage bonus. She’s not a fan of Lightning either, so if you’ve got any in your build, use them. Avoid slow, heavy attacks unless you’re 100% sure she’s in recovery. That swipe combo can punish greedy swings hard.
If you’re trying to kite her from a distance (For Ranged Players), you’ll be dealing with a ton of Aerial Blast spam. She doesn’t let up. Use Barrier (Q) to soak some hits when you can’t dodge. It helps a ton when things get chaotic. Don’t stay in one spot. If you’re static, you’re dead. So make sure you keep shooting, keep backing off, and keep your eyes on those wind columns.
Stay between them, and use the downtime between attacks to reposition and strike. Spellcasters especially need to juggle attack speed with mobility, no glass-cannon moments here. If you’re caught casting during one of her AoEs, you’re toast. At least this is easier than completing the Tricker’s Shrine Puzzle in Titan Quest 2.


