In the world of Core Keeper, mining is a crucial activity in the game to unearth valuable ores and resources. One of the essential tools in your mining arsenal is the drill. This handy device allows you to excavate various ores quickly and efficiently. This guide covers all the information you need to unlock a drill, craft it, set it up, and use it efficiently in Core Keeper.
How To Unlock Drill In Core Keeper
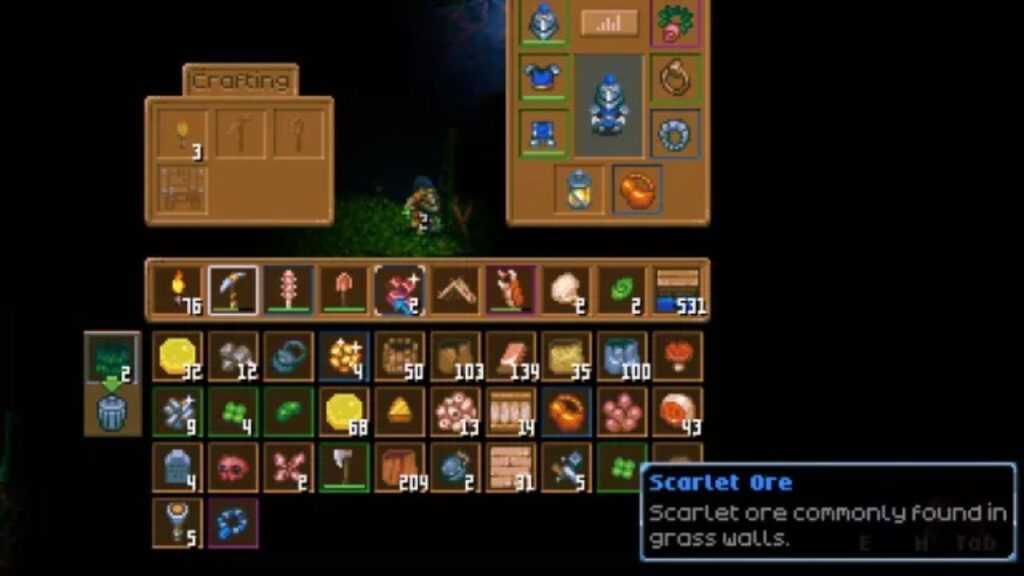
In order to unlock the blueprints for the Drill in Core Keeper, you need to reach the Azeos Wilderness Biome and mine Scarlet Ore. It is crucial to unlock the drill early in the game as you will come across large, jagged boulders that contain hundreds of units of ore. Unfortunately, you can’t break through these boulders with your pickaxe and can only be collected through a drill.
To start mining Scarlet Ore and collecting all the essential resources for unlocking the drill, you need to progress through the early stages of the game and fulfill a set of requirements. These are mentioned in detail below.
Requirements To Unlock The Drill In Core Keeper
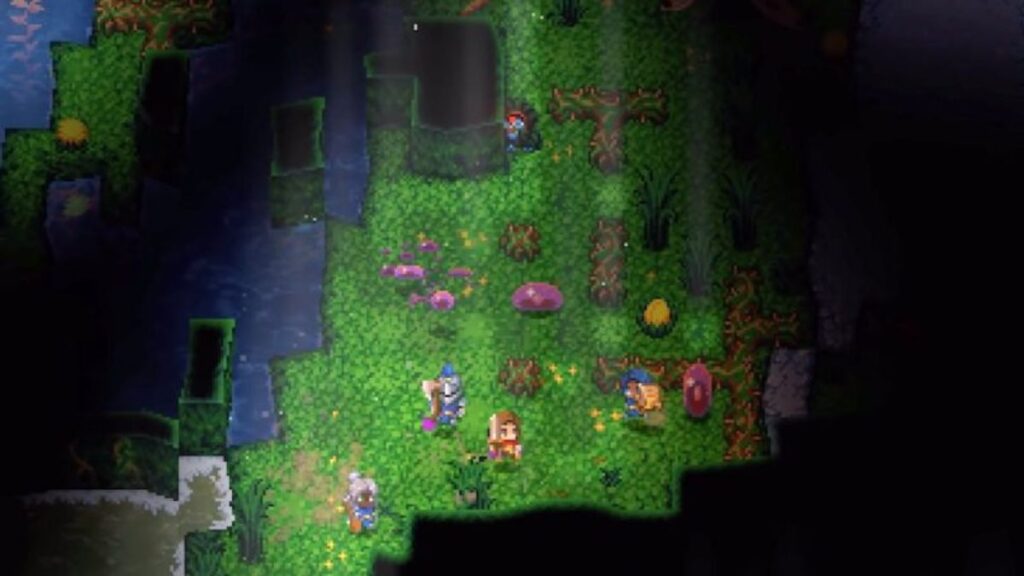
The progression requirements to unlock the Drill in Core Keeper include:
- Defeating Initial Three Bosses: It is mandatory to defeat the first three bosses – Glurch, Ghorma, and the Hive Mother.
- Touch the Great Wall: Once you have defeated all these three bosses, you need to interact with the Core and touch the Great Wall.
- Find Azeos Wilderness Biome: As you follow the Core’s guidance, you will be led to the Azeos Wilderness Biome where you can finally start mining the Scarlet Ore.
Similar Guide: Core Keeper Complete Pet Guide
Workstations For Crafting Drill In Core Keeper
Once you have progressed through the game and unlocked Azeos Wilderness Biome in Core Keeper, craft these basic workstations:
- Scarlet Workbench: You can create this workstation by combining – 10 x Tin Bar, 25 x Scarlet Bar, and 15 x Iron Bar.
- Automation Table: After you have crafted the Scarlet Workbench, you can use it to craft an Automation Table by combining – 8 x Scarlet Bar, 8 x Iron Bar, and 5 x Mechanical Part. This is the workstation where you can craft the the drill.
- Electronics Table: Once you have crafted the drill, you will still require additional setup to make it work, you will need an Electronics table to craft the mandatory setup units. This is revealed in detail later in this guide.
How To Craft A Drill In Core Keeper?
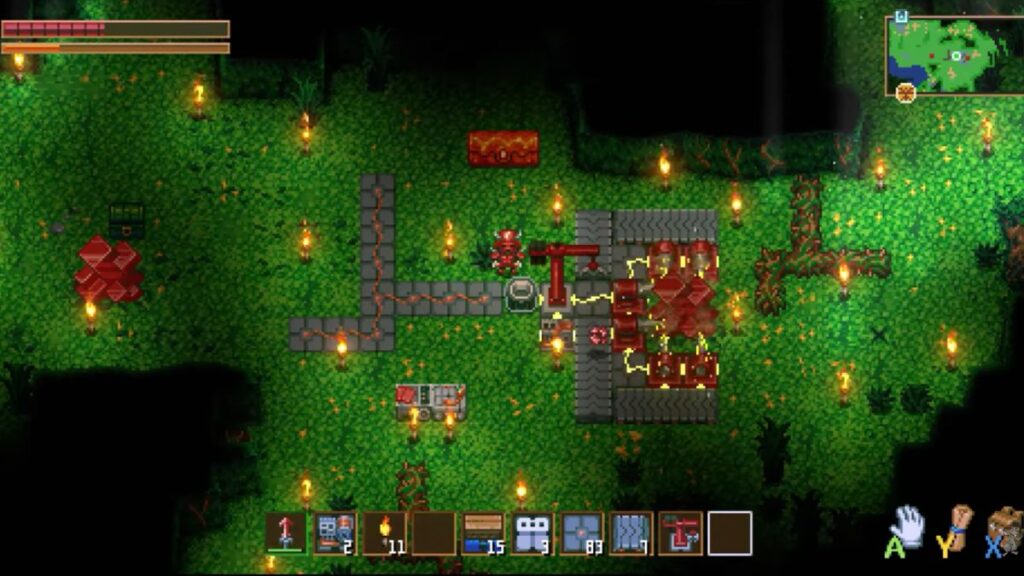
After you have unlocked and crafted the necessary workstations for building a Drill, you can finally craft a drill by combining these materials at the Automation Table:
- Irons Bars x 10
- Scarlet Bars x 10
Drill Setup Requirements
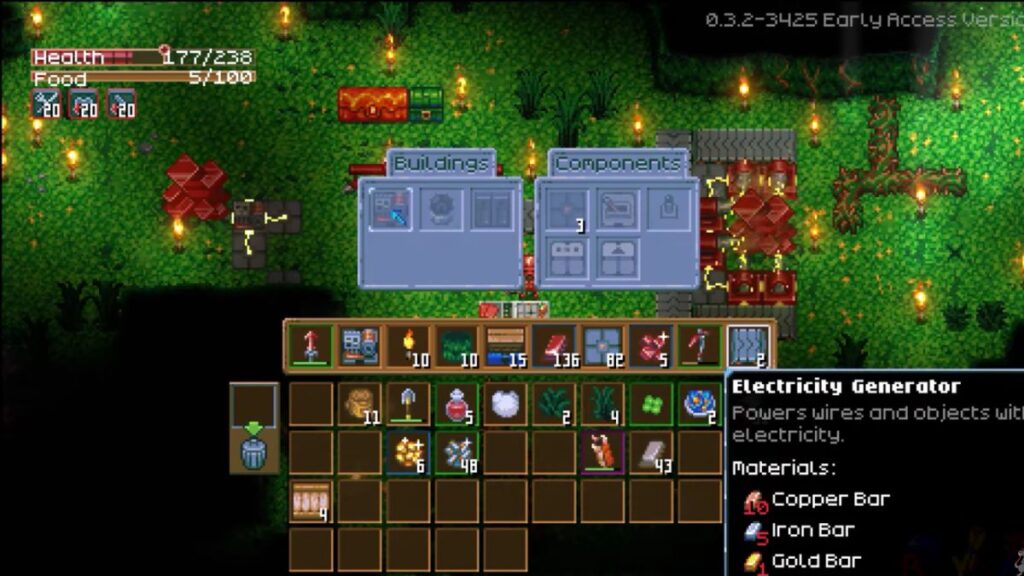
You might think that you can immediately start mining those jagged boulders after having crafted the drill. However, you will need to create an efficient setup for your drill to maximize your productivity and ore collection. In addition to the drilling unit, you will need to add the following units to complete a proper setup.
| Setup Unit | Purpose | Requirements | Crafting Workstation |
| Electricity Generator | Provides power to the drill, ensuring it operates efficiently | Copper Bar x 10 Iron Bar x 5 Gold Bar x 1 | Electronics table |
| Electrical Wire | Connects the generator to the drill, transmitting power | Copper Bar x 1 | Electronics table |
| Conveyor Belts | Transport mined ores to a collection point | Tin Bar x 2 | Automation Table |
| Robot Arm | Automatically collects ore from the conveyor belt | Iron Bar x 5 Scarlet Bar x 5 | Automation Table |
| Chest | Stores collected ore for later use or processing | Wood x 5 | Basic Workstation |
Setting Up The Drill In Core Keeper
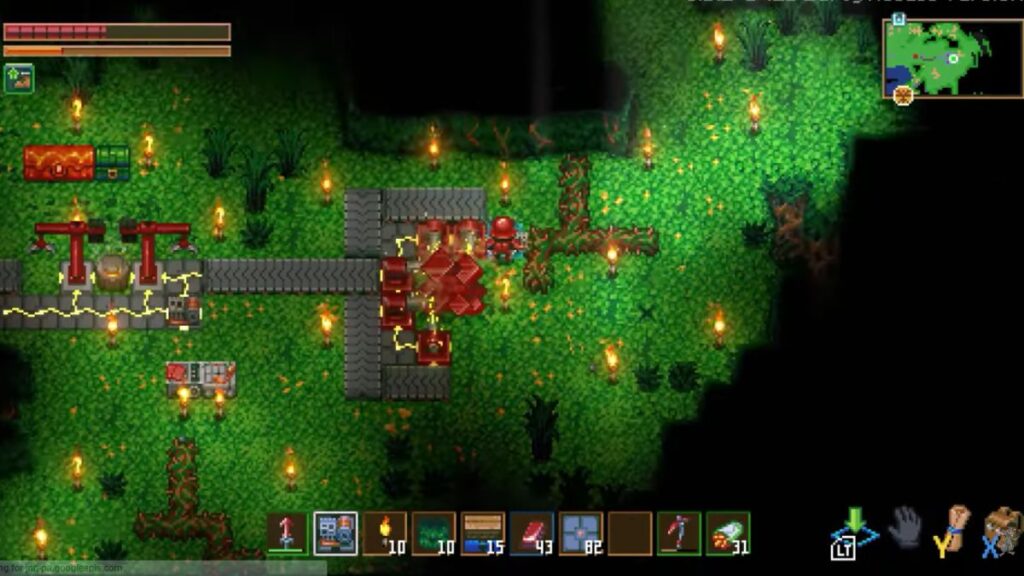
Once you have crafted all the resources listed above, you are now ready to set up your drill in Core Keeper. While this step is simple, the placement matters so that you can rotate the drill to the correct angle. We have listed out the details below to make it easy for you:
- Placement: Position the drill directly next to the boulder you want to excavate into.
- Rotation: Once the drill has been positioned, you need to carefully highlight the drill with your cursor and press E to rotate it to a 90 degrees angle to the boulder. You do not need to stick to a single drill to achieve excavation, Core Keeper allows the placement of up to eight drills around a single boulder.
- Power Source: Place an electricity generator a few blocks away from the drill.
- Connect the wires: Finally, use connecting wires to connect the generator to the drill. The yellow lines on the wire tiles indicate a successful connection.
Don’t Miss Out: Core Keeper Fishing Guide
Powering The Drill In Core Keeper
Once you have securely set up the drill in Core Keeper, it will activate immediately as the power source (electricity generator) has been connected. The powered drill will extract a single ore from the boulder at a time. You will need to manually connect the ores by standing next to the Drill unless you have automated it.
Automating The Drill in Core Keeper
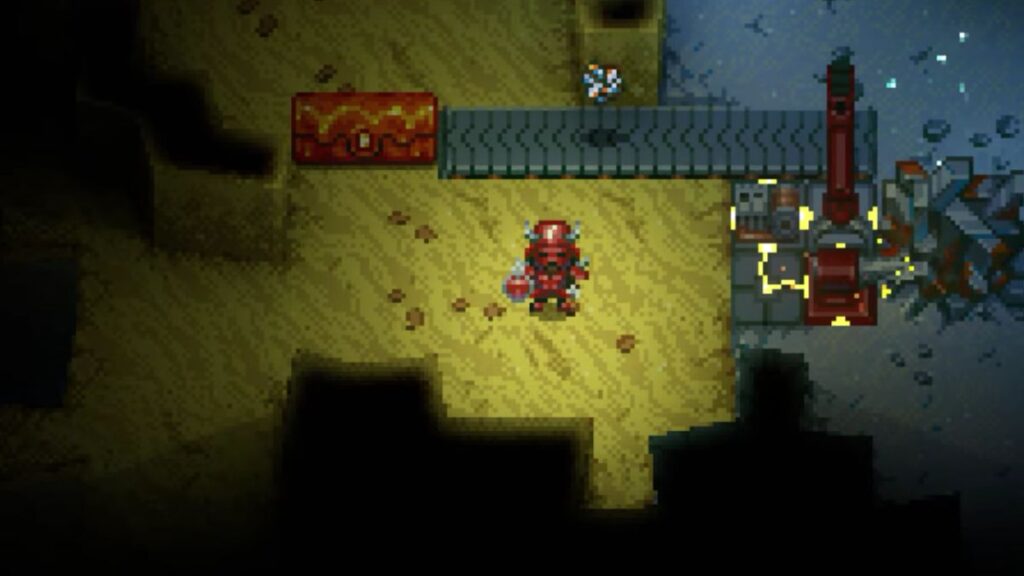
If you do not wish to waste your time by manually collecting ores from the Drill in Core Keeper, you can automate your setup by adding the following units:
- Conveyor Belt: Place a conveyor belt directly behind the drill to automatically transport the ore.
- Robot Arm: Now, position a robot arm at the end of the conveyor belt to collect the ore.
- Storage: Finally, place a chest behind the robot arm to store the ores.
- Processing: Alternatively, if you wish to process the collected ores, you can place a smelter or a furnace at the end of the robot arm.
Note: Adding a Furnace to the setup will help you process Iron, Tin, and Copper while a Smelter is needed to process Gold & Scarlet Ore.
Once you have completely extracted the resources of a boulder in Core Keeper, you can disassemble the setup and move on to a next boulder for mining. To accelerate the mining process, you can place more drills around it (up to eight). You can modulate and choose to automate your set up depending on your mining requirement and size of the boulder.


