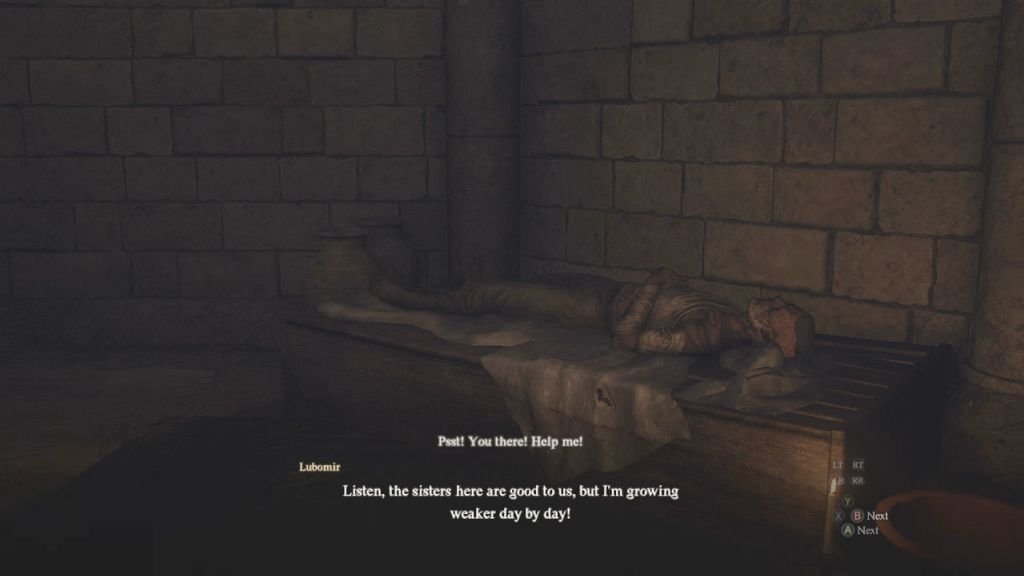
When you finally visit the slums in Dragon’s Dogma 2, you’ll find a lad named Lubomir who can’t do much more than lie around groaning. There’s a story there. You’ll have to explore its dark underbelly in order to help Lubomir and bring an evil person to justice while completing the lengthy Saints of the Slums quest.
Dragon’s Dogma 2 – How to Help Lubomir in Saints of the Slums
Lubomir is one of the many local individuals who turn to the nuns of The Gracious Hand for assistance. They all dwell within the slums portion of Vernworth, not far from the Merchant Quarter. Lubomir is very ill, but his parents trust the church to bring about a positive change. If you leave matters as they are, the lad will never recover. To help Lubomir, you must expose the dark nature of Elena, the woman who leads efforts at The Gracious Hand.
Your first order of business is to activate the relevant quest, Saint of the Slums. In my experience, it won’t activate until you clear two other side quests: The Heel of History and The Gift of Giving. You can visit Lubomir in The Gracious Hand without activating the quest, but it won’t do you any good. He’ll just groan.
Also Read: Where to Find Gold Ore for The Gift of Giving in Dragon’s Dogma 2
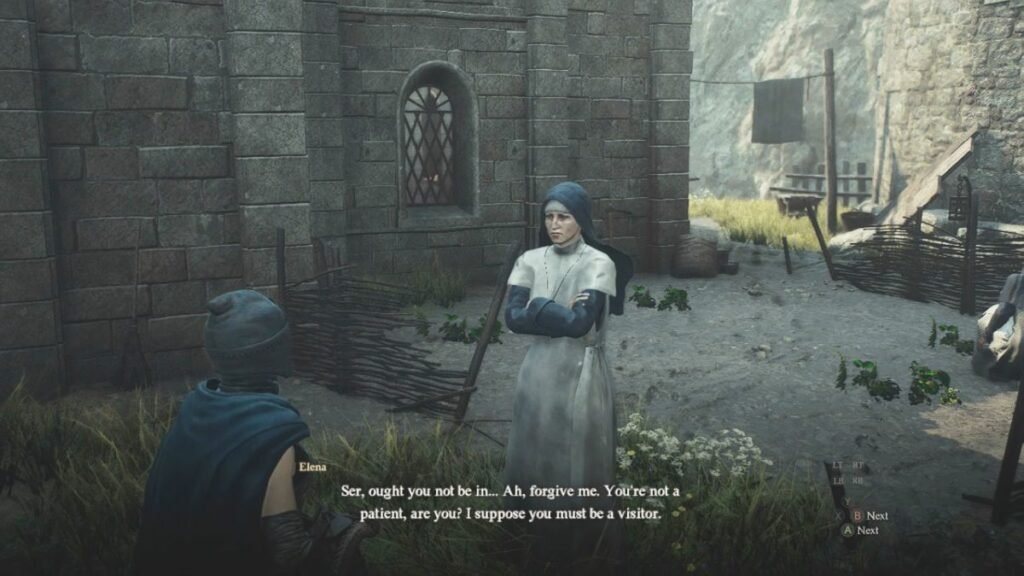
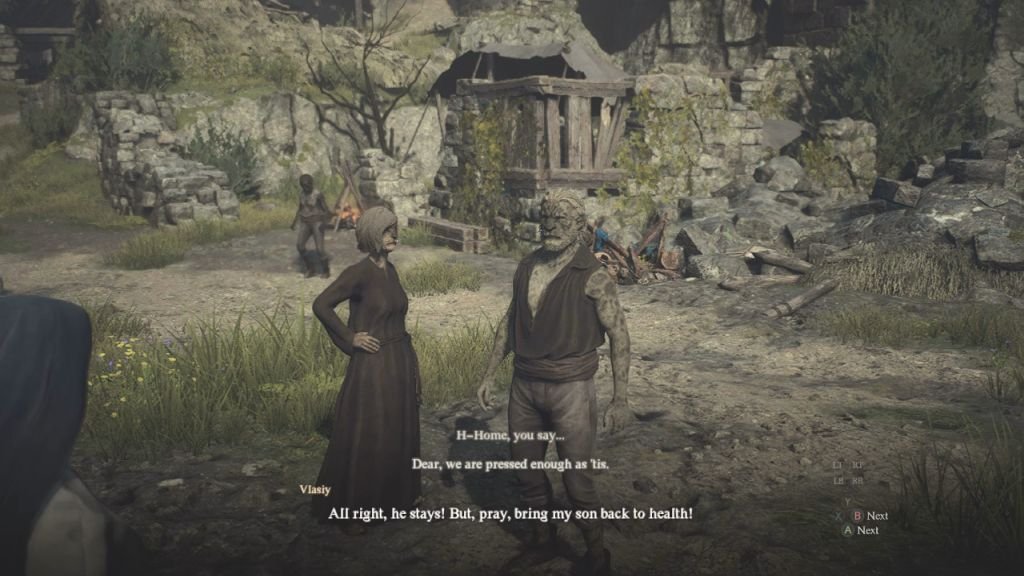
Once you complete the other side quests, pass by The Gracious Hand by daylight to witness a scene. In that scene, Lubomir’s parents reluctantly leave him within the care of the nuns. Talk to Elena after the scene concludes. She requests that you provide three Miasmite.
Find some Miasmite
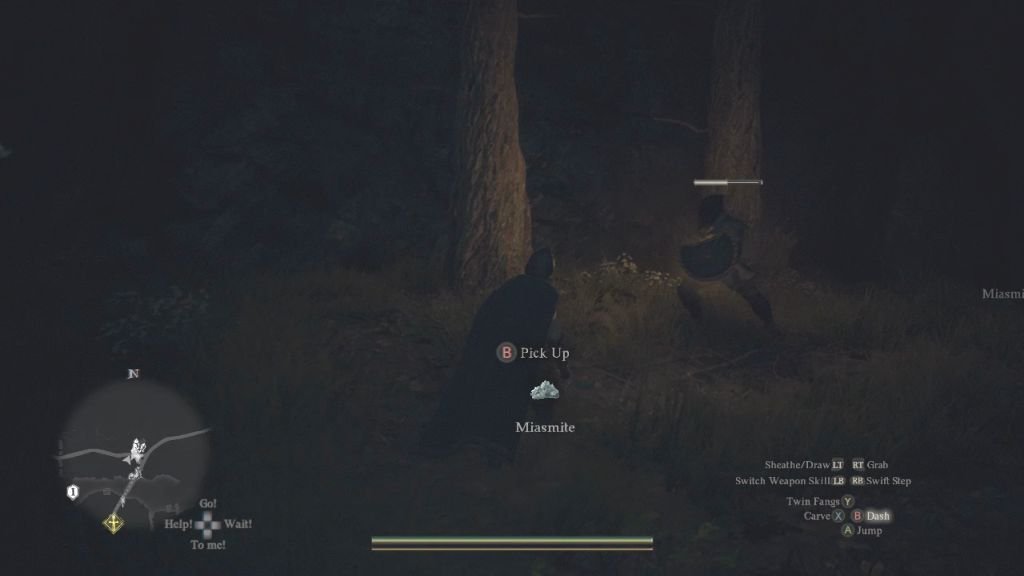
You can acquire Miasmite by defeating enemies by night. Specifically, you want to look for the ghostly apparitions that resemble floating orbs of light from a distance. You should use elemental attacks on them, since regular weapons are less useful. I roamed all over the place, looking for enemies that might drop the resource, but they’re not as common as I expected.
The ghosts you must kill mostly seem to appear just north of the Cropper’s Quarters, outside Vernworth’s walls. Cross the bridge north of the fields and then head east to find one group of spectral enemies. Backtrack and head west to find a second one. If you are lucky, you may have three Miasmite after that first run. If you have luck more like mine, you’ll need to make several trips. In that case, rest up for a few days between each run. The ghosts don’t typically return every night.
When you have three Miasmite, give the medicinal ingredient to Elena. I recommend that you do so by night, just because that’s what I did and I know it works.
Learn of Lubomir’s suspicions
When you give Elena the ingredients, she asks if you would like to accompany her on a tour. Answer “Gladly” to start the tour. She shows you only the main floor of the church. She also introduces you to Lubomir, her star patient. Once she wanders off, Lubomir will explain his situation. It is not good. His conversation activates the Investigate the Gracious Hand objective.
You can head toward the front door and take a detour downstairs, which is what the objective seems to suggest you should do. However, I didn’t find anything useful that way. Instead, go ahead and leave through the church’s front door. There, you should meet with Lottie, another nun. She is worried about Lubomir.
After the conversation with Lottie, head back inside to meet with Lubomir again. You will share what you have learned, and Lubomir asks you to take your investigation a few steps further. Go ahead and Accept that request.
Gather evidence
You need to find evidence to support what Lubomir believes about Elena. To start, head toward the building’s exit. This time, veer right and head downstairs. Along that corridor, one door leads left and a second door takes you to the right. Take that second doorway and proceed along that route until you reach a room with sick patients lying in bed. Near the back of that room, there is a blanket hanging across a doorway. Pass through the blanket to arrive in the back room.
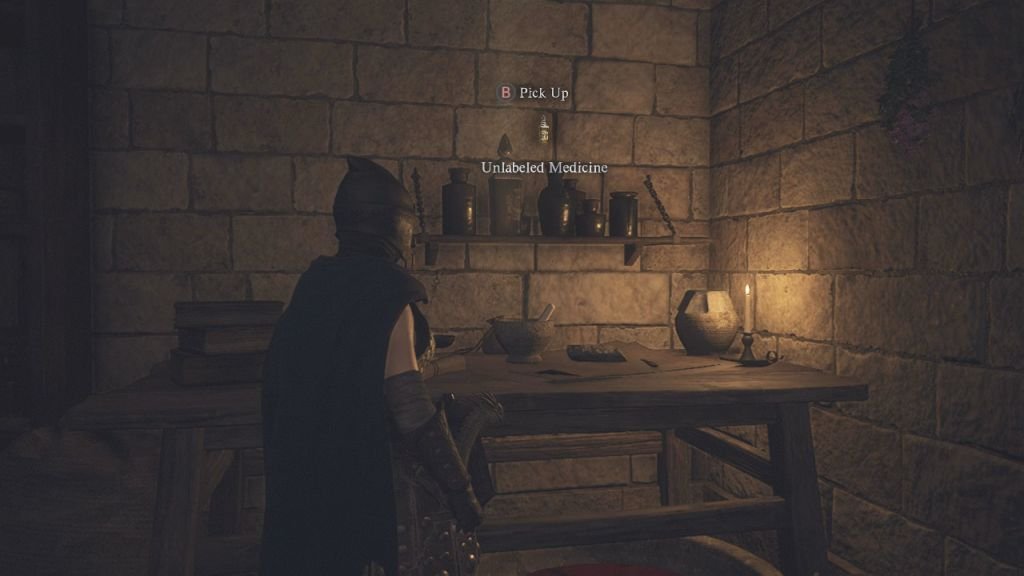
In the back room, grab two pieces of crucial evidence: the Unlabeled Medicine (on a shelf on the wall, above the table) and the Records of Treatment. The records are on a bookshelf to your left. They will glow as you approach them. Then leave that back room and return upstairs. Lubomir should still be in his bed. You need to select two separate options: Give him the medicine and Give him the records. He has comments to make in both cases.
Corroborate with patients and a doctor
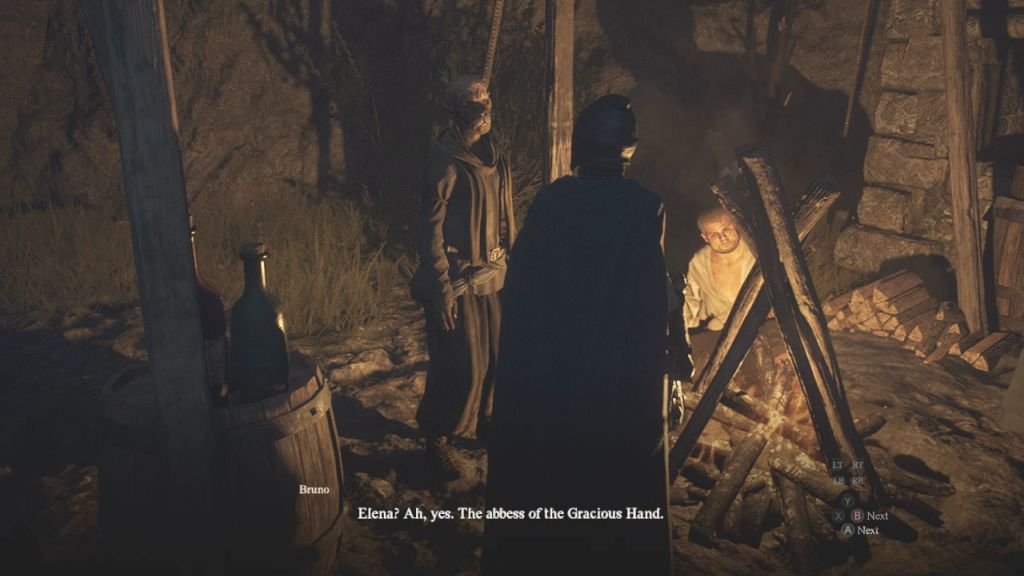
Leave the church and head outside. Now, take a left and travel downhill, toward Walter’s Tavern in the slums. Ahead of the bar, there should be some men gathered near a campfire. They are Bruno and Jehan. Speak to both of them. Then head back up to the main portion of the city. Near its northeast side, very near where you may have purchased a house for yourself, you can witness Elena meeting with a disreputable fellow. If you had any doubts, they should now be eliminated. Elena is bad news.
Head to the northwest portion of the city, where you can pass time until an Oxcart comes. Pay the 200 G fee to ride the cart to Checkpoint Rest Town, to the west. When you arrive, head uphill to find Radcliff. He is a doctor who lives near the Apothecary. His location is indicated on the map if you have the quest active (which you should).
Talk to Radcliff and hand over the Unlabeled Medicine. He will tell you he needs time to examine it. Leave the house and head downhill. You’ll find a bench near the base of the hill, along the guild building. Doze off so that evening falls, and then return to see the doctor for his opinion. He confirms everything, so it’s time to make your move.
Apprehend Elena
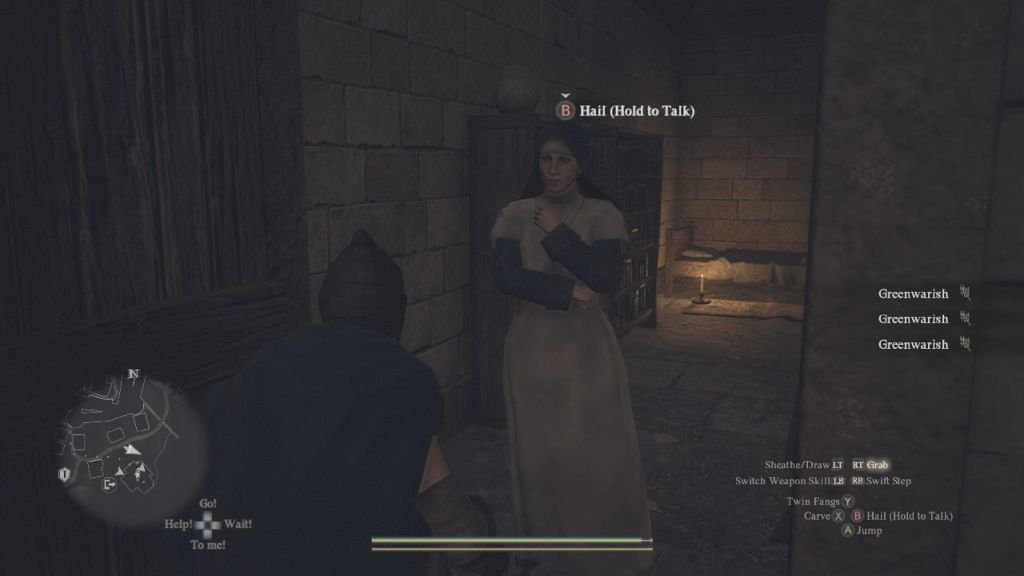
Return to the entrance of the Checkpoint Rest Town area, where you should pay another 200 G to ride the Oxcart back to Vernworth. When you arrive, make your way immediately to the church. Look for Lubomir and you will meet with Lottie. She informs you that Lubomir’s condition has deteriorated. He has been moved downstairs, where no one is allowed to visit him.
Head back toward the church’s entrance and then head downstairs. Make your way toward the room where you found the evidence previously. Elena will block your way as you try to pass through one of the doors. You are close to her, so press the button indicated on-screen to grab her and throw her to the ground. You’ll pin her, and now the quest is basically done.
In a moment, you appear in a different part of town, where a soldier fills you in on what might happen next. You finally receive your reward for completing the quest: 1600 XP and 11000 G.
Save Lubomir and the ailing patients
You have saved the good people of Vernworth from Elena’s wicked influence and you have received your reward for a quest completed. You’re not quite done, though. Lubomir is still in a bad way. Go back to the church and Lottie offers a new conversation. Lubomir is nowhere in sight, though.
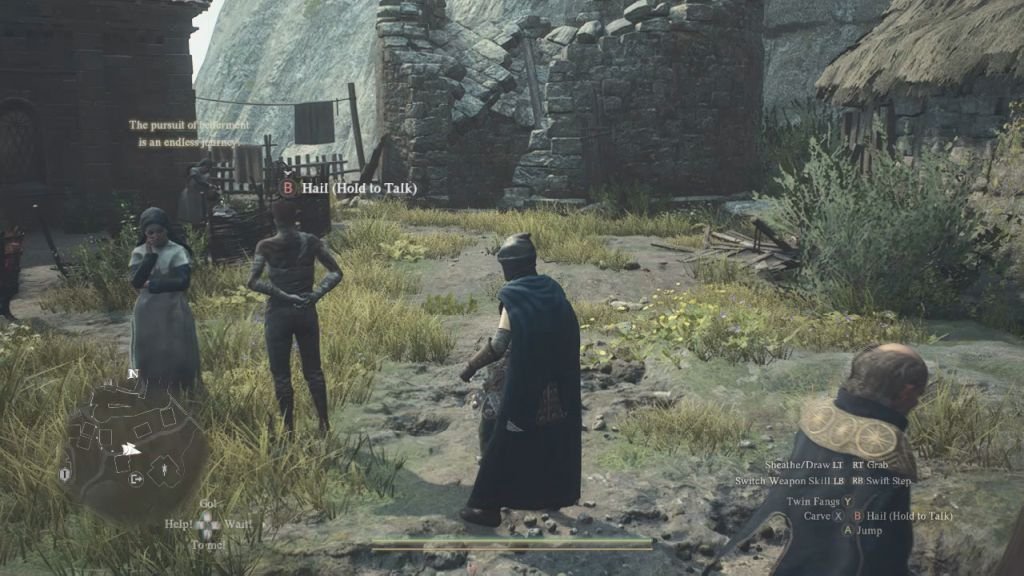
To actually save Lubomir and see him again, you should quickly head back to Checkpoint Rest Town, aboard an Oxcart. There, meet with Radcliff again, at his house. In exchange for 3000 G, he will agree to help with the problem Elena created. Then you should catch a ride back to Vernworth. When you arrive in Vernworth again, head return to the church. As you approach the building, you will find Lottie and Lubomir standing around outside. Lottie will give you a final reward: Blight Arrows x10. Lubomir offers his thanks. You can also check in with other patients to witness similar recovery. You’ve truly completed the task now.


