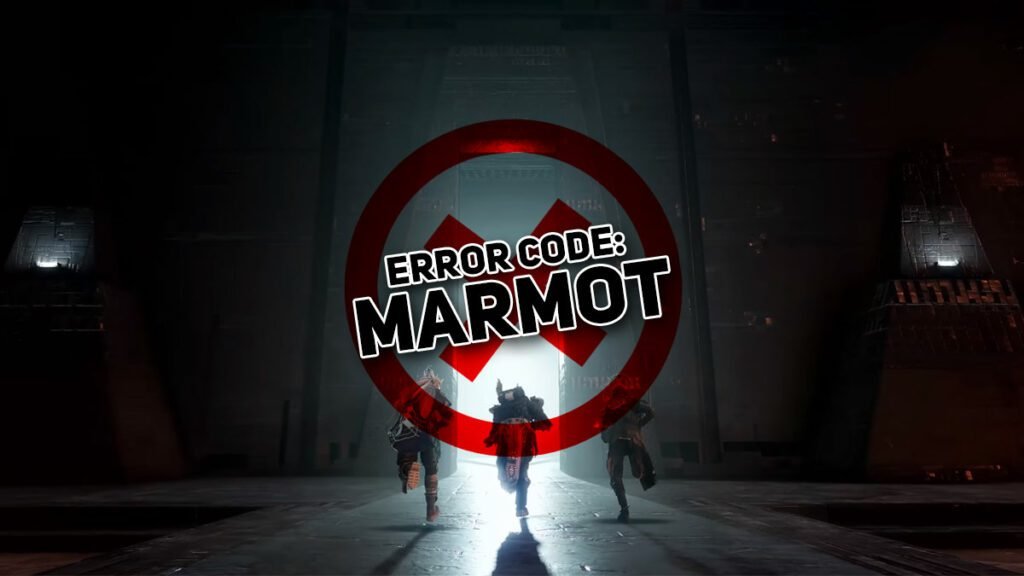
With so many errors and bugs in Destiny 2 on the launch of The Final Shape, it can get overwhelming trying to solve it. If you are facing the error code MARMOT right now, you have hit the bad end of it, which means your files may be corrupt. Fortunately, known fixes will get you back into the action in Destiny 2; here is how you can solve it.
On This Page
How to Fix Destiny 2 Error Code: MARMOT

Error code MARMOT in Destiny 2 is caused by your game files being corrupted or missing. To fix this, you will need to repair and verify the files. While the simplest fix is to delete and re-install the game, it isn’t required in most cases.
Here is how you can repair and verify your game files on each platform to fix the error code MARMOT in Destiny 2.
PC (Steam)
- Find Destiny 2 in your Steam Library
- Right-click on it and select “Properties”
- From the menu that pops up, navigate to “Local Files”
- Here, click on “Verify Integrity of Game Files”
- Launch Destiny 2 and check if the error persists
If this doesn’t work, you may also try and go to “Browse” from the properties menu and delete all files except for the folder named “packages” then verify files again.
PC (Microsoft Store)
- Make sure Destiny 2 is closed
- Find Destiny 2 in your Game Library and right-click on it
- Click on “Manage” and then select “Verify”
- Launch Destiny 2 and check if the error code MARMOT is fixed
PC (Epic Games Store)
- Make sure Destiny 2 is closed
- Find Destiny 2 in your Epic Game Library
- Right-click on it then select “Manage”
- Click on “Verify”
- Launch Destiny 2
Related: Destiny 2 Error Code: CURRANT – How To Fix
PS4 & PS5
- Make sure your console is turned off
- Now press and hold the power button for seven seconds, you will hear two beeps, and release the button after the second beep
- Your console will now be in Rest Mode
- Connect a controller via USB, navigate to “Rebuild Database” and start the process.
- After it’s done, boot up your console normally and launch Destiny 2
If the error code MARMOT is still there, then your only option is to delete the game and do a fresh install.
Xbox One & Xbox Series X|S
- Close Destiny 2 and go to your home screen
- Press the Xbox button and navigate to the Settings menu
- Go to “Devices & connections”
- Then go to “Blue-ray”
- Here, select “Persistent Storage” and choose the “Clear persistent storage” option.
- Launch Destiny 2 and check if the error is still there.
If this doesn’t work for you, then you will have to delete and re-install Destiny 2.


