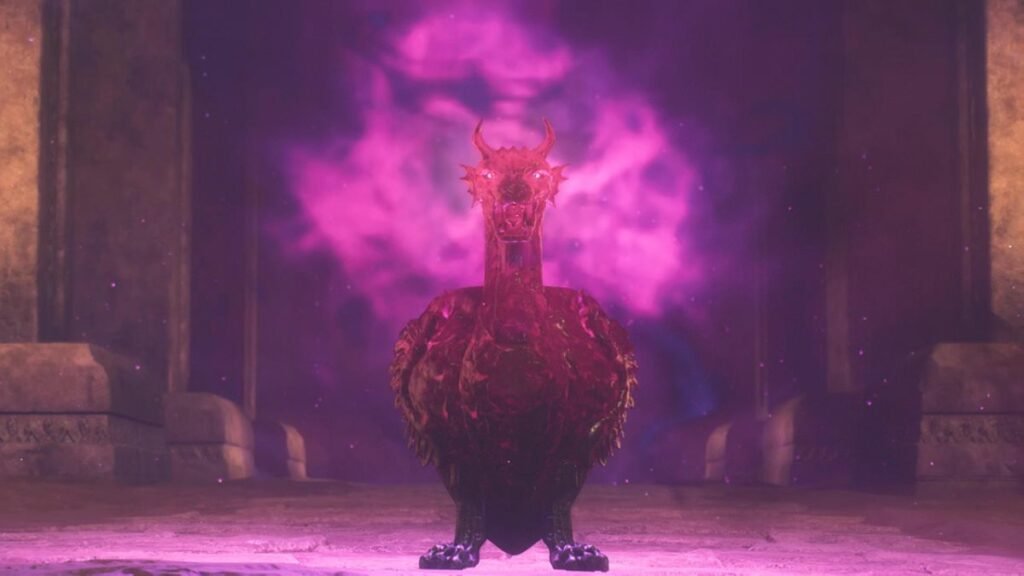
When you reach the apparent end of Dragon’s Dogma 2, you are merely the latest of many heroes to rise and do battle against the dragon. However, your story separates itself from the standard script and you find yourself in an “unchosen” world on the brink of total ruination. Several final quests might allow you to avert that total disaster, including A Scholarly Pursuit.
Dragon’s Dogma 2 – How to Activate and Clear A Scholarly Pursuit
When you wake in the unchosen world, you have lost one of your most important resources: your main pawn. You can complete the Dreams Apart quest to find your pawn. However, there are still issues to correct, and an important quest along the way that you might not know about. To activate and clear A Scholarly Pursuit, you must investigate a red pillar of light and then escort Phaesus to the source of monsters plaguing Bakbattahl.
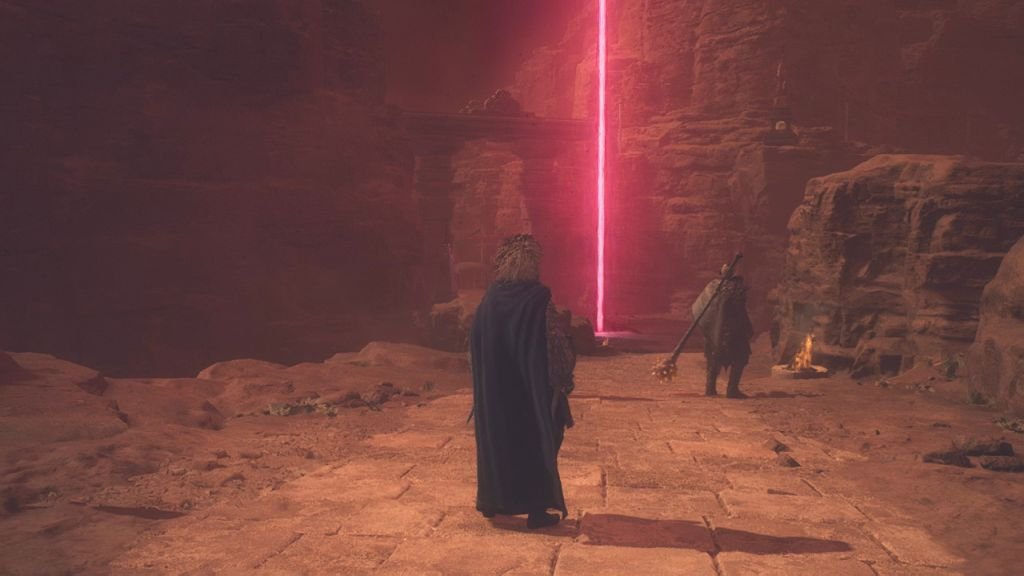
The mission is best started directly after you clear the Dreams Apart quest. Leave the Forbidden Magick Research Lab and head west along Flamebearer Palace Road. On the map, you should see a glowing red point of light. It appears as a column of red energy that rises to the clouds.
Also Read: How to Start on the Path to the True Ending in Dragon’s Dogma 2
Stand near the column of light and investigate. It brings up a prompt that allows you to draw the Godsbane blade. Do so. This is how you activate A Scholarly Pursuit. The first objective then appears: pursue the skyfallen dragon.
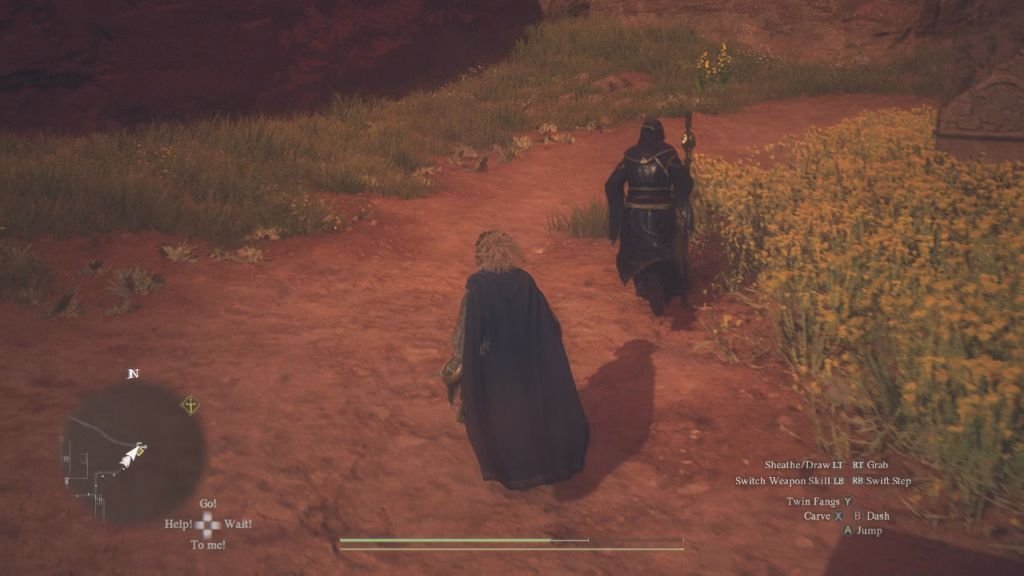
The dragon appears not far ahead of you, as an ornate urn. However, you don’t have a chance to go to it directly. Rubble blocks the path. Instead, you must escort Phaesus as he heads the long way around.
Your trip with Phaesus is a guided tour. For the most part, you simply have to stick close to him and follow him as he leads you along some streets, then scales some rock ledges, takes you through the Forbidden Magick Research Lab, and finally exits to corner the urn in the street. Unfortunately, there are significant distractions along the way.
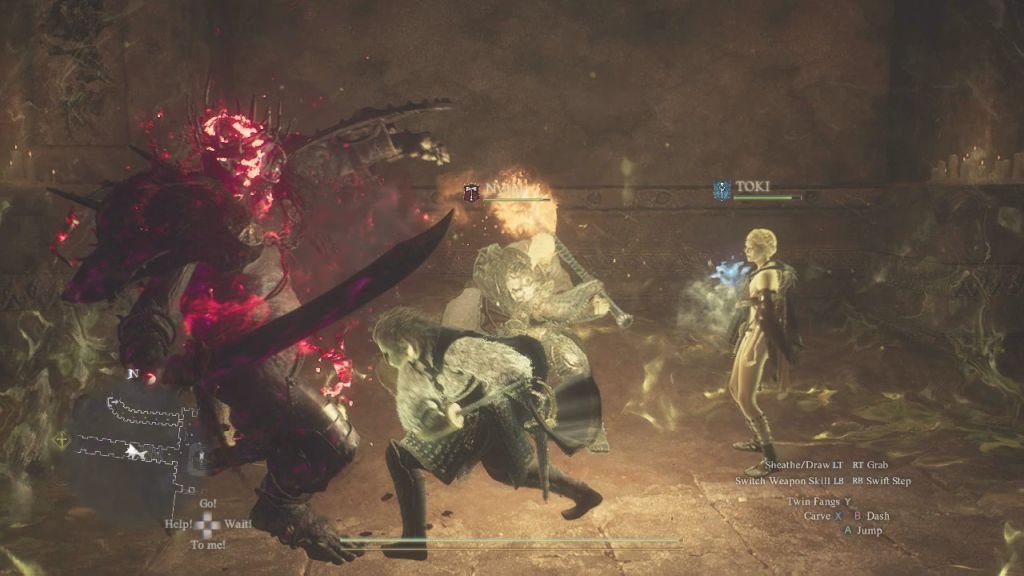
Firstly, you will face powerful enemies most of the way. The worst of them look like spectral warriors. They don’t have lengthy life meters. However, they leap about and move about quickly, and they may stun you. A few hard hits will erase them, but their own attacks are surprisingly powerful. It’s easy to find your life meter totally drained in a matter of mere seconds. Don’t venture too far from a pawn who can heal you in a hurry.
Partway through the process, huge boulders start raining down from the sky. If they hit you, they do a lot of damage. Watch for where the ground glows red. Make sure to quickly get out of the way. You don’t have a lot of warning, but you should have time to steer clear.
A third problem with your escort mission is that Phaesus doesn’t always linger by your side. While you battle monsters, he may continue toward his destination. Sometimes, this means he runs right into a batch of enemies. They may kill him. If that happens, you must use a precious Wakestone to revive him. It’s much better if you can get through the quest without having to take that step.
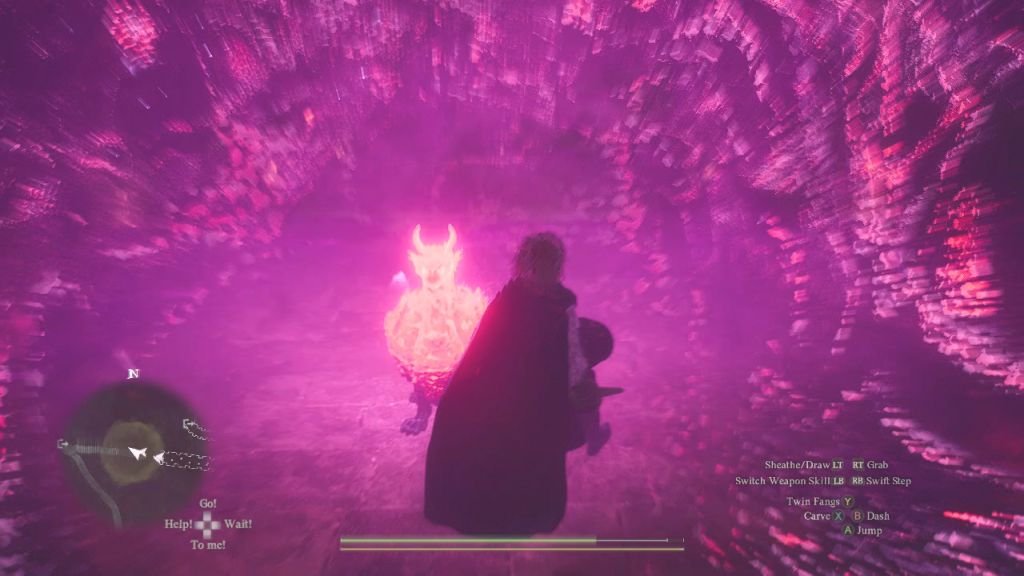
When you finally reach the urn, approach it. Your pawns should suggest that destroying it may have some positive effect. Go ahead and destroy the urn, as they advise. Phaesus is not pleased, but he respects your decision. You receive a handsome reward: 20000 XP, 20000 G, and Wyrmslife Crystal x35.
With one of the sources of malevolent light destroyed, four more of them remain active on the map. You’ll need to tend to those also, and time is of the essence. Your next step is the Halls of the First Dawn quest, which the game will likely have you target automatically.


