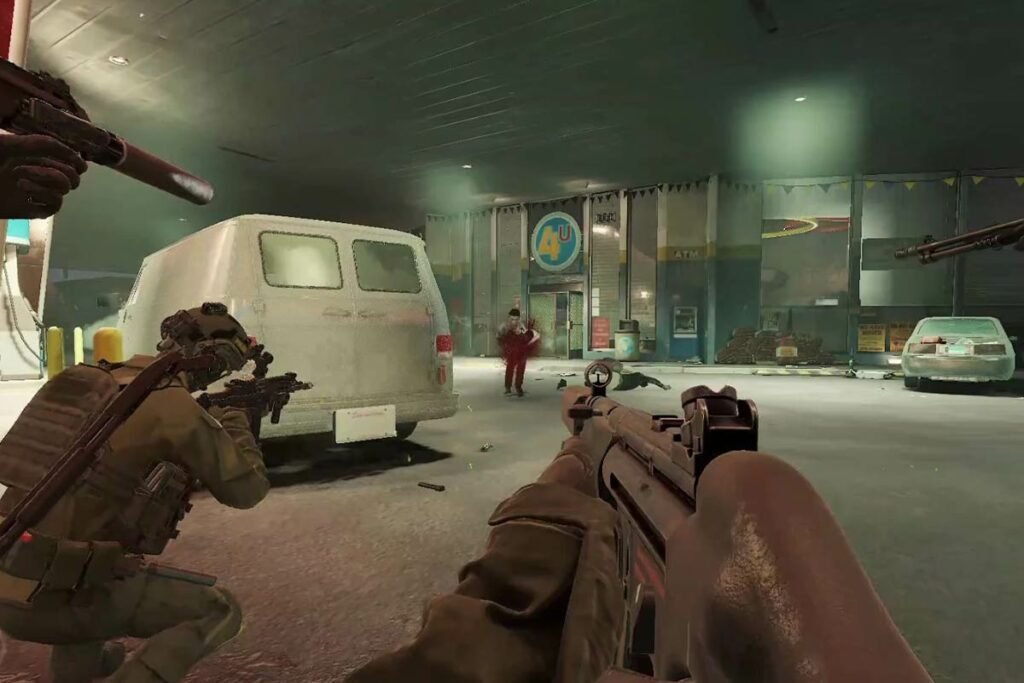
The Ready or Not Zombie Mod aims to bring a fresh twist to the already difficult and realistic combat of the game. If you thought that dealing with hostage situations and criminal groups was difficult, adding zombies to the mix makes it that much more scary and brutal.
So let’s take a look at how you can download and install the Ready or Not Zombie Mod to experience this fresh new take on this realistic SWAT team sim.
How To Download And Install Ready Or Not Zombie Mod
You can download the Zombie Mod for Ready or Not from Nexus Mods. In the available files to download, you will find multiple options to choose from. You will need to choose the appropriate Level based on the number of players you are planning to play it with.
Here is a list of all levels and the player count needed based on zombie health:
| Level | Number of Players | Zombie Health |
|---|---|---|
| Level 1 | 1-2 | 150 |
| Level 2 | 3-5 | 300 |
| Level 3 | 5-6 | 600 |
| Level 4 | 6+ | 1200 |
Related: How To Add More Players In Ready Or Not

Once you choose the level, click on manual download and download the mod file associated with it. Here is how you can install the Zombie Mod in Ready or Not:
- Using the File Explorer, navigate to
C:\Program Files (x86)\Steam\steamapps\common\Ready Or Not\ReadyOrNot\Content\Paks. - Move or copy the .pak file you downloaded from Nexus Mods into the Paks folder.
- Now simply launch the game and the mod will now be installed and ready to use.
Will All Players Need To Install Zombie Mod In Ready Or Not?
Yes, because while this can technically work if only the host installs the mod, it is recommended that all players have it installed. Otherwise, it can lead to some bugs and glitches with zombies missing the knife that they are supposed to have. If you plan to play this on mod maps, then ensure other players have that as well.
That is all you need to know about getting the Ready or Not Zombies Mod up and running. But don’t stop there with the mods, you should also read our guide on how to install the Ready or Not Body Cam mod.


