




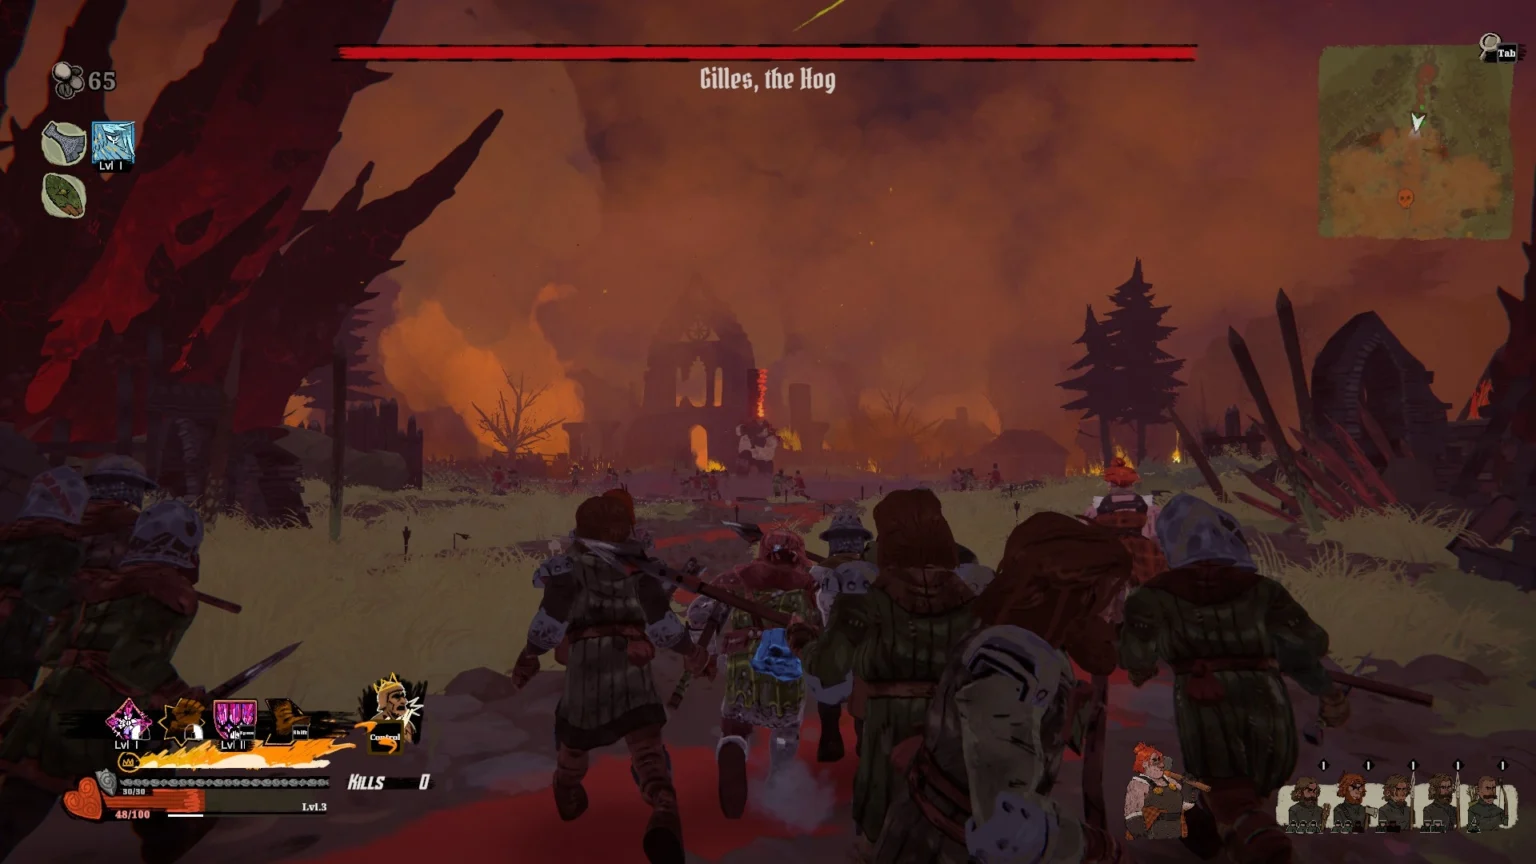

The journey into Tears of Metal is far from easy; it’s an odyssey that will put you through many trials and rough bosses to give you more than a welcome challenge. Here, knowing a bit more about how the game works will help you immensely, setting a smoother tone at the beginning of the game. The guide here will help you catch up with the basic gist of Tears of Metal and the things you can do to make the early run a bit easier.
Early Game Tips For Tears of Metal
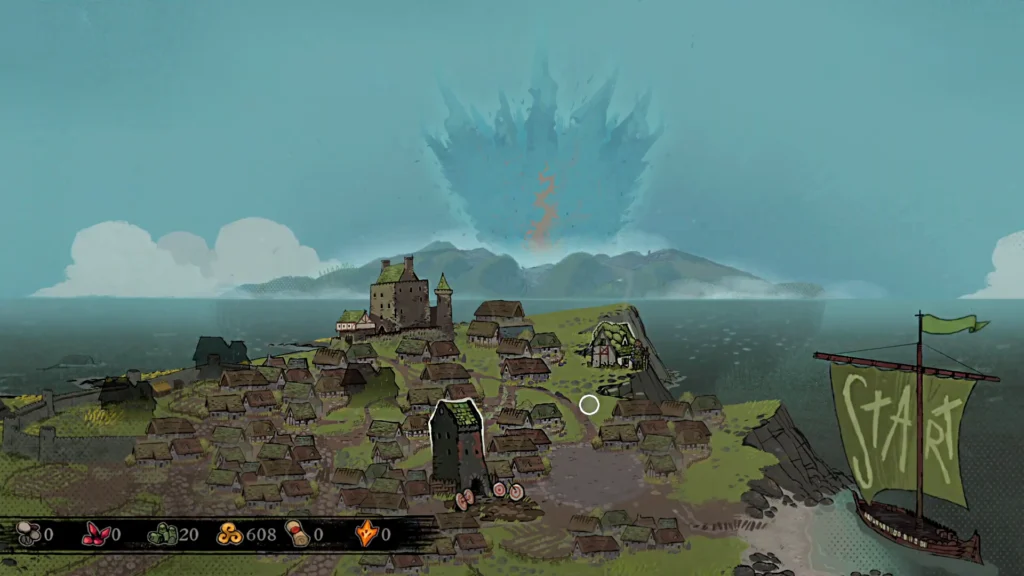
Here is the list of topics that I will touch on in this guide; do keep in mind, it’s all for the early run:
- All Currency Types and their Purpose
- How to Upgrade your Commanders and add new Commanders?
- How to Upgrade the Travelling Merchant?
- How to Upgrade Shrine and Unlock Random Encounters on Map?
- How to Unlock New Weapons and Passive Skills?
- How to Upgrade and Manage Companions
- How to Unlock a New Hero?
All Currency Types and their Purpose
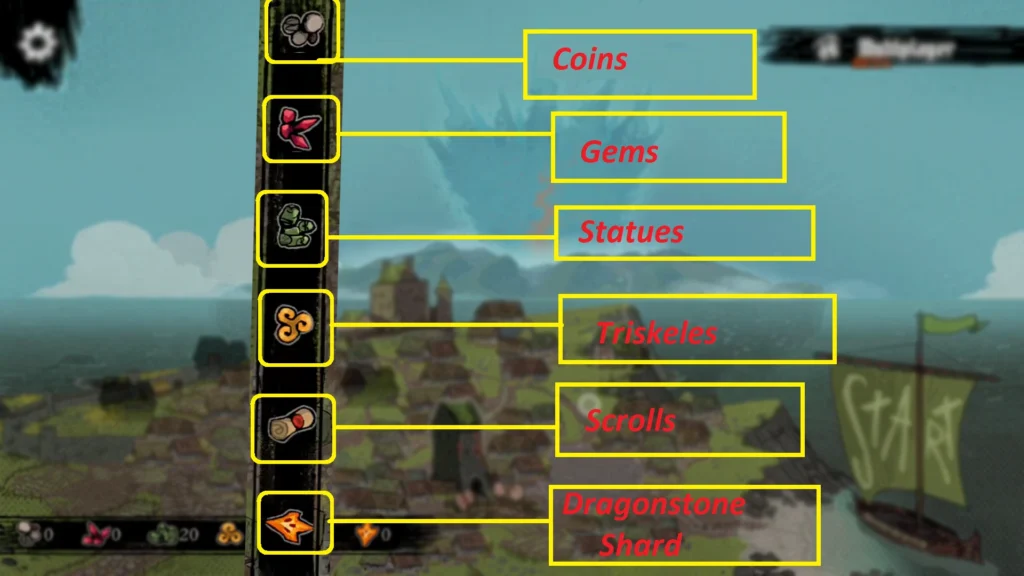
The game throws six different types of currencies right from the start; here we will take a look at each one and see what exactly they do in the game.
| Currency List | Keep or Lose upon Death | What They Do? | Where to Find? | Where to Invest? |
| Triskeles | Keep | Think of Triskeles as gold, as it will help you upgrade and level up your Hero and Ally. | Defeat enemy hordes and artillery, and loot bags throughout the game’s world. [Found on Act I/ II/ III] | * Hero Upgrade * Promoting Archers, Spearmen, Infantry during War Preparations. |
| Scrolls | Keep | Scrolls will help you improve your Finance and Luck during the campaign. | Scrolls are found during Act III, on your route to the final boss. The scroll icon will be visible on the point of interest on the map. [They are usually found only in Act III] | You will need to use the Scrolls at the Royal Bank. And at Zaro’s Emporium. |
| Dragonstone Shard | Keep | Unlocks new weapons, Trials, and Hero. | Defeating the final boss of Acts. These boss encounters await at the final tile of the map. The first act boss, Gillie, the Hog, will reward a single Dragonstone Shard, while the second act boss will reward 2x Dragonstone Shards. [Found on Act I/ II/ III] | Unlocking New Weapon at Hero Buildings (Wallace/ Brienne/ Vanguard Tracker/ Ruadh Stonecrusher) |
| Statues | Keep | Use these to strengthen your Army in the Barracks (Village Building). | Look for specific tiles on the map with the Statue icon. Head to the tile and defeat the boss to get a Statue as a reward. [Found on Act I/ II/ III] | At the Barracks |
| Gems | Keep | You can use the Gems to upgrade the Travelling Merchant and also to uncover new Campaign challenges and Mysteries. | Just like Statues, look for tiles on the map with a Gem icon on them, defeat the boss to complete them to earn Gems as a reward. [Found only in Act II and Act III] | At the Market and Cartographer’s Lair |
| Coins | Lose | Spent while on a Campaign to buy Charms and Treasures. | Defeating enemy hordes and found inside treasure chests scattered in the area. [Found on Act I/ II/ III] | On the Map Run |
Farming Currencies
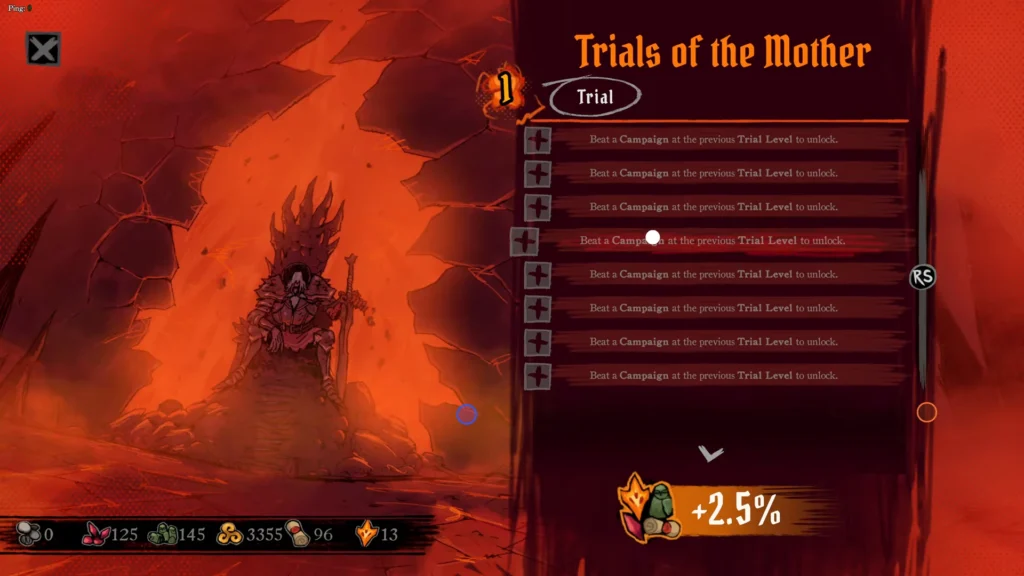
Beating the game unlocks Trials of the Mother. It adds a special modifier for the campaign to make the game much harder, but you will increase the drop rate of all the currencies found in the game. The boost to the drop rate will affect Dragonstone Shards, Statues, Scrolls, and Gems. The Trials of Mother consists of many trials; as you move down the trials, the game will get incredibly harder by lowering Heroes’ HP to give Fodders and Captains a 100% HP boost.
Note: Trial of Mother features 10 different unique Trials. Each trial will put its own debuff on the map. If you unlocked three trials, you do have the option to play the campaign with all three trials enabled, for more loot drops but facing the roughest enemies in the game.
Gems, Statues, and Scrolls are found on the points of interest on the map. When you are moving from one tile to another, beside the name of the tile, the game also shows the currency the tile offers. Watch out for the icons as shown in the image above; these are the icons that will appear on the map. So far, Scrolls appear on the Act 3 run. Act III functions a bit differently, as you are not moving from one tile on the map to another; instead, you are moving from one point to another. Basically the sme with a different twist to make the final area a bit intimidating.
How to Upgrade & Add Commanders
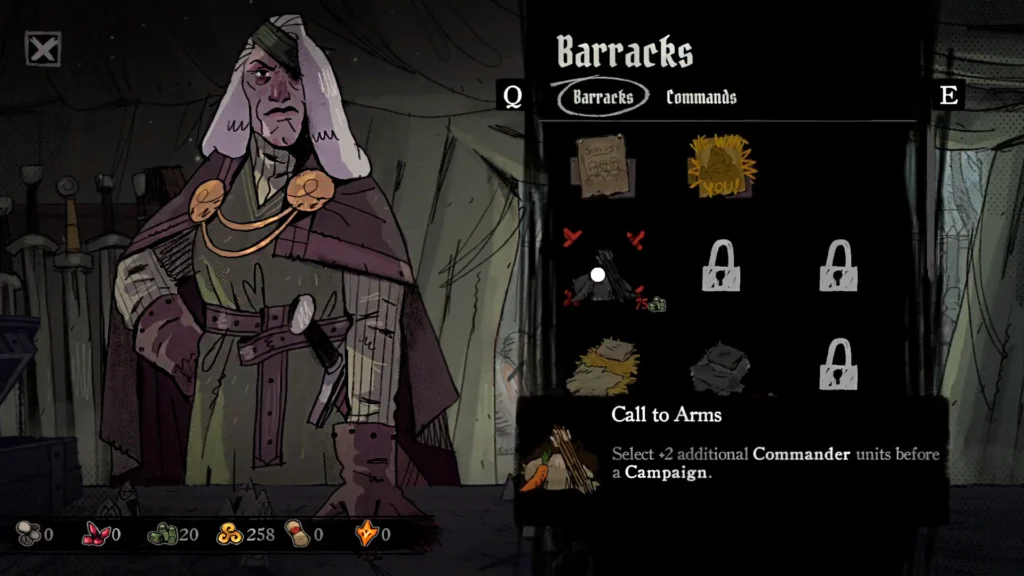
Unlocking the Barracks building in the village will allow you to upgrade and strengthen your army in the game.
Requirement Currency Item: You will need 2 Statues to unlock.
It has two sections: Barracks and Commands
- Barracks: Here, you can increase the number of Commander units and select one additional Commander unit before launching the campaign. Just buy the perk or skill by exchanging it with a Statue, and you will unlock the Commander unit. You will be able to see them at the Battle Preparation screen.
- Commands: You can upgrade the Ally Command Damage for Archer, Infantry, and Spearmen. The first upgrade will grant you a 20% increase in Command damage.
Every upgrade found under Barracks requires Statues currency. A Command upgrade under Barracks requires 5x Statues. Upgrading Command damage will require 10x Statues.
How to Upgrade the Travelling Merchant
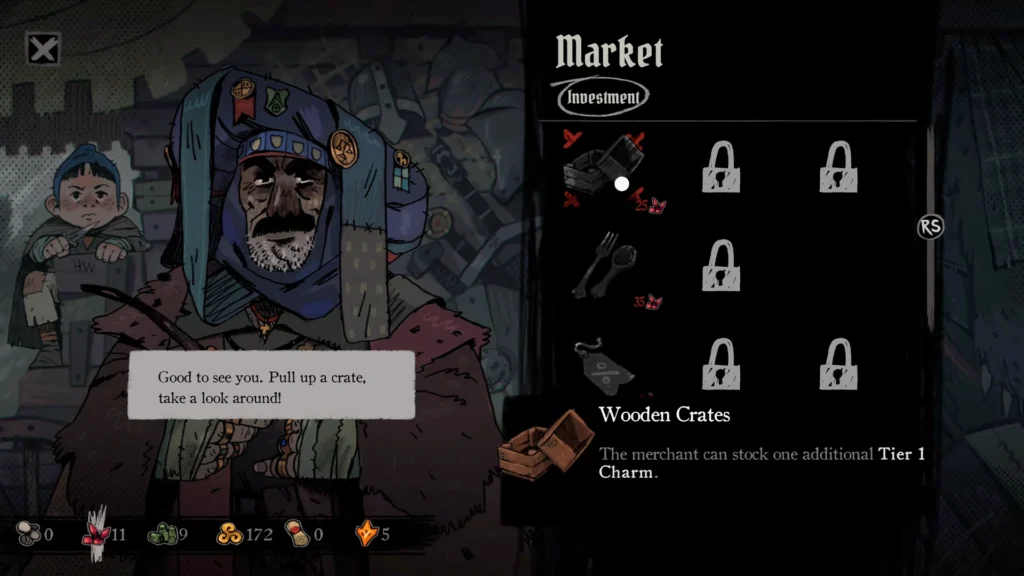
You will need to unlock the Market on the Village hub area to be able to upgrade the Travelling Merchant and buy single-use items for the next run.
Here you will find a good number of items under the Investment section, where you can grab the upgrade to activate the effect on the campaign when you run across the Travelling Merchant. You can get upgrades such as: Getting a special discount on a random item or allowing the merchant to stock one additional Tier 1 or high-tier Charm.
Do note that buying anything here requires Gems, which is one of the more expensive currencies besides Dragostone Shard. This currency will start to appear after you defeat the final boss of Act I. Grab the currency to be able to buy anything from the Market.
How to Upgrade Shrine and Unlock Random Encounters on Map
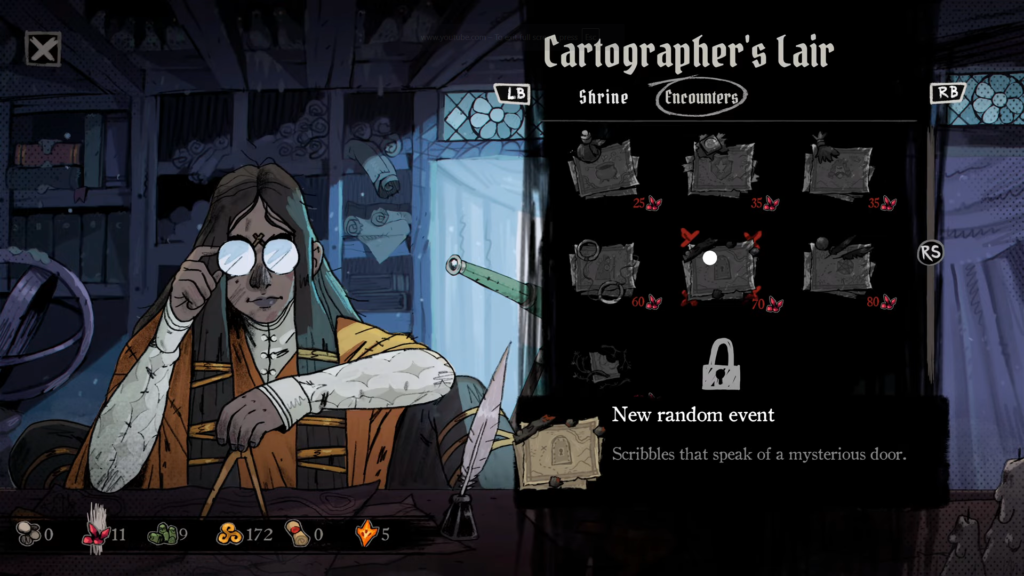
You will need to establish Cartographer’s Lair in the village to upgrade shrines and buy encounters. The Cartographer’s Lair has two options: Shrine and Encounters.
- Shrine: The best thing about the lair is the option to upgrade Healing Shrines found throughout the map run, in the battlefield. These upgrades will help you find more shrines in the battlefield or unlock harder challenges to get better rewards.
- Encounters: The Encounters section here allows you to unlock new random events for the map run.
Note: Just like upgrading the Travelling Merchant, getting Shrine and Encounter upgrades requires Gems.
How to Unlock New Weapons and Passive Skills
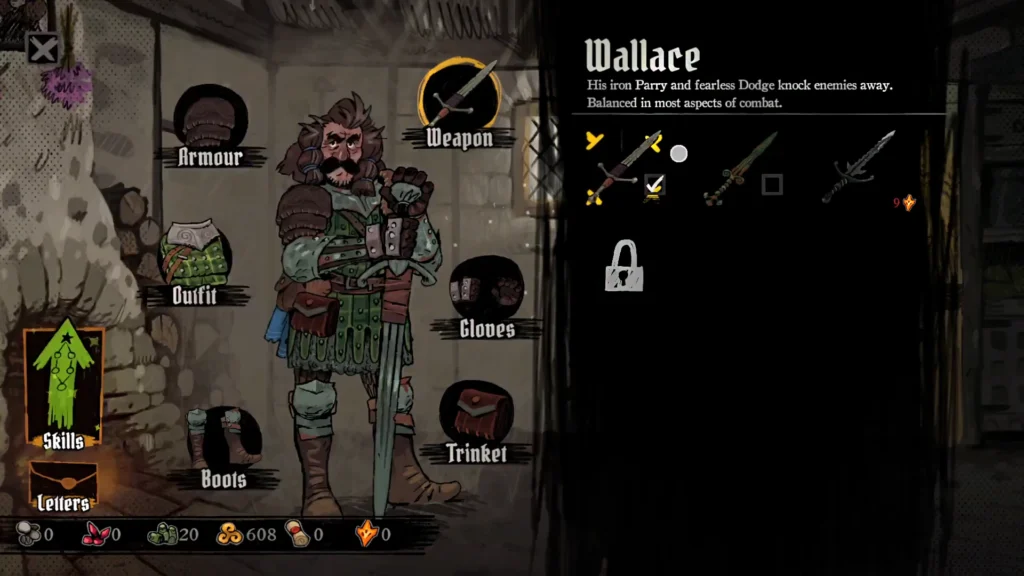
You will have a specific building in the Village named after the hero. The first hero you will play is Wallace, so you will have a building titled Wallace, which serves as a place to unlock new weapons and skills for Wallace.
Note: This building will only have the name Wallace written on the item, which means you can only customize Wallace here. Once you unlock new Heroes, they will find their own separate building for customization (Change all of your equipment, from Weapons, Gloves, trinkets, Boots, and change outfits) with their name on the title of the building.
Late Game Weapons Unlock
If you hover your mouse over the locked weapons in your character’s customized building, you will see the details of the item being locked to Trial Level 5. The trial refers to Trial of the Mother, where each Trial makes the game harder; you have to complete the Trial to unlock these late-game weapons.
Wallace Building
Here you can change all of your equipment, from Weapons, Gloves, trinkets, Boots, and change outfits for Wallace. Besides the equipment maintenance, you can also upgrade passive skills for your character.
Note: I’m going to focus on the first character we unlock in the game, Wallace; the option for customization stays the same for the buildings from other Heroes in the game.
- Passive Skill: If you click on the Skills icon on the bottom-left of the HUD, you can view all the passive upgrades. These upgrades will raise your HP, Ally Command, Max Block Stamina increase, and more. Unlike equipment unlocks, passive skills require Triskeles, the gold currency.
Note: The requirement for Triskeles for passive skill upgrades will go up as you get more upgrades for Wallace. The skills are tier-based; the first tier upgrade requires 50 Triskeles, while the latter require over 500.
- Equipment Upgrade: Wallace, the building has brand new weapons with appealing stats embedded in them. But you will need to have Dragonstone Shards to unlock the new weapons. These are obtained by beating the boss on the map.
Tip: You will also need Triskeles to promote your Seaman and Archer before setting sail for the adventure. So do keep in mind when you are upgrading the passives for your character.
If you are playing as Wallace, the weapon you will find fancy will be Flamberge, which requires 9 Dragonstone Shards to unlock. Taking part in many Arena challenges can help you earn new swords. Arena challenges contain multiple waves of enemeis, defeat all of them will reward you with special weapons.
How to Upgrade and Manage Companions
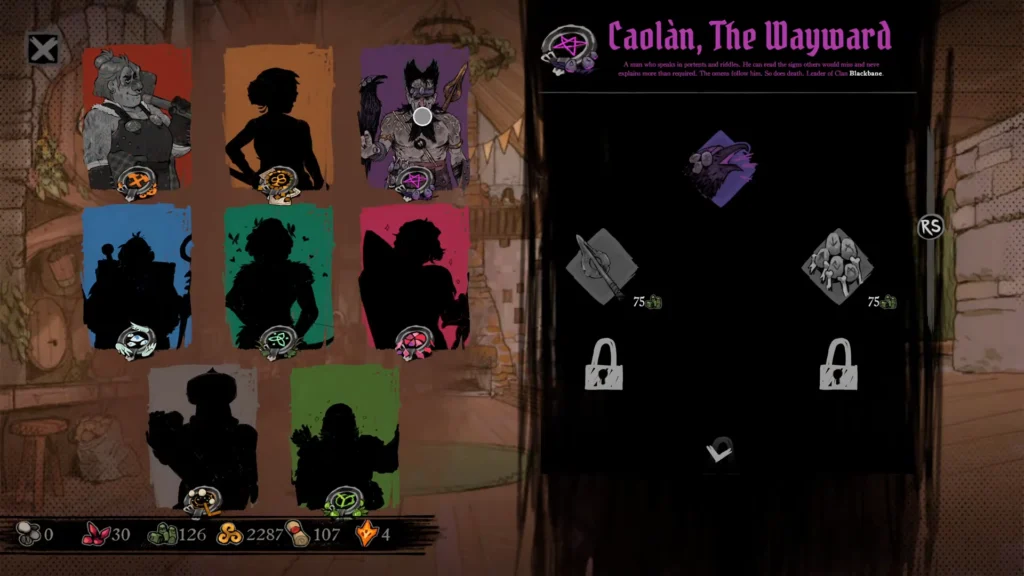
You will manage and upgrade your companions by spending currencies via the Companion House.
At the Companion House, you will see all the companions you have unlocked on the map run. Any companion you unlock in the game will show up on the Companion House. Here you can manage all of your unlocked companions and upgrade them to perform better on the battlefield. Any locked companion will only have a silhouette of their character instead of the actual picture.
How to Unlock a New Hero?
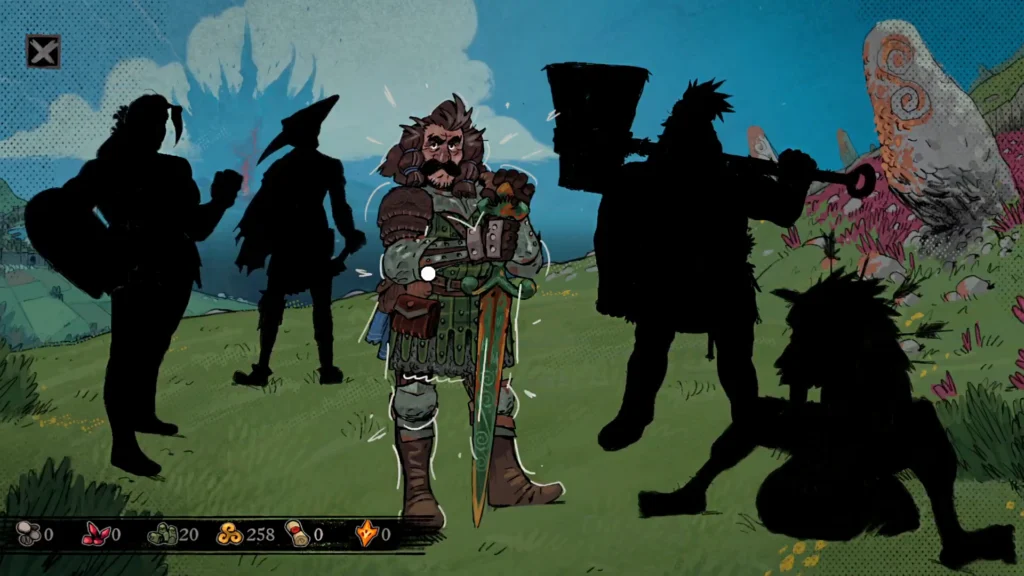
The game features four characters; one of them can be played right away, while the rest need to be unlocked by completing a specific mission in the game. Here are the details of all four characters and their unlocking routes:
| Hero Names | Unlock Route | Speciality |
| Wallace | Default Unlock | Sword commander with balanced gameplay |
| Ruadh Stonecrusher | Defeating Banshee | Hammer-swinging tank with the option of team healing |
| Vanguard Tracker | Joins during Act II Environment 12 Rescue | Fast and agile with range-based gameplay |
| Brienne Ironleg | Completing her quest on the Map | Quick close-combat brawler |
That’s it; now either play alone or join a game to dominate Tears of Metal.
