

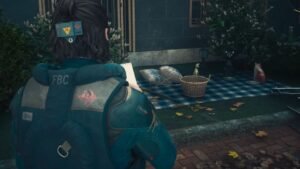
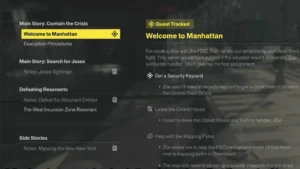

Control Resonant has a surprising number of puzzles in addition to its frantic melee combat. Upon reaching the Testing Facilities as part of the Unsupervised Science quest, you will be instructed to place several soda dispensers within the marked yellow areas. Unfortunately, this is harder than it sounds, since you won’t get the dispensers right away. Rather, you will find different items strewn around the area that are not soda dispensers. There are 3 such places where you will come across the Soda Dispenser Puzzle.
All of this sounds quite confusing, and there isn’t a right or wrong way to go about this puzzle. There is a technique that should be used while trying to turn the item into the soda dispenser, and this guide will make it easier to understand how to do exactly that in Control Resonant.
How to Shut Down the Experiment
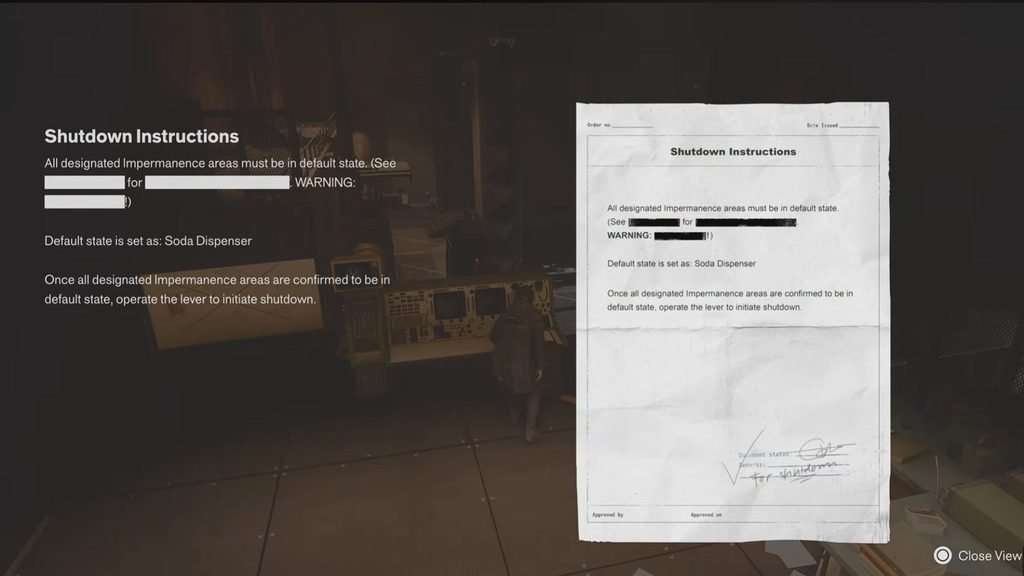
The only way to shut down the experiment is to place soda dispensers within the several designated Impermanence areas. These areas are marked with a yellow square all around the puzzle room. There are 5 yellow squares and 5 soda dispensers to place on them. You get all this from investigating the console to find a note during the Unsupervised Science quest.
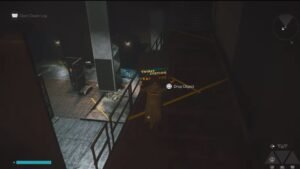
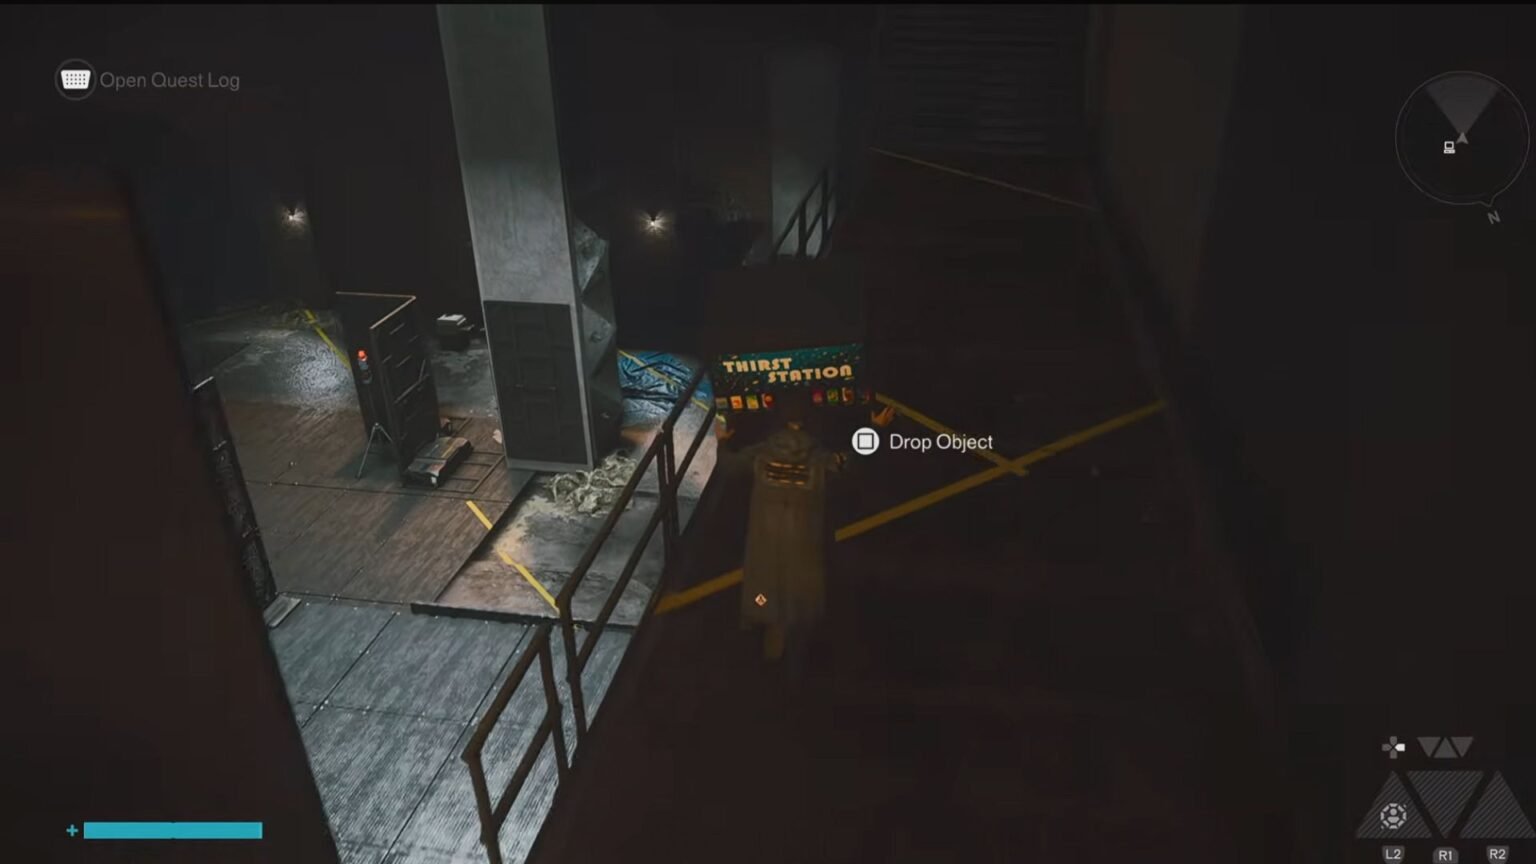
Now comes the tricky part, as you can’t find soda dispensers from the get-go. Rather, you will find other items strewn around, like kitchen ovens, bathroom sinks, and printers. The entire gist of this puzzle is to grab hold of these random items and walk around until it turns into a soda dispenser.
I found out that the soda dispenser appears in a particular order, especially after the item turns into a kitchen oven. So the order of the item transformation cycles through the following:
- Printer.
- Bathroom sink.
- Kitchen oven.
- Soda dispenser.
Tips to Solve the Puzzle
- Each time you walk around with the item in your hand, it will cycle through the order listed above.
- If you go forward and backward, it will rotate to the item it was previously.
- For example, if you move forward and the printer turns into a sink, and you backtrack your steps, it will revert to a printer again.
- But you can’t get the soda dispenser this way, as you need to turn the item into a kitchen oven first, and then turn it into the dispenser.
- Also, look at the ground for the long yellow lines, as these will transform the item in your hand if you cross over.
There are a few different variations of the puzzle in Control Resonant – and all these have to do with where the yellow areas turn up. The base logic for solving this remains the same: find any one of the above items, walk with them till they cycle into the soda dispenser, and place it in the yellow area.
There are three known areas where you will run into this puzzle, and I have listed the step-by-step process to complete them. Each time you complete a puzzle, interact with the main console once more to unlock the secret room within the area and get your rewards.
West Incursion Zone
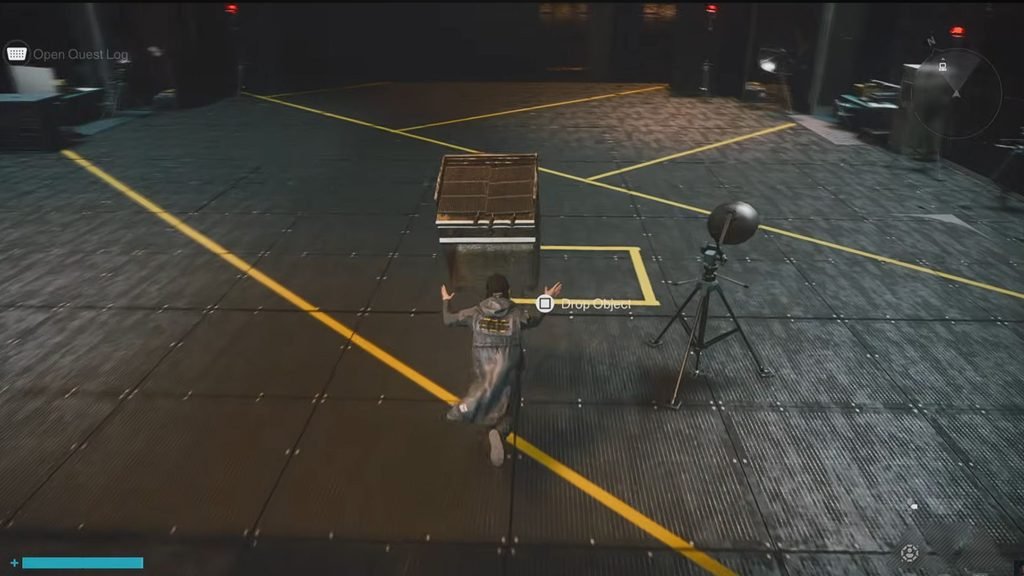
To find this puzzle, it is just north of the West Supply Route Station or at the southern section from the House of Mirrors. For this puzzle variant, there will be one yellow marked area in the lower puzzle area, one in the corner across the lower puzzle area, one yellow area beyond the ramp, one on the platform high up across from the ramp, and one beside the console.
- Head left from the starting console and pick up the first printer. Turn around and head back to the console area and jump off the ramp to the puzzle area below. Make your way to the very back of the room towards the ramp where the yellow square is. Walk around a bit to turn the item into a soda dispenser and put it down.
- Pick up the next soda dispenser right beside where you were and run towards the larger main puzzle area and plop the machine down.
- You would have passed by another printer along the way, so pick that up next and run to the very left corner. Your item should turn into a soda dispenser by now, and if it hasn’t, just walk in a circle until you get it. Place the dispenser into the yellow area here.
- You will find another printer nearby; pick that up and make your way back to the ramp at the back of the puzzle area. Jump off the ramp and go right after hitting the ground. Jump up and get all the way up to the upper platform. Get your soda dispenser into the yellow area in the corner.
- Head back down to the area below the ramp to pick up the next printer. Jump up towards the console area and place the dispenser here.
Completing the puzzle here will give you 1x Power Upgrade and a collectible Notes from Dr. Janson.
Also Read: How To Get Security Clearance Level 1 Keycard in Control Resonant
Evacuation Zone
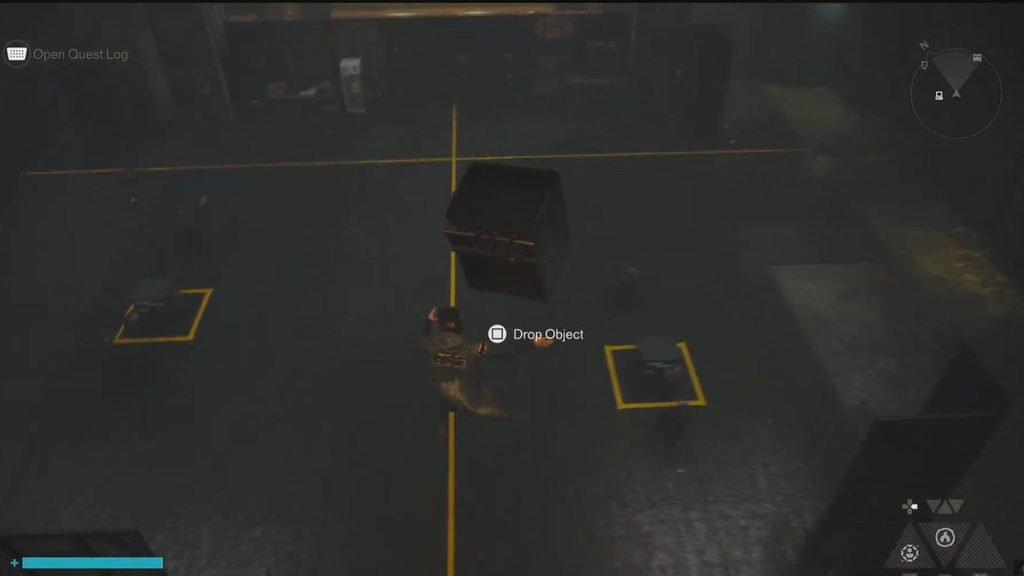
This puzzle is located in the southern section of the Evacuation Zone. You will find the facility beside the Survivalist’s Bunker waypoint here. For this puzzle, there will be two yellow areas in the main lower area, two yellow areas on either side of the lower ramp, and one up the stairs next to the console.
- From the console area, pick up the printer on the left side. Jump down towards the lower main puzzle area and put the soda dispenser down on the yellow area.
- Head over to the ramp at the back of the room and pick up the soda dispenser in the middle of the ramp. Place it on the yellow slot across the ramp, right behind the signboard and beside the table.
- Make your way across the ramp again and pick up the printer on your right. Head back to the main large area where you placed the first dispenser and put this item into the slot next to it.
- Pick up the printer right beside it and jump up towards the console area. Make your way up the stairs and put the dispenser into the yellow slot.
- Along the way, you will find the final dispenser. Carry it all the way to the very end of the room to find the yellow area beside the ramp and put it down.
Once the puzzle is completed, you will receive a Power Upgrade as well as a collectible – Testing Facility Coordinates.
Downtown | Testing Facility Reade
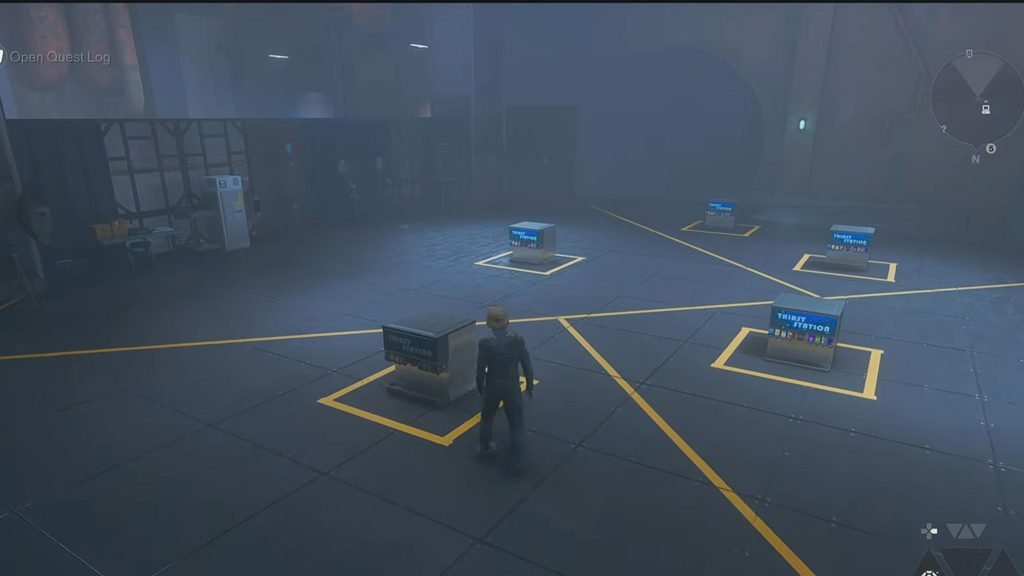
For this one, you need to make your way to Testing Facility Reade in Downtown’s eastern section. All 5 yellow areas will be placed close together in the lower section of the puzzle room. This would probably be the easiest variant of the puzzle, as you just need to pick up each item and bring them all together.
You will find the first item on the left side of the console, the other two on the lower level near the main puzzle area, one beside the ramp beyond the puzzle area, and one below the ramp. All of them will turn into a soda dispenser when you get close to the puzzle area, so it shouldn’t be a problem.
After completing the puzzle, you will get another Power Upgrade and Power Upgrade, and a collectible item called A Note from Dr. Milbeck’s Cardiologist.
