



The terrifying world of Clive Barker’s Hellraiser: Revival keeps the story and gameplay mysterious without breaking the overall tone of the game, as nothing gets handed to the player on a silver platter. The survival nature of the game, comes across in the gameplay as well; throughout the game, you will come across various locked cabinets that require a proper code to open.
Almost all the safe locks are hidden behind special environmental design or clues hidden in plain sight. Tracking them down, even finding the way to solve the code, will be difficult. In this guide, I will help you find the safe code for all 10/10 locked cabinets and safe lockers found in Clive Barker’s Hellraiser: Revival.
On This Page
Hellraiser Revival – All Locks & Codes Solutions Table
| Lockers and Locked Cabinets | Codes |
| Locked Cabinet in the Hallway | 9 – 9 – 0 – 1 |
| Locked Cabinet at Medical Room | 9 – 8 – 9 – 1 |
| Safe Locker at Graveyard | 9 – 6 – 0 – 6 |
| Locked Cabinet at Bruno’s Music Room | 1 – 9 – 6 – 6 |
| Locked Cabinet at Voyeur Room | 1 – 9 – 5 – 2 |
| Locked Cabinet Private Rooms Bathroom | 1 – 9 – 2 – 3 |
| Locked Cabinet at Factory Blue | 1 – 3 – 6 – 2 |
| Locked Cabinet Laundry Room | 8 – 5 – 7 – 1 |
| Locked Cabinet Break Room | 2 – 3 – 4 – 2 |
| Locked Cabinet at Sewer Level | 1 – 5 – 1 – 2 |
One of the important things to note: if you do miss out on opening a lock during your playthrough, it stays locked in your game. The game doesn’t offer any chapter selection for you to go back and grab the item that you missed before. Make sure to grab all of them before reaching the ending of Hellraiser Revival.
#1 | Locked Cabinet in the Hallway
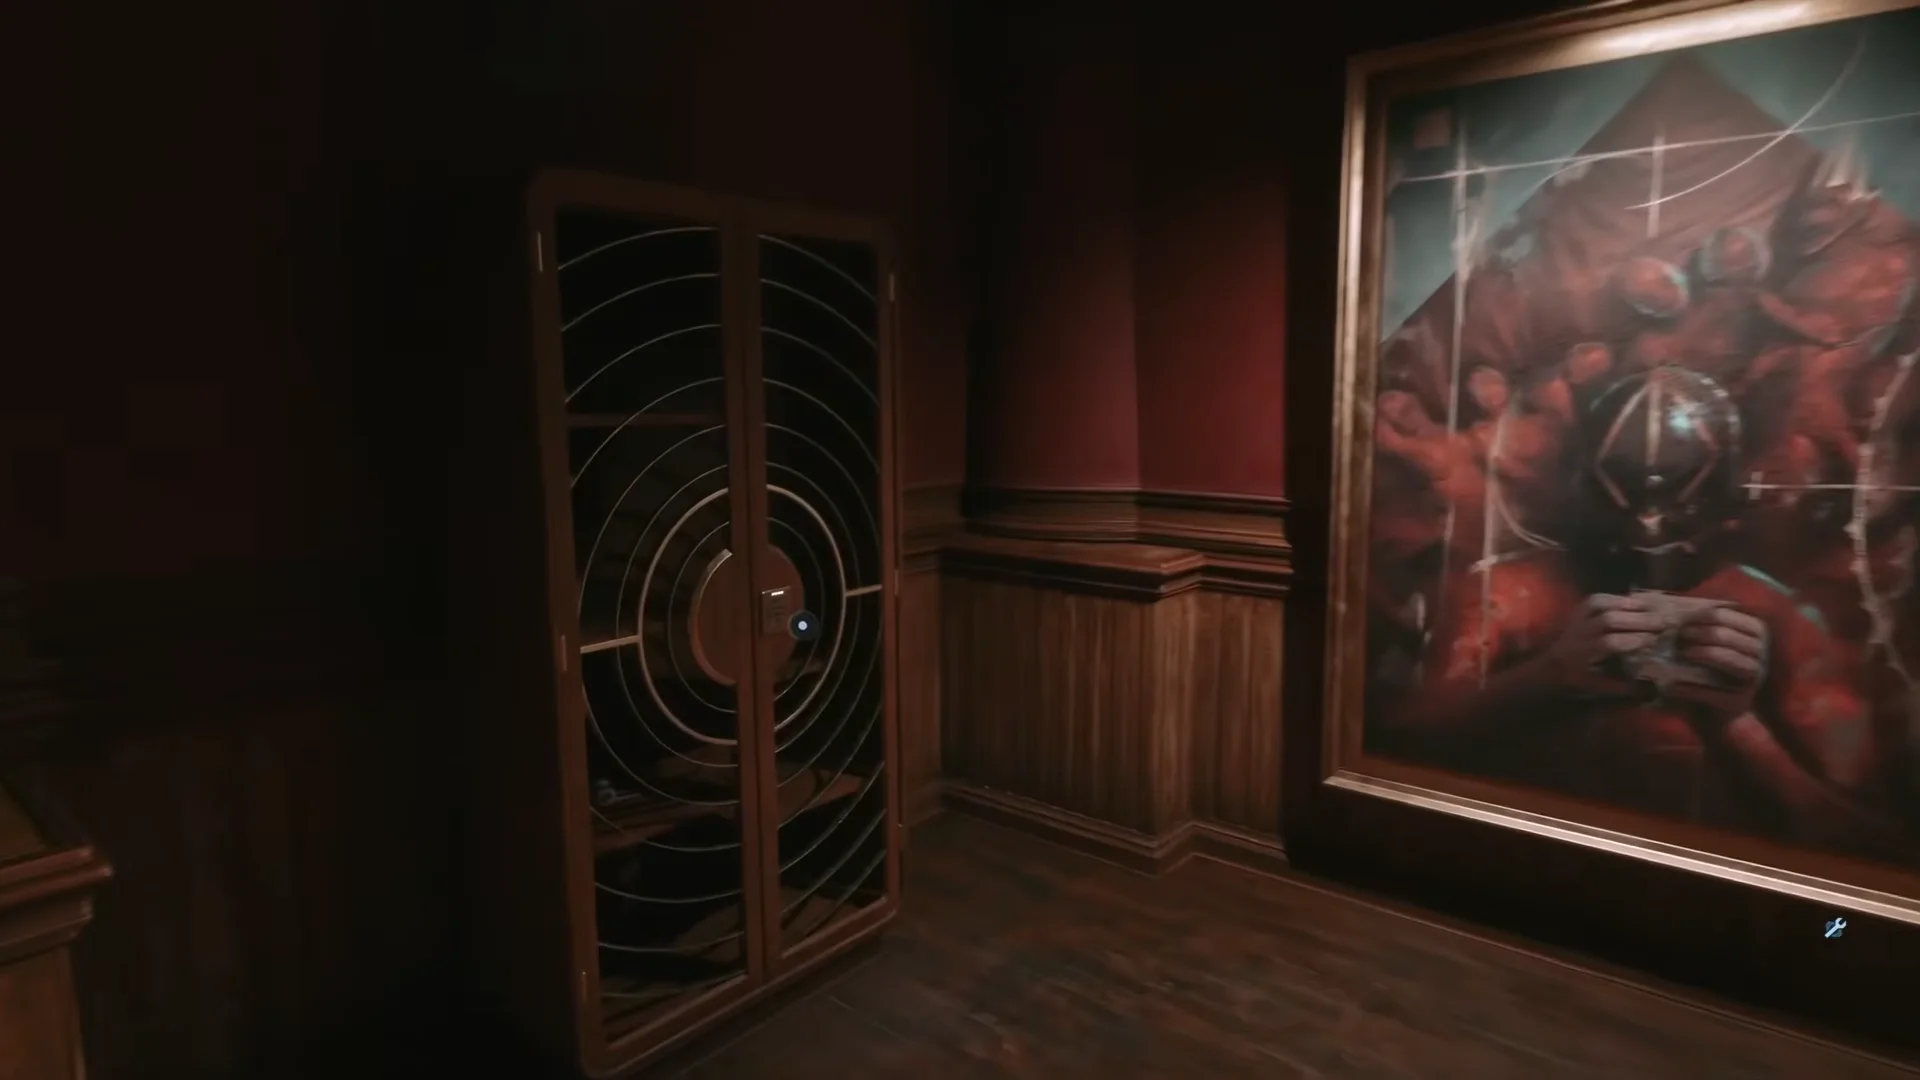
Code: 9901 or 0199
Right after you sneak past Bruno in the mission “Escape the Cult.” You will find yourself in a narrow hallway; you will find a locked cabinet at the corner. Next to two paintings, as shown in the image above.
Solution: The clue for the code can be found by looking at the plaques on each of the paintings hanging next to the Locked cabinet.
Rewards: x1 Coil, x1 Gunpowder, and x1 Bandage.
#2 | Locked Cabinet at Medical Room
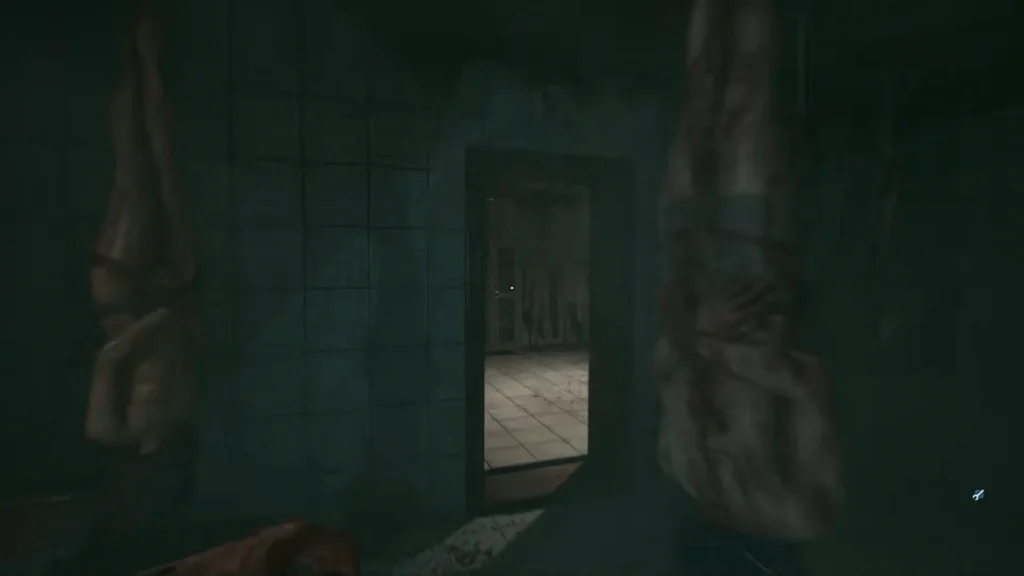
Code: 9891
After you go through the room full of nothing but bookshelves, head to the next room with hanging bodies from the ceiling, and go through that room to finally arrive in the bathroom. Here, you will spot another locked cabinet right across from the tub.
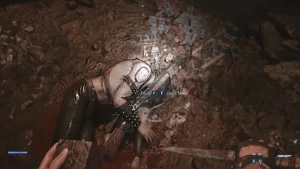
Solution: The clue for the locked numbers is tattooed on the back of the woman’s corpse floating in the tub full of blood.
Rewards: 44 Coins, x1 Gunpowder, x1 Sawblade
#3 | Safe Locker at Graveyard
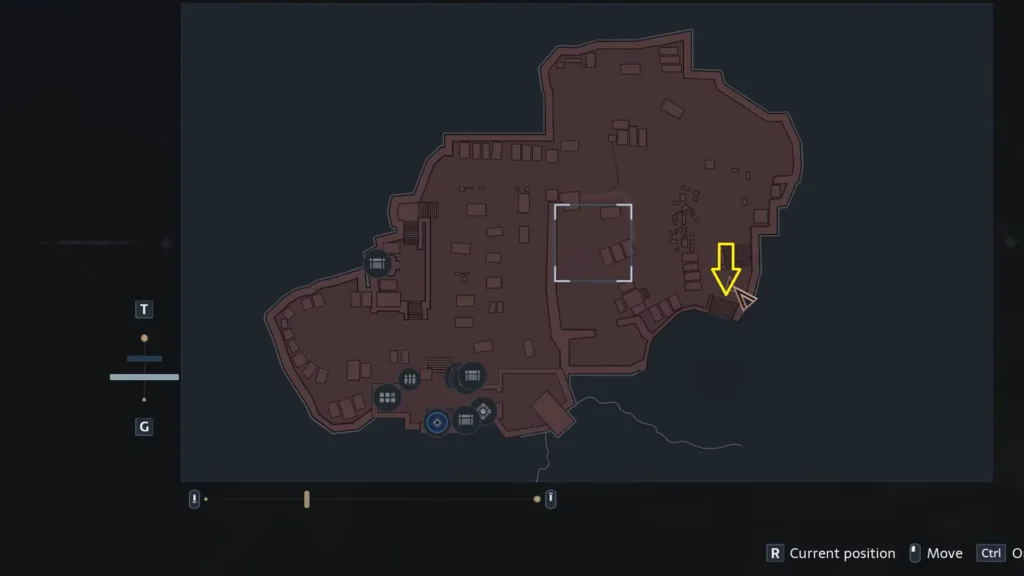
Code: 9606
This one will be in the Graveyard; don’t forget to grab the shotgun. The safe we are looking for will be in the southeastern section of the cemetery inside Sean’s house, as marked on the map above. Once you are in the spot, head up the stairs to the run-down white house. Immediately to your right, you will find the safe on top of a small cupboard in the corner.
Solution: If you go to the room next to the safe, you will find a picture of a married couple; interact with the picture, and on the back you will find the first piece of code for the puzzle. The second part of the code is in the note you will read after picking up the shed key.
Rewards: x1 Oversized Magazine Release for Pistol and x3 Pistol bullets
#4 | Locked Cabinet at Bruno’s Music Room
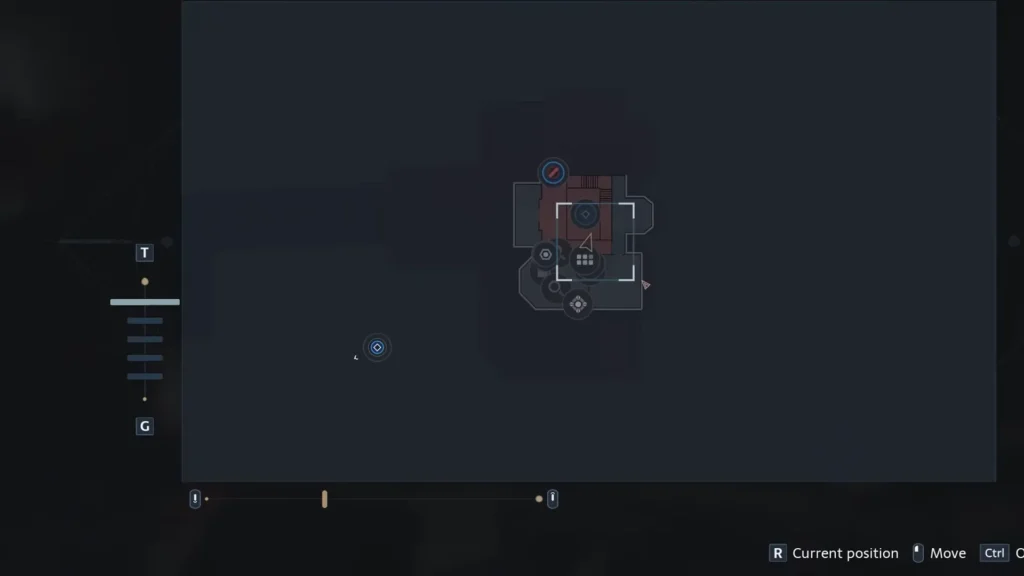
Code: 1966
Once you are in the Mansion, Bruno’s House, head to the second floor, and you will find yourself in a music room with a giant piano in the middle. Look in the corner next to the shelf; you will find the locked cabinet.
Solution:
Check the floor under the locked cabinet, and you will find a note on the left on a shelf. The note describes what happened 300 years after the Great Fire melted flesh, ate homes, and reduced everything to dust. This is the clue; it is talking about a specific painting hanging in the room where you find the SMG. Head to the other room on the Mansion’s second floor.
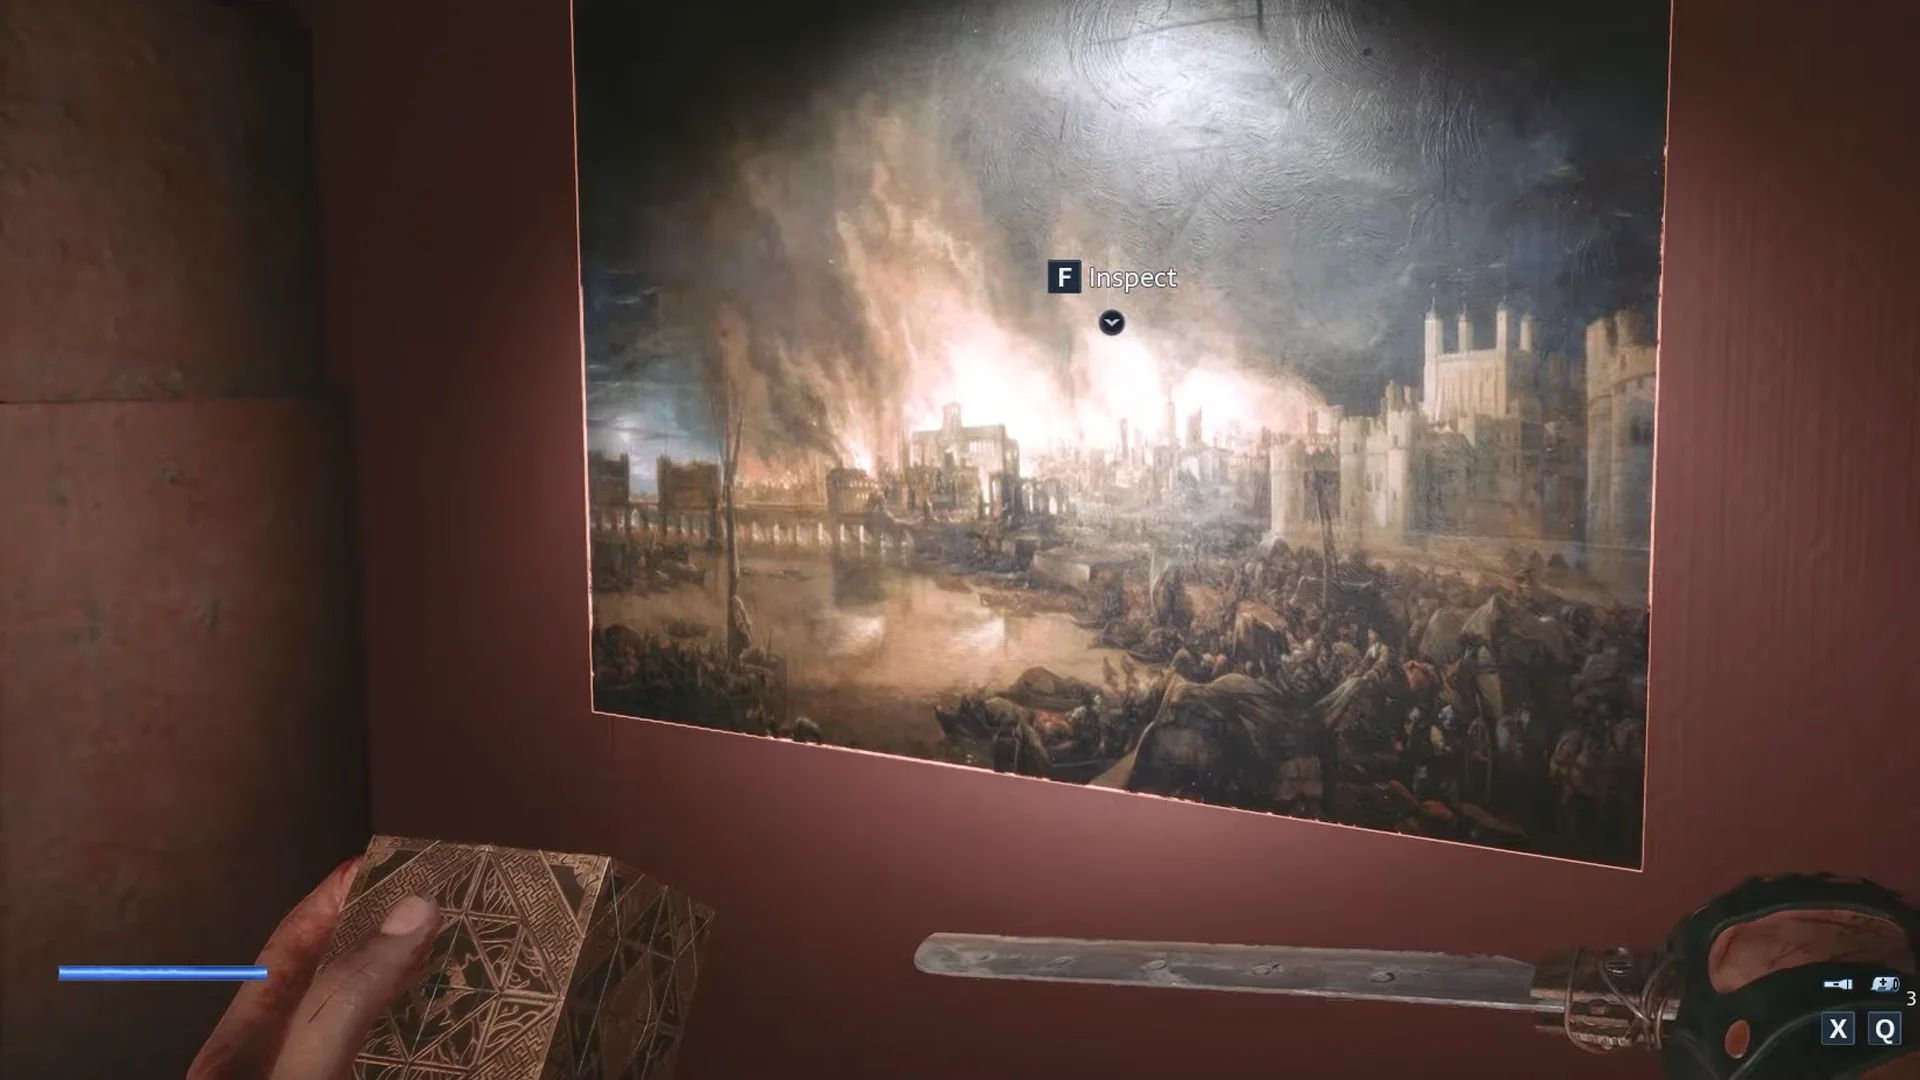
Once inside, interact with the painting on the wall- the one that has a fire engulfing the city; you will find the code on the back. The code will be 1666; now add 300 years to the code to get the final code number: 1666+ 300 = 1966.
Rewards: x2 Pistol Ammo, x2 Gunpowder, x1 Chemicals.
#5 | Locked Cabinet at Voyeur Room
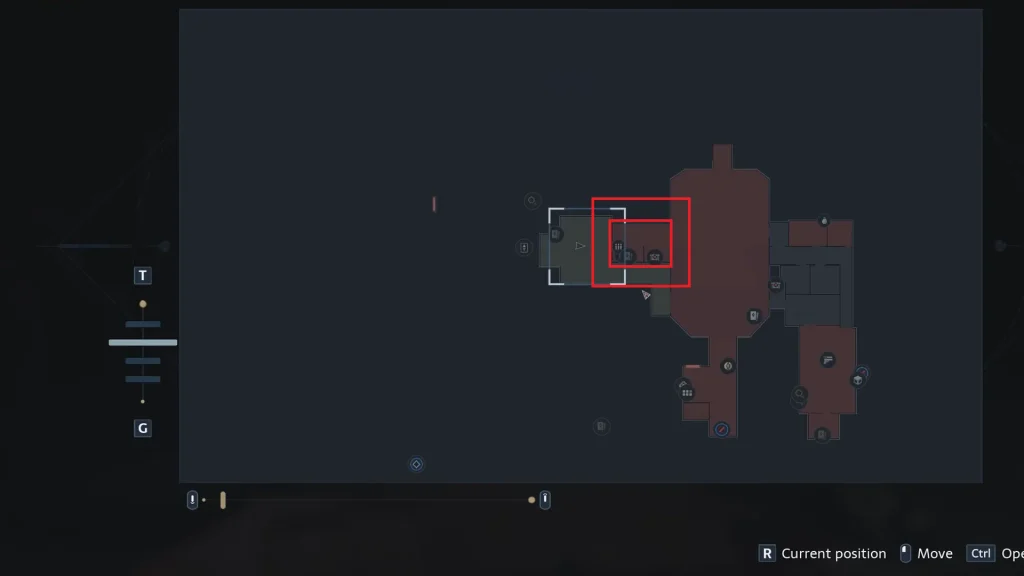
Code: 1952
Once you are in the Voyeur Room, you will find the Voyeur Ticket on the table on the right side of the room. In the same room, you will find a locked cabinet tucked in the corner between walls, next to the bookshelf.
Solution: The clue for the code will be on a picture on the wall; the banner hanging on top in the photo will have the code 1 – 9 – 5 -2.
Rewards: x4 Pistol Ammo, x12 Revolver Ammo, SMG Laser Pointer.
Since we have now opened 5 locked cabinets or safes, the game will reward us with the “Codebreaker” achievement or trophy.
#6 | Locked Cabinet Private Rooms Bathroom
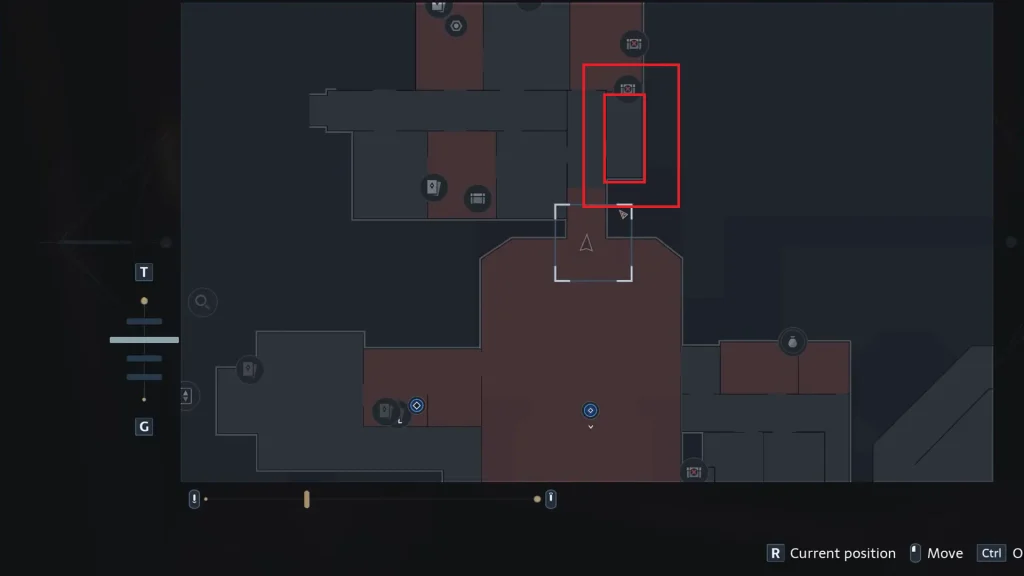
Code: 1923
After unlocking the Private Rooms by solving the puzzle in the cult’s base, you will find a locked cabinet inside the bathroom for the Private Room.
Solution: The clue for the Private Room Bathroom puzzle is in the next room, where you will find a picture of four men wearing suits; each will have a two-digit number written on them. Out of the four men, only two of them will have Leviathan pins, so only count the numbers on the men wearing the pins; ignore the other two to get the code. The first man on the left and the second man to the right have the special Leviathan pins attached to their suit, so the final code will be 1 – 9 – 2 – 3.
Rewards: Hollowpoint Rounds for Revolver, x1 Shotgun Ammo, x1 Gun Powder, x1 Machete
#7 | Locked Cabinet at Factory Blue
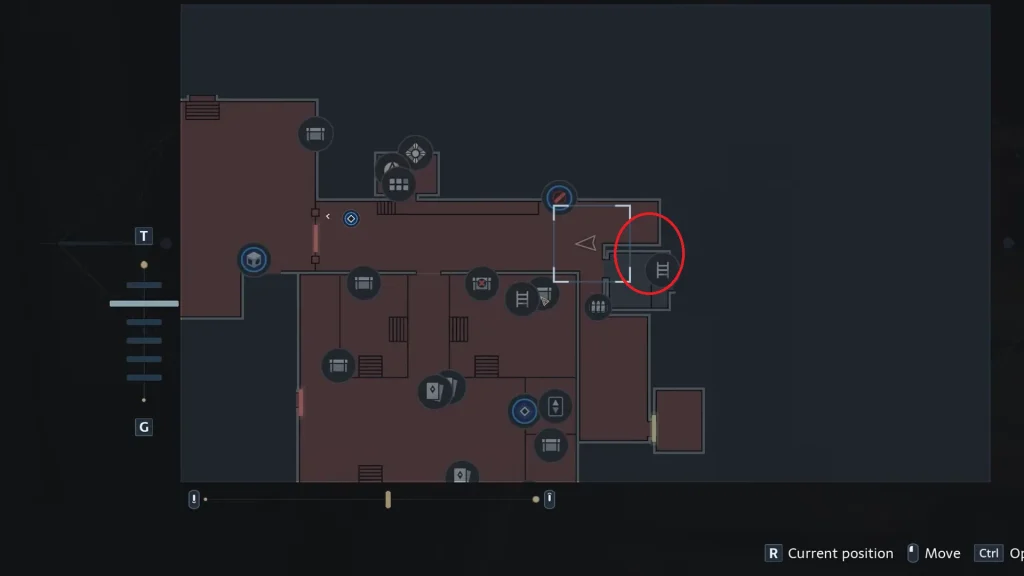
Code: 1362
After escaping the Leviathan’s Gaze, you will be tasked with killing Bruno and Marlowe in the “Use the Elevator “objective. On your way, you will come across patrolling guards; after dealing with them, talk to the vendor. Now head right to see a small hole at the bottom of the wall. Head inside, and you will find a room locked with a blue door.
Solution: Interact with the small statues in the room to get the code for the locker room door.
Tip: Disarm the bear trap before going too deep into the room, or you will get caught in the trap.
Rewards: x52 Coins, x1 Labyrinth Remnant, x6 Assault Rifle Ammo, Heavy Lower Handguard Upgrade for Assault Rifle.
#8 | Locked Cabinet Laundry Room
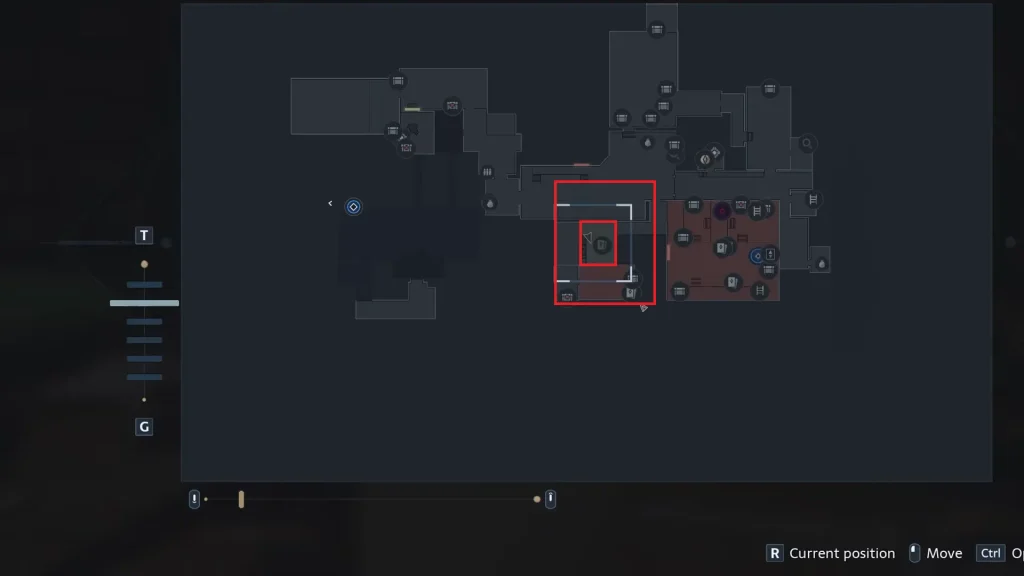
Code: 8571
After defeating Bruno for the second time, chase after him until you reach a room filled with bookshelves on all sides of the wall. Here you will find the Locked Cabinet inside the Laundry Room.
Solution: Get to the room with bookshelves, and you will find an old TV with a VHS machine underneath the steel staircase.
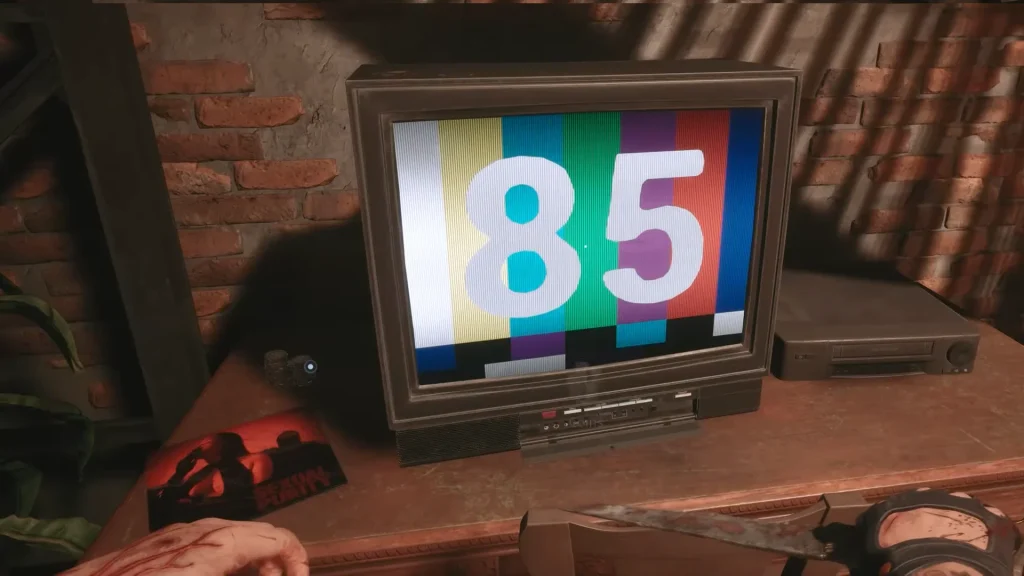
Turn on the VHS tape to get the number 85 on the screen. In the next room, you will find another VHS player with a TV display; this time, you will get the number 71. Now head to the Laundry room, and you will find the locked cabinet. Insert the code 8571 to open it, and you can grab the loot inside.
Rewards: x1 Skullcrusher, x2 Bandages, x30 Assault Rifle Ammo, x1 Gunpowder, Overpressure Ammunition upgrade for Revolver.
#9 | Locked Cabinet Break Room
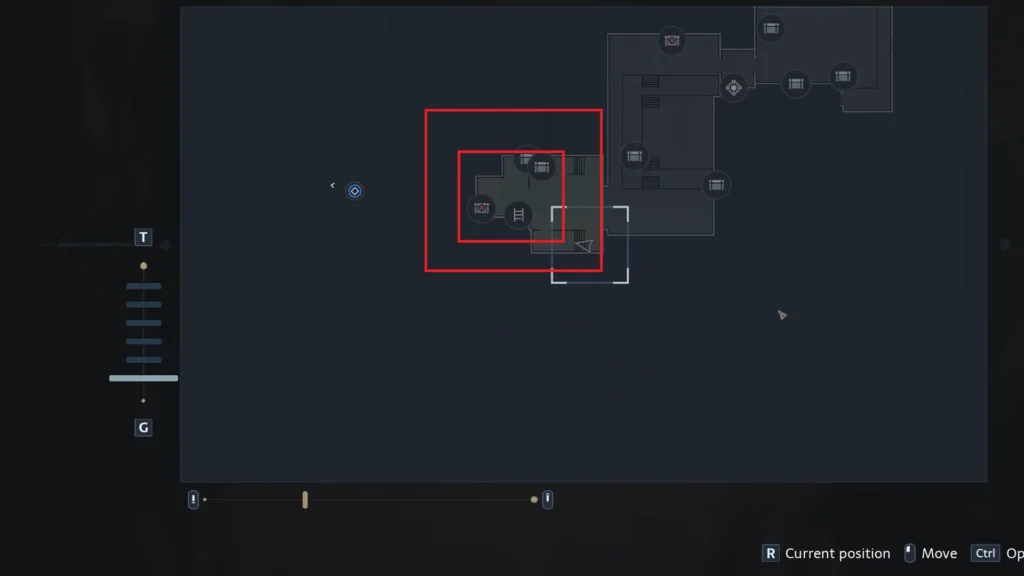
Code: 2342
After Marlowe turns into a monster and destroys everything in sight. All you have to do is follow him into the Operating Theater and head to the small room on the left to find the locked cabinet, next to the giant screen.
Solution: The code for the locked cabinet is written on the corner of the destroyed wall by Marlowe’s rampage. Turn around from the locked cabinet and check the corner of each destroyed wall with a huge hole in the middle to find the code. The code is 2-3-4-2; enter it to open the locker and loot the stuff inside.
Rewards: x6 Revolver Ammo, x21 Assault Rifle Ammo, x12 Revolver Ammo, x28 SMG Ammo.
#10 | Locked Cabinet at Sewer Level
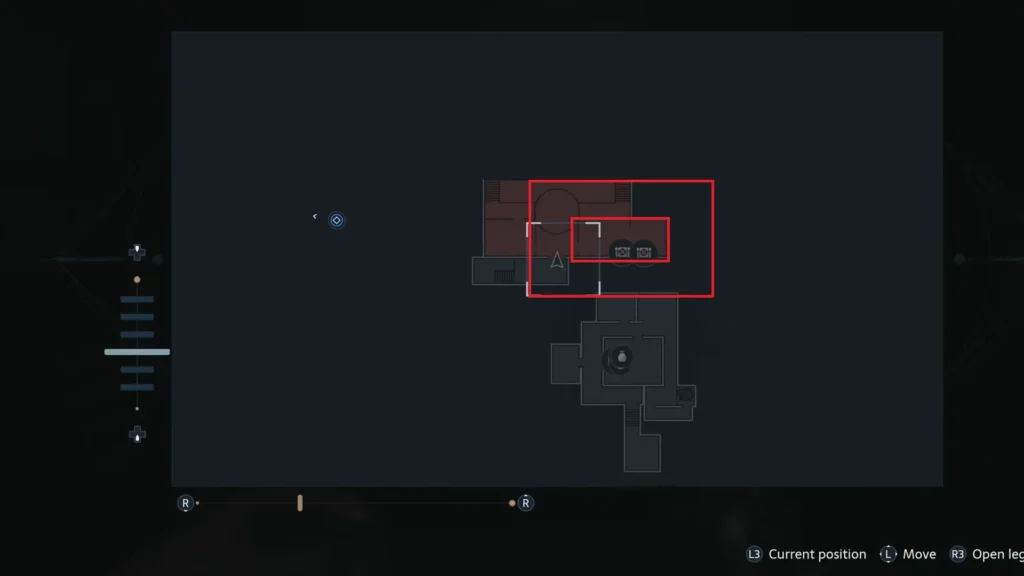
Code: 1512
During the Hunt Marlowe objective, you are chasing Marlowe through the sewers; eventually you will have to turn the power off in a large pool of water. Head to the right of the save point, through the barricaded door, and you will find a Locked Cabinet.
Solution: The code is found on the wall in the large room with electric current around. The code is about the winning score and the previous high score on the wall. Combine them both and add the code 1-5-1-2 to the locked cabinet to open it and grab the loot inside.
Rewards: x2 Gunpowder, x1 Skullcrusher
