


The October update for Fisch has added Nate’s Quest, a questline that rewards you with Nate’s Blade along with plenty of other items you don’t want to miss out on. The quest is long, and you must complete plenty of objectives one after another to reach the end of the questline. Following all the details of the quest can get confusing to navigate, as most objectives often put you at a roadblock, letting you figure out the way to get to the next objective on the line.
If you don’t have Nate’s Blade in the game, this is the perfect time and chance to get one. In this guide, I will guide you through the entirety of Nate’s Quest from the start to the finish. Here, I will also show you the way to unlock Miso, the cat, as a companion. Miso is not for looks only; the cat offers plenty of other effects to make your fishing game much easier.
Nate’s Quest Overview
Since you will run into multiple objectives for the quest, here is a brief breakdown of all the objectives for the quest.
- Head to Nate’s Cave
- Finding the PIN for the Computer
- Restoring Nate’s Blade
- Perfect Catching Fish
- Collectible Objectives
- Find Nate’s Items
- Get Miso as Companion
Head to Nate’s Cave
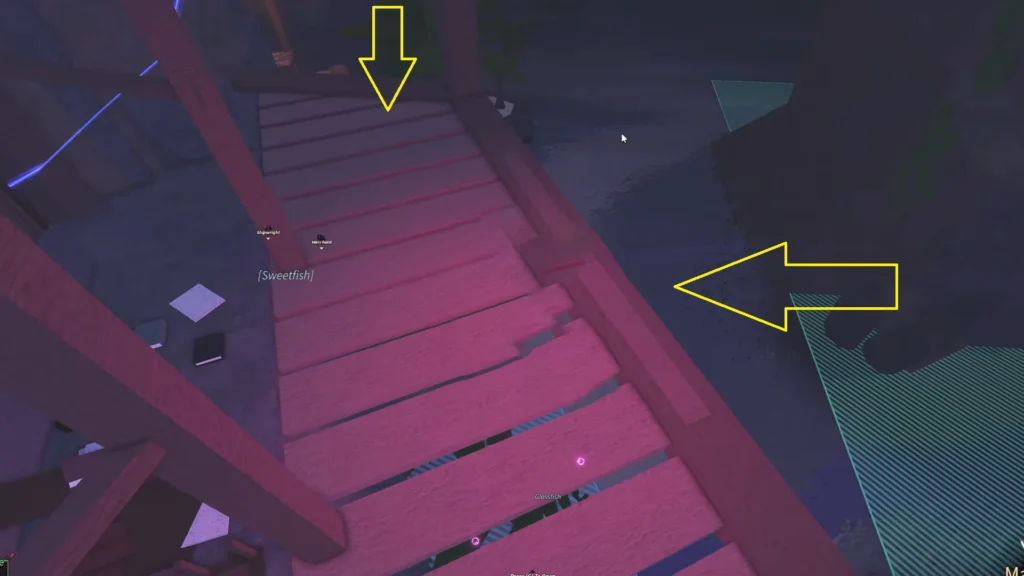
First, make your way to Sunstone Island. Once you are on the island, head to the very top to see a witch named Merlin. You don’t have to talk to the witch; just get behind her little shed and carefully drop down to the platform on the right. You will see a giant hole in the rock; go through the hole to reach Nate’s Cave.
Inside, by the desk, you will find a yellow cat named Miso. Exhaust all of the dialogue, and you will finally get the next objective, which is about finding the PIN for Nate’s computer.
Finding the PIN for the Computer
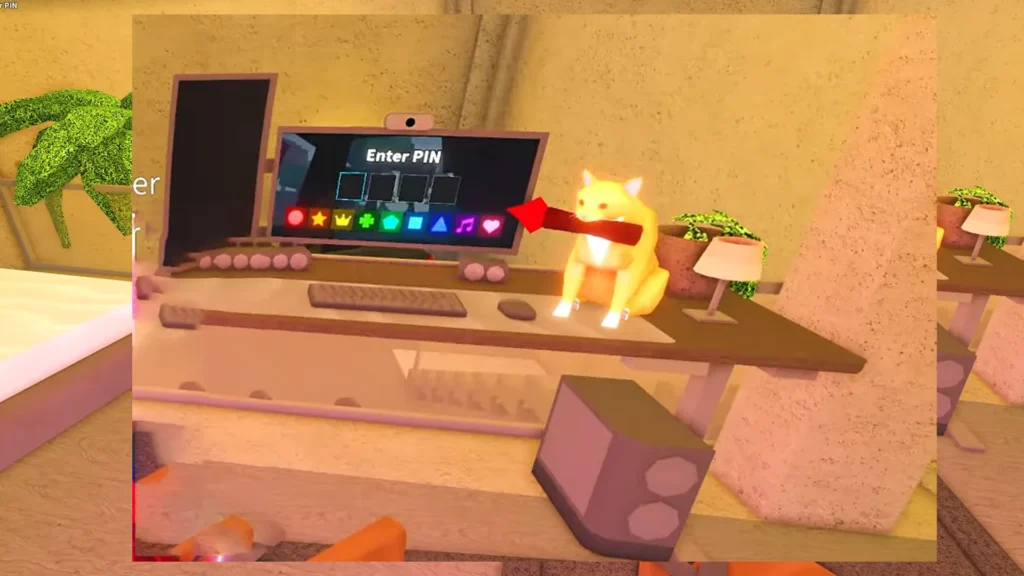
The actual PIN code for the computer is completely RNG; the PIN you encounter in your game will be different from your friend’s session. Don’t worry; while the PIN code is different, the place where you find the PIN code stays the same.
- First Location: The first PIN is found at the small table next to the bed, located near the computer.
- Second Location: The second PIN can be found on the shelf next to the red punching bag downstairs.
- Third Location: The third PIN can be found inside the passenger seat of the car in Nate’s cave.
- Fourth Location: The fourth and final PIN is found on the computer desk, in the left corner of the table.
After grabbing all the PIN details, enter the PIN into the computer and play the video. Now we have our next task, which is to restore Nate’s Blade.
Restoring Nate’s Blade
Restoring Nate’s Blade requires us to find and obtain Crimson Centerpiece and Broken Blade. We need both of these items to restore Nate’s Blade.
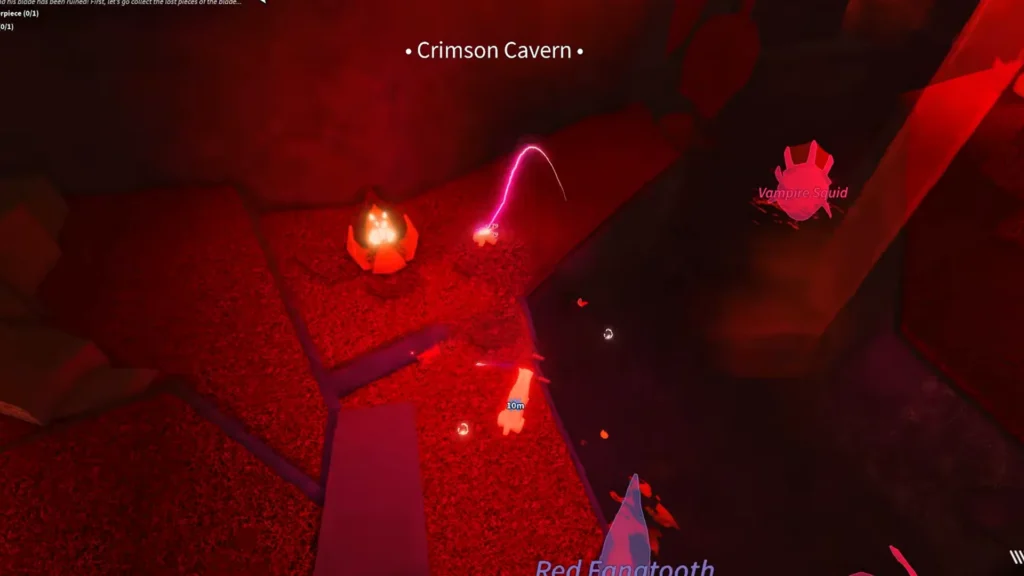
Crimson Centerpiece: This is found inside Crimson Caverns, located inside Luminescent Cavern. Head inside the caverns, and you will see a red glowing door with a red star in the middle. This means you must complete the task associated with the cavern to remove the star door.
Note: If you haven’t unlocked the location, just head on over to the Luminescent Caverns and talk to the Crimson Guard to start the quest.
Inside Crimson Caverns, you will find Miso, the yellow cat from Nate’s Cave. Talk to the cat, and then start fishing in the spot. Your goal is now to catch Crimson Centerpiece, which unfortunately is tied to the RNG system; be prepared to spend some time fishing before you get the item. For most, it’s going to be a 1 in 50 or 30 chance to catch the Crimson Centerpiece.
Broken Blade: This one is located inside the Depths, which is a sublocation of Vertigo. Just like the previous item, here you will also find Miso, the cat. Talk to the cat; you will notice the door that leads to the underground section is closed. To open the door, you must install two different items in two different places to open the door to the underground, which will lead to the Maze section in Depths.
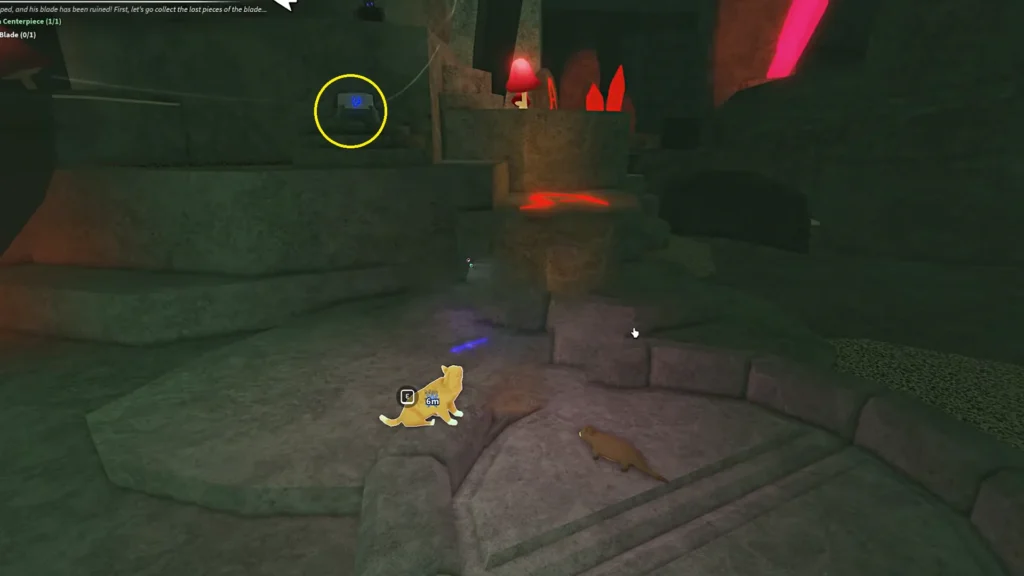
- Abyss Enchant Relic: Place the Abyss Enchant Relic on the blue tube-shaped object, near Miso, as marked on the image above.
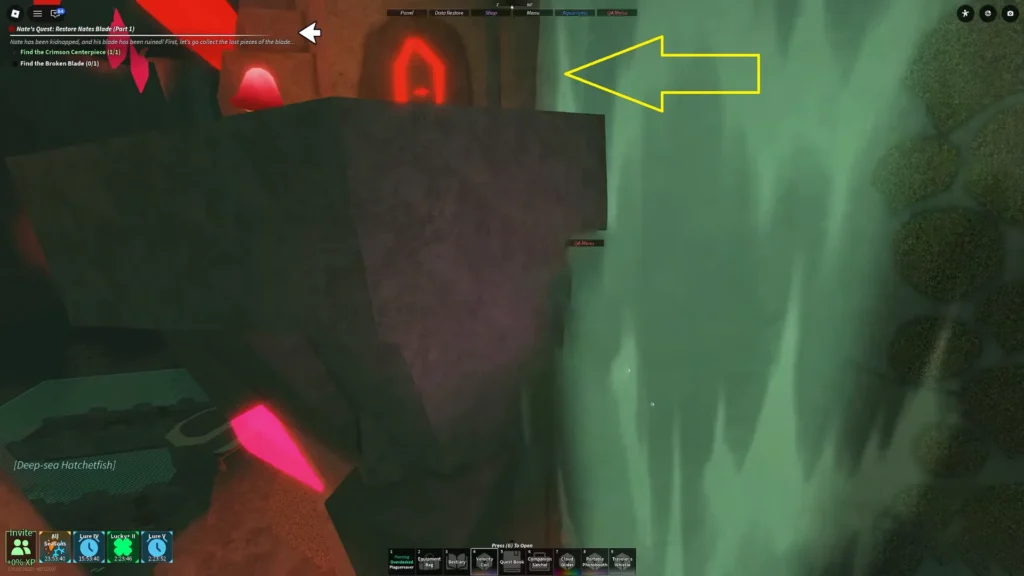
- Hex Enchant Relic: Now move up the waterfall near Miso, as shown in the image, and turn left near the top. Here you will find a red tube where you can insert the Hex Enchant Relic to open the gate near Miso.
Once inside the maze, stick to the left side of the wall. Once you reach the end by moving up, you will find the broken blade lying on the ground.
Critical Note: If you already have a Nate’s Blade in your inventory, then the blade will become Restricted if you continue with the quest.
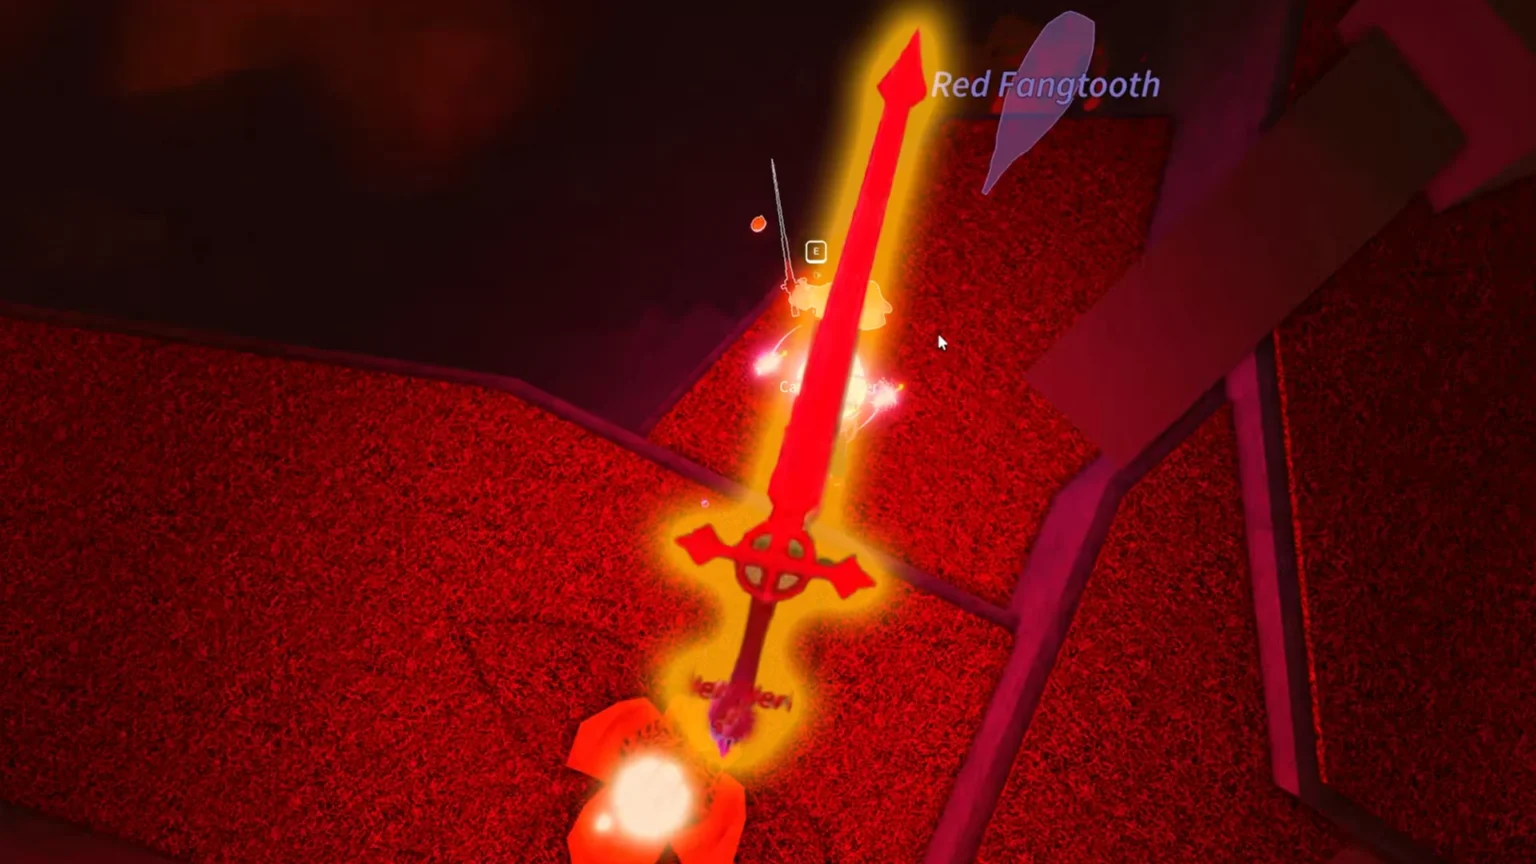
Now, with both Crimson Centerpiece and Broken Blade in hand, head over to Nate’s Cave and place Crimson Centerpiece on the desk next to Miso, the cat. You will soon see the sword flying in the air, merging together to become Nate’s Blade. Do note, Nate’s Blade will be restricted; you must continue with the rest of the quest to turn Nate’s Blade from Restricted to Unrestricted.
Nate’s Blade Stats
| Stat | Details |
| Control | 0 |
| Resilience | 44% |
| Max KG | inf KG |
| Line Distance | 444 Meter |
| Lure Speed | 119% |
| Luck | 244% |
Perfect Catching Fish
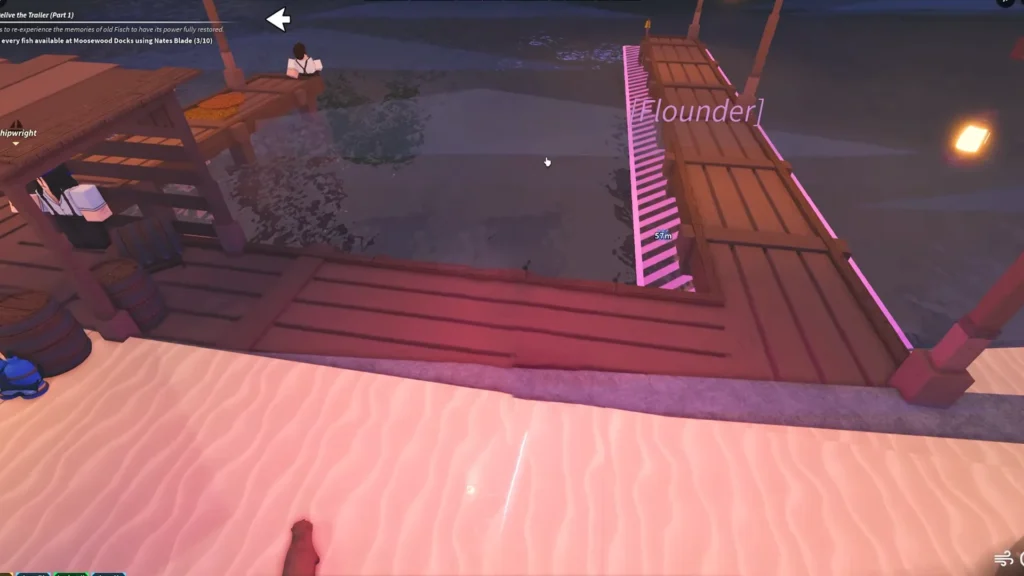
After acquiring Nate’s Blade (Restricted), the next three objectives will be focused on catching fish and squids in different maps. Your goal is simple: head to the location mentioned in the objective and catch fish or squid in the location using Nate’s Blade.
- Catching Fish at Moosewood: The task is here to perfect catch every fish available at Moosewood Docks by using Nate’s Blade. You can keep track of all the fish you have caught with Nate’s Blade by opening the Quest Book. The Moosewood features two different fishing spots, one at the docks another one at the pond. Collecting all the fish unlocks the Weight Boost ability for Nate’s Blade.
- Catching Fish at Roslit Volcano: The next task is to perfect catch Mythical and below rarity fish in the Roslit Volcano by using Nate’s Blade. Just like the last time, you can open up your quest book to keep track of all the fish you have caught in the area. Completing the fishing task rewards you with a Slash ability for Nate’s Blade.
- Catch Squid at Snowcap Cave: Our task is to catch 20 Colossal Squid with Nate’s Blade at Snowcap Cave. Head to the area and catch 20 Colossal Squids to complete this objective and list out the next objectives of Nate’s Quest.
Collectible Objectives
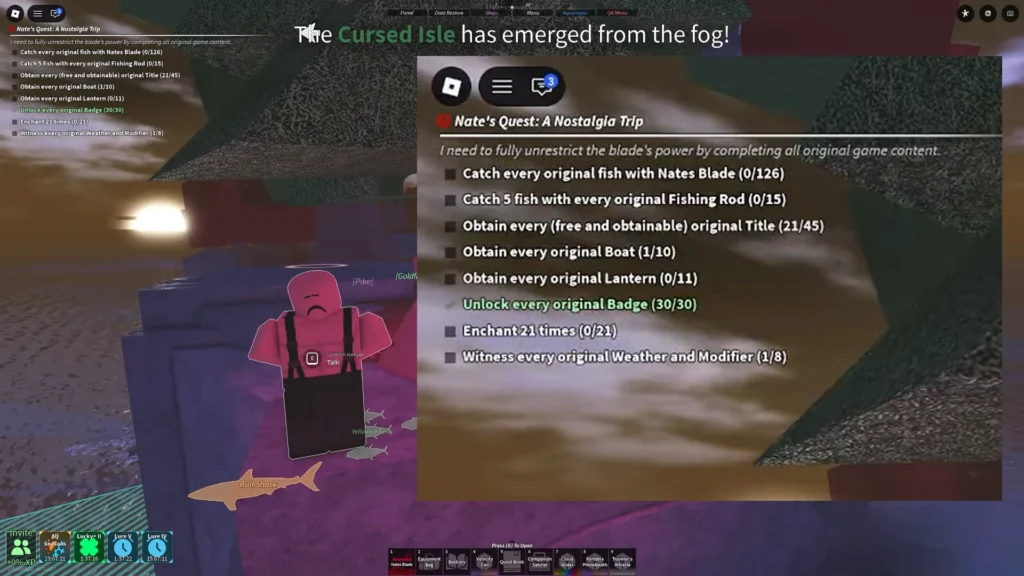
The next stage is to complete nine different objectives; here are all of them:
- Catch every original fish with Nate’s Blade (0/126)
You can open the Quest Book and check all the fish you need to catch to complete the objective. It’s going to take some time, as the list features 126 fish for you to catch using Nate’s Blade.
- Catch 5 fish with every original Fishing rod (0/15)
The game features 15 original fishing rods, so you will need to catch 5 fish using an original fishing rod. We are looking at catching 75 fish using 15 different original fishing rods.
The list features: Fortune Rod, Flimsy Rod, Nocturnal Rod, Magma Rod, Training Rod, Plastic Rod, Fast Rod, Lucky Rod, Carbon Rod, Long Rod, Steady Rod, Rapid Rod, Magnet Rod, Mythical Rod, and Fungal Rod.
- Obtain every (Free and Obtainable) original title (0/45)
If you want to know the location for all original titles, Fischipedia has the list for all the titles and the ways you can unlock them. Just Ctrl + F to find the specific title to learn how to acquire it in the game. The website offers great help, since there are over hundreds of these titles in Fisch.
The list features: Lady Of The Sea, The Prophet Angler, Trusted Explorer, Sea Scout, Renowned Navigator, Novice Fischer, Skilled Fischer, Adept Angler, Expert Angler, Pro Fisherman, Unstoppable Fischer, Ocean Hero, Legendary Explorer, Shark Slayer, Lucky Roller, Unlucky Better, Grand Pioneer, Fisching Veteran, Master Fischer, Legendary Fischer, Famous Fischer, True Hakari, Lord Of The Sea, Mythical Angler, Eternal Fischer, God Of The Seas, Goddess Of The Seas, Rookie, Novice Explorer, Famous Voyager, Mythical Seeker, Sea Sovereign, The Clever, Enchanted, The Hoarder, Albino Vendor, The Foolish, The Drowned, The Pupil, The Holy, C$ Collector, C$ Loaded, The Hunter, Orcs Best Friend, and Vigilante titles.
- Obtain every original Boat (0/10)
Head over to Shipwright and buy the boats. You can keep track of the boats you own by taking a look at the list of boats in your Quest Book.
The list features: Jetski, Luxury Speedboat, Bass Boat, Fishing Boat, Pontoon, Quack Cruiser, Rowboat, Speedboat, Surfboard, and Titan.
- Obtain every original Lantern (0/11)
You can buy it from the Lantern Keeper found near the lighthouse of Moosewood Village. You can view the list of Lanterns you have in your possession in the Quest Book.
The list features: Basic, Small, Small & Bright, Bright Blue, Camo, Fairy, Magma, Orange, Paper, Pink, and Ultra Bright lanterns.
- Unlock every original Badge (0/30)
Refer to the quest book and head to the website I’ve linked for the title, and you will find all the information regarding the list of original badges needed to complete this objective.
- Enchant 21 times (0/21)
- Witness every original Weather and Modifier. (0/8)
The weather and modifier list features: Night of Fireflies, Night of the Luminous, Rain, Windy, Clear, Foggy, Mutation Surge, and Shiny Surge.
After you complete every single one of the challenges, head back to Nate’s Cave and talk to Miso.
Find Nate’s Items
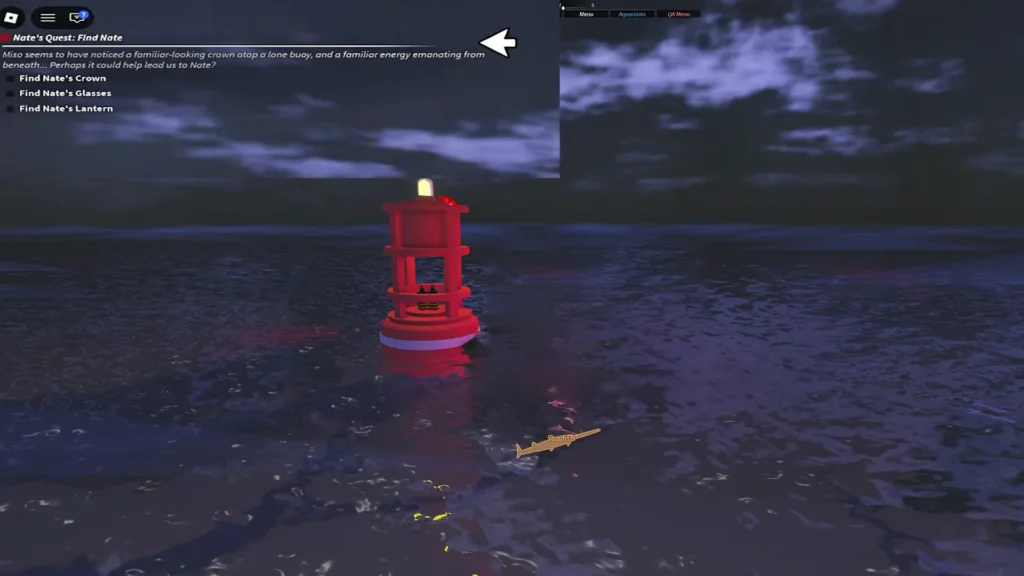
After talking to Miso, the next objectives will be about acquiring Nate’s Crown, Glasses, and Lantern.
- Nate’s Crown: Get to the red buoy located north of Sunstone Island; it marks the entrance to Desolate Keep. Right on top of a red buoy, you will find Nate’s Crown.
- Nate’s Glasses: Dive underwater, and you will come across a board next to the rock that reads “Stop! Prevent Death.” Next to the board, you will see a skeleton, and you will find Nate’s Glasses near the skeleton.
- Nate’s Lantern: Now underwater, instead of heading right to Desolate Deep, turn left. Here you will find a Merchant wearing a diving suit. Near the cage, you will find Nate’s Lantern.
Now you will see an unusual mark on the rock, near Nate’s Lantern spot. Break the wall using Nate’s Blade. Enter Dr. It Fish’s Lair; here you will find the doctor inside next to the whiteboard. Talk to the doctor, exhaust all the dialogue, then head up the ramp next to the doctor, and it will take you to Nate shackled up in the corner.
Talk to Nate; you will get Nate’s Blade (Unrestricted)and Nate’s Car. This officially completes Nate’s Quest in Fisch Roblox.
Get Miso as Companion
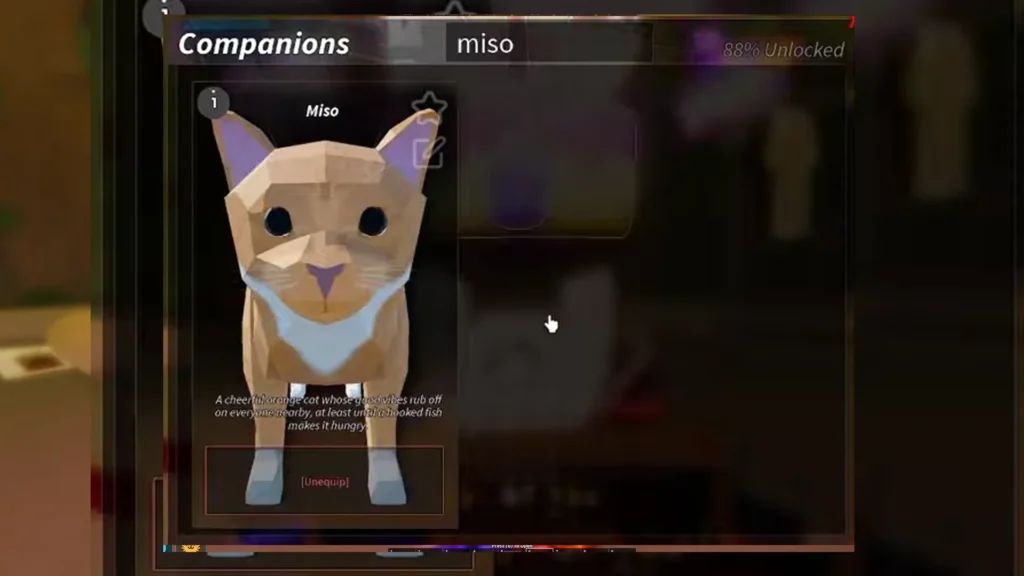
Now head back to Nate’s Cave, and you will find Miso upstairs. Now search around the cave, look through everything, and you will find a small piece of cheese. Grab the cheese, hold it in your hand, and then feed it to Miso to add Miso as your companion.
Once you have Miso as a companion, the fishing mini-game will get a lot better.
- There is a 40% chance that every three seconds, Miso will jump into the water to scratch the fish during the fishing mini-game.
- There is a 4% chance that Miso will chomp 35% of the progress every 10 seconds.
- Lastly, Miso will add + 20% Luck stat to you and the players around you.
