



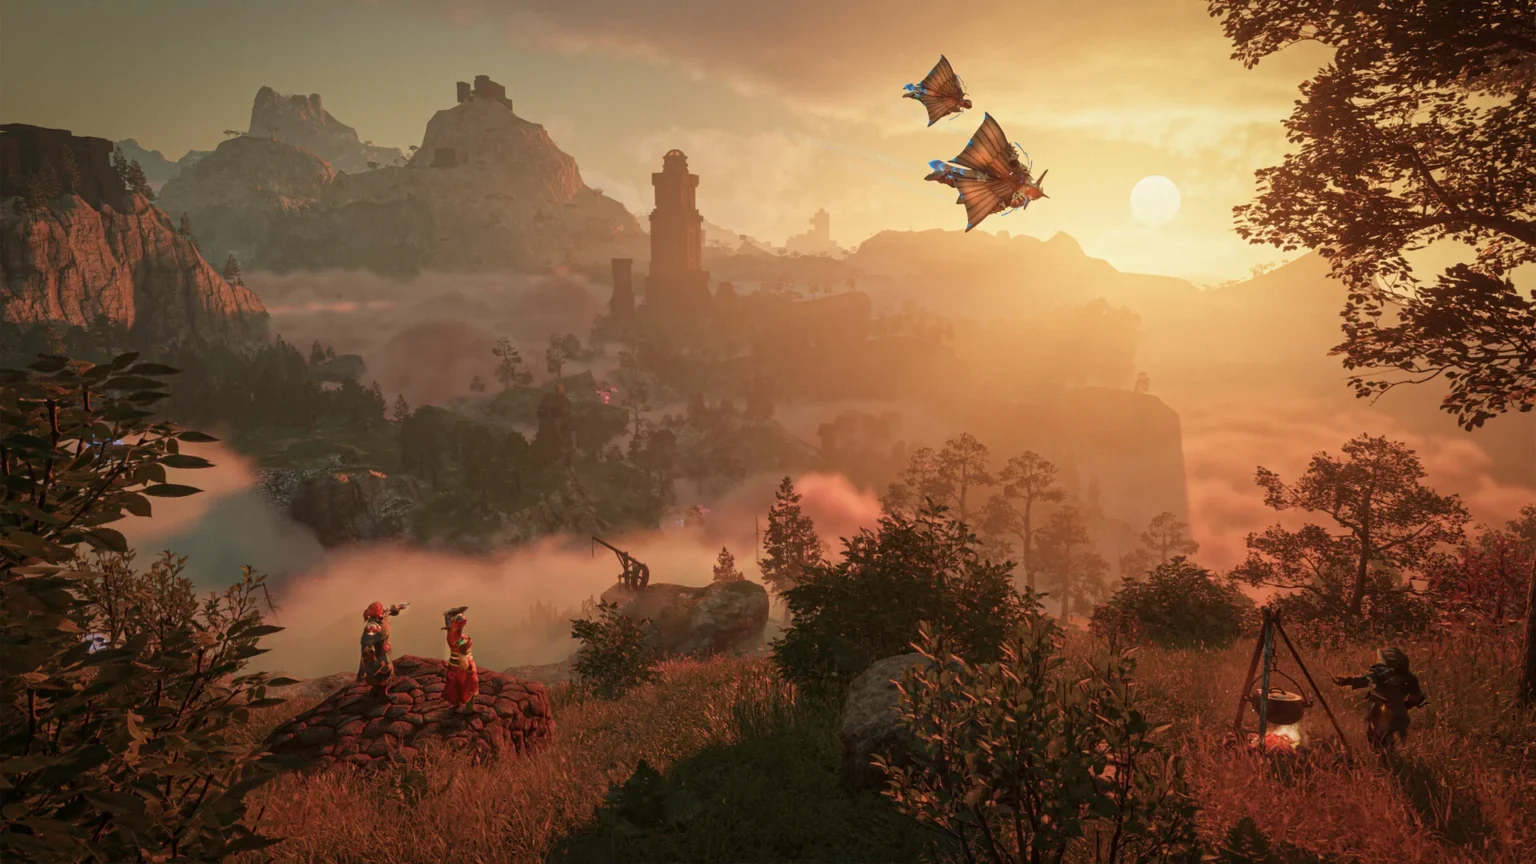

Enshrouded offers a large open-world map with millions of things you can do in this land besides just sticking with combat. One of the crucial gameplay mechanics Enshrouded introduces is base building; besides providing shelter, it acts as a landmark for many other things in the game. Ideally, you want your base location to be in the perfect place to gain access to all resources in the area.
In this guide, I will guide you through all the things you must know about base building in Enshrouded 1.0 and the best places you can set up your base. I’ve added highlights on every base location to help you point out the things that will be available on the spot. Here, I will put my attention to mostly on early-game areas and some mid-game zones for base-building operations.
Building a Base in Enshrouded
You must keep a handful of things in mind when you are planning to pick a base for your next base building operation. Here, being aware of the key details of base building will help you immensely during the first phase of the game. Once the game puts you on the road for exploration, these tips are general guidance to learn what to look for in a base:
- Easy Access to Water: You will need access to fresh water to drink; it will help you with stamina regeneration. Water is also helpful for fishing, farming, and crafting many items in the game.
- Gather Stone Blocks: Just build a wooden block inside the walls of a stone wall or any stone-related architecture and dismantle it. Upon dismantling, you will get wood and stone in return. Use this method to grab special materials early on.
- Scenic View: While having a scenic view from the base is good, don’t make it “The” factor for your game. Always look out for other resources such as water and crops early on.
- Upgrade Flame: Make sure to upgrade the Flame Altar to add more space for the build area. They make a huge difference; for example, at Altar Lv. 3, you get 120m x120m x120m space to work on. This is an increase over 80m x 80m x80m from Altar Lv.2.
Don’t limit yourself to a few bases; the more places you capture, the more fast travel options you open up on the map. While you can use the Spire locations to fast travel, they are in very selective places; if you want to head to an area without a spire, then you must travel to the closest spire and reach the area, which will be a hassle. Here, if you have a base, then the fast travel process will be instantaneous.
#1 | Near Ancient Spire, Springlands
Highlights:
- Scenic View
- Access to Water
- Access to Native Grown Crops- Tomatoes and Corns
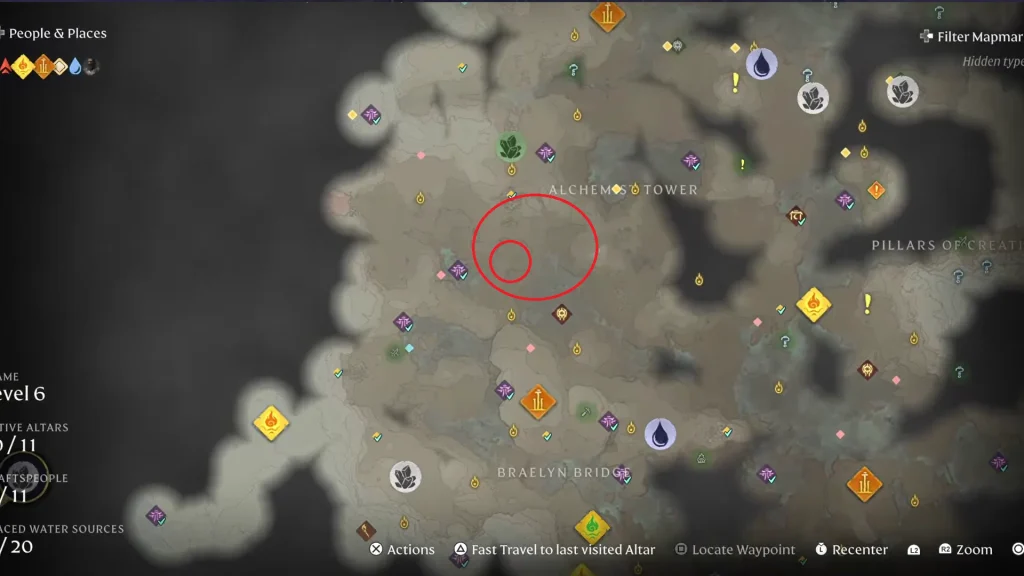
The area we are about to set up is located southwest of Alchemist Tower, north of Braelyn Bridge. A small patch of land near the water with plenty of vegetation around. You can chop down the tree to get a better view of the castles and ruins in the distance. The place does get scenic once you remove some of the obstacles. The land is connected to a road; take the road and you will find a land with a good amount of crops growing in the spot. Besides the Tutorial area, this location will serve you well for your next base-building operation.
#2 | Near Alchemist Tower
Highlights:
- Scenic View
- Water Source
- large Space
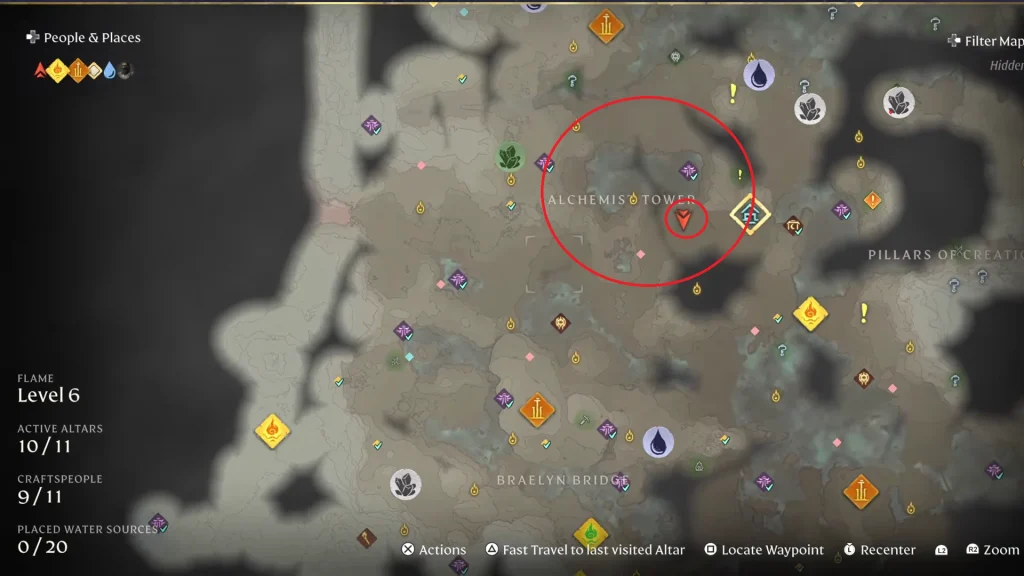
The base is located a bit southeast of Alchemist Tower, as seen on the map above. This base is a scenic improvement over the first one. We are also getting easy access to water; to make things even better, the area also has a small island in the middle of the water source, making the whole base feel tropical. While the area offers a good amount of space for us to work with, one downside will be the surface level; unlike the last base, it’s not flat. The ground here is a bit wobbly, so you might face some clipping issues when installing objects.
#3 | Harvest Homestead
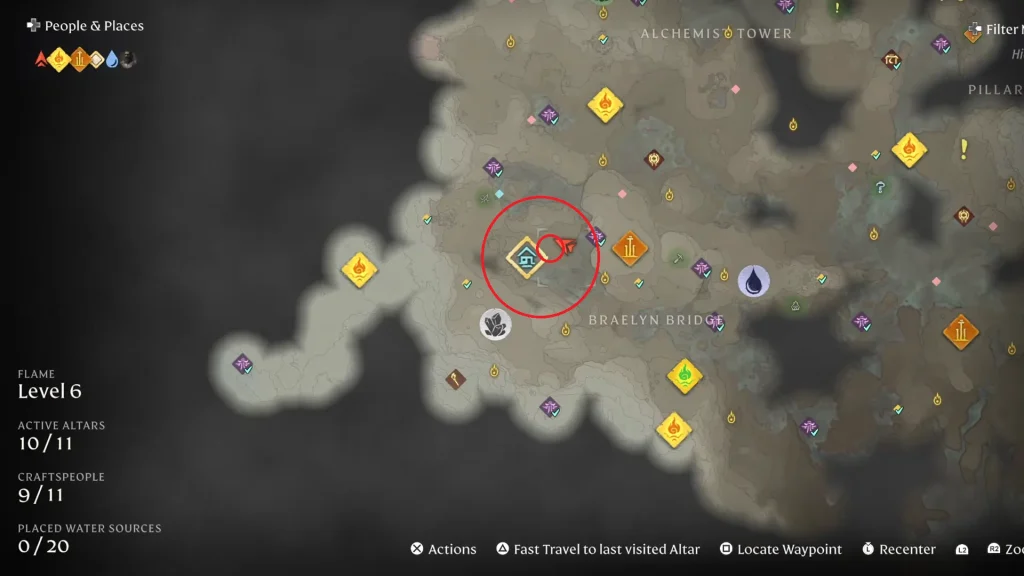
Highlights:
- Easy access to Crops
- Stonewalls
- Good chunk of flat space to build
Here we are taking over a village, literally. The area is filled with many crop patches, so expect to get a good amount of crops regularly. Early on, when you are starting out in the game, you will need a resource called “Plant Fiber“; you will need a lot of it. In Harvest Homestead, you will find a bunch of Plant Fiber growing in the crop field. Besides Plant Fiber, the area also provides a good source of Corn or Corncob, which will be helpful in the food department.
The most useful part of this base is the abandoned building in this section; while on its own it does nothing, you can use a sneaky way to get more value out of it. First, get close to an abandoned building; now set up the Flame Altar to make the area your base. Now craft a rough wood block directly into the walls of the abandoned building. After completing the build, dismantle it to get the Wood Block and Stone Block in return. You will also notice that the walls that were part of the wood block are also gone. Using this method helps you grab the latter material, such as Weathered Stone Block, early on. Use the technique to tear down any structure you come across to extract more material from them.
#4 | Westcott
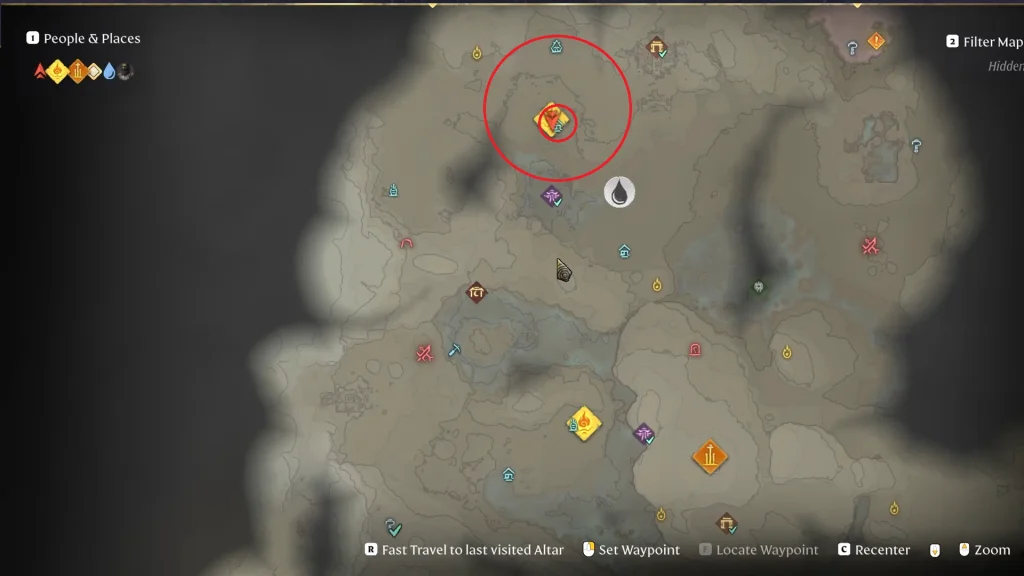
Highlights:
- Large space
- Pre-built Buildings
- Well
- Tents
- Farm Area
Here we have a whole town to mess with; the area marked on the image above takes you to a space filled with run-down houses. Most of the houses are already built; you just head on inside and make some improvements to claim them as your own. Having a higher-level Altar will give you access to more spaces, which means more houses in this spot. If you fancy this spot, I will recommend putting the altar in the northwest section of the area, so you will have full access to the large Tavern building.
The building offers enormous space on the main area and the upper floor, and if you head left, you will gain access to the basement, which acts more like a catacomb or dungeon than just a normal square-shaped basement.
#5 | North of Ancient Spire, Revelwood
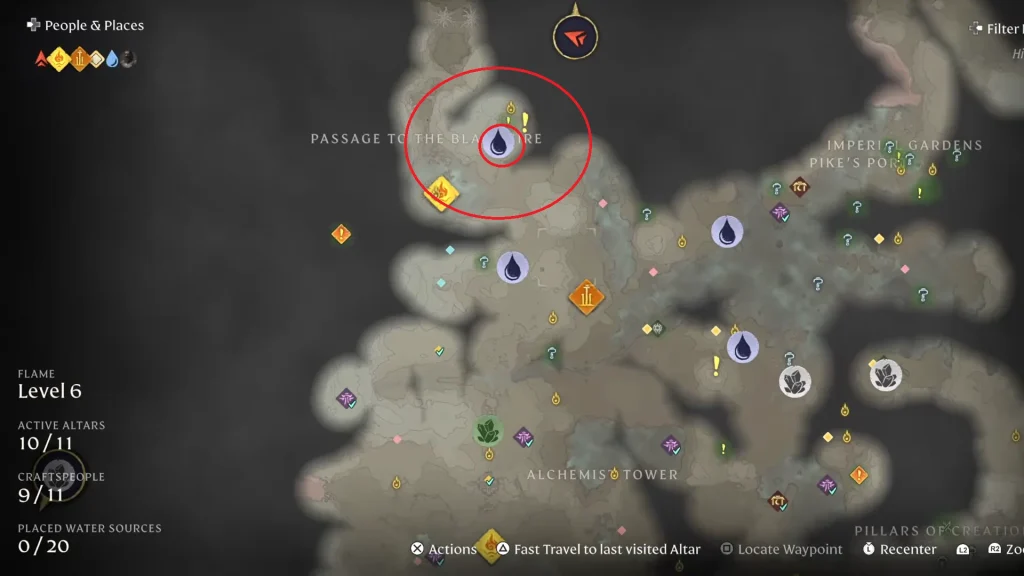
Highlights:
- Waterfall
- Mining Area
- Natural basement space
- Foliage
The next search for the best base location in Enshrouded will take us to the north of Revelwood Ancient Spire. Besides the running waterfall with the chest behind it, the area is filled with foliage because we are in a forest. Just across the Waterfall, you will find a proper square-shaped hole on the ground, a mining area in this spot.
You can build a base on the top of the square-shaped hole to make the mining area act more like a natural basement without putting in too much effort. This is one of the many cases where we are sacrificing the scenery to get more value out of the zone. The only scenic view is the waterfall; besides that, expect to see nothing but trees.
#6 | Southwest of Ancient Spire, Springlands
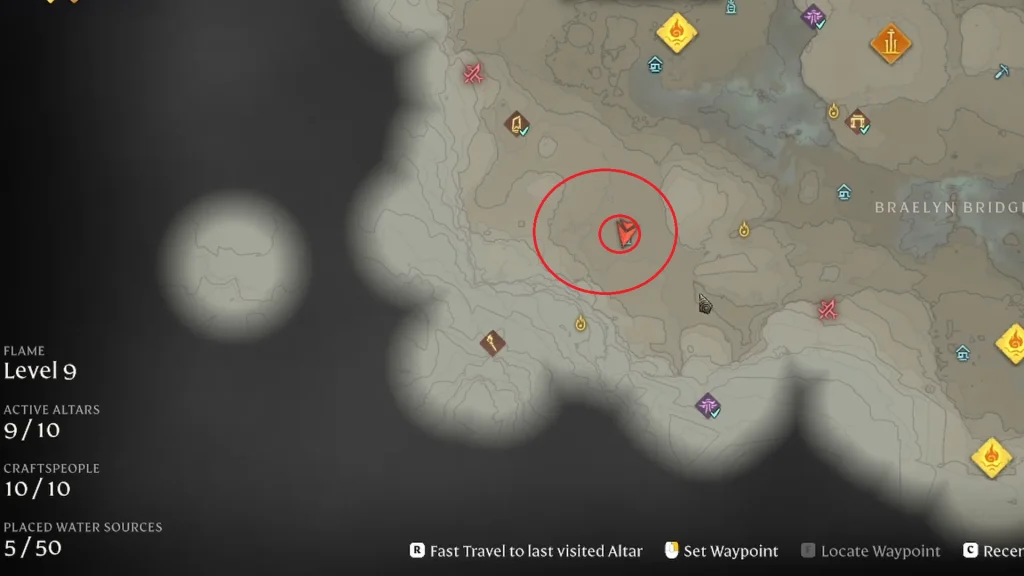
Highlights:
- Cozy
- Extensive Farmland
- Large Space
- Pre-built House
- Giant Basement
Here we are not looking at anything grand, but the exact opposite; the location here is cozy and homey compared to most additions on the list. The area offers access to vast farmlands and many large buildings to set up a perfect cozy base. The buildings or farmhouses are not in top-notch condition, so you must make much-needed repairs to bring the place back to its glory days. The area also offers a large basement, which does act like your own personal catacomb.
#7 | Southeast of Ancient Spire, Blackmire
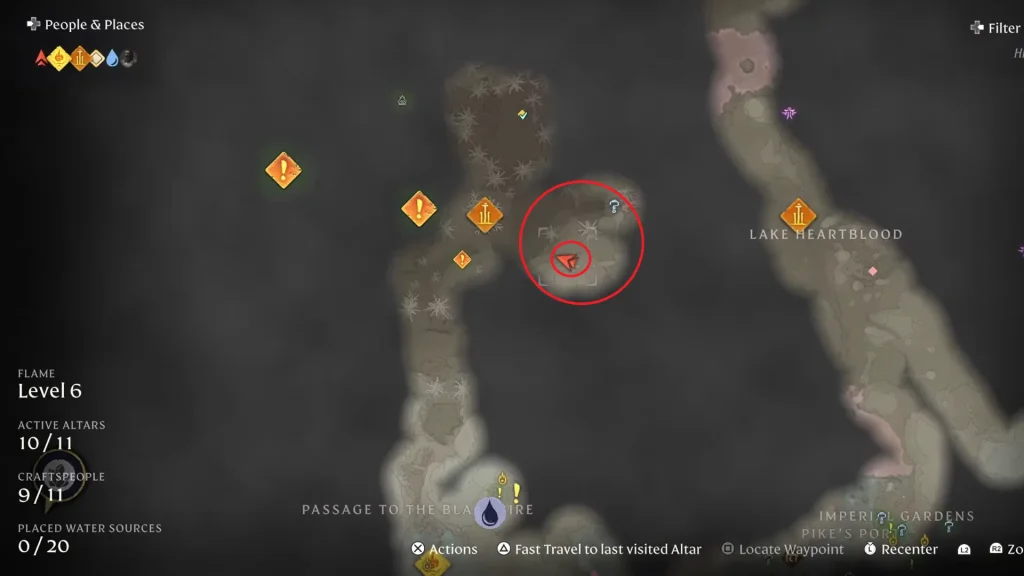
Highlights:
- Scenic View All Around
- Large Open Space
If you want a scenic view all around the base, then you have to make a stop at this spot. The open area is huge, but it will not be flat; instead, it will be slanted to the side. At a weird angle, the land might feel like it’s slowly sliding down to the side. The area also features a giant, massive tree, and if you look around, you will see many of the notable landmarks. It’s going to be located southeast of Blackmire Ancient Spire.
#8 | South of Ancient Spire, Normad Highlands
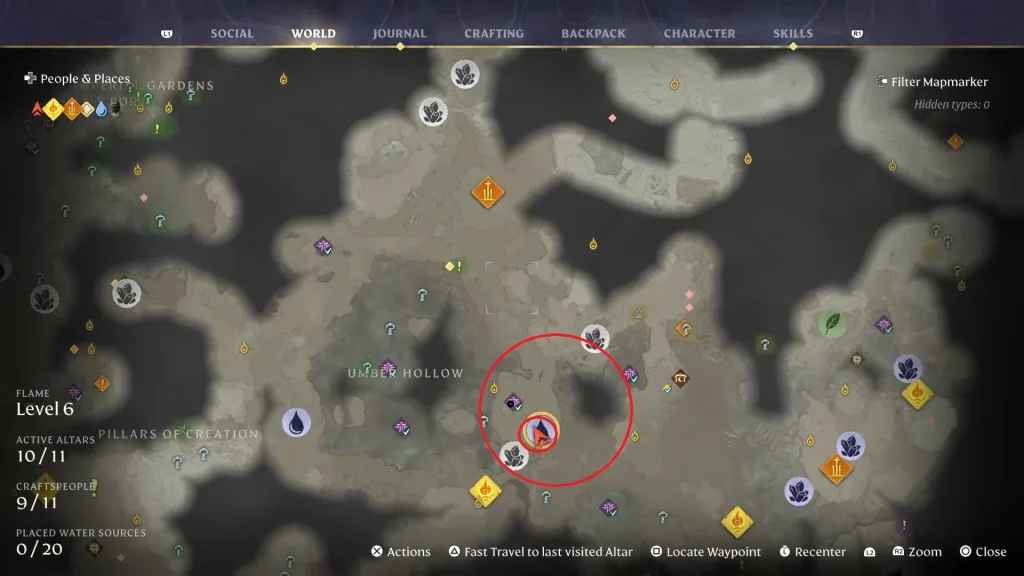
Highlights:
- Great View
- Water Spot
- Resources
This one is south of Nomad Highlands Ancient Spire, a bit east of Umber Hollow. If you do have a fondness for Aurora Borealis, then you are going to fall for this spot immediately. There is also water for fishing and crops, but what sells the spot is the visuals. Just a bit southwest of the base, you will find a Vukah Cave passage; inside, you will find many Tin Ores.
At night, the area around the base looks and feels amazing. The red glow around the night sky does make the area look extraordinary. Besides the sky, if you look at the ground view, you will get a full picture of the entire canyon all around the base.
#9 | Northwest of Ancient Spire, Nomad Highlands
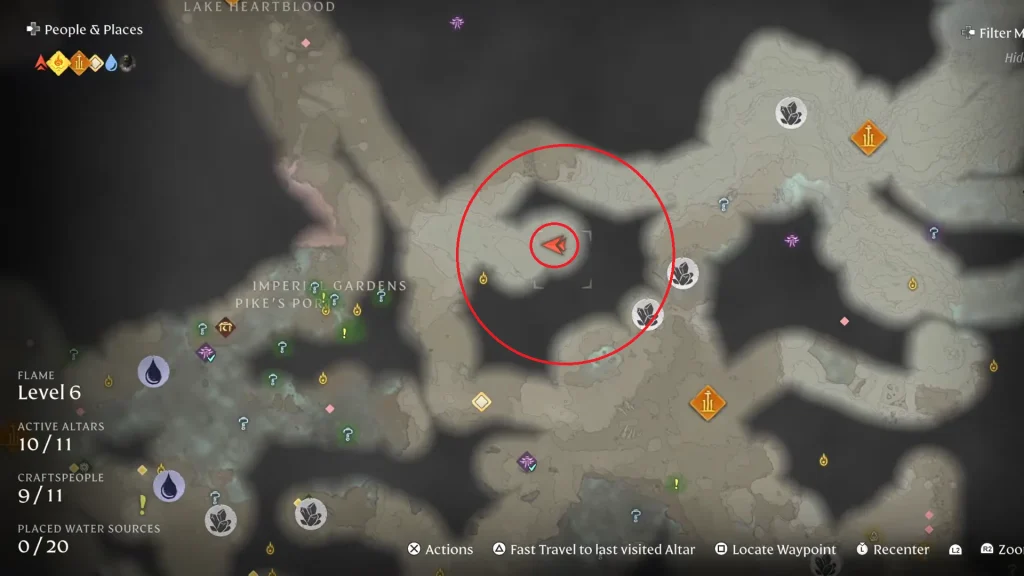
Highlights:
- Easier Access to All Three Biomes
- Resources
This spot can be regarded as special, as you will find yourself in a unique spot on the map, where all three biomes merge in this place. The area has access to Tin and Granite spots around its radius. If you look past all the resources this land has to offer, what truly sells the land is its placement. It is placed directly in the middle of all three biomes. This gives you access to all three biomes from the base.
#10 | Southeast of Ancient Spire, Kindlewastes
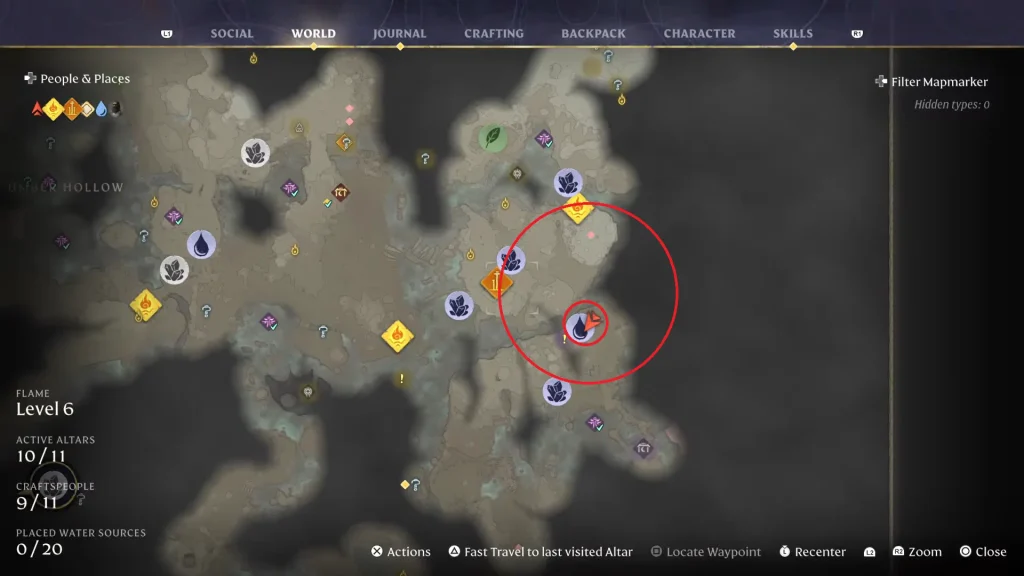
Highlights:
- Sulfur Deposit
- Water
- Wildlife
The giant rock formations around the area make it look better, and it also has a good source of water and vibrant wildlife around it. For resources, you have a good sulfur deposit you can mine for sulfur and experience. The area also features a tower and a patch of sand to get creative with your building installation. The wildlife native to the desert biome is very active around the base. While in the base or zone, you will not run into any enemies, so you are on the safe side of things. The area is located southeast of the Kindlewastes Ancient Spire on the map, as marked on the image above.
#11 | West of Revelwood Ancient Spire, Revelwood
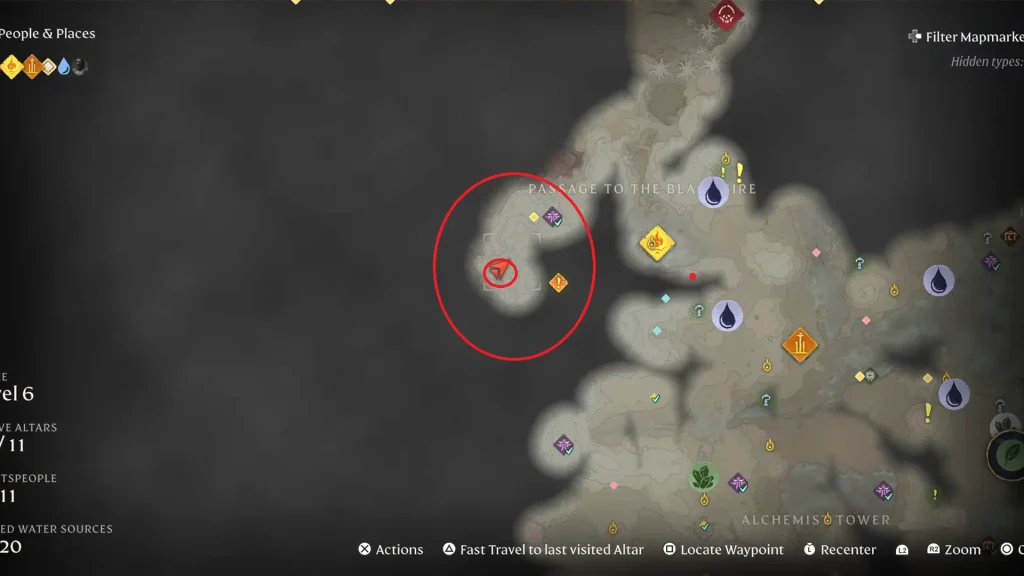
Highlights:
- Inside the Cave
- Scenic View
- Personalized Cozy Set Up
Here we are going down into a cave, but it’s not going to a small bear cave; the actual area inside is pretty big enough to set up a good base. The cave also has a hole in the roof to let the sunlight in; there are blue glowing rocks on the ceiling near the entrance, which leads to the world outside. Once you leave the cave, you are presented with a world view of the entire area below you, lost in the fog. You are high in the air by choosing this area for your base of operations.
