



To pull out a successful heist in GTA Online, you need to follow all the steps entirely or you will miss out on important details. The newest Kortz Center heist might look simple at the start, but there is a lot of planning that goes into pulling it off successfully.
That involves finding all the POIs, taking pictures of the loot, and planning your strategy. If you are stuck in the first part of the heist, here is the complete guide on what you should do to prepare yourself before you pull off the Kortz Center heist.
How to Unlock the Kortz Center Heist in GTA Online
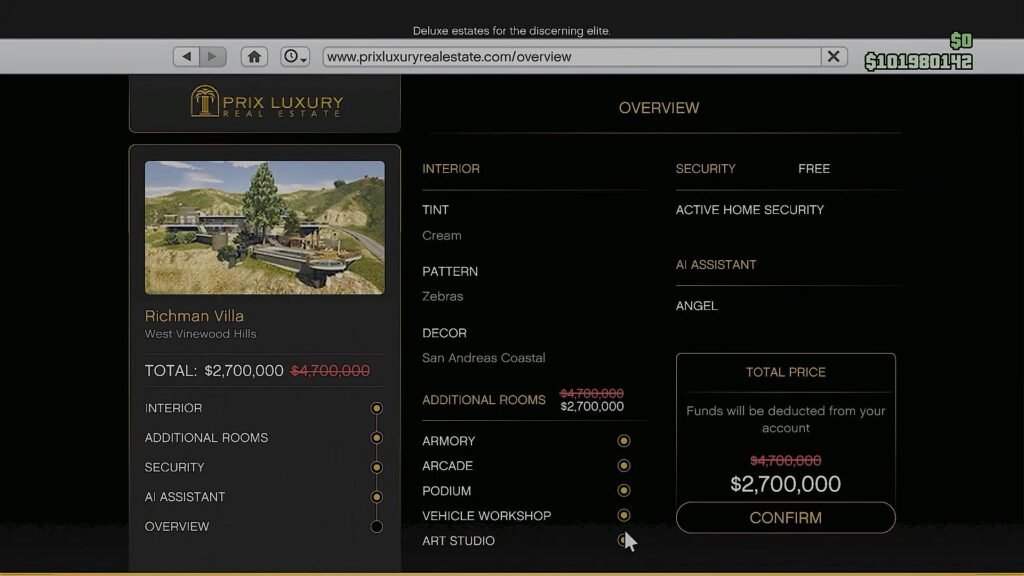
The Kortz Center mission only unlocks after owning a mansion and buying the Art Centre upgrade. There are three mansions to pick from, each costing a different amount. To buy a mansion, take out your phone, select the internet browser, and pick Prix Luxury Estates.
If you don’t have the required cash, here are some ways that helped me earn a lot of cash. You can sell your other properties, steal from other players, or pick up high-level jobs or contracts to accumulate the required funds. Becoming a GTA+ member also provides a good discount.
Below is a list of mansions you can purchase, along with their base cost.
| Mansion | Cost |
| The Vinewood Residence | $12,200,000 |
| Richman Villa | $12,800,000 |
| The Tongva Estate | $11,500,000 |
This isn’t the end of the unlock requirement, as you need to get the Art Studio upgrade as well. Select the Interior option while in your mansion and place the Art Studio upgrade. This will set you back $4,700,000, but if you have completed the limited-time Fine Art Collector program earlier, then you will get a small discount.
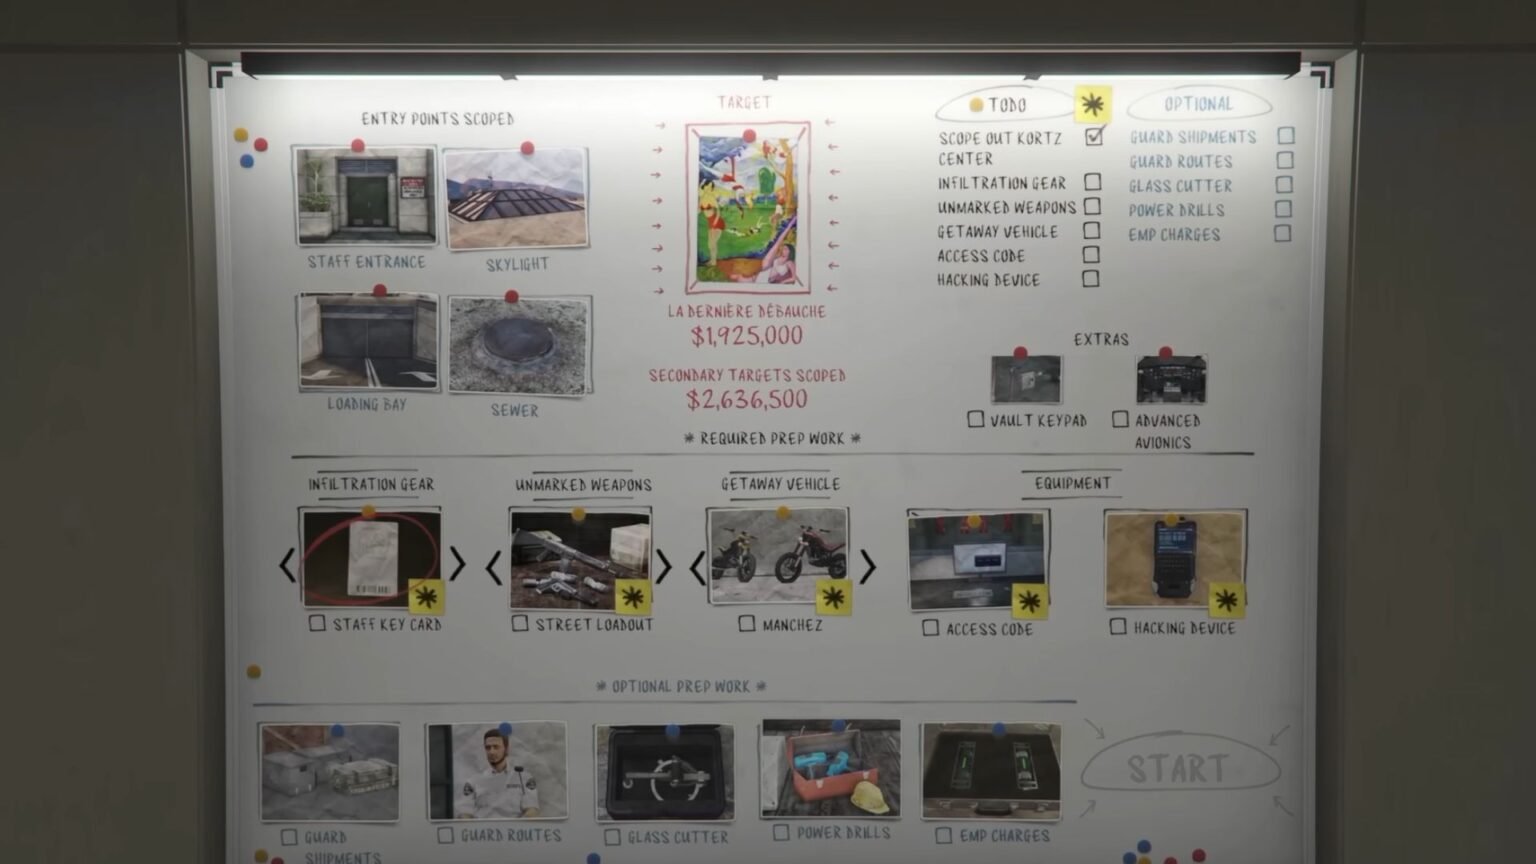
Next, while still inside your mansion, select the Interaction Menu and click on the Register as Boss option. Pick any organization to become the CEO or President to start it up. This will give you access to the planning board to plan the heist. Then, visit the Art Studio and watch the cutscene that plays out to start the Kortz Center Heist.
How to Scope Out Kortz Center
There is a time limit here, and you will get just 20-30 minutes to complete the entire objective. I would suggest working in a group to quickly scan the inside and outside of the center. Your task is to take photos of everything, which includes paintings, displays, entry points, and POIs.
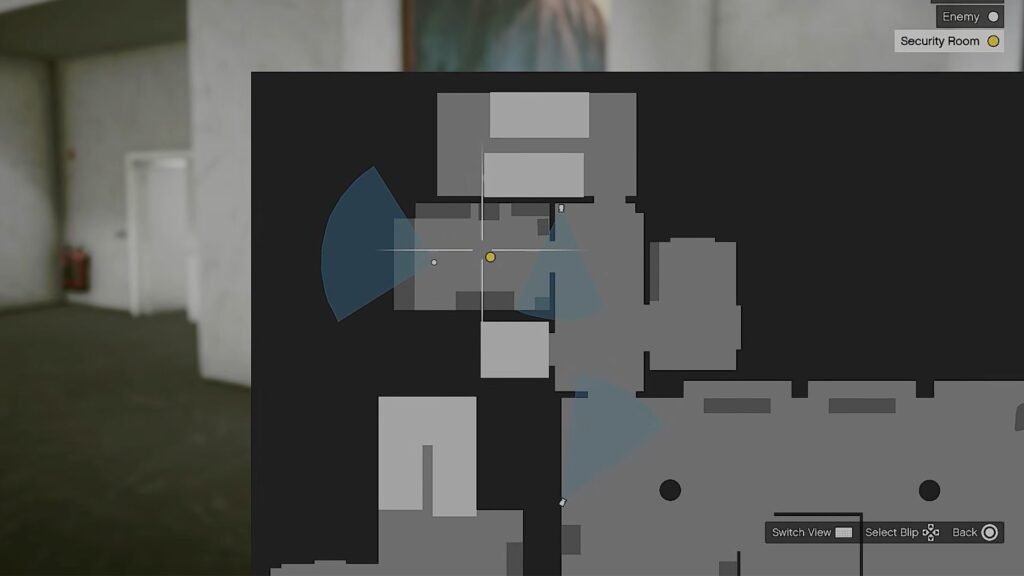
- First, visit the Kortz Center, which is on the western section of the map.
- Enter the center and check your map to find the security room. Pay attention to the blue camera cones on the map and avoid detection while sneaking into the security room.
- If the guards spot you sneaking in, you will get kicked out. Luckily, you can reenter the center normally but avoid any guards along the way or you will waste a lot of time.
- Once inside the security room, do a silent takedown of the guard on duty.
- Then interact with the computer on the right side of the desk. This will give you access to all the security cameras around the center.
- Interact with each camera screen and pan the camera left and right to uncover new Optional Prep Work.
Scope Out the Primary and Secondary Targets
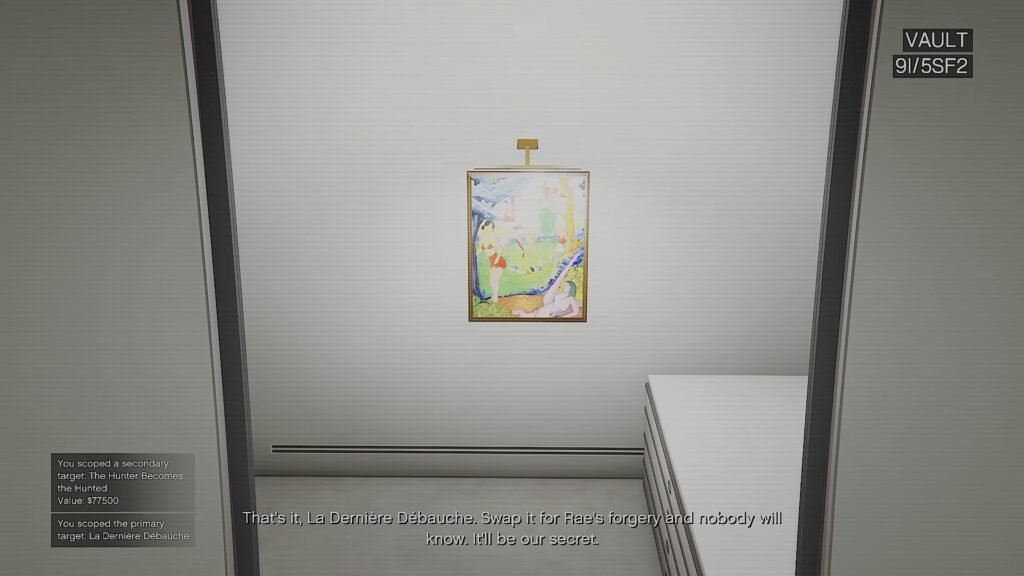
Your task here is to use the security cameras to find a room with four paintings inside, as this will be your primary target and secondary targets. The room in question is the Vault room. Once you find the room with the Vault description on top, pan the camera around the room to find four paintings.
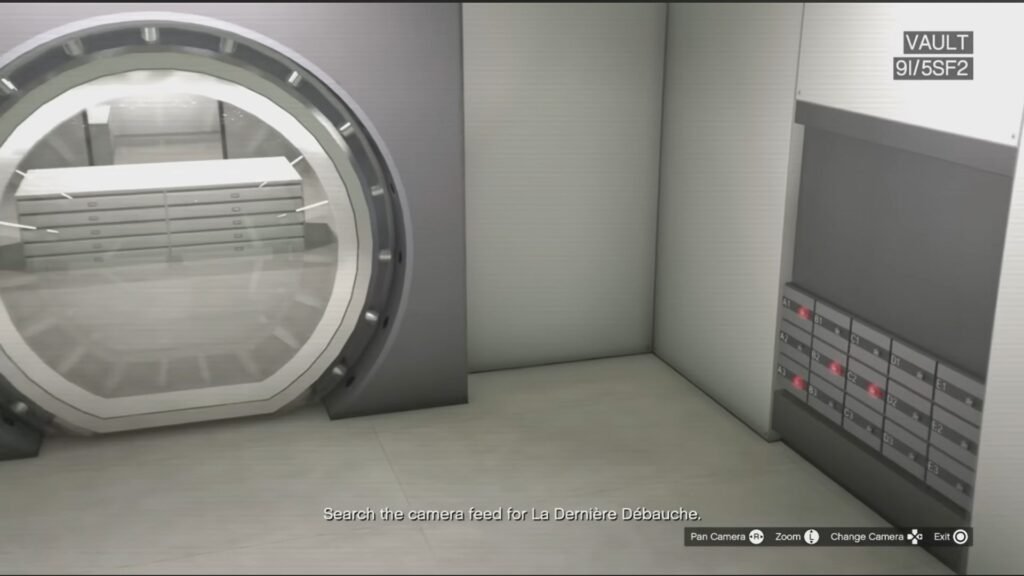
Zoom into each painting to have it checked in you planner. Do check out the lockboxes beside the Vault door too. Also, take a look at the Loading Bay camera to get an Optional Prep Work notification.
All Secondary Targets
Next, you have a tough task ahead. You need to take a photo of all the display cases and paintings on all floors of the center. Take your time with this task and walk around carefully so you don’t miss anything. I recommend taking the exit stairs rather than the main center stairs to find all floors and rooms you would have missed otherwise.
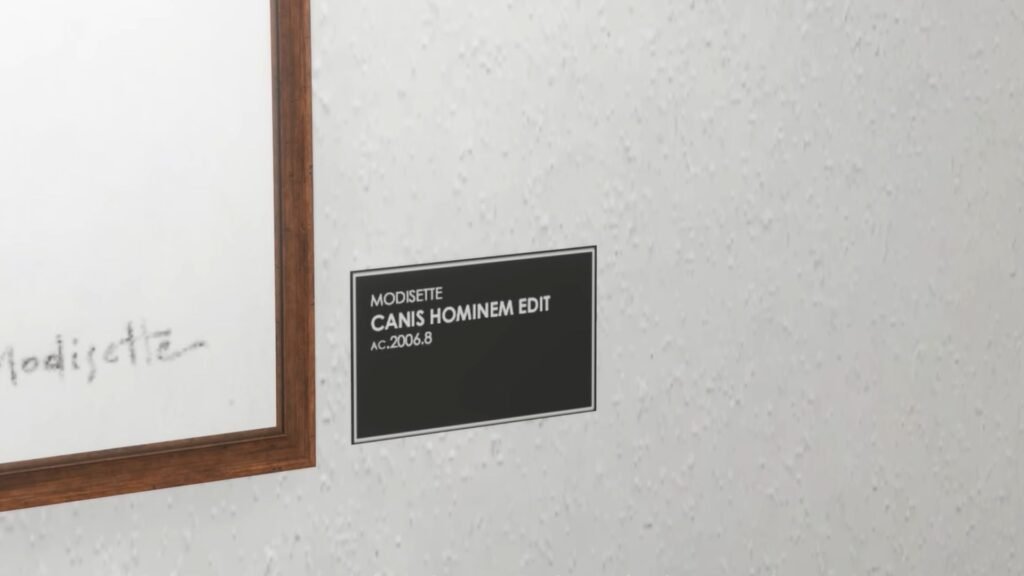
Also, you will get a list of paintings from Raf that hold high value, and taking photos of it will add to your end reward pool. The list will be random for each playthrough, so check your messages after Raf tells you about sending a list of paintings over. You can also take pictures of paintings that have bigger, more detailed plaques next to them, as these hold a lot more value over paintings that just have their name on it.
Here is a list of all the paintings and displays to look out for, their location, and their price range.
All Paintings Locations
| Painting | Location | Price |
| Swingset Study No. LXiX | Security camera for Vault | $775,000 |
| With Friends Like These | Security camera for Vault | $850,000 |
| Het Gouden Hondje | Security camera for Vault | $825,000 |
| The Hunter Becomes the Hunted | Security camera for Vault | $750,000 |
| Canis Hominem Edit | First Floor | $102500 |
| La Duchesse | First Floor | $105,000 |
| Orange Crush | First Floor | $107,500 |
| Explain Yourself | First Floor | $115000 |
| Do You See Me | First Floor | $105,000 |
| The Chief | First Floor | $110,000 |
| Sod Off | Second Floor | $115,000 |
| Cooked | Second Floor | $120,000 |
| Don’t Forgo These Blueprints | Second Floor | $150,000 |
| The Great Circle Back | Second Floor | $145,000 |
All Display Cases Location
| Display Item | Location | Price |
| Œuf de Coquard décoratif | Ground Floor | $54,000 |
| Byzantine Hoops | Ground Floor | $29,000 |
| Memento Non-Mori (Gold) | Ground Floor | $77,500 |
| Coquard Rings | First Floor | $31,000 |
| Pharaonic Bangles | First Floor | $31,000 |
| Art Deco Rings | First Floor | $34,000 |
| Antique Rings | First Floor | $34,000 |
| Antique Bands | First Floor | $35,000 |
| Fertility Statue (Gold) | First Floor | $54,000 |
| Yellow Topaz Gemstone | Second Floor | $107,500 |
| Ruby Gemstone | Second Floor | $115000 |
| Venus d’Algernon (Ivory) | Second Floor | $120,000 |
| Coquard Bracelets | Second Floor | $29,000 |
| Art Deco Circlets | Second Floor | $44000 |
| Cremello Dutch Warmblood | Second Floor | $82500 |
| Œuf de Coquard des abimes | Second Floor | $56,000 |
| Meteorite Fragment | Second Floor | $78,000 |
| Fertility Statue (Bronze) | Second Floor | $88,000 |
| Perlino Andalusian | Second Floor | $95,000 |
| Coquard Carcanet (Tanzanite) | Second Floor | $97,500 |
Take a Photo of the Staff Entrance
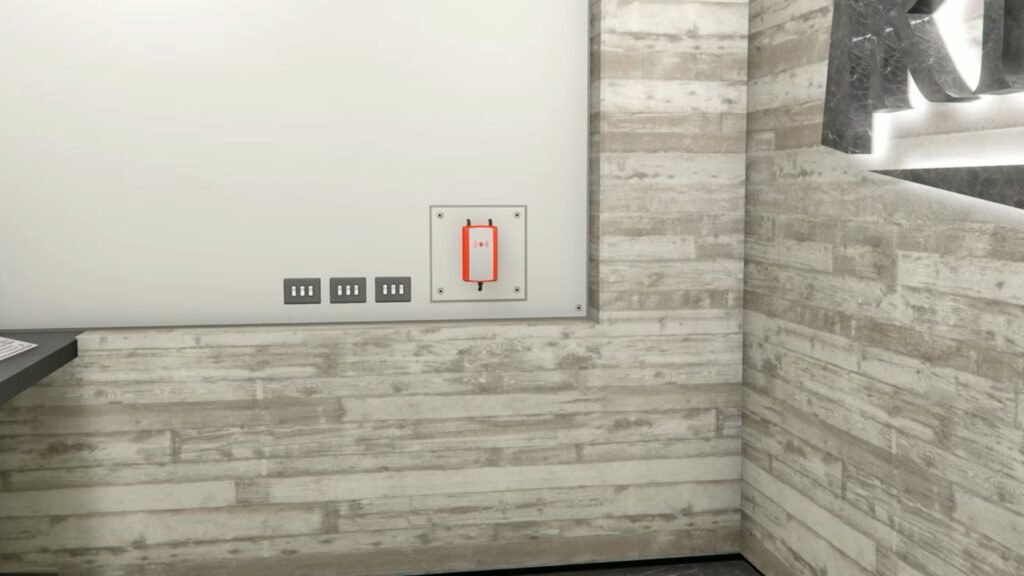
After taking all the photographs, visit the front desk and take a photo of the power panel beside the desk, as well as any security guard on duty.
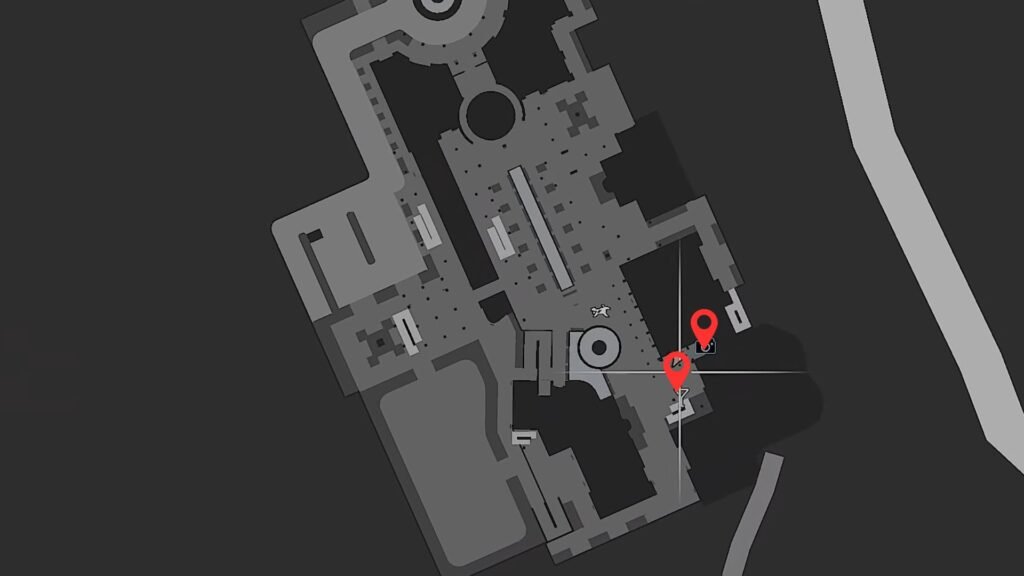
Then, check your map to find a marked location with the photo icon on the bottom right corner of the center. This will take you outside the center, and if you look down the alleyway, you will spot the staff entrance.
Take a photo of that, then interact with the table right below the stairs on your right to find a possible Sewer Manhole Key spawn. Take the stairs up to find a generator and take a photo of it.
Take a Photo of All Access Points and POIs
As the final part of the objective, you will be tasked with finding all the entry points for the heist. The first was obviously the Staff Entrance, but there are other POIs too.
Entrance #1 – Skyline
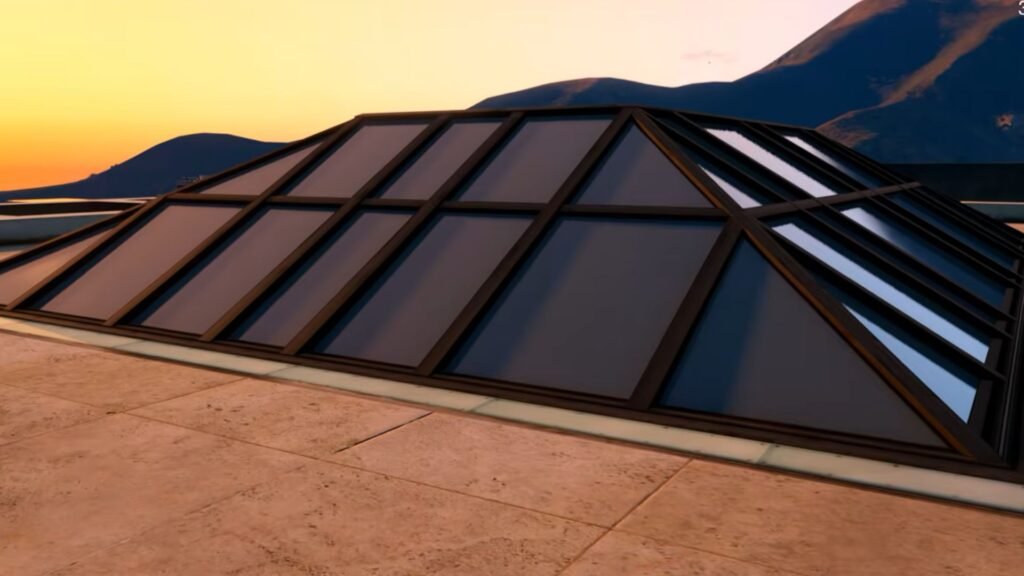
Continue up the stairs outside the center to reach the center’s roof and take a photo of the skyline. Also, check out the air ducts beside the skyline to find an EMP generator between the ducts and take a photo of that.
POI – Radio Tower
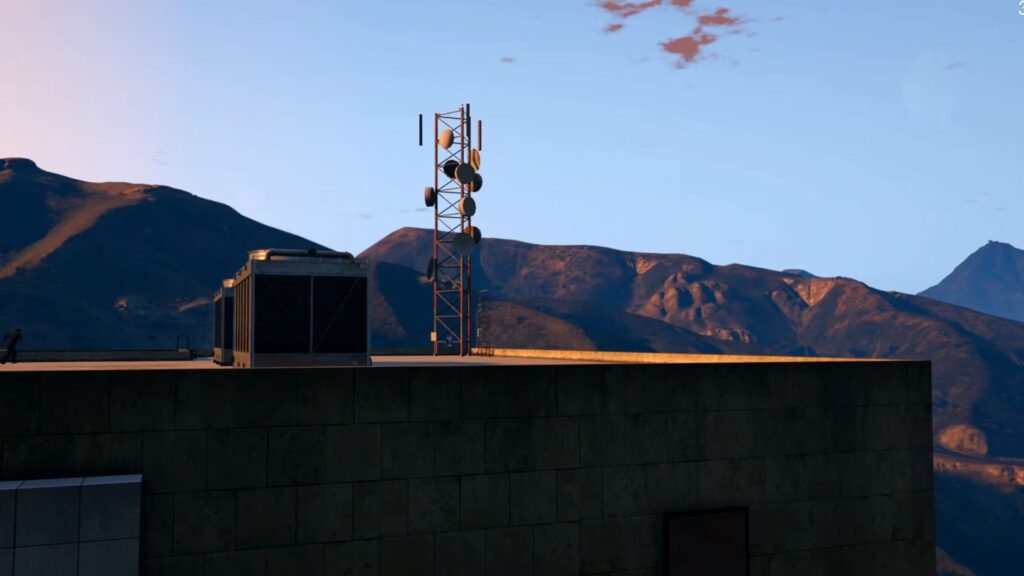
Then, look around to find a radio tower on the roof of the building nearby and take a photo. While this isn’t an entry point, it is a POI to get one of the Optional Prep Work.
Entrance #2 – Sewers
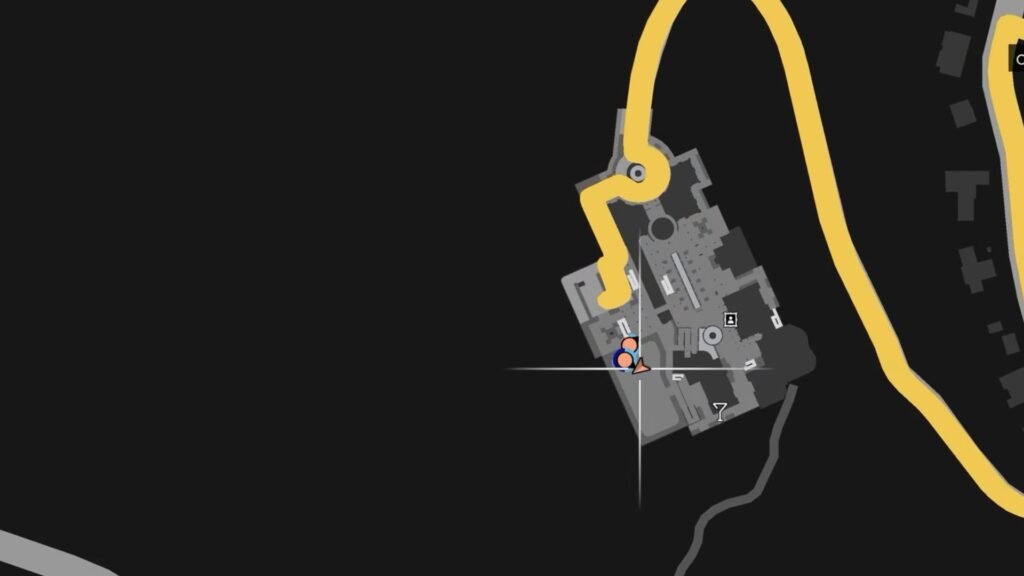
Make your way down to the southwest section of the center to find a hedge maze. Walk around the maze or use any aerial vehicle to find a manhole in the ground and take a photo of that. The exact location of the manhole is marked on the map above.
Entrance #3 – Loading Dock
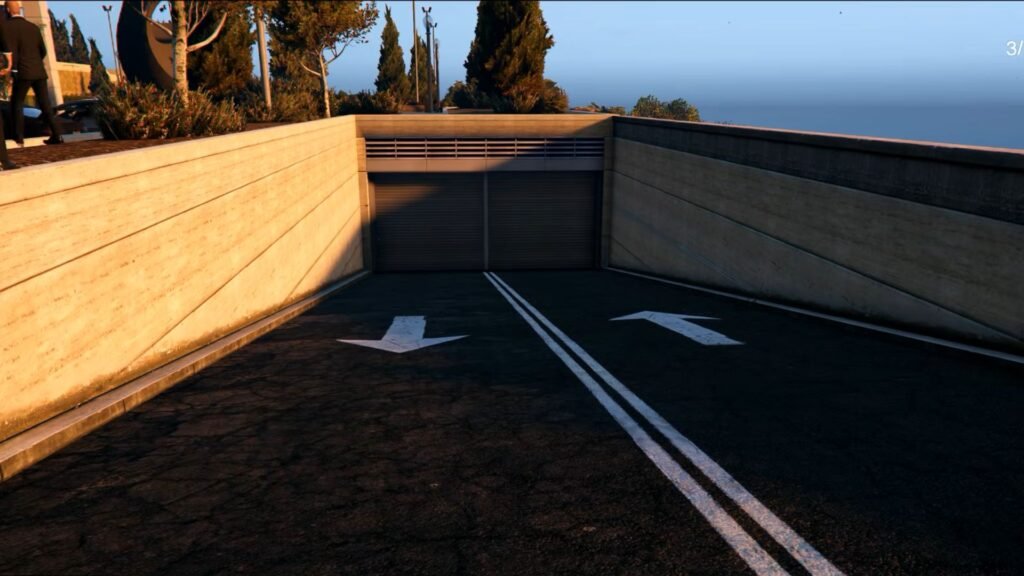
Make your way to the southeast corner of the map to find the loading dock beside the parking area. There will be a road sloping downwards towards the delivery entrance, so take a photo of the entryway. Also take a photo of the parking security booth nearby.
That’s all the POIs you need to take a photo of for the time being, and if you have any time left, you can head back inside the center and carefully scan all the rooms to check that you haven’t missed out on any of the secondary targets. Now all that’s left is to wait for the real heist to begin.
