




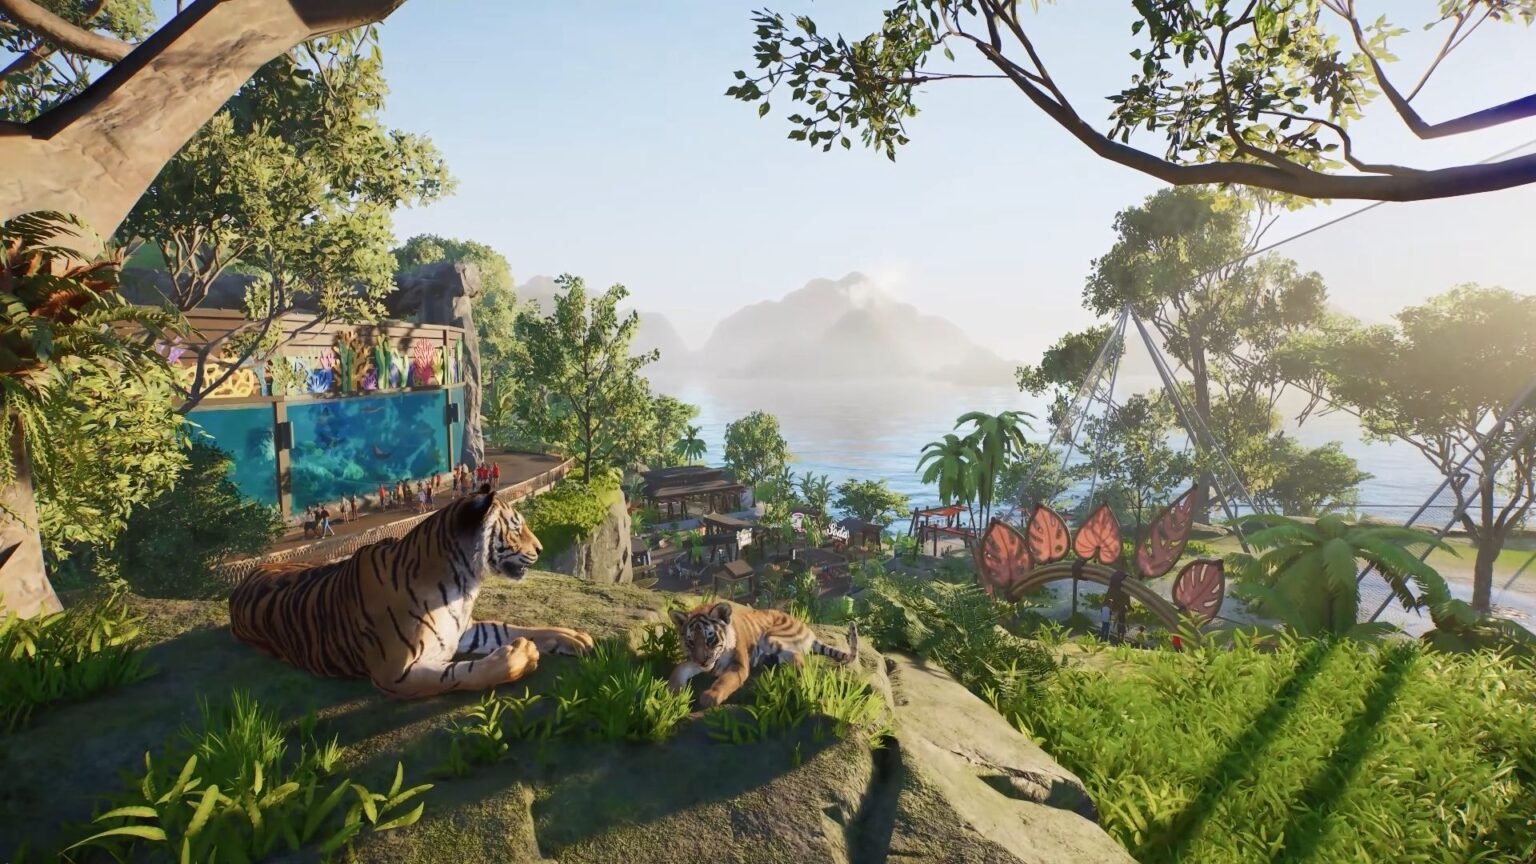

You get to recreate a working zoo in Planet Zoo 2, and the first step before bringing in the animals is to make shelters. There are several customization options available while creating your ideal shelter, and you need to pick the ones that mimic their natural habitat. You could create a makeshift shelter from the available blueprints or use the enclosure terrain or other materials to create a room for them.
You can get as creative as you want when it comes to creating shelters, as Planet Zoo 2 doesn’t skimp on the resources it provides for crafting. If you need some help building the ideal shelter for your animals, then this guide will quickly explain all shelter types and how to build them in Planet Zoo 2.
How to Build Shelters Using Blueprints in Planet Zoo 2
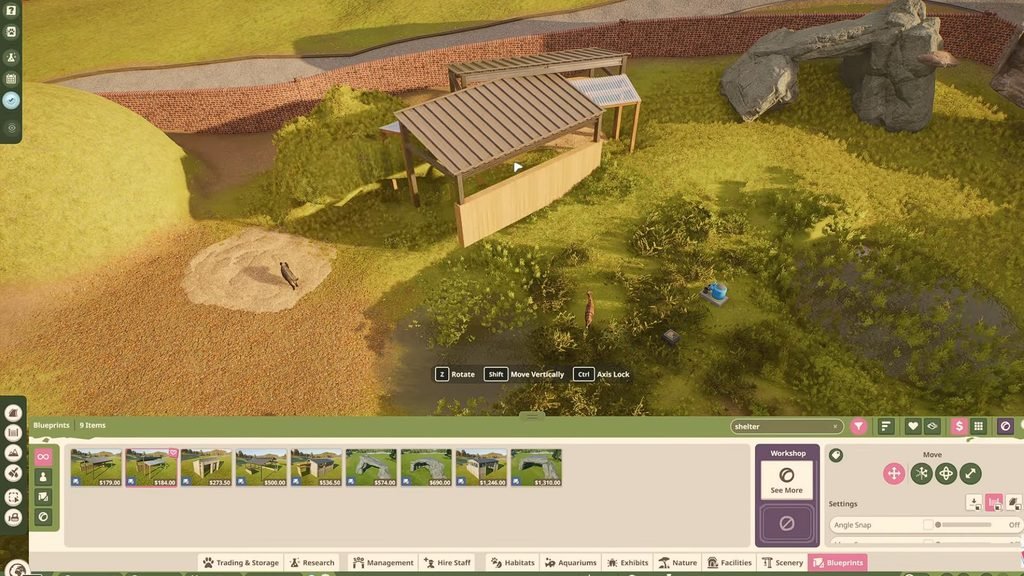
The easiest way I found to build shelters is to use the pre-existing blueprints and plop them down inside the enclosure. Click on the blueprints tab at the bottom of the screen, select the infinite icon on the left, then type in Shelter in the search bar. This will show you all available pre-planned shelters that can be bought for cash. Here are all the available shelter blueprints and their cost in Planet Zoo 2.
| Blueprint | Cost |
| Construction Shelter – Medium | $179 |
| Constructed Shelter – Small | $184 |
| Shelter Building – Small | $273.50 |
| Construction Shelter – Large | $500 |
| Shelter Building – Medium | $536.50 |
| Rock Shelter – Medium | $574 |
| Rock Shelter – Small | $690 |
| Shelter Building – Large | $1246 |
| Rock Shelter – Large | $1310 |
Note: If you have linked the game to an online account, you can download player blueprints in the Workshop under the same menu and use that too.
How to Build Shelters from Terrains
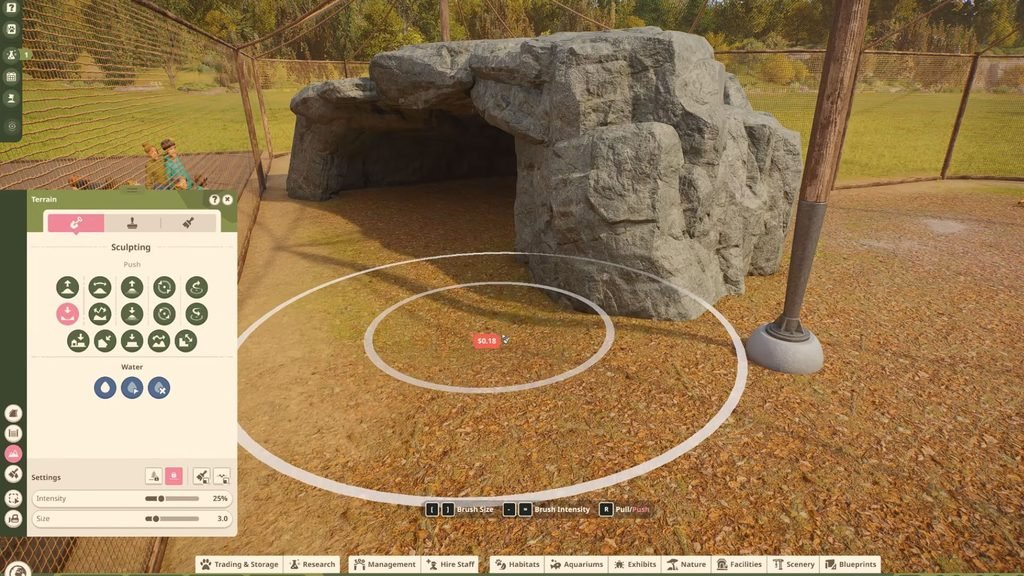
I like to customize my shelters in Planet Zoo 2 using the available terrains for aesthetic purposes. To do this, in the bottom-left corner, you can find the Terrain option and select the middle Stamps option. You will find several different stamp options that will lift up your existing terrain into the shape that you want.
After picking a stamp, place it on the ground according to the height that you want and press the LMB to draw out the ground. Then, you can select the Sculpting tab in the Terrain menu and select the Chisel tool to create indents in the raised terrain. You can increase the intensity of the chisel to create a deeper indent, forming a cave inside.
How to Build Shelters Using Materials
You can create your own shelters using natural building materials that are already given to you. Select the Nature tab at the bottom of the screen and select any rocky or wooden building material. You can then stack up the rocks or planks against one another until you get the perfect shelter. Use the advanced option to stack the materials in any direction, or add different materials for the shelter.
Do remember, shelters require a roof and a wall, and as long as those are constructed, it will be considered a shelter. Bird enclosures will require different materials to be used as shelters, but the process is the same. You need to ensure that aviaries offer enough space to fly around and nest, and you can also create a path between the aviary for visitors to walk through and explore.
How to Know if a Shelter Worked
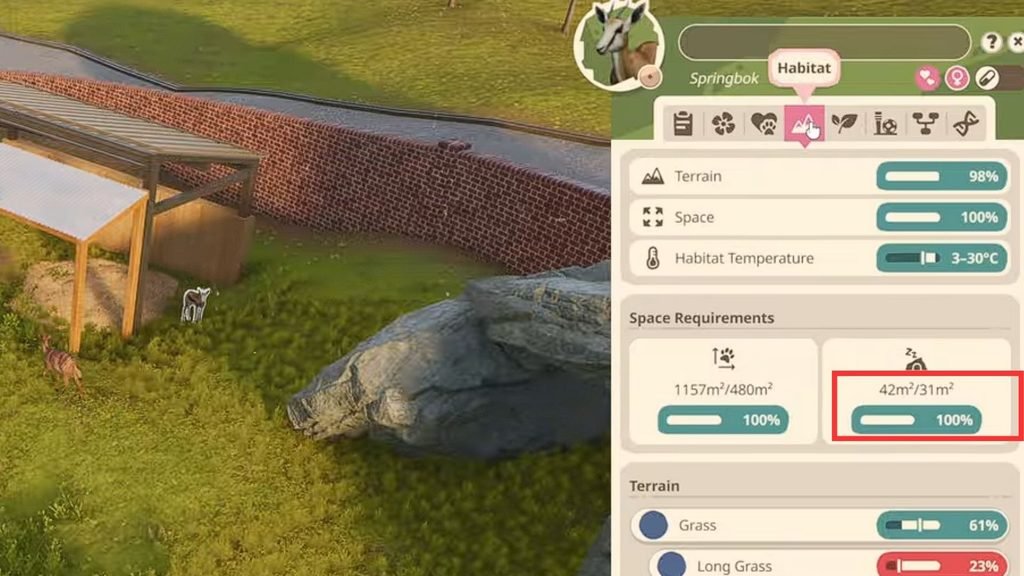
There is a way to figure out whether the shelter you have placed will be accounted for. For that, select the animal inside the enclosure where the shelter has been built and select the Habitat tab. If the meter on the right side under Space Requirements is met, then it will fill up.
The more shelters you place for each animal in the enclosure, the happier they will be. But you also need to create enough space for them to move around too. There should be a fine balance between creating shelters and having enough empty space to free roam to keep your animals happy.
