





The Illuminate Faction is the arch-enemy of Super Earth in Helldivers 2. They boast a large variety of enemies that all operate with a single purpose: killing you and your team. I had to sit and study their movesets and behaviors for a long time before getting comfortable with engaging against them in combat. You can study my findings below to find out the weaknesses of every enemy in the Illuminate Faction.
Defeating Illuminate Faction Enemies

Here are all the enemies that are part of this organization, and how to defeat them:
Voteless
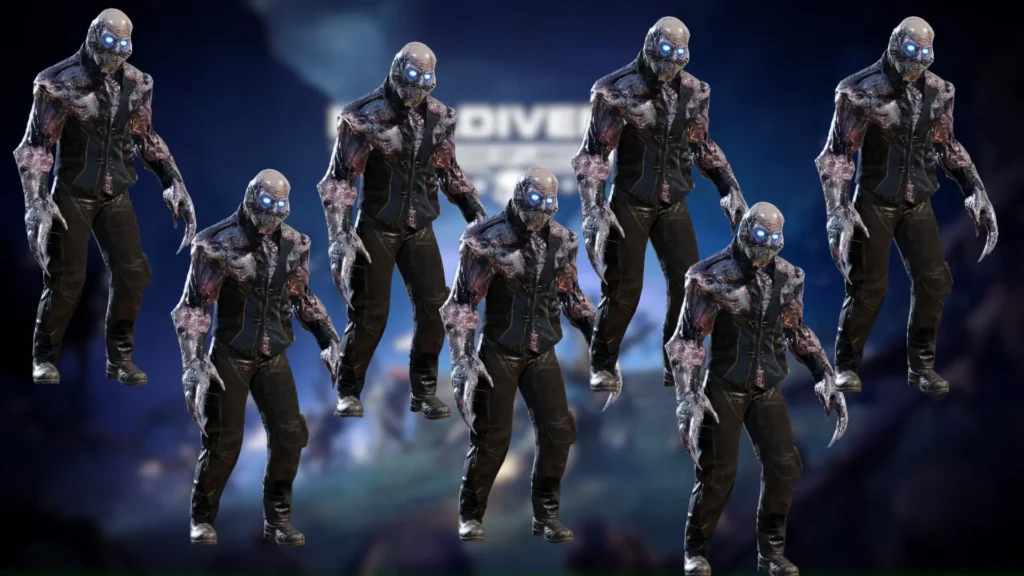
- Strategy: Individually harmless, dangerous in numbers. Use guns with Suppressed traits to avoid attracting them.
These are the brunt of the Illuminate’s infantry. You will usually be treating them like fodder enemies, but they can quickly become dangerous if you attract hordes of them. To avoid doing so, use either melee weapons or Suppressed weapons. These do not make any noise when being used. However, if you find yourself surrounded, then I would suggest using guns with wide horizontal spray, like the SG-225SP Breaker Spray&Pray.
Wretch

- Strategy: Shoot them while they leap. Dodge their melee swings.
Wretches are a mutated form of the Voteless. They have devastating melee swipes which can kill you in roughly two hits. So, if you see a group of Wretches approaching you, make them your first priority. Shoot them from afar before they close the distance. Shooting their head while they are mid-air is the only method to stop their attack.
Fleshmob
- Strategy: Avoid its rapid melee swings and hammer away while keeping your distance. Destroy all its heads or arms to neutralize it.
When the Fleshmob gets close to you, it starts charging. This fusion of Voteless does not do much damage on its charge, but you should make it your priority to move away because of what follows. If you get caught within the Fleshmob’s rapid swings, then you can instantly die. Keep your distance and shoot its weak spots. If you destroy all the heads present on its body (front and back) then it bleeds out and dies. Alternatively, you can also try to aim for all its arms. This will take away its offensive capabilities, only retaining the ability to charge ahead.
Crusher
- Strategy: Avoid close range at all costs. Knock off their helmets to shoot their heads.
The Crusher is capable of regenerating all damage. Ideally, you should not be focused on killing one. I would even go as far as to say that you are wasting your bullets even if you manage to kill one. If you do want the fastest method of killing them, then use a heavy weapon like a Railgun to knock off their helmet. This will expose their head, which is vulnerable to damage.
Watcher
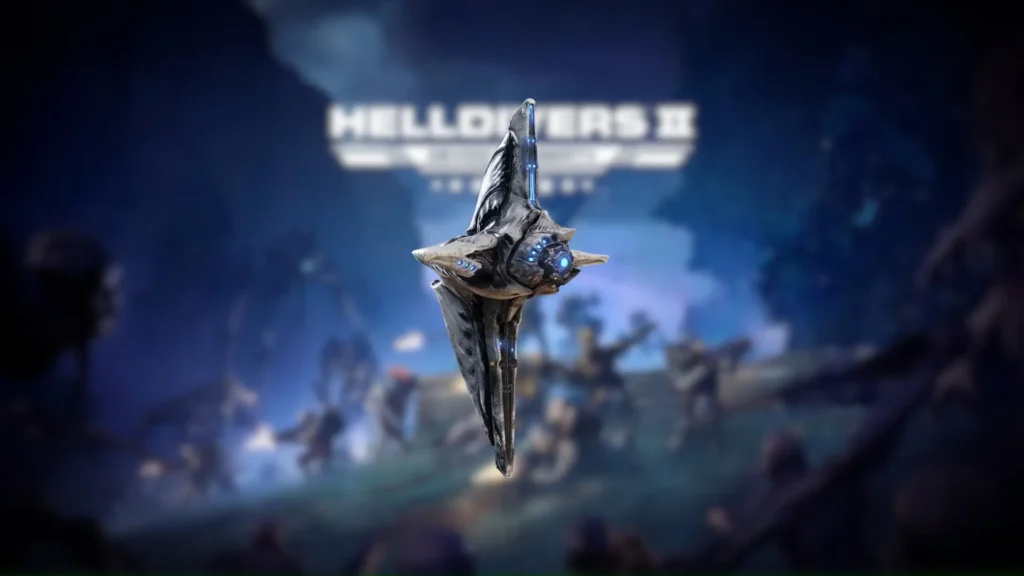
- Strategy: Avoid its fins and go straight for the core. Destroying the core will instantly bring it down.
The Watcher by itself is not a threat. I find it akin to a patrol guard. If it sees you it will alert nearby enemies to your location and call in reinforcements. However, this does not happen until it shoots flares in the sky. Before this event, make sure to target its glowing central core, and shoot it with everything you have. This will stop the alert from being sent out.
Obtruder
- Strategy: Same as the Watcher. Shoot their central core.
These are small flying units who swarm you with numbers. Although their aim is not very accurate from my experience, they can still rack up damage if you leave them unchecked. Just like with the Watchers, shoot their central glowing spots to quickly take them down.
Overseer

- Strategy: Aim for the chest or limbs to destroy their armor first. Afterwards, focus on this area to deal full damage from your weapons.
The Overseer’s strength is its head, unlike most other enemies in shooter games. Its helmet can soak up a ton more damage compared to its body and limbs. So, I would suggest destroying its chest armor and shooting the flesh beneath it to take it down. However, it can also pull up a shield in front of its chest to avoid fire. In this case, aim for its legs to dismantle the armor and take it down.
Elevated Overseer
This is a variant of the Overseer who can fly in the air. From the front, aim at their head, since they are wearing light armor unlike the base Overseer. Alternatively, you can also target their jetpack from the back for dispatching them quickly.
Crescent Overseer
The Crescent is a variant which has a much higher range than the base Overseer. It can fire its gun like a mortar from far away and rain down shots at you. It has the same weak spots as the base Overseer.
Harvester
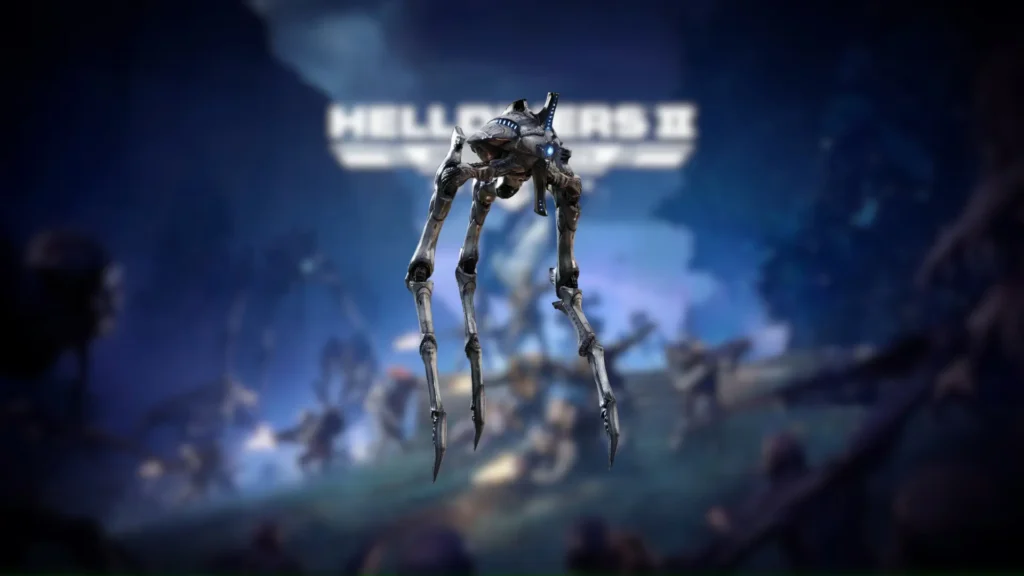
- Strategy: Maintain distance and break its shield generators first. Afterwards, aim for its eye.
Harvesters are machines of doom which can deal immense damage from far away or close-range. If you get close to them, then they unleash arcs of electricity at you. So, I would advise you to stay away, and pepper its shield with low damage weapons until it finally pops. Once its shield is down, shoot the protrusion on top or below its head to disable the shield permanently. Afterwards, aim for its glowing eye and take it down.
Veracitor
- Strategy: Avoid its charge attacks and shoot the pilots.
The Veracitor’s main weakness is the pilot in charge of the mech. This pilot sits in front of the machine, which usually always faces you. This gives you a clear idea of its weak spot. Shoot this area to deplete the blue barrier first. Afterwards, shoot the pilot to disable the mech forever.
Gatekeeper

- Strategy: Break its line of sight if it locks on to you and shoot the pilot, similar to the Veracitor’s strategy.
If I had to describe the Gatekeeper in one sentence, I would call it a ranged version of the Veracitor. Both mechs have a pilot sitting in the front, which acts as their weak spot. You need to duck into cover occasionally, as its attacks can be lethal if it locks onto you once. Defeat the pilot to put this machine down.
Warp Ship
- Strategy: Use Stratagems and grenades once they land to quickly dispatch them.
The Warp Ship brings in enemy reinforcements once it touches down. It also has a tanky shield surrounding it, which makes it impervious to damage for sometime. I would advise you to not waste bullets taking it down. Instead, use a Strategem or grenades like the Orbital Laser and Thermite Grenades.
Stingray
- Strategy: Use its firepower to kill its own allies. Defeating it easily will require specific weaponry.
The Stingray patrols the skies and rains down fire on you and your teammates. However, this attack is telegraphed by the ship dipping in altitude, and it is fired in a straight line. You can dodge to either side to avoid this attack, while it peppers its own army with it. Meanwhile, you can take it down easily with the FAF-14 Spearor the StA-X3 W.A.S.P. Launcher.
Leviathan
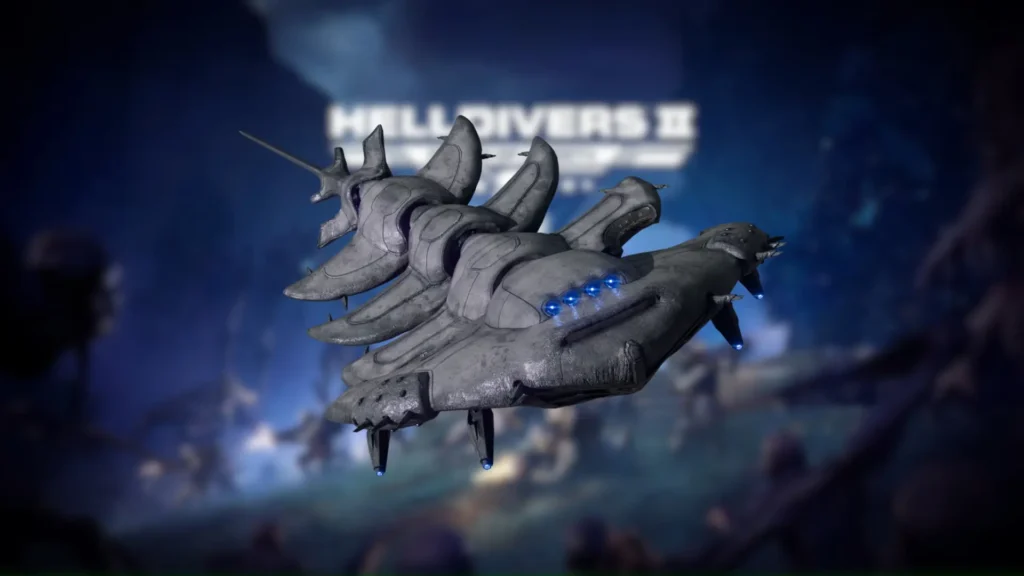
- Strategy: Behemoths of the skies which take a long time to kill, or require unconventional strategies.
Leviathans are equipped with four sets of lasers which can all lock onto the same target and annihilate them (I found this out the hard way). Moreover, it is ill advised to get under the ship itself, as it can drop bombs beneath it. The best ways to kill it are:
- B-100 Portable Hellbomb
- DSS Eagle Storm
- Anti-tank missile launchers
How To Defeat Illuminate Faction Structures in Helldivers 2
These are the structures that are made by the Illuminate Faction:
- Cognitive Disruptor: These are easily located via the huge purple glow in the sky. Head to this location and destroy four glowing blue boxes using whatever weapon you have with ammo to spare.
- Gazer: They fire a slow but extremely powerful laser. This is not fast enough to track Helldivers themselves, but it does guarantee that any vehicle or mech that you have near you will be obliterated. The best way to get rid of it is an ordnance with Demolition force of 20 or more.
- Lightning Spire: They take some time to charge up, but can one-shot you if you remain in the vicinity. You can avoid its targeting by lying prone on the ground. Destroying it is quite simple, just use any Light Penetration weapons and it will be destroyed in a short while.
- Illuminate Overship: This structure does not really fire towards you, but it does sit there menacingly. Its critical flaw is that it can be destroyed from a single shot of the Planetary Defense Cannon. However, it does have a shield up, which can waste some time for this cannon. Instead, I would suggest using something like an AC-8 Autocannon or the MG-206 Heavy Machine Gun to take down the shield, leaving it vulnerable for the Defense Cannon.
That was everything to know about the Illuminate Faction in Helldivers 2, and how you can slay them with the best tactics.
