

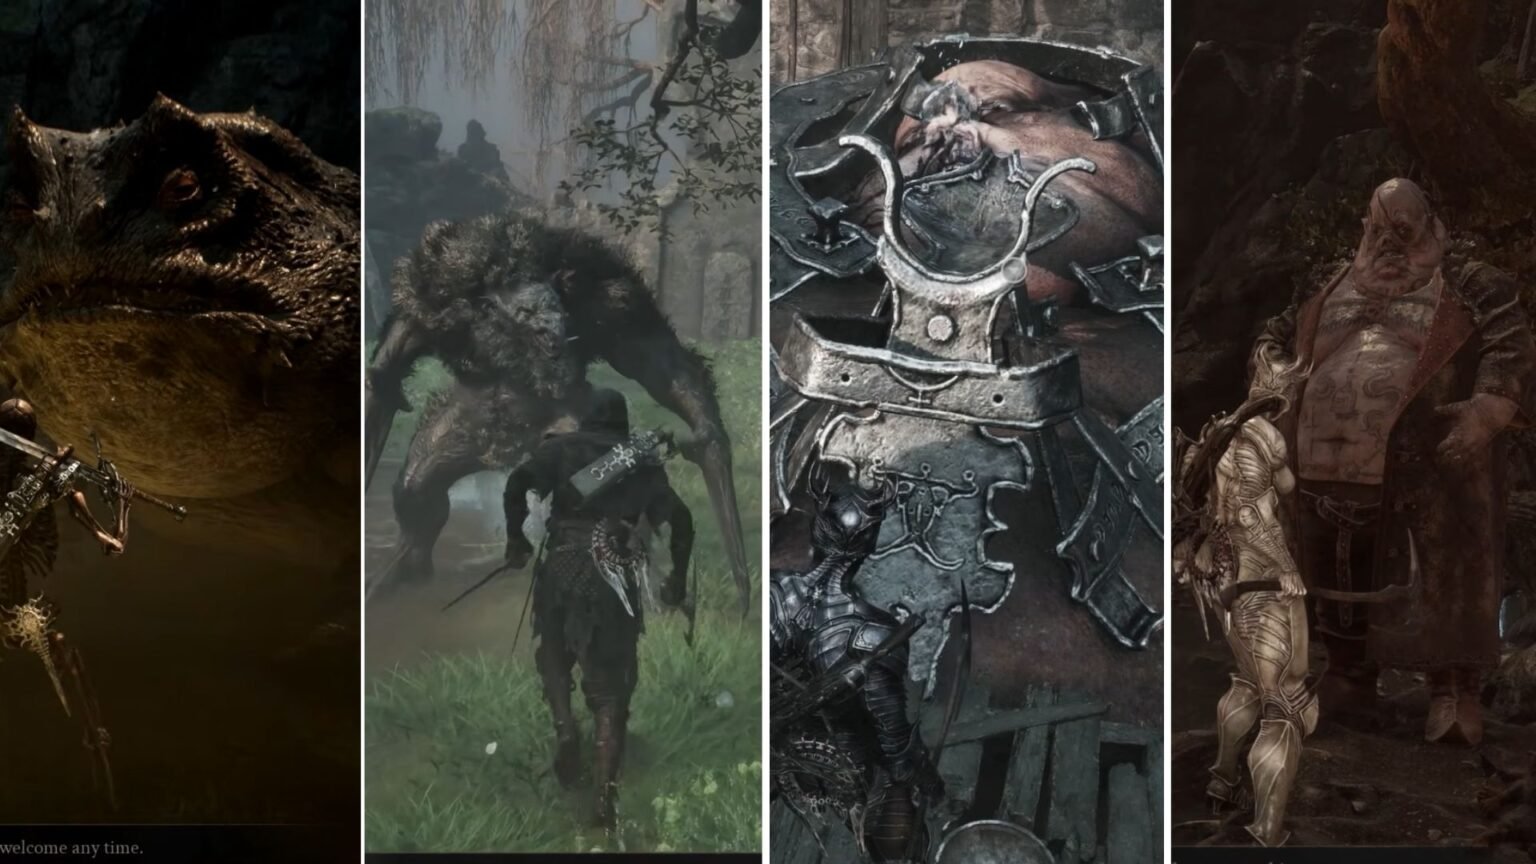

Mortal Shell 2 isn’t all combat and exploration, as you will find NPCs who need your help. Some of the requests they have are pretty simple, but it could take several trips back and forth before you can complete the entirety of the quest. In case you are wondering how to complete certain NPC quests, then this guide is for you.
In here, I have put down all available NPCs you will find in the game, their questline, and how to quickly complete them to get their endings.
On This Page
Gorf Quest Guide in Mortal Shell 2
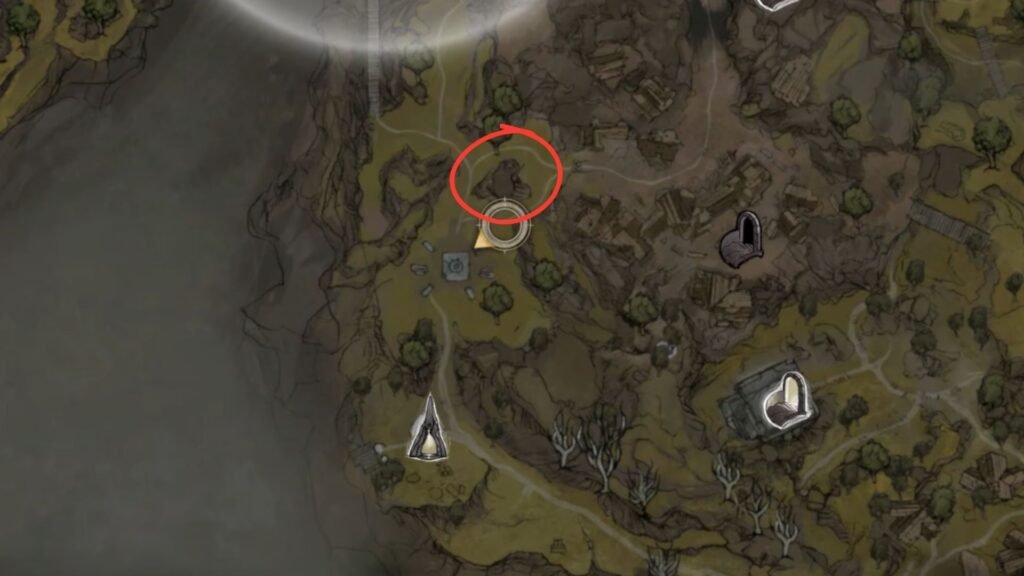
Gorf is probably the earliest NPC you will find after unlocking the Blackridge Pass beacon. From the beacon, go across the bridge and stick to your left. You will find an enclosure with a muddy pond and a giant toad named Gorf sitting in it.
You can also get to Gorf’s location from Widow’s Overlook beacon. Just head north to find the enclosure. If you are having a hard time finding Gorf’s location, what I had to do was listen for a strange cough while near the enclosure. This helped me find him rather quickly.
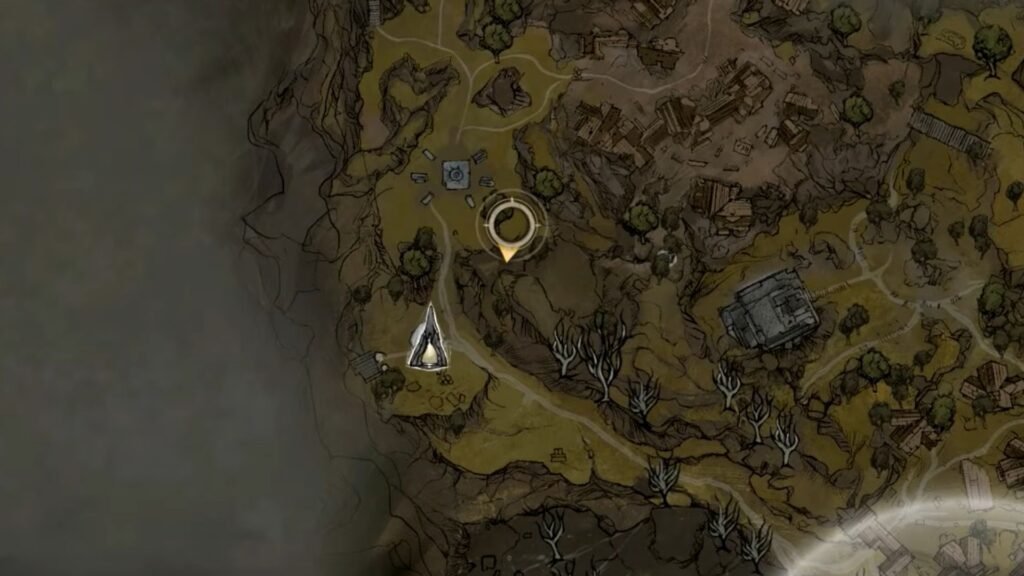
Once you locate the giant toad, speak to him, and he will ask you for a Weltcap Mushroom. You can find a Weltcap Mushroom just outside Gorf’s enclosure. Walk straight out of his enclosure towards the giant tree in the clearing ahead.
Look around the base of the tree to pick up the mushroom and hand it over to Gorf. He, in turn, will give you a Marsh Pearl. Exhaust all dialog options, then return to a beacon to rest. This will reset the world, giving you another chance to speak to Gorf.
Gorf will ask you for another Weltcap Mushroom, which you will find around the same area as earlier. Hand it over, collect the Marsh Pearl, exhaust all the dialogue, then return to the beacon. The next time you see him, he will ask for Moonshines.
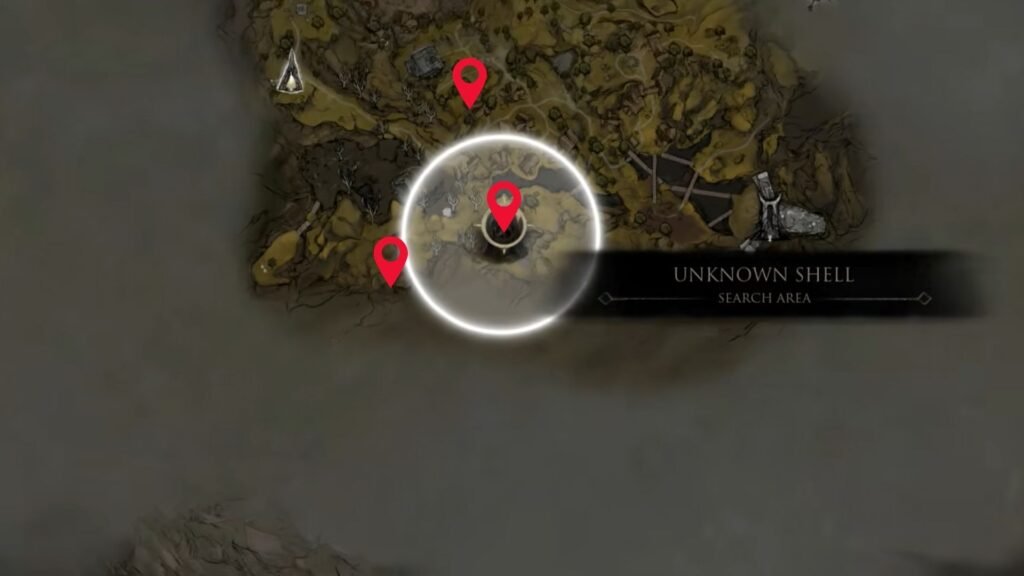
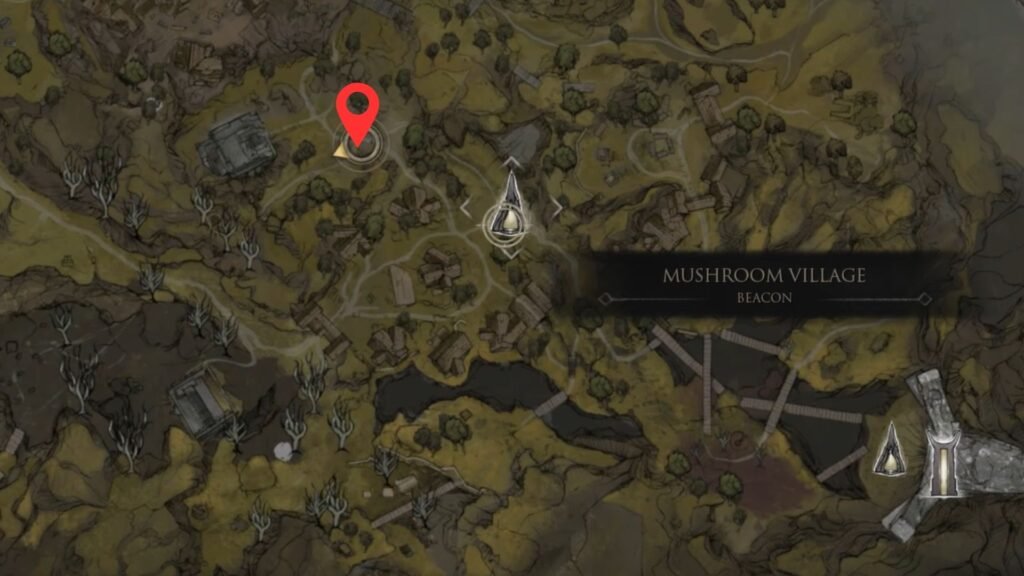
You need to collect three of them to hand them over during the course of three consecutive meetings. I could get my hands on a couple of Moonshines after unlocking Mushroom Village.
- Make your way towards the area where the Tiel Shell is located to find a Moonshine here.
- There’s another one if you exit the previous area through the archway and go left towards the tent. Check the crate to collect a Moonshine.
- The final Moonshine is inside Mushroom Village. Enter the village through the main gate and head up the stairs on your left. Go around the house to find a Moonshine here.
After collecting all the Moonshines, speak to Gorf to hand over one and collect another Marsh Pearl. Reset at the beacon and repeat this step two more times, and collect more Marsh Pearls after each conversation. After handing over the final Moonshine, reset at the beacon and speak to Gorf one final time. You will find a nearly dead Gorf, and he will give you the Poisoned Dagger.
Hilga Quest Guide in Mortal Shell 2
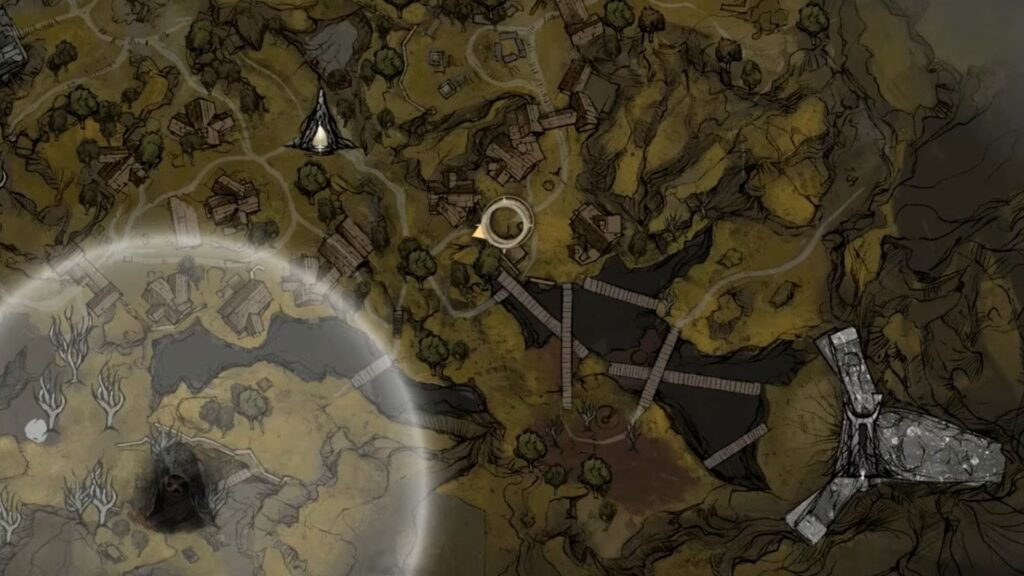
The next NPC you need to speak to is Hilga, who resides in Mushroom Village. From the Mushroom Village beacon, go right and keep going until you find a wooden bridge. Cross the bridge to find Grom sitting in a tub. Right next to Grom is Hilga. You can exhaust your conversation with Grom first, but you should pay more attention to Hilga.
Hand over the Poisoned Dagger from Gorf to Hilga, exhaust all dialogue, then reset at the beacon. Return to Hilga’s location to find a note this time. Read the note, then reset at the beacon. This time, head back to Gorf’s location to find Hilga standing beside him. Exhaust all the dialogue and hand over one Moonshine. In return, she will give you a Marsh Pearl.
Return to the beacon, head back to Gorf, exhaust his dialogue, collect the final Marsh Pearl, then reset at the beacon one last time. Return to Gorf and speak to him and the newly transformed Hilga to complete the questline. You can sell all the collected Marsh Pearls at the Marrow Keep merchant to get 2,000 coins per pearl.
Grisha Pup Quest Guide in Mortal Shell 2
There is a caged Grisha Pup that you will come across in Mushroom Village’s Hunter Camp. You could break the lock right away and release it, but I recommend against this step from the get-go. Instead, speak to the Grisha Hunter nearby and check their store. Purchase the Grisha Remnant for 2000 Coins, as this is an extremely rare item. They also have the Grisha Pup cage key in stock, but it will cost 250 Coins.
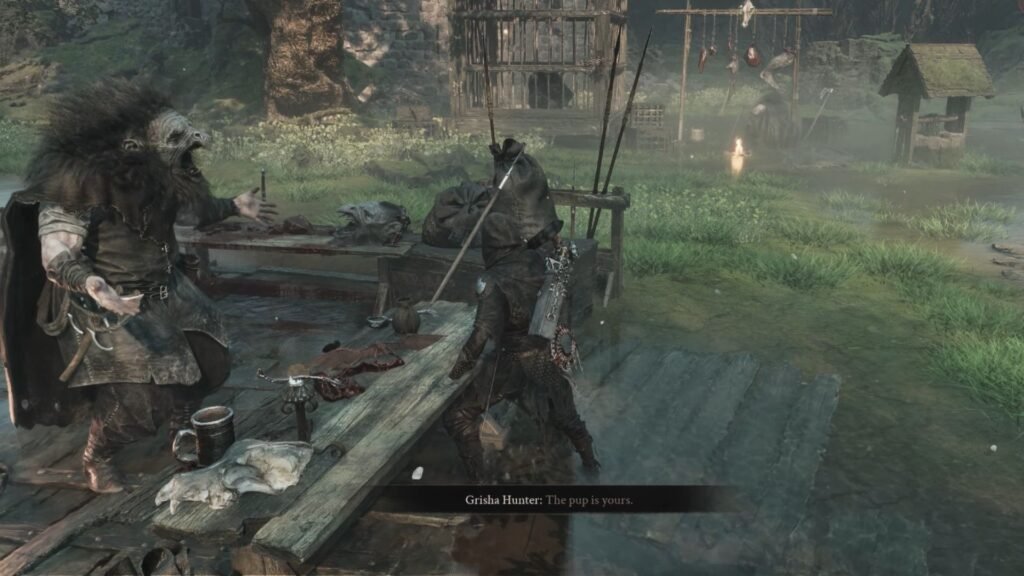
In my opinion, it’s not worth purchasing the key. You could kill the Hunter and get the key for free, but I would suggest just breaking the lock of the cage. Return to the Grisha Pup and set it free, which will turn the hunters hostile. You could fight them, but a better option would be to reset at a beacon. Return to the camp to find it destroyed and dead Hunters strewn around.
You will also find the Grisha Pup with its mother. Interacting with them won’t give you much except for a few coins or glimpses. But the pup will drop a Sheephead Totem after being released from the cage initially. If you equip it in different ways, you can use its abilities differently.
- Using the active skill of the totem will turn you into a sheep.
- Using the passive skill will reduce the max HP of enemies by 1%.
Egon Quest Guide in Mortal Shell 2
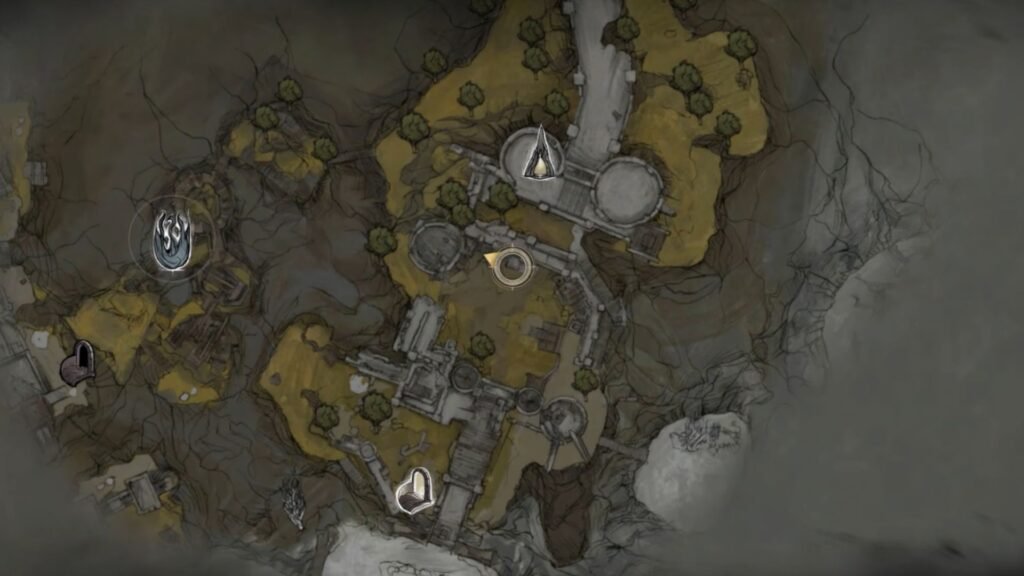
You will find Egon near the Castigor’s Keep beacon in the southern section of the map. Reaching Egon isn’t really straightforward, as he is located behind a locked gate. You will find the locked gate as you make your way down the stairs from the beacon. To unlock it, you need to go around the building to open it from the other side.
From the locked gate, look around to find a wooden rampart and get on it. Keep moving forward until you spot the broken wall. Go through it and get across the wooden ramp, then drop down. Look to your right to find a lever that will unlock the gate. You could either return to the gate and meet Egon through it, or turn left from your previous location and make your way towards the tower instead.
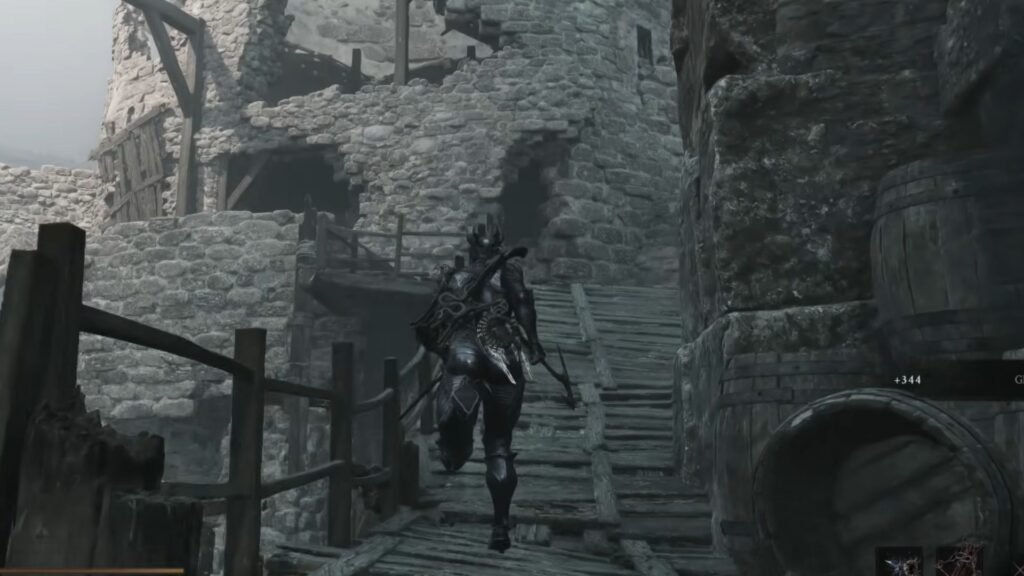
Climb up the ramp to speak to a giant being named Egon. Egon will demand 20,000 Gloom, but the trick is, you can’t give this in a lump sum. Rather, he will ask you to break down the amount to 1,000 Gloom per visit. That means you need to make 20 visits to complete the task. You can rest at the Castigor’s Keep beacon to reset and visit Egon each time to complete the quest quickly.
In case you run out of Gloom, the best way I found to farm enough Gloom is to visit the sheep pen where the Wandering Shepherd mini boss was. After defeating the boss, killing the sheep here will yield 50 Gloom per kill. You can rinse and repeat at the Sunken Village beacon to farm Gloom quickly. Equipping the Gloombound Stone will increase the yield, with a level 4 Gloombound Stone offering +6 Gloom per kill.
After completing your quota, Egon will thank you and pass away. But he doesn’t just leave you with nothing, as you will get 40,000 Gloom in return.
Vlas Quest Guide in Mortal Shell 2
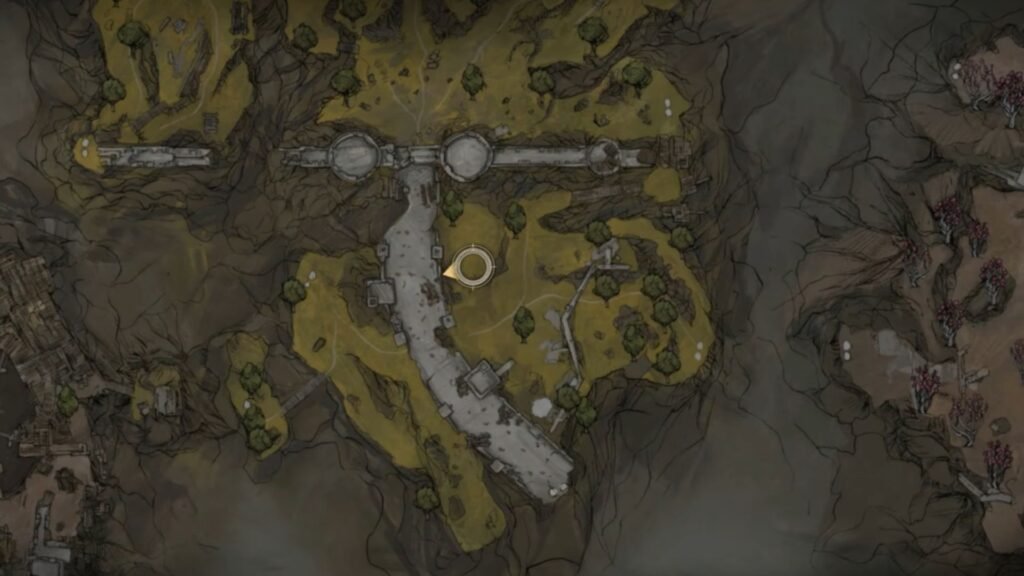
You will find Vlas near a broken-down carriage in the Outskirts of Mammon. If you head south from the beacon, you will find him on the grassy area next to the bridge. Speak to him, and he will tell you that he was attacked and his cat was stolen. He will ask for your help in locating the missing feline.
All you need to do here is investigate the entire area to search for clues. Start by investigating the empty crate nearby, then speak to Vlas. He will hand over 1x Coin of Mammon and ask you to search for more clues. Rest at the beacon and look around some more. I could find a bloodstain nearby, and after checking it out and speaking to Vlas, I got new dialog options.
Keep resting at the beacon and scanning the area until Vlas gets up. Exhaust all your dialogue with him, and after your next reset, he will disappear. You will find him again at the Lonesome Spire. To get here, near the Gate of Mammon beacon, then climb up the wooden ramp. Continue to go up, then take the stairs on your right. You need to go all the way to the top to find the camp.
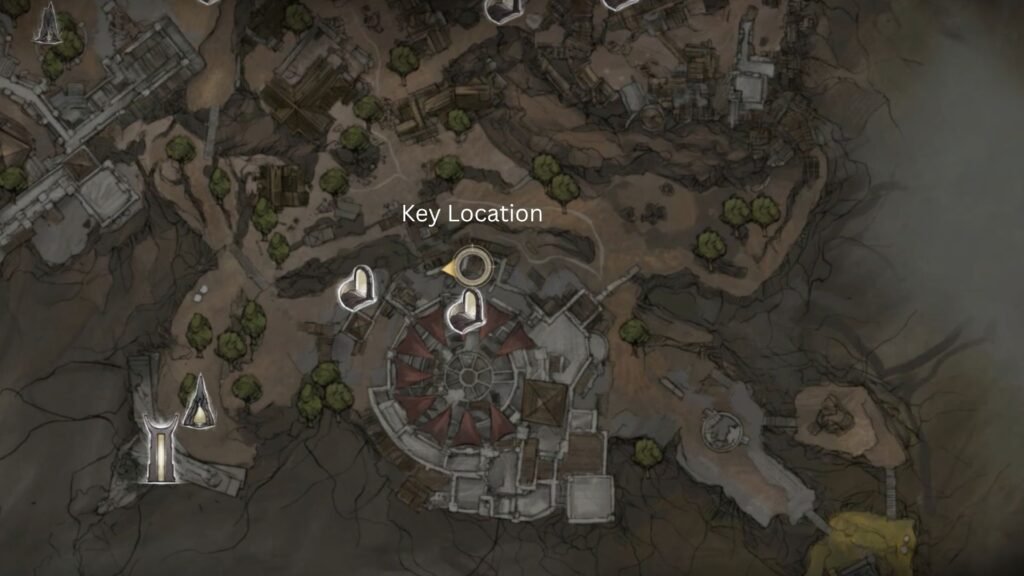
You will find Vlas locked up inside the cage here, but before talking to him, check the merchant’s wares and purchase items here. The merchant’s store will be unavailable if you free Vlas earlier. Then, speak to Vlas and exhaust all dialogue. There is an Unremarkable Key that can be used on the cage nearby. It’s inside a building north of the Sentry’s Grave dungeon. Pick it up, then hand it over to Vlas to free him.
After that, revisit the area where you first met Vlas to find a letter. If you visit Marrow’s Keep after that, you can find Vlas and his cat, Mutton, relocated here.
