
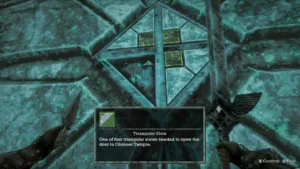

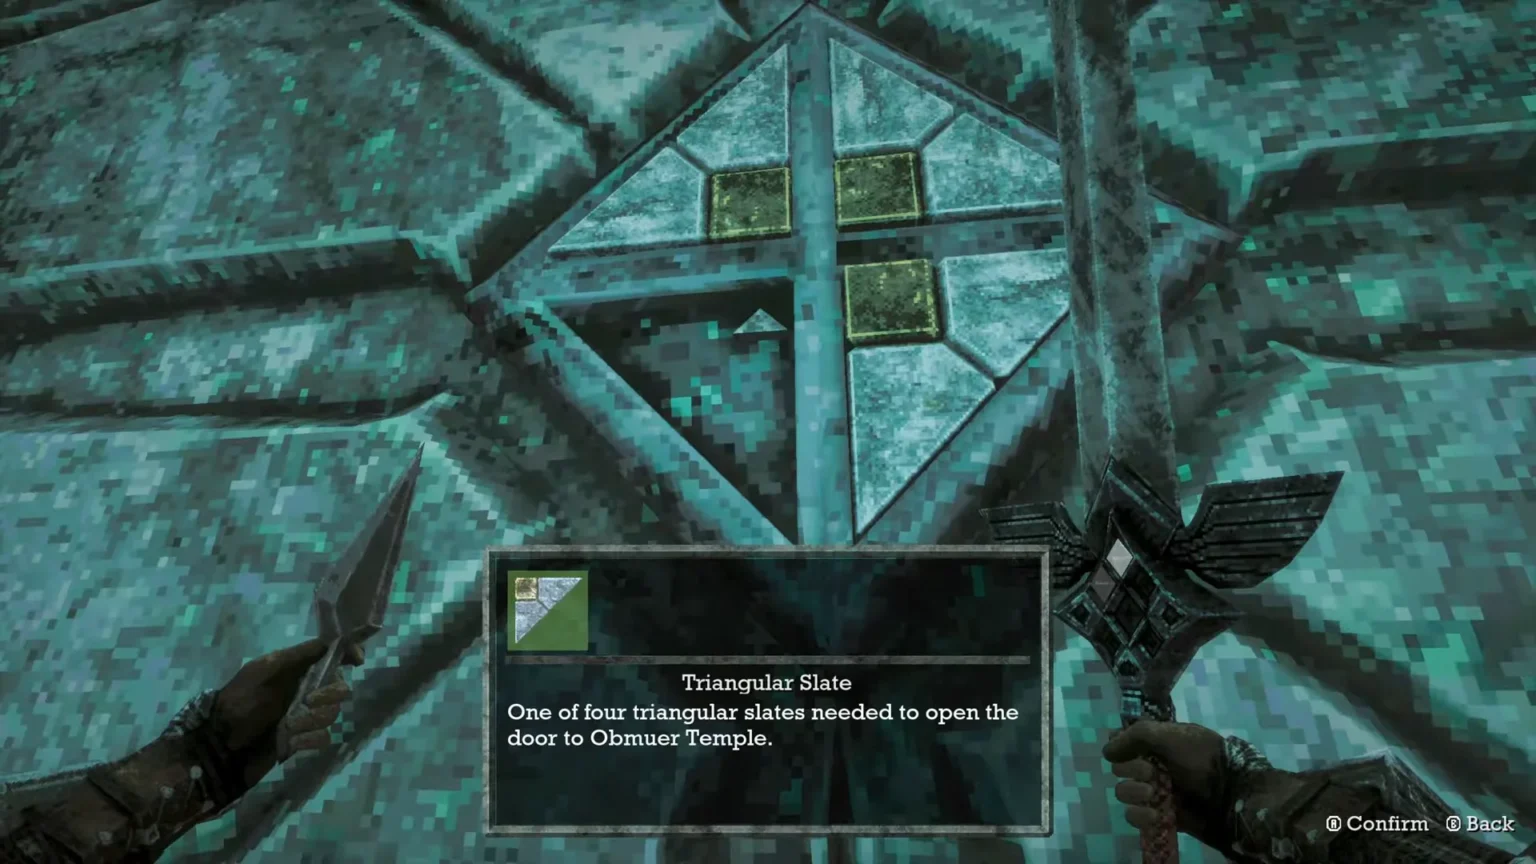

Queen’s Domain likes to hide many of its interesting weapons and items at specific places that require play to have a keen eye throughout the gameplay. Some places might look simple, such as a cell, but if you look behind it, you will find a hole that can lead you to a new boss fight with a secret weapon at the end. This puzzle has four triangle-shaped shards, or as the game refers to them, Triangular Slates, in four different places to unlock the door.
In this guide, I will provide a complete walkthrough for all four shards, or Triangular Slates, found in Queen’s Domain. All four of them are found in the same area, but in four different places; you will need to carry out a bit of platforming to reach the places to grab the shards.
The Location Details for All Four Shards or Triangular Slate
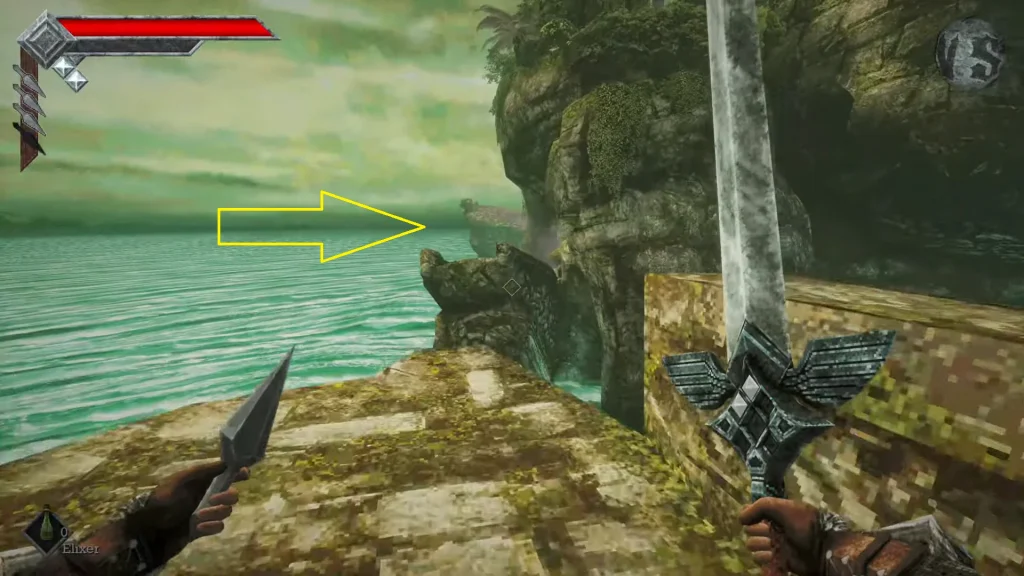
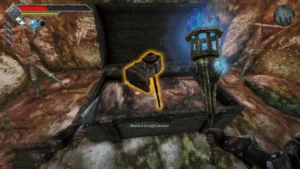
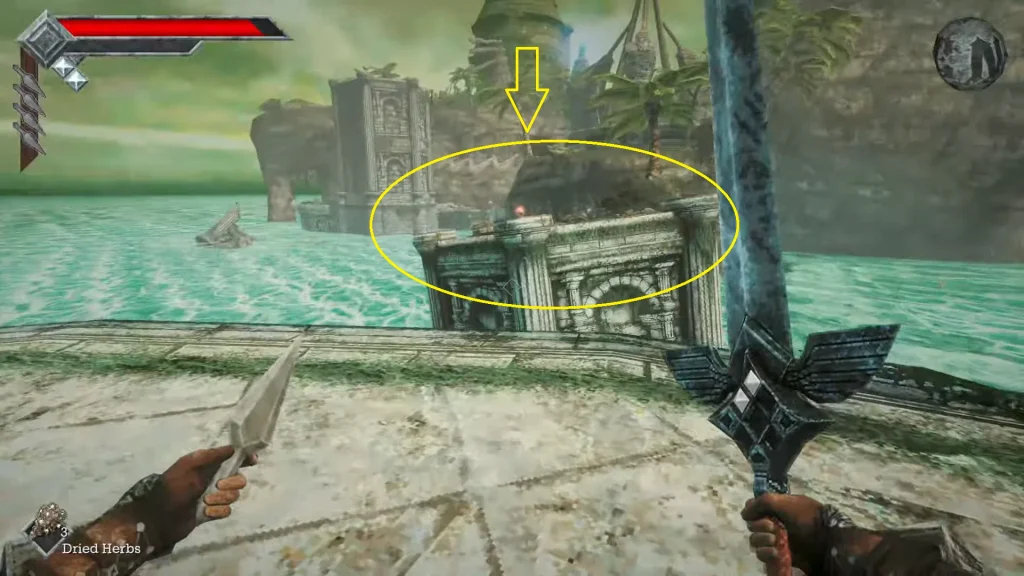
All 4/4 shards or Triangular Slates are found in the water area after crossing the bridge, as marked on the image above. The very first thing to do is jump across the bridge; use the double glide ability to get to the other side, as shown in the image. This will take you to the water section, where we can start the hunt for all the shards
Triangular Slate Location #1
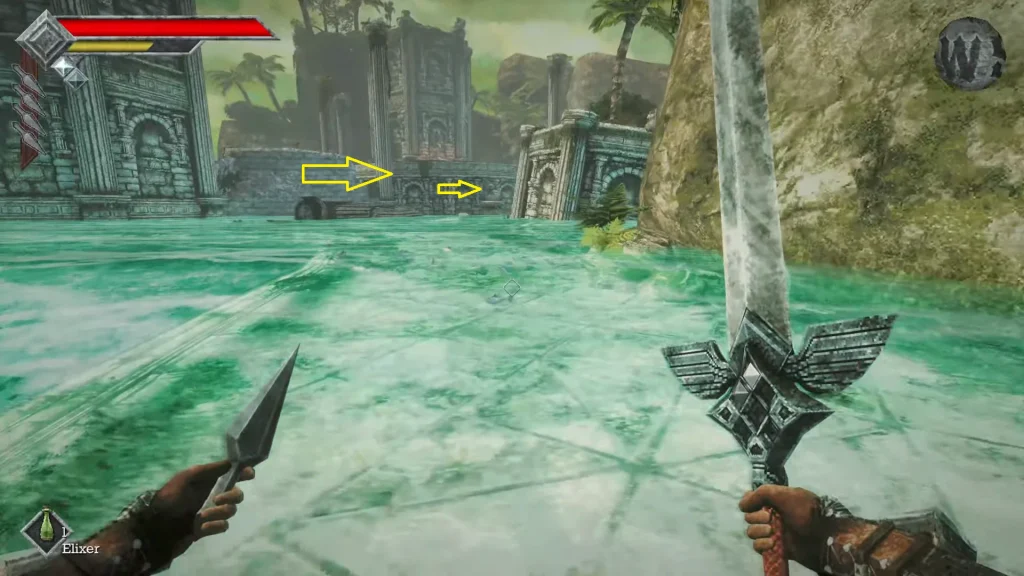
Once you are in the water section, immediately at the beginning, jump across the gap on the right to land on the other side. Keep heading straight and cross the gap in the water by walking on the pillar, marked with the yellow arrow.
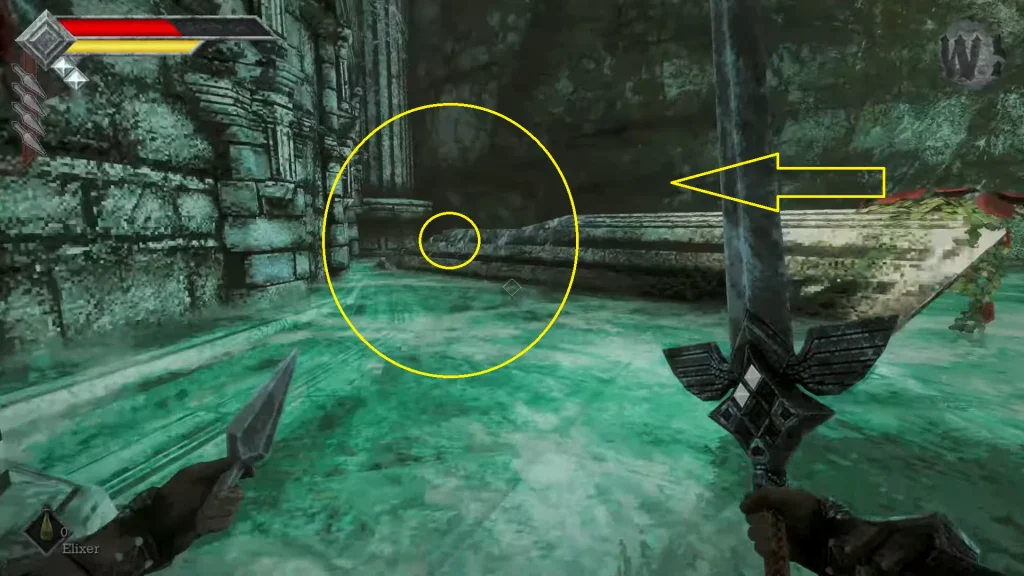
Now turn right, follow the route, and you will find the very first Triangular Slate behind the pillar at the end of the road.
Triangular Slate Location #2
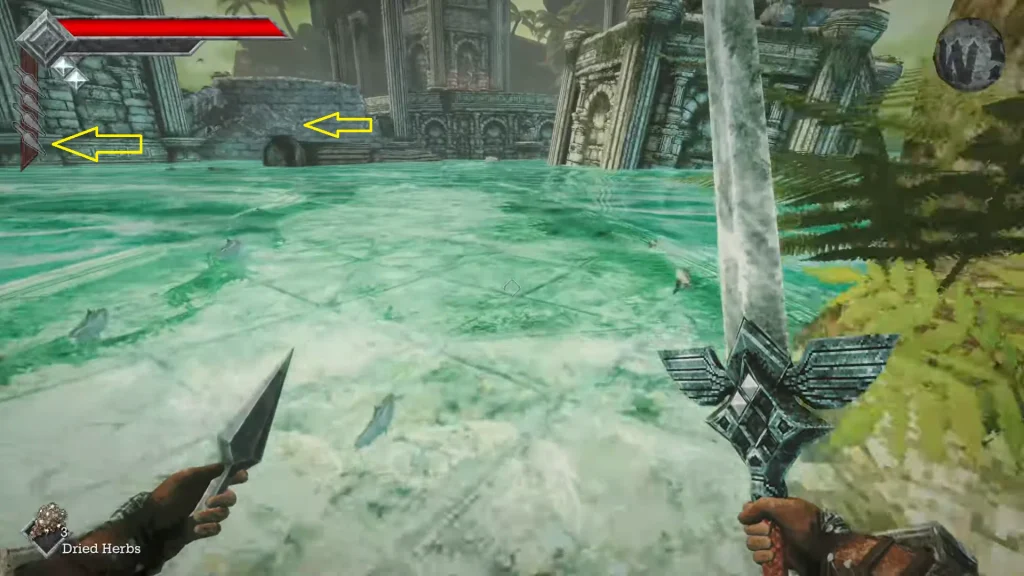
For this one, head back to the beginning of the water section area until you reach the pillar in the gap section we crossed to obtain the first shard. Unlike the last time, where we had to take the right turn, for the second shard we must move to the left of the pillar, as marked with the yellow arrow markers on the image. Now, through the hole in the wall, and soon you will find a ramp leading to the top floor on your right.
Get on the ramp to reach the upper floor; here, you will find some skeletons. Defeat or avoid them; we just need to jump to the platform ahead, marked with the yellow circle, to find the second Triangular Slate.
Also Read: Queen’s Domain – Rusted Longhammer Guide
Triangular Slate Location #3
Now again, get to the starting spot in the water section, and we are going to follow pretty much the same route as the second one but with a slight deviation in the middle. After we take the left turn from the pillar, just like the last time, we will go through the hole in the wall.
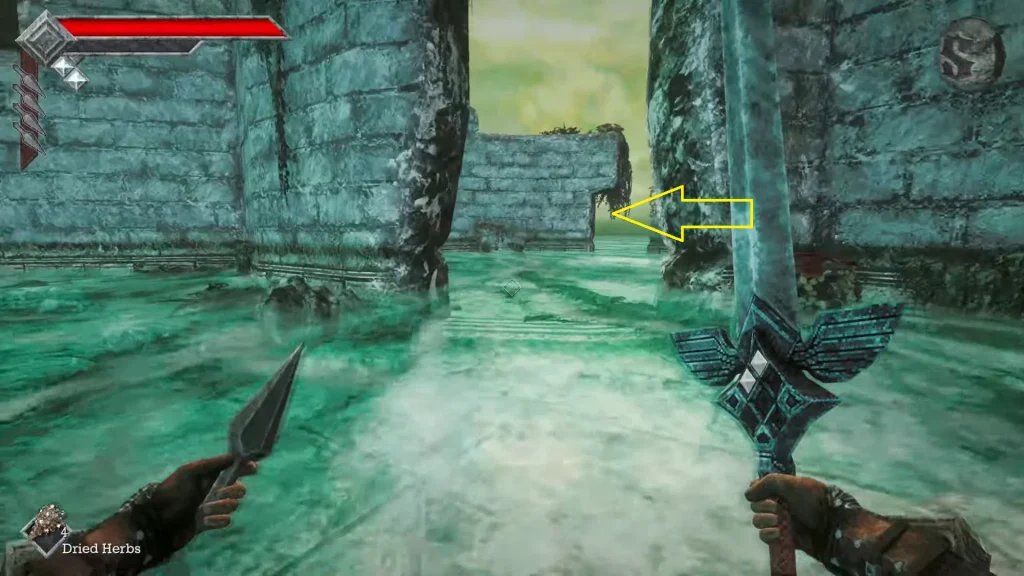
Now, instead of taking a right route that leads to the ramp, we will move to the left to find the third Triangular Slate in the corner, as marked in the image above.
Triangular Slate Location #4
Just like the last two shards, start from the water area and take the left turn from the pillar. Go through the holes in the wall and then turn right. Don’t go up the ramp; the shard is located on a small platform on the water, just a bit to the right of the ramp.
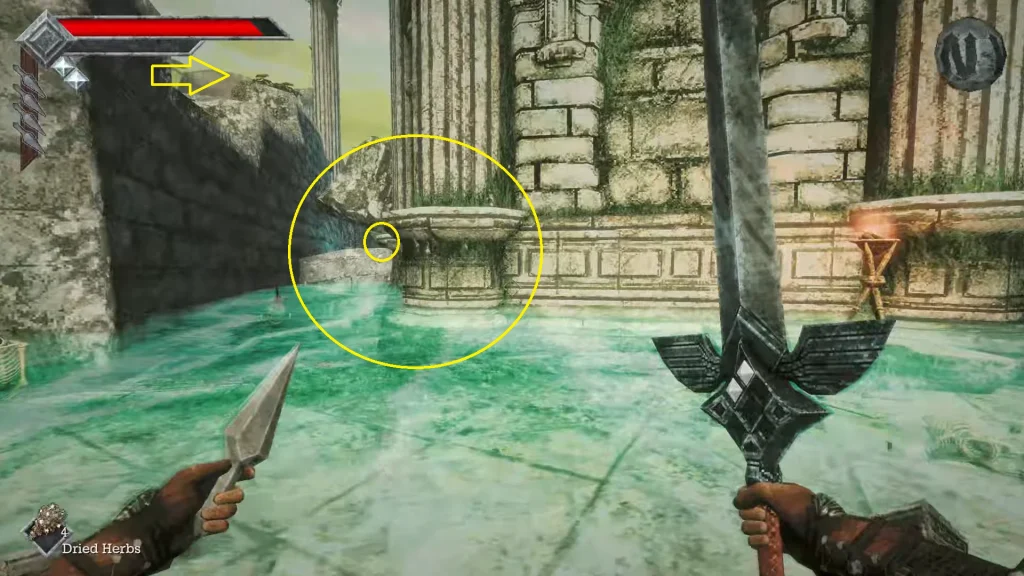
If you look at the right side of the ramp, you will find a fallen platform against the wall that acts as a small ramp to the top of the wall. Climb on the ramp, and you will find the fourth Triangular Slate on the right, right on the platform in the water, as marked in the image.
