As you advance through the Dragon’s Dogma 2 story campaign, you will eventually meet Wilhelmina. She is a memorable character who operates the Rose Chateau Bordelrie. At a critical moment, she gets you out of a tight spot. You can return the favor, if you wish. In fact, you’ll need to do just that to complete the Every Rose Has Its Thorn side quest.
Dragon’s Dogma 2 – How to Romance Wilhelmina and Complete Every Rose Has Its Thorn
Every Rose Has Its Thorn is a side quest that becomes available once you have cleared two key story campaigns: The Stolen Throne and An Unsettling Encounter. The lovely but dangerous Wilhelmina plays a role in both of those quests. After that, the door is open if you want to continue advancing her role in the story. To romance Wilhelmina and complete Every Rose Has Its Thorn, you must help her take vengeance on a nobleman named Allard.
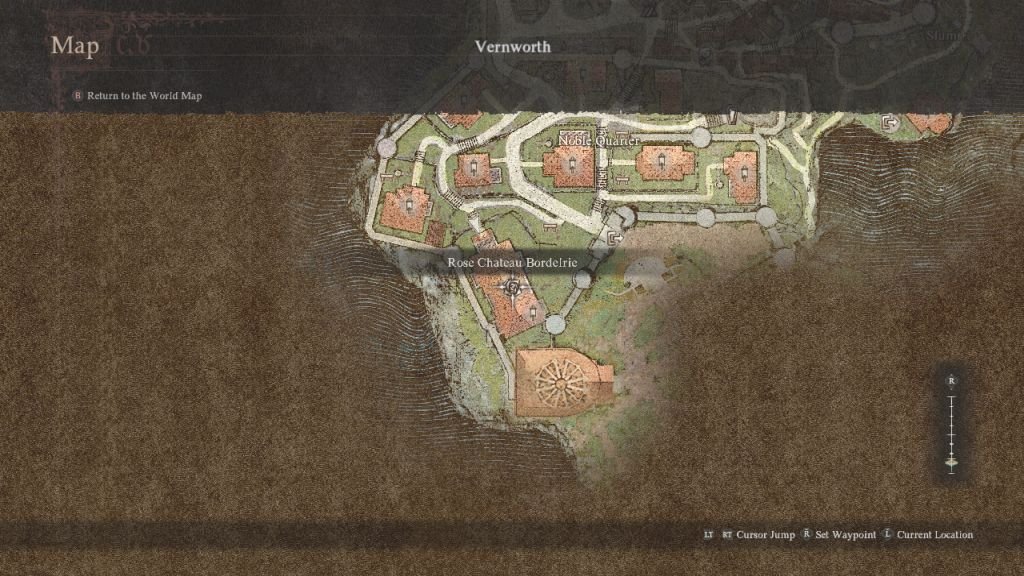
Your first task is to activate the quest. The process required may vary, depending on what all you’ve already done. In my case, all Wilhelmina wanted to do was talk. She didn’t have much to say, either. That’s because in order for the quest to appear, you first must improve your relationship with her, beyond wherever it is after you clear the relevant story quests. To improve your relationship, visit her at the Rose Chateau Bordelrie at night. Head upstairs and to the back of the building to find her room. She may be standing in front of it, or you may have to go inside to find her on her balcony. When you talk to her, give her a gift. I gave her a Bunch of Flowers on each of two separate evenings.
Also Read: Dragon’s Dogma 2 – How to Investigate the Letter for Sven
When you have given Wilhelmina enough gifts, she will repeat the same line when you meet her. Her remarks end with, “Here I am…” That’s your cue that it is time to take a next step. Leave the building and go pass the time elsewhere. I went and talked to Brant at the bar and then passed some time on a nearby bench.
When you finally return to the Bordelrie, make sure to do so at night once again. Head directly to Wilhelmina’s room. She should no longer be in view. However, you can enter Wilhelmina’s room. Once you do so, head to the right where you know there is a peephole hidden.
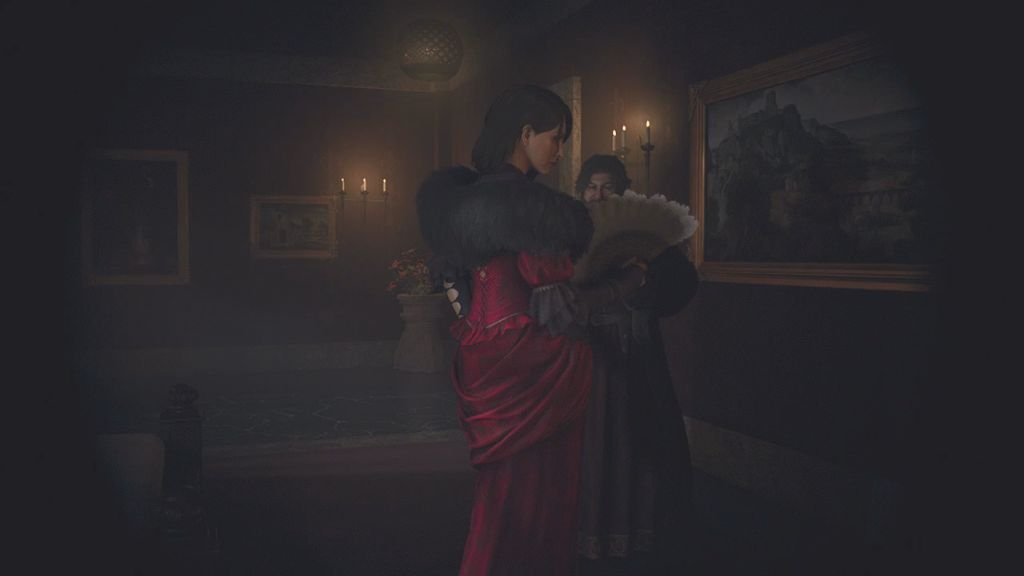
When you investigate the circular painting, you get to witness a scene. Wilhelmina entertains Allard and ultimately turns him away for the evening. Then she invites you to meet with her in the room. You accept her offer automatically. She then explains her predicament, at which point you should offer your assistance. That offer finally kicks off the Every Rose Has Its Thorn quest. Keep in mind that the quest is timed.
You now have three in-game days to find proof of Allard’s guilt in a nasty matter from some years prior. After you leave the Bodelrie, get right to work. Your pawns offer a hint as to what you might do next: visit Sven in his chambers. Fortunately, Vernworth Castle is close at hand. Head onto that property and make your way to the Vernworth Satellite Tower, near the bottom portion of that map. You can easily climb the stairs to the upper level and meet with Sven. The tower is my absolute favorite way to access that portion of the castle, without running into a bunch of guards.
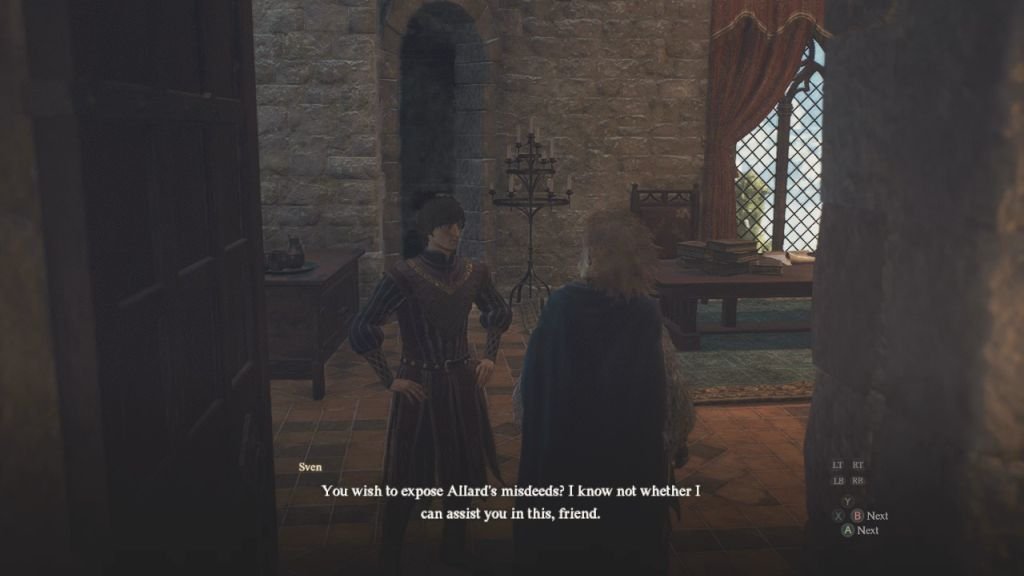
When you meet Sven in his chambers, he says he can’t help you directly. However, he refers you to Patrick. It turns out Patrick and Allard don’t get along very well. Sven believes the former man will be able to assist in your investigation. You can visit his estate at night.
Exit Vernworth Castle and head to Patrick’s Estate. It is located along the northwest portion of the Noble Quarter. There is a bench not far from it, in case you need to pass time until evening. Visit the estate at night and go directly inside to meet with Patrick. He proposes a plan that will briefly distract Allard. Go ahead and agree to the plan. It takes place immediately. Exit Patrick’s house and make your way to Allard’s Estate, which is not far away on the map. The two men are neighbors.
Even if you rush directly to Allard’s Estate, he should already be leaving the building. Let Allard walk past you, and then enter his house behind him. For me, a guard had been posted outside the door. However, he didn’t seem to mind when I just brushed past him and entered the building.
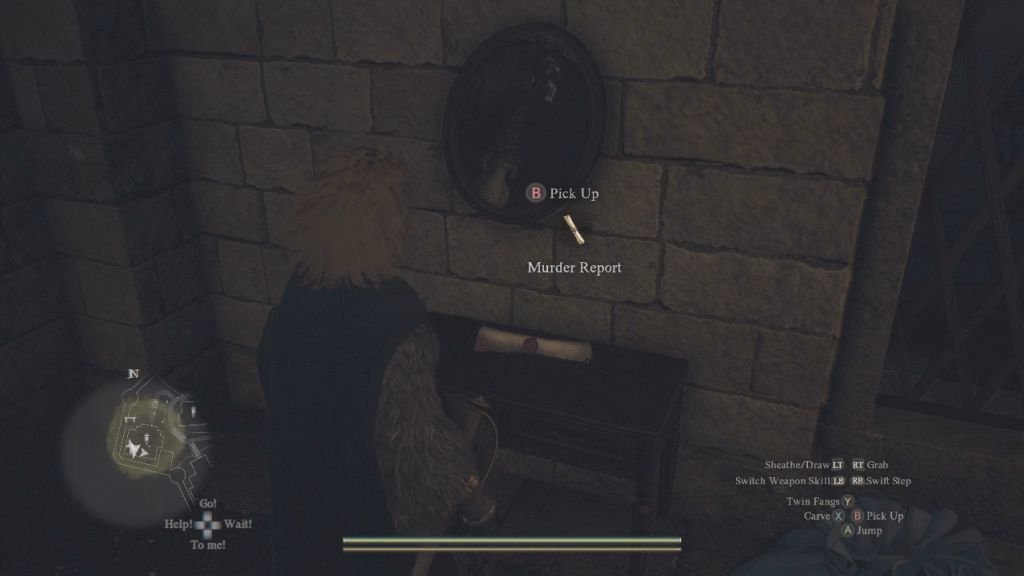
Inside Allard’s house, head upstairs. Enter the first door on the left side of the hallway that extends from the top of the stairs. In that room, check a painting on the far wall. You’ll prompt a scroll to fall onto the table below it. Grab the Murder Report from the table. Take it with you to the Rose Chateau Bordelrie to show to Wilhelmina. In my case, she was standing on her bedroom balcony, looking at the stars.
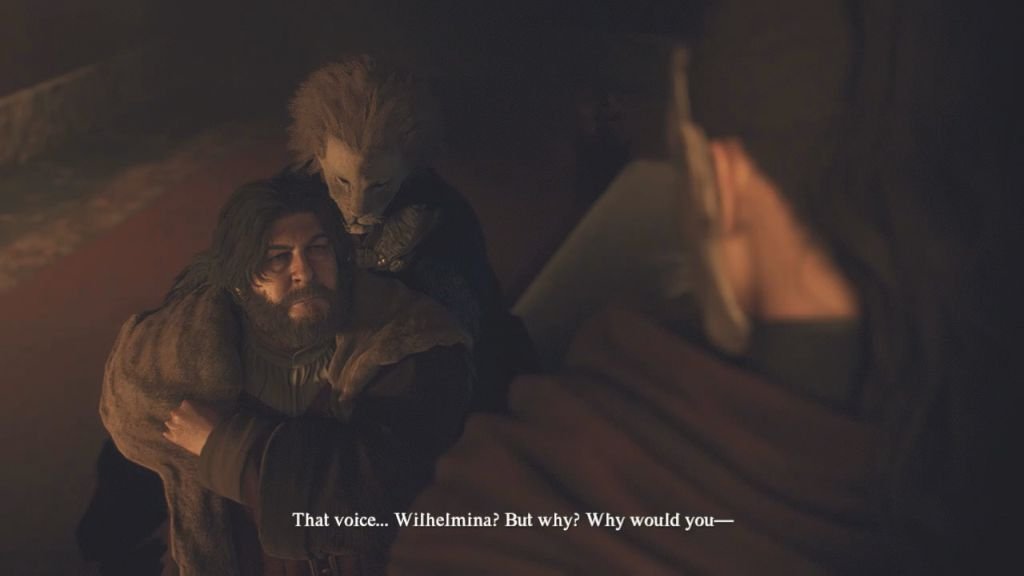
When you give Wilhelmina the Murder Report, she thanks you for bringing her such strong evidence. She offers you the chance to back out of the next step of the plan. However, you should choose the continue offering your aid option.
Next, follow Wilhelmina to the adjacent room, where Allard waits. There, press the button indicated on-screen to subdue him. An extended scene follows. When the scene concludes, soldiers pound on the door. They want to know what is happening. Wilhelmina proposes that you meet her again the next day. Right now, both of you must flee the scene separately.
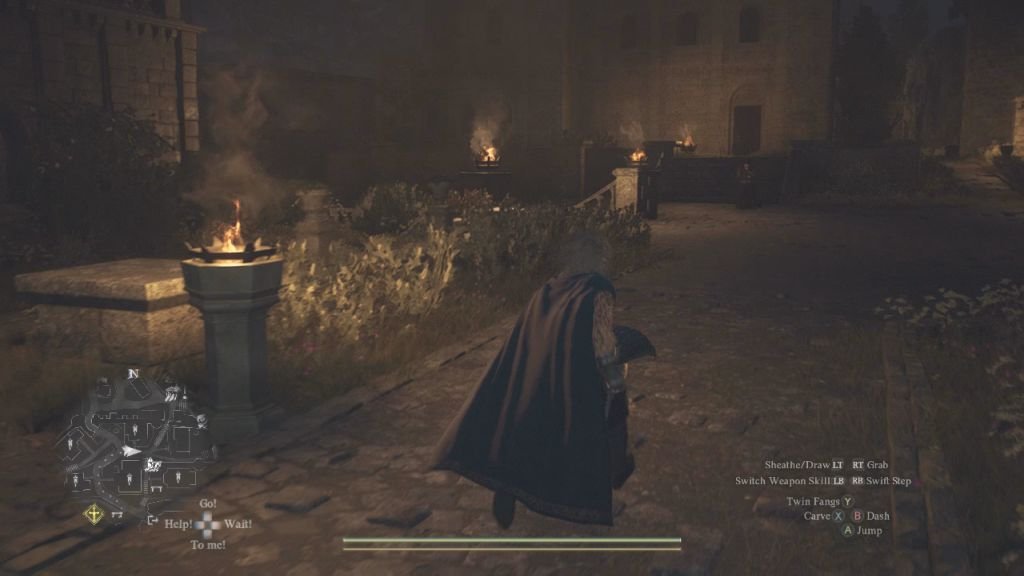
Your goal now is to escape the property without guards arresting you. Fast-paced music may kick in, to let you know you are in a dangerous situation. I ran pretty fast and didn’t see any guards. I thought that meant I was good to return to my house. It turns out I was wrong. Soldiers followed me the whole way there, and in significant numbers. They subdued me and threw me in the gaol. However, I knocked through its back wall and escaped down a tunnel, which let me get back all my stolen equipment.
After your escape, which may or may not involve the gaol at all, visit Wilhelmina at the Rose Chateau Bordelrie. I found she was happy to see me. Very, very happy. Another scene followed. Then the quest concluded with some nice rewards: 1200 XP, 8500 G, and the Ring of Benevolence. Wilhelmina makes it clear that the Arisen is free to visit anytime in the future that might suit them. It’s a happy ending for everyone (except for Allard).


