

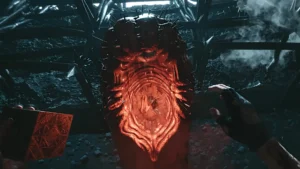
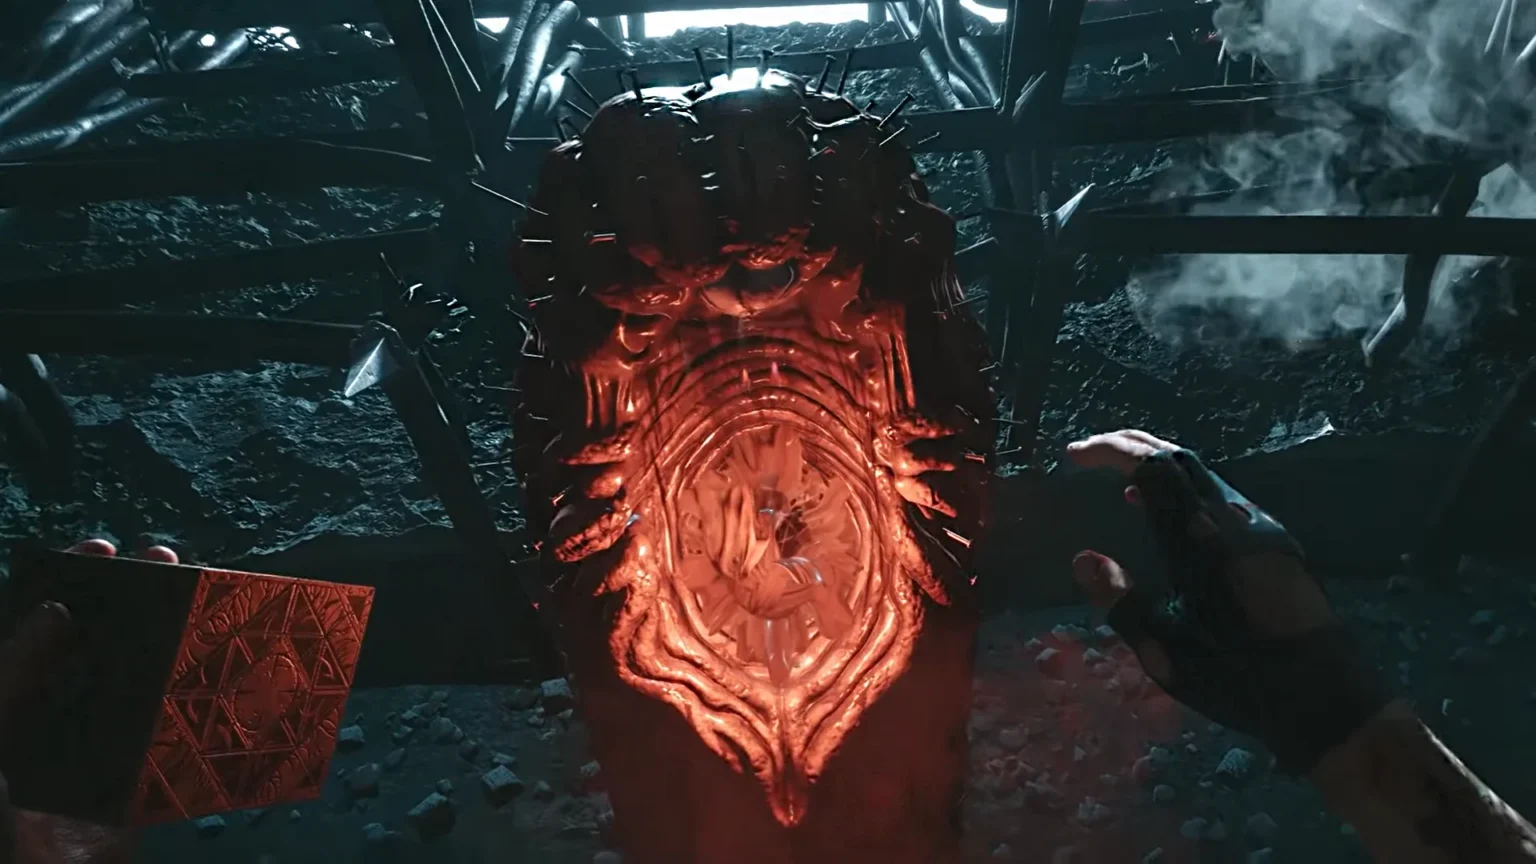

Clive Barker’s Hellraiser: Revival brings the horror of the classic series to the world of video games; the tone of the horror series is present in almost every part of the game. You will see the body-horror so typical of the franchise played out in combat, story, gameplay, and even collectibles.
The game has 10 pillars that act as upgrades for your character; they are hidden throughout the game, and missing one of them makes the pillar locked in your playthrough. The last thing you want to do is miss out on HP and Suffering upgrades, as most of these upgrades are hidden quite well, so the chances of you missing any of them are high. In this guide, I will show you the location details for each upgrade pillar for both Pain Pillars and Suffering Pillars in Hellraiser Revival.
All Pain Pillar and Suffering Pillar Locations
All the collectibles that include weapons and locked cabinets in this game are missable, since you only get to access them within the specific chapter. The game has no chapter selection screen, so if you manage to miss interacting with one pillar, you must start the game over to obtain it. In this guide, we are going to move sequentially, and I will also mention the objective details to help you locate the pillar more easily during your playthrough of Hellraiser Revival.
| Pain and Suffering Pillars | Objective |
| Pain Pillar #1 | “Free Sunny’s Soul“ In the section with spinning diamond obstacles. |
| Suffering Pillar #1 | “Free Sunny’s Soul“ In the room with spiral staircases. |
| Suffering Pillar #2 | “Free Sunny’s Soul“ In the foggy area with Leviathan in the distance, with the Chatterer appearing around your location. |
| Suffering Pillar #3 | “Give Charlotte’s Heart to Sunny“ After defeating Charlotte, the pillar is found directly in your path after the save point. |
| Pain Pillar #2 | “Give Charlotte’s Heart to Sunny“ Found in a room before the wall spikes section. |
| Suffering Pillar #4 | “Exit the Labyrinth“ In the room with octagonal moving sections. |
| Pain Pillar #3 | “Exit the Labyrinth“ In the room with staircases |
| Pain Pillar #4 | “Give the Sister of Mercy’s Heart to Sunny“ After defeating the Sister of Mercy. |
| Suffering Pillar #5 | “Hunt Marlowe“ In the open area with the Labyrinth Beam. |
| Pain Pillar #5 | “Reclaim the Genesis Configuration from Bruno.“ It’s found behind the painted door in the room. |
Pain Pillar grants HP increase while Suffering Pillars expand your maximum Suffering Capacity; it’s the blue gauge that appears in the bottom-left side of the screen. You will unlock the trophy or achievement “There Are No Limits” once you find and activate every Pain Pillar in the game. After activating every Suffering Pillar, you unlock the trophy or achievement “Pain And Pleasure, Indivisible.”
I have put up the locations in the order you will come across them in the game, so at a point in time if you are below the count – that means you have missed one enroute.
Pain Pillar #1
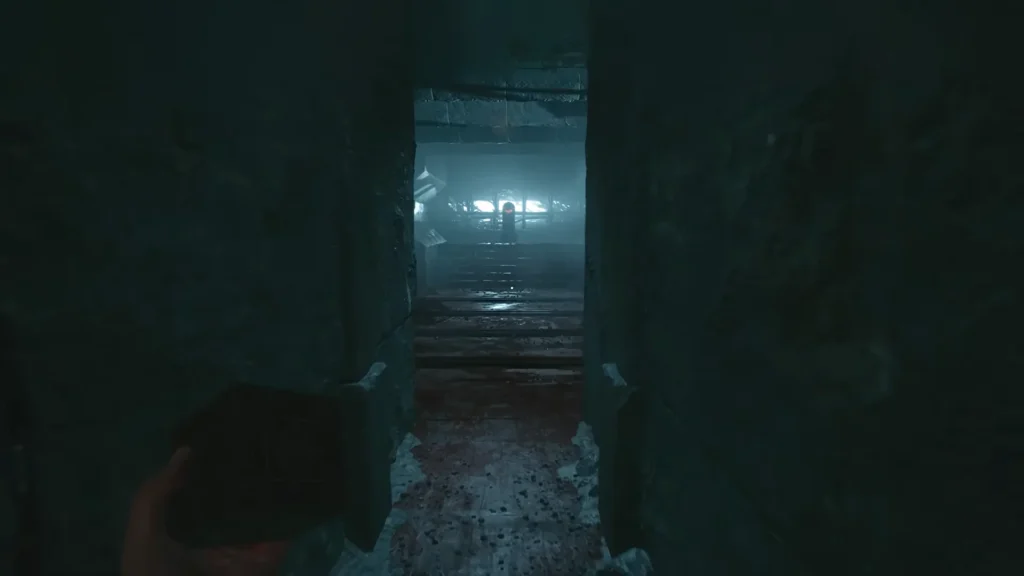
When you are on the objective Free Sunny’s Soul, after crossing the first hallway with spinning obstacles, turn right and head through the hole in the wall to find the room with four spinning obstacles in a row. Carefully cross to the other side without getting caught in the blades of the spinning objects, and the Pain Pillar is yours.
With the very first Pain Pillar, you will unlock the trophy “The Further Regions of Experience.”
Suffering Pillar #1
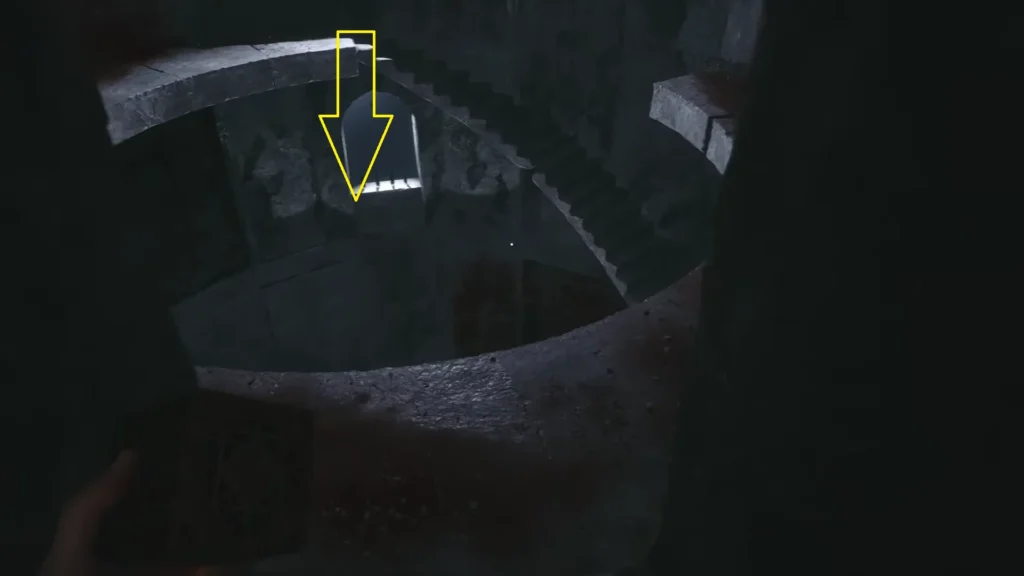
When you are in the section of running past the bloody spikes protruding from the walls as the roof moves down. Climb down the stairs all the way to the bottom; you will find a yellow spot on the floor, as marked on the map. Stand on the platform, and if you look to your left, at a distance, you will see a red light coming out of a hole. Just move towards the red light, and you will find yourself in a direct view of the Suffering Pillar.
Note: If the route to the left side of the platform is blocked, then wait for a couple of seconds; the moving platform in the moving arena will eventually show you the spot.
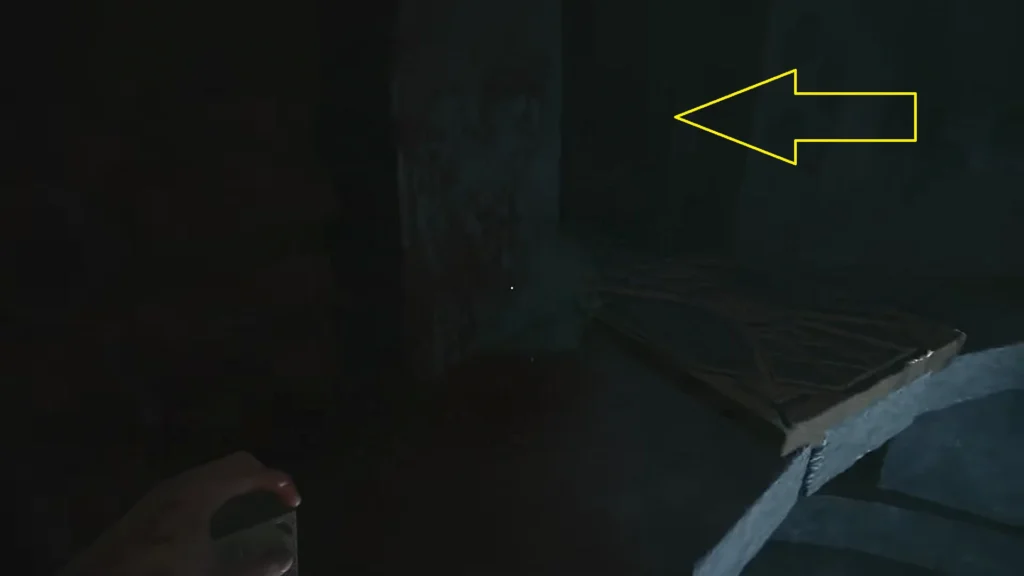
Here we come across another bloody torture section filled with spinning blades. Unlike the previous ones, here the blades are rotating in a circle. We must get behind one of the spinning blades carefully to take us to the pillar location. Wait for the spinning object to show up from the left; once it’s directly on your face, get behind the blades and follow it to the next room with the pillar. It will show up after the blade takes two corners. After two corners, keep an eye out for the left, or you will miss the pillar.
Suffering Pillar #2
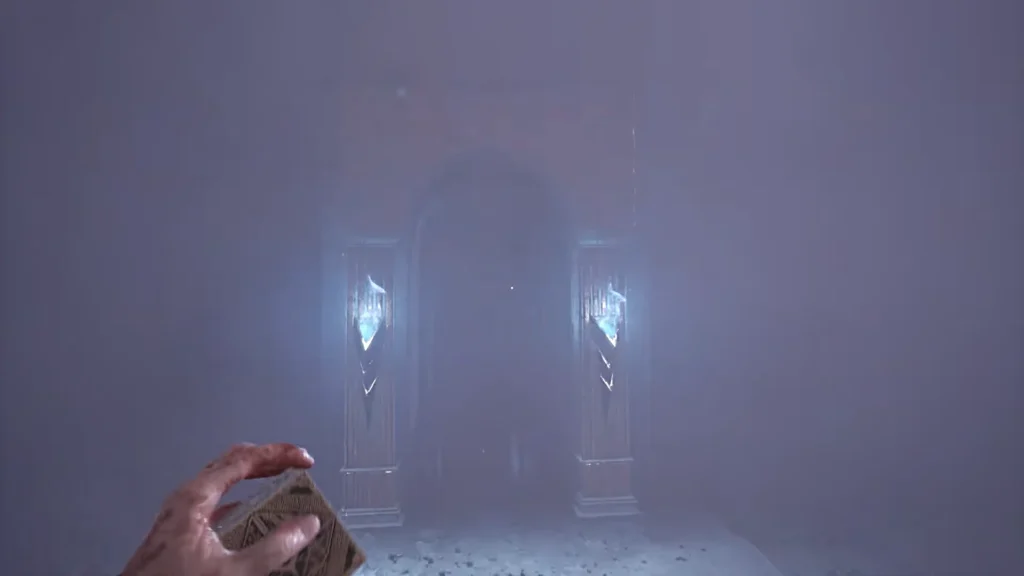
Once you are in the open area with Leviathan in the distance and the Chatterer showing up. Here from the doorway with two burning torches with blue flames coming out of it, turn around and start moving to the right. Just need to keep an eye out for a single burning torch on a wall. This one is going to take some time; the entire area is covered with fog that keeps most items invisible even at close range. Just keep an eye out for a blue-flame torch on a pillar; you will find the Suffering Pillar just next to it.
Suffering Pillar #3
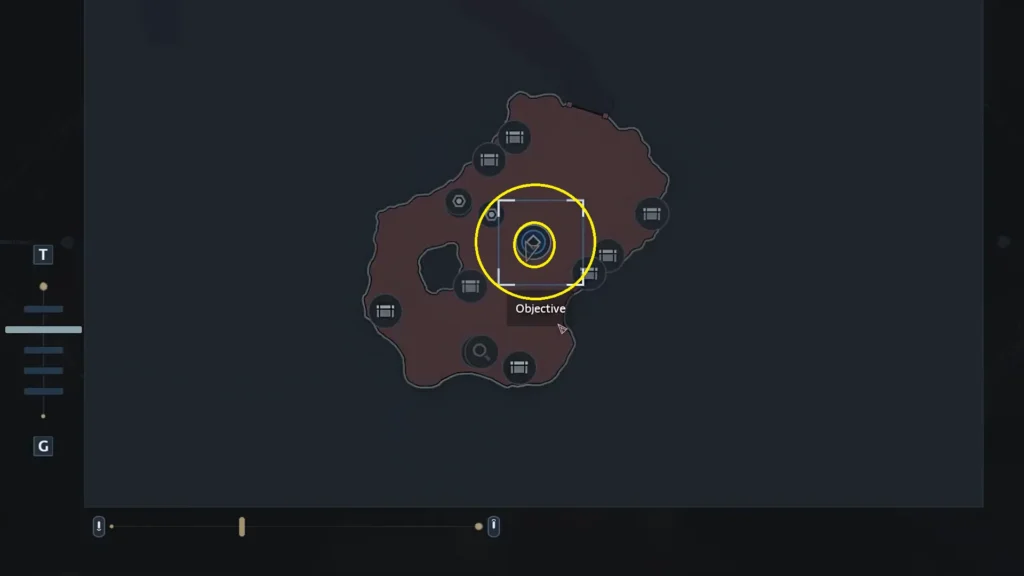
After defeating Charlotte, you will enter the Labyrinth. This takes place during the chapter Claim Charlotte’s Heart, when you are on the objective “Give Charlotte’s Heart to Sunny“; here you will come across a massive burning tree with a cop car also engulfed in fire. Just next to the car, you will find a staircase in the ground leading further below. Follow the stairs, and you will find yourself on a narrow route; follow the route to find the Suffering Pillar at the end. This one has no spinning blade obstacles or fog to lose your sense of direction; the route is clear and simple.
Pain Pillar #2
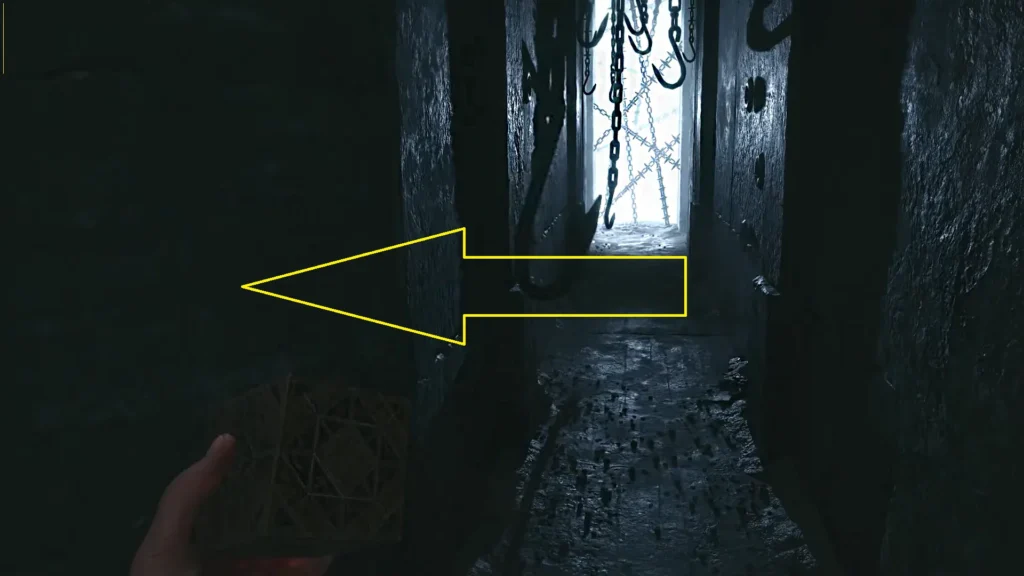
Continue along the story, and you will come across a narrow path with spears coming out from both sides of the wall. Don’t go through the spikes; get to the start point of the spikes. Make sure not to step any further, or you will feel the pointiness of the spear. Here, take the left turn and follow the route, and it will take you to the Pain Pillar, found inside an alcove with red light coming from behind it.
Suffering Pillar #4
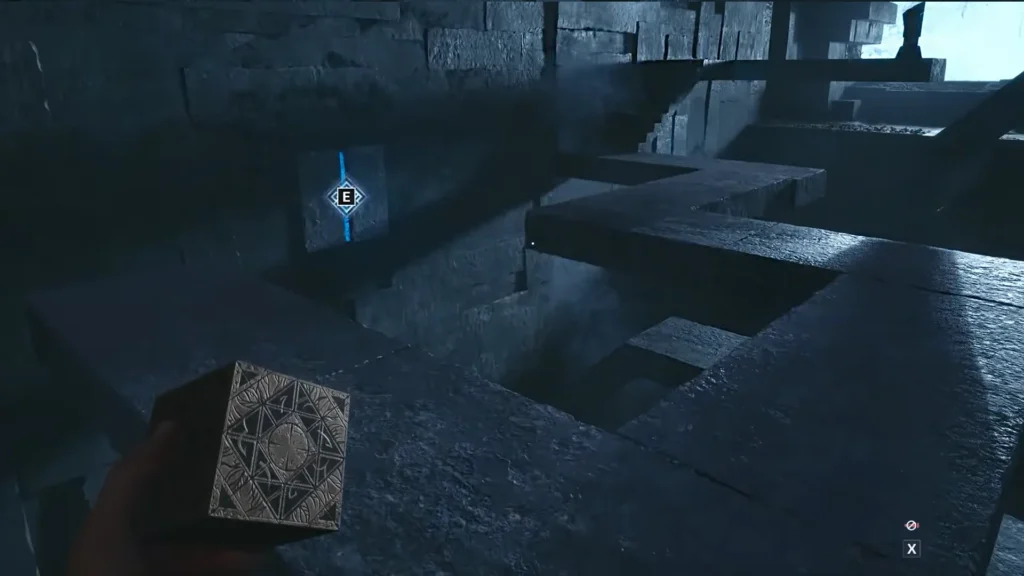
When you are in the room with the Octagonal Moving Section after the Sister of Pain. In this room, you must use the cube in your hand to spin the room into a different layout. The Suffering Pillar is on the third section of the room, but it’s not in front of our direct view. First, we bring the pillar to our direct view, and then move the second section of the room to create a pathway for the Suffering Pillar.
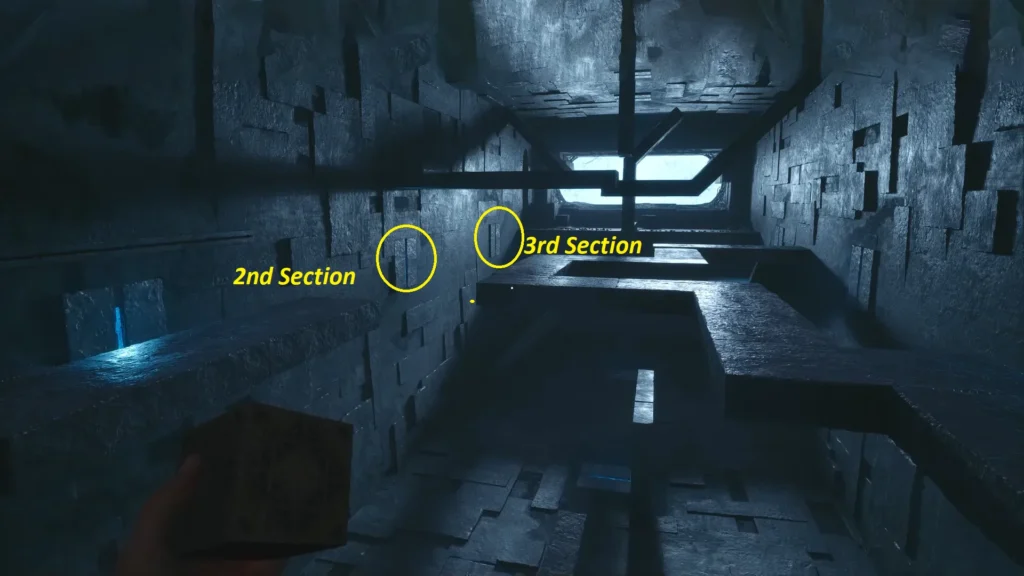
- First, spin the third section as seen on the map twice. This will move the Suffering Pillar from the bottom to appear directly in our sight, and rotate the platform until the Suffering Pillar is visible on the left side of the room. Just rotate the section anti-clockwise twice for the Pillar to show up in a direct view. Now our next objective is to create a pathway for the Suffering Pillar.
- Second section: Now rotate the second section until the route aligns with the path from the third section.
That’s it; now walk on the set path, and it will take you to the Suffering Pillar.
Pain Pillar #3
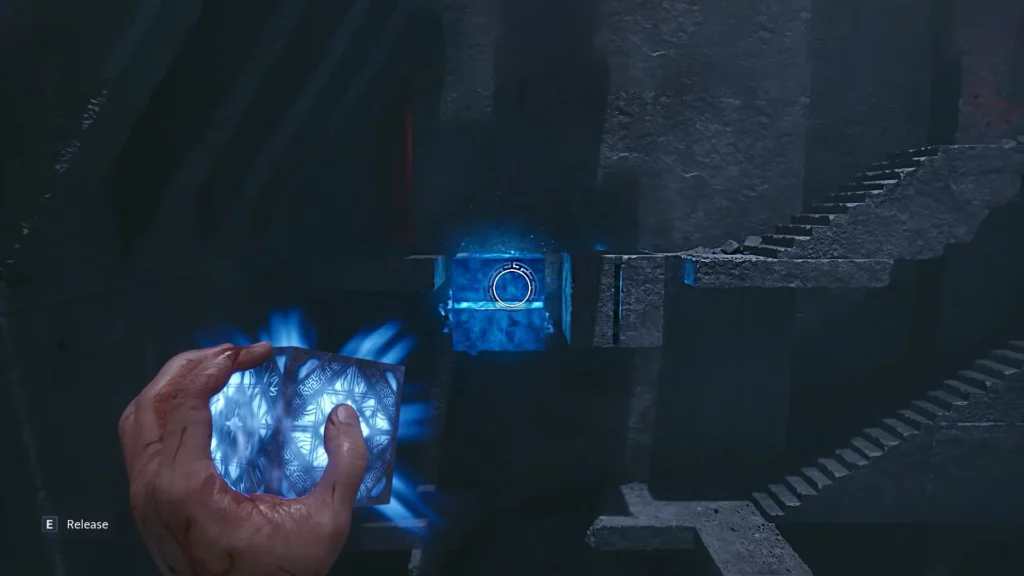
After the last Suffering Pillar, you will find yourself in a room filled with moving staircases. If you look to your left, you will see two Labyrinth Cubes in the gaps between two platforms. If you look to the right side of the cube, you will see the Pain Pillar in the distance.
The cube on the left moves horizontally, and the second one, to its right, moves vertically. You need to align both cubes to the same level to create a bridge-like structure in the gap. As you can see in the image, both cubes are aligned perfectly with a tiny space between them, creating a bridge to the route on the left with the staircase.
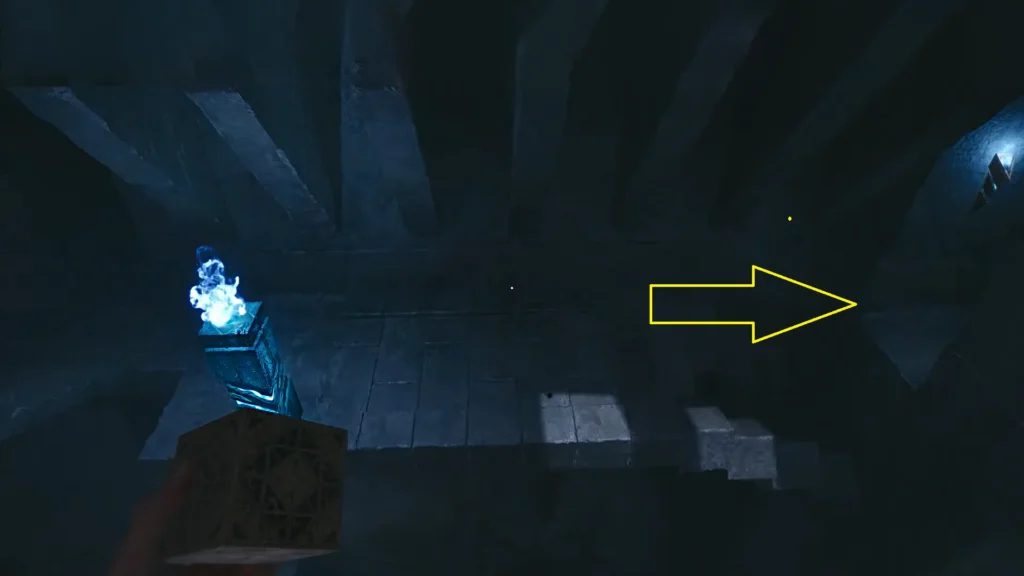
Now, after setting the cubes right, take the stairs on the right, follow the route until you find a Labyrinth rectangular pillar at the bottom to your right. Activating the pillar will create a pathway to its right; take that route, and it will take you to the cube location that we aligned before, and soon you will find yourself facing the Pain Pillar.
Pain Pillar #4
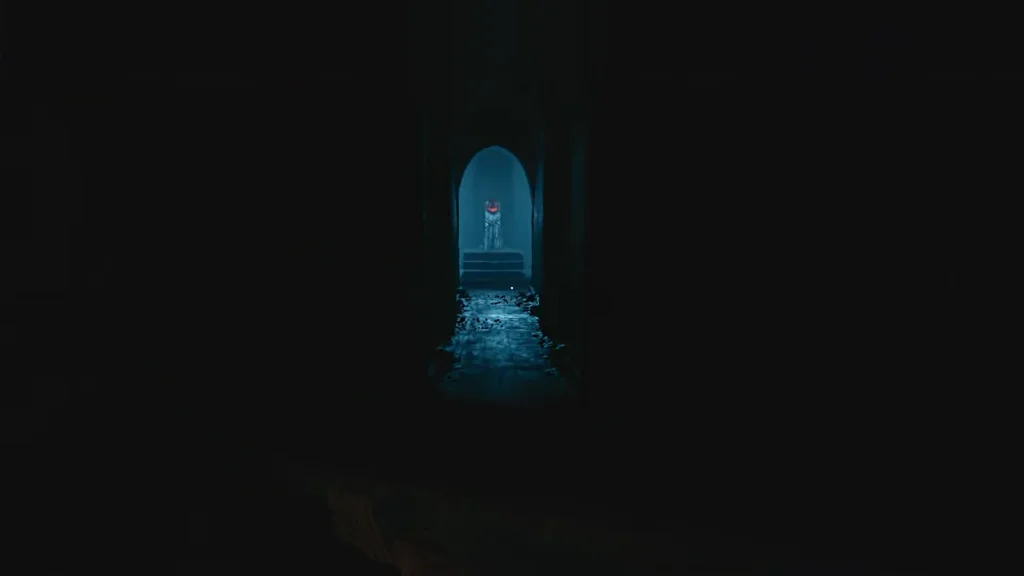
Compared to every pillar on the list, this one will be simple and easy to get. Just right after defeating the Sister of Mercy, you will find the route to the Pain Pillar west side of the room.
Suffering Pillar #5
You will come across an open area with Leviathan Beam moving around you during the “Hunt Marlowe” objective. We need to complete some tasks before creating a proper pathway to the pillar.
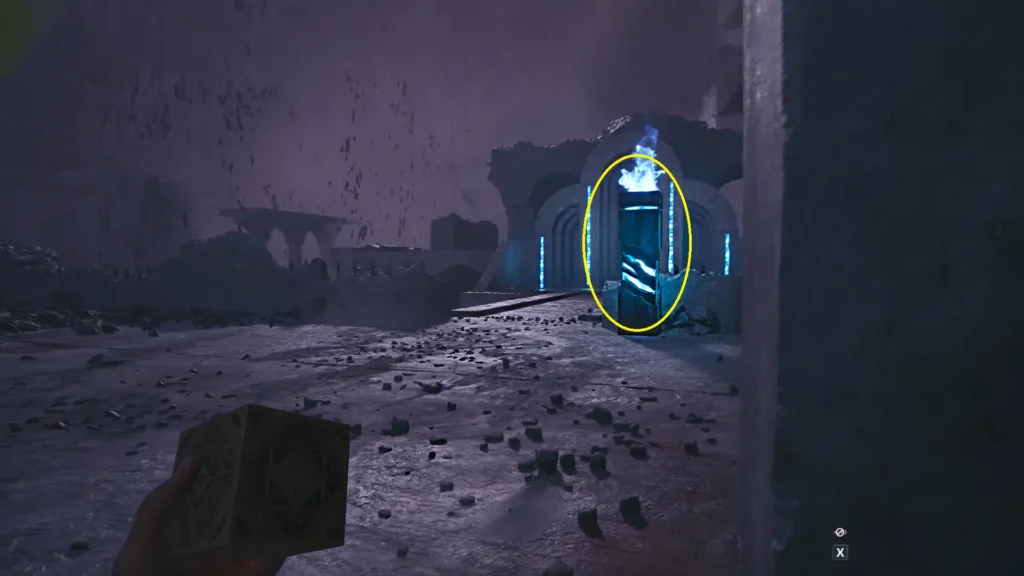
First, shoot the Labyrinth rectangular pillar, as shown in the image above.
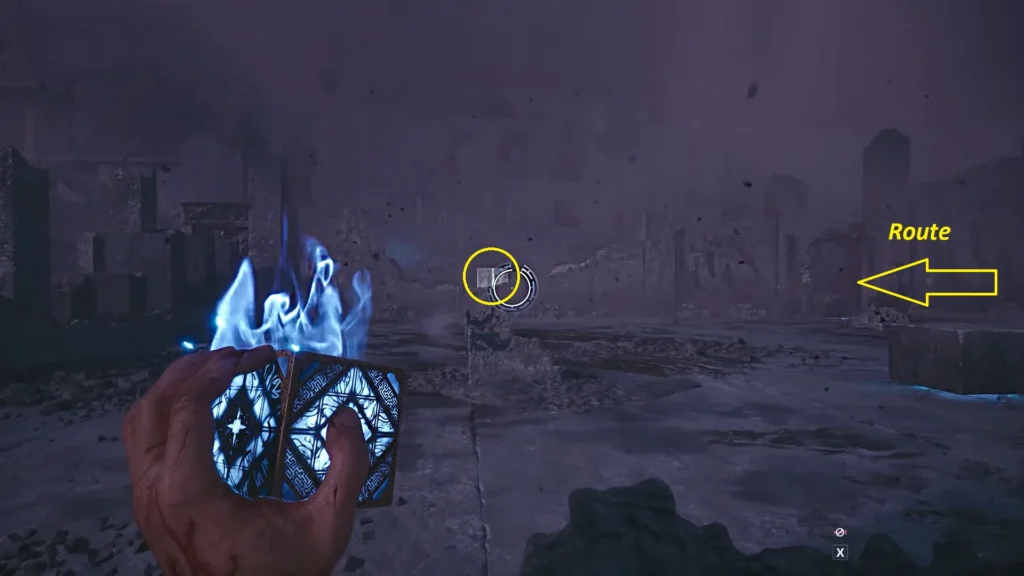
Then turn right and shoot a fireball at the Labyrinth cube at a distance, as marked in the image. Now follow the yellow arrow marker, as seen in the image, and you will find yourself facing the last Suffering Pillar.
On your route, you will encounter the same Labyrinth cube that we used fire on before; just lift the cube up in the air to clear the route to the Suffering Pillar.
Pain Pillar #5
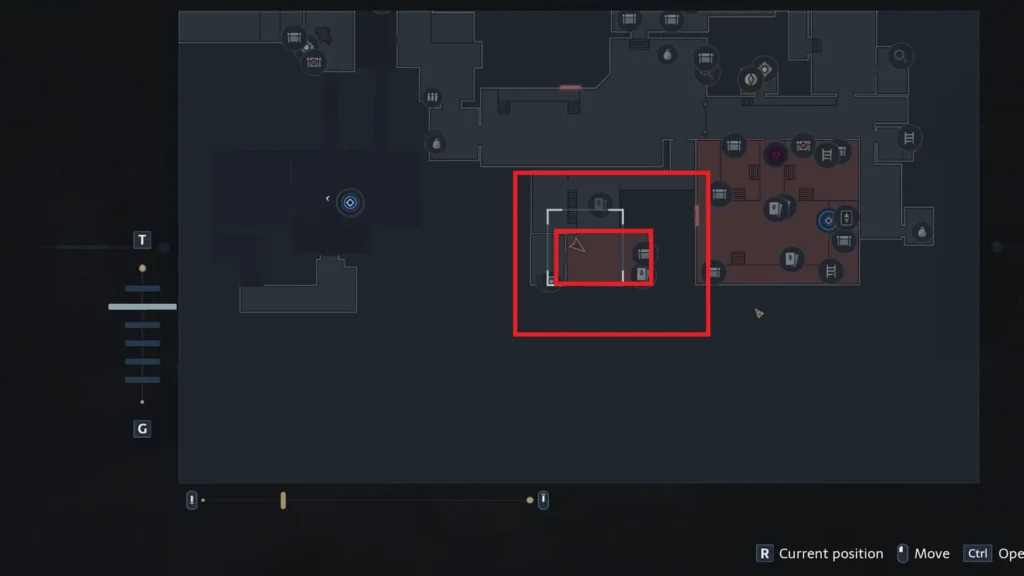
During the objective “Reclaim the Genesis Configuration from Bruno“, get to the painting door on the south side of the map. The painting has five moving parts; you need to set three heads and two hands properly to open the gate and find the Pain Pillar on the other side.
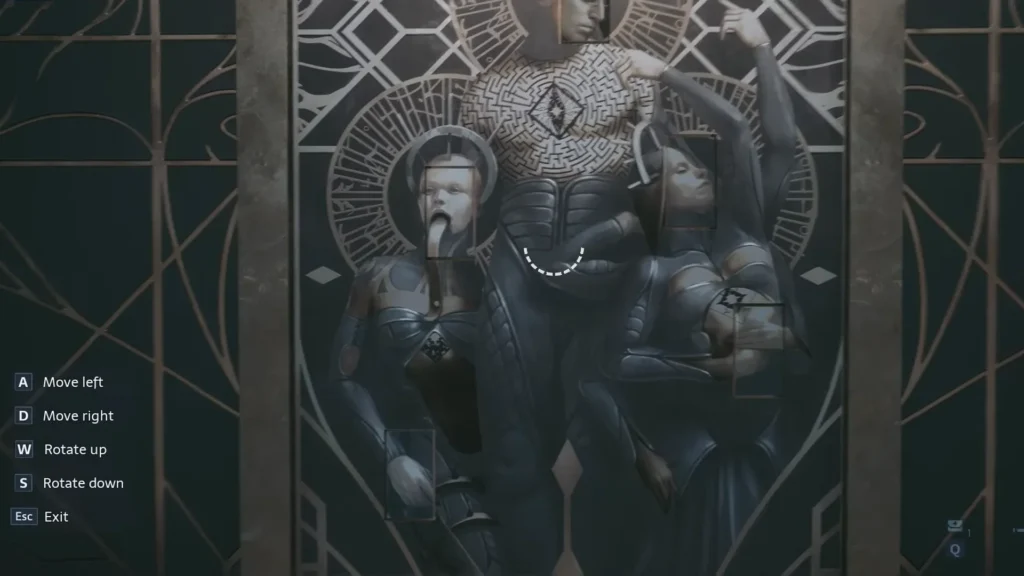
Just focus on making each piece match the rest of the painting; take a look at the image above to get all five parts of the painting set in order.
