



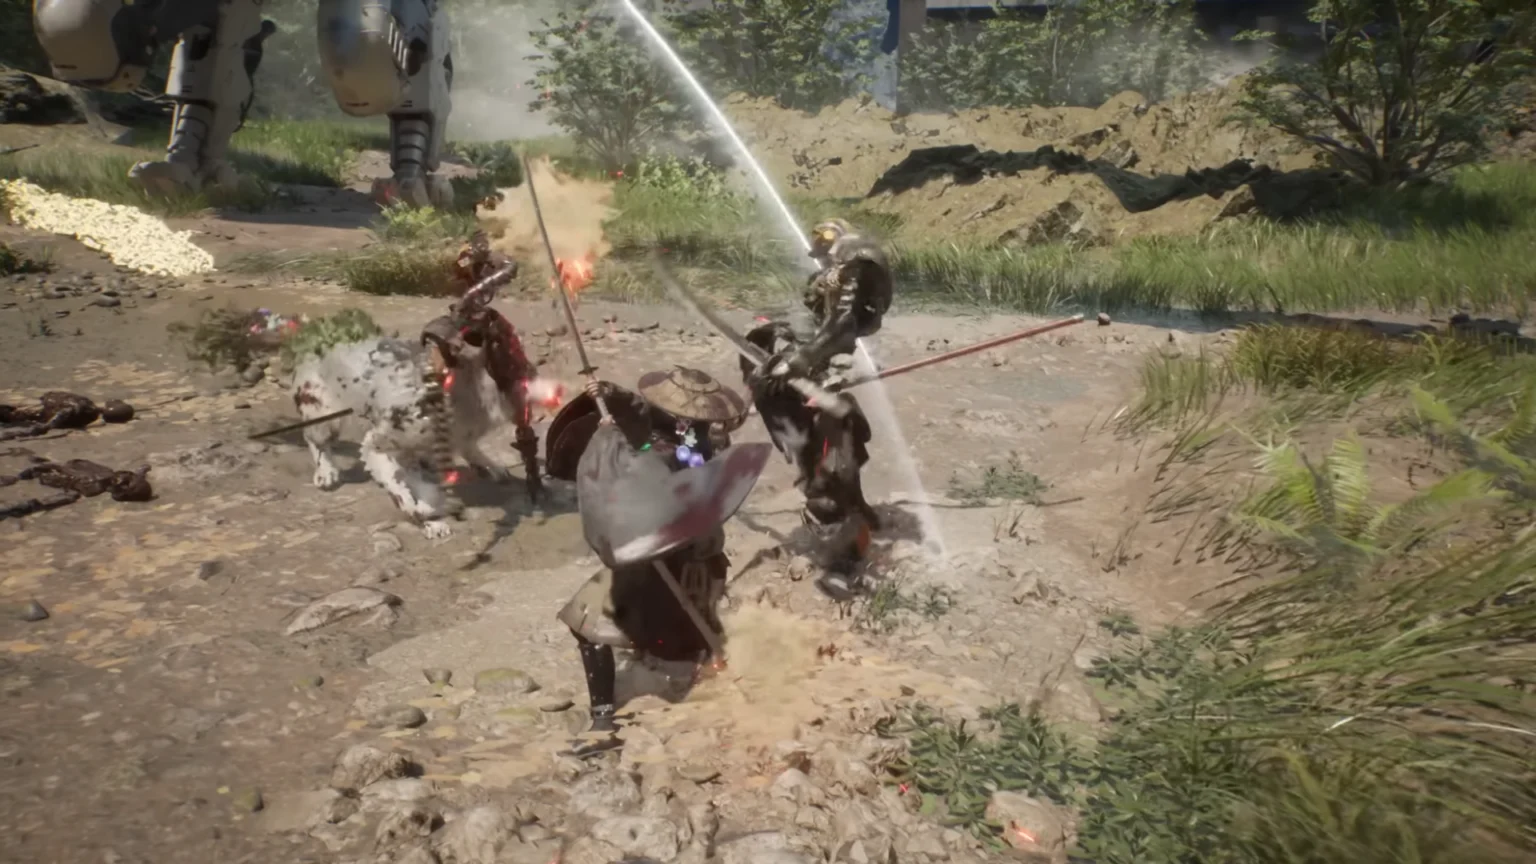

There’s a high chance that the first few hours of Beast of Reincarnation will have you button-mashing as if your life depended on it. But trust me, it is normal. Once you actually slow down and try to learn the parry system, I assure you it will click. The combat is deeply layered with the skills and abilities of both Emma and Koo, giving you an edge when used correctly.
It is also important to mention that both characters have their important place in the combat, and your companion cannot be ignored at all. In this guide, I will share everything you need to know about the combat system so you can jump into the game with a head start.
How Does the Combat Work in Beast of Reincarnation?
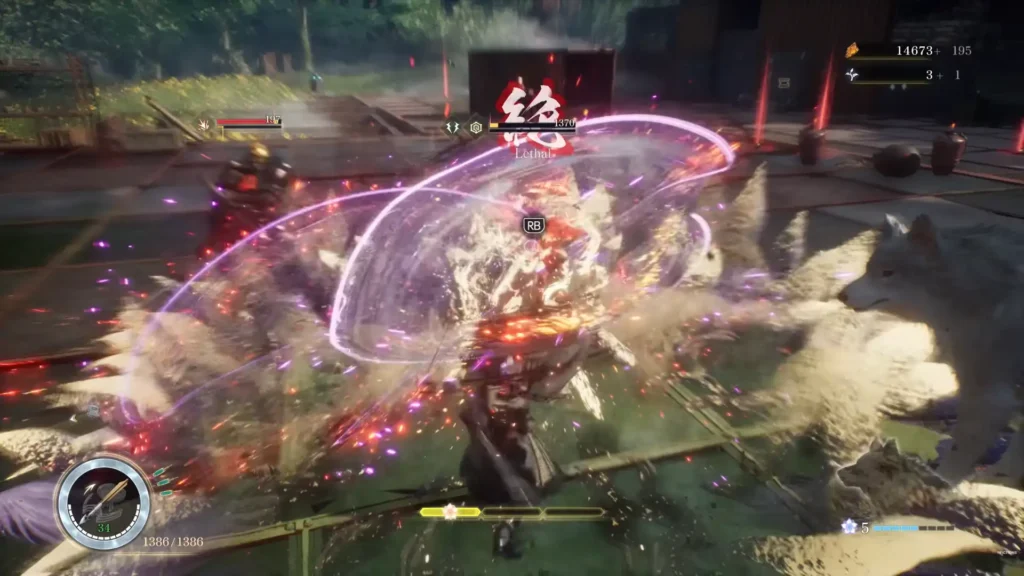
Beast of Reincarnation cleverly splits the combat between the two characters at the same time. However, it is understandable to feel a little overwhelmed by this at the beginning. Here’s a breakdown:
| Characters | Emma | Koo |
| Control | Real-time | Command-based |
| Main Weapon | Katana and ranged options | Bloom Arts |
| Resources Required | Entanglement Guage | FP (Florescence Points) |
| Role | Frontline | Tactical Support |
Koo is not a sidekick that you can ignore. While in his command menu, time slows down while you pick an ability, so leaning on him during a fight can give you a real advantage.
How to Parry: A Mechanic You Need to Master
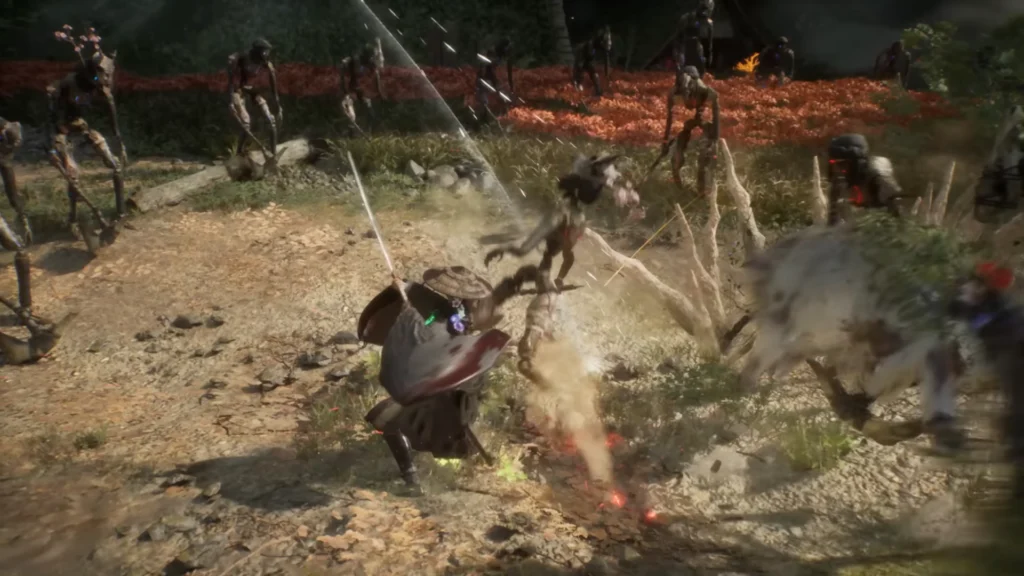
It is no surprise that Beast of Reincarnation’s combat style takes heavy inspiration from Sekiro and other Soulslike games. Naturally, parry happens to be an important combat mechanic here as well. If you take away anything from this guide, make it this: parrying is the fuel that runs this car.
Once you time a parry correctly, it does three things together:
- It chips away at the opponent’s Down Gauge (stagger meter).
- Restores your FP to power Koo’s Bloom Arts.
- Builds Emma’s special techniques.
That being said, be careful about the parry timing window, as it is tighter than it looks. As soon as you see the enemy swinging at you, hit the parry button. If you press the input mid-swing, you miss the window and take damage.
Weaker Malefacts make for a good practice dummy before the muscle memory carries over to difficult bosses or high-level enemies.
What are FP, Entanglement Gauge, and Down Gauge?
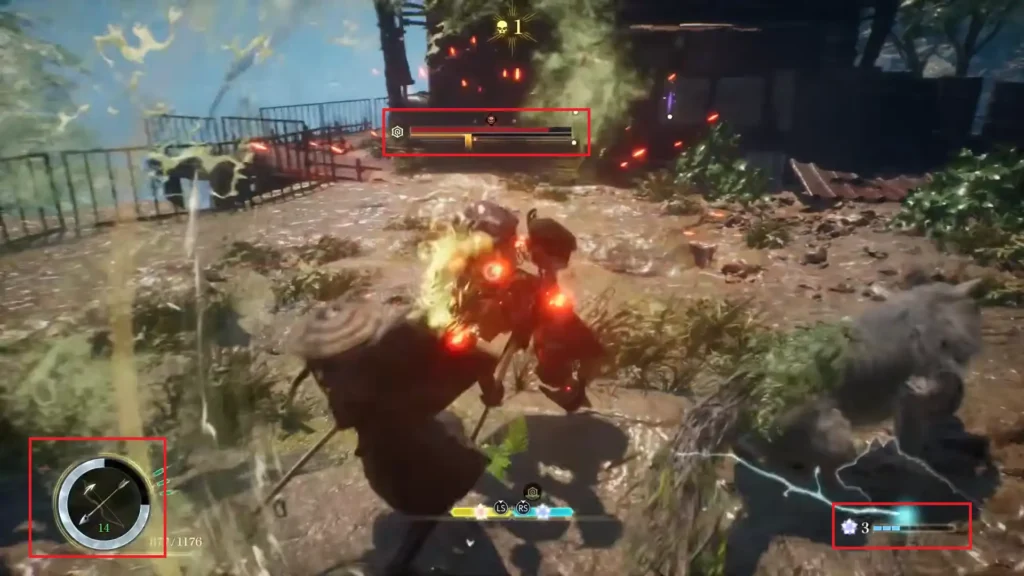
During combat, one of the first things you will notice is the three meters fighting for your attention. But what makes them important? To be honest, mixing them up can easily confuse you mid-fight. So here’s a simple breakdown for you to follow:
| Meter | Character | Purpose | How to Fill |
| FP (Florescence Points) | Koo | Activates Bloom Arts | Through successful parries |
| Entanglement Gauge | Emma | Fuels special techniques and heavy hits | Combat moves and parries |
| Down Gauge | Enemy | Opens enemy for a critical hit or finisher once broken | Sustained attacks and parries |
Once you have a good grasp of each meter and its purpose, combat eventually starts to feel like a rhythmic dance, much closer to how Sekiro does. However, Beast of Reincarnation offers a unique combat style through your companion and other special abilities.
Understanding Koo’s Bloom Arts in Beast of Reincarnation
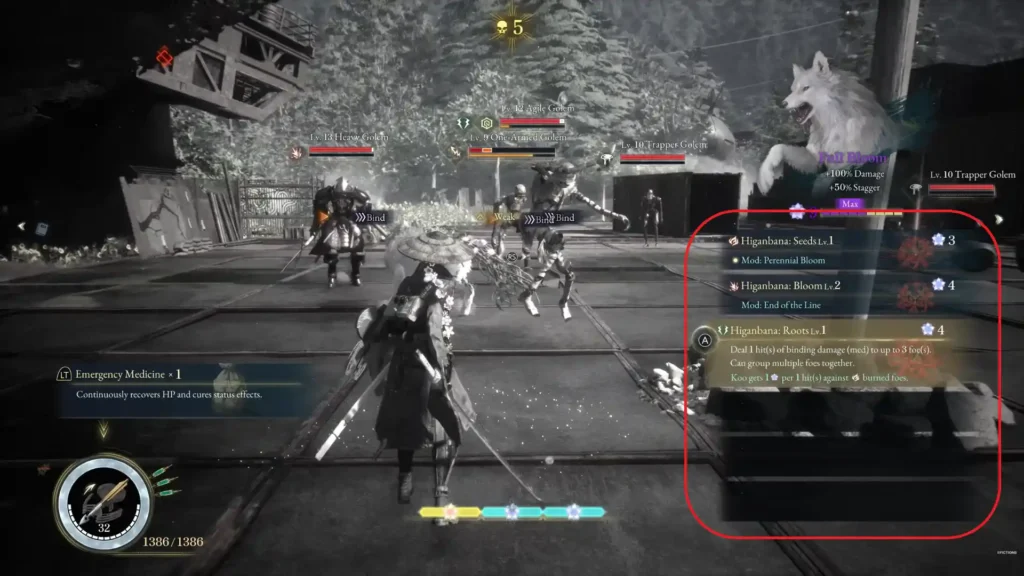
Bloom Arts are an essential part of Koo’s combat. It offers a tactical layer to the overall combat in Beast of Reincarnation. As mentioned before, opening his command menu slows down time, which gives you an edge during battle. Look at it as how the real-time mechanics in FF7 Remake and Rebirth still allowed you to give commands to your allies and yourself on specific Skills/Items. This is exactly that.
Since you will be using this feature a lot, it is worth noting some of the important points that will help you make the most out of Bloom Arts:
- Using a Bloom Art consumes FP, which will result in a quick-time-event sequence.
- Bloom Arts such as the Higanbana: Roots are great for crowd control as they restrain multiple enemies.
- Upon filling your Bloom Arts gauge (Full Bloom), it offers a stagger and damage boost.
Do remember that hoarding your Bloom Art meter does not grant you anything extra, so use it whenever you get the chance.
Elemental Weaknesses and Weapon Types Explained
Emma is not limited to her Katana, but with progression, she can use ranged options as well. Each of these weapons can be upgraded separately, offering you a plethora of options to explore in combat. Using a combination of them will help you defeat bosses like Rangifer that much easily. Let’s explore them:
- Katana: A melee-style weapon that is Emma’s default pick and deals consistent damage.
- Bow: A ranged weapon that is great for chipping away at enemies’ health bars from afar.
- Bolt Gun: A strong, alternate ranged option that has a separate upgrade path.
An interesting thing I found in Beast of Reincarnation is that each enemy has an elemental weakness that you can see as an icon on the left-hand side of their health bar. But it is only shown once you have identified it. You can match your weapon’s element to the enemy’s weakness, which can make a ton of difference in a fight.
It is also worth mentioning that you should avoid spending all your currency on one weapon, and intelligently invest it across all your weapons. This gives you more flexibility while facing different enemy types.
Early Skills You Must Prioritize in Beast of Reincarnation
Both Emma and Koo come with their own skill trees. Naturally, you have to spend SP (Skill Points) to unlock new skills, which you can earn from combat (like the Flame skill for Koo). Here’s what I would unlock first in the skill trees if I were starting:
Emma:
- Tracking Shot: Offers damage and accuracy boost for ranged weapons.
- Entanglement Overdrive: Extends the time-slowdown period.
- Sprout Shakuyaku: A combo attack that comes with a binding effect.
Koo:
- Mod: Status Effect Amp: Doubles build-up effects on enemies.
- Detect Hidden Item: As the name suggests, Koo can find hidden items on the ground.
- Healing Bouquet: Koo brings flowers to Emma, helping her restore health.
Which Difficulty is Right For You?
Beast of Reincarnation offers you three difficulty options. Depending on which one you pick, it can change the parry timing and damage received. Let’s explore the options:
| Difficulty | Who is it for | What Changes |
| Story Mode | For players who want to enjoy the narrative | Has wider parry windows with less enemy damage |
| Normal Mode | For gamers seeking the intended experience | Standard parry timing and enemy damage |
| Hard Mode | For players who like a challenge | Tight parry windows with high enemy damage |
If you are unsure about the difficulty setting when starting, I would recommend starting with Normal mode to get the best narrative and combat experience.
Important Combat Tips to Look Out For
Beast of Reincarnation can test you quite a bit if you go in blindly. It is important to know some of the important tips so you can get an edge:
- Use your hair platforms to find out stealth openings, such as building a vine bridge over an enemy and catching them by surprise.
- Send Koo first by targeting an enemy outside of combat. This lets him open with his unlocked Bloom Arts, dealing good damage early on.
- Visit the Dragon Vein Shrines and increase your Stim count. More healing is never a bad option.
- Keep an eye on Koo’s health as he can be downed mid-fight. Letting this happen too often can have negative consequences in the story.
The Basics of Boss (Nushi) Fights
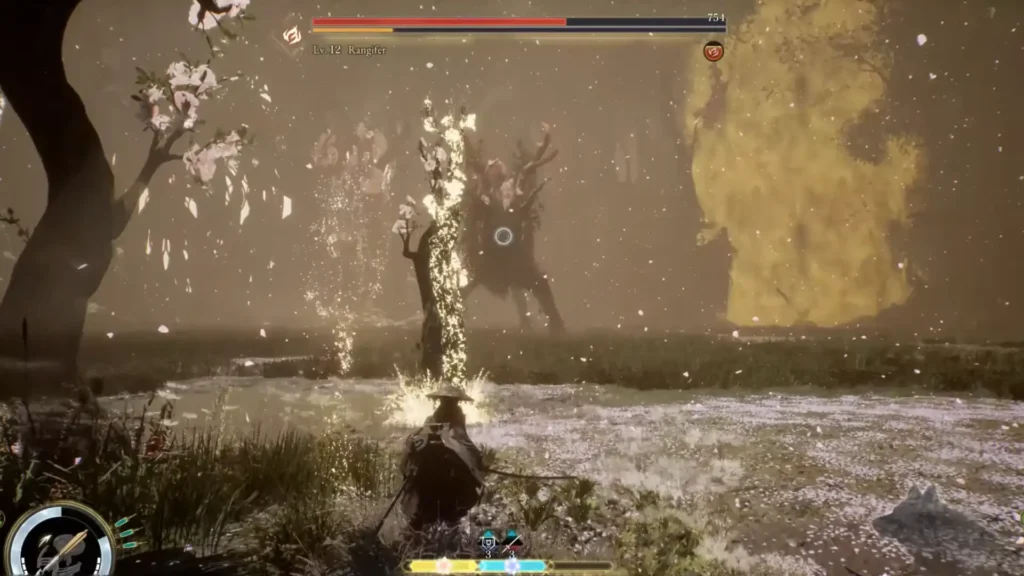
In Beast of Reincarnation, Nushi are the giant Malefacts that you will be fighting quite often as major bosses. I won’t lie, fighting them can be quite a challenge, especially on Hard mode. But knowing a few helpful tips can elevate your experience vastly. Here’s what you should know:
- Read the boss’s attack pattern first and keep a safe distance while doing it.
- Parry whenever there is a high chance to build FP and chip away at their Down Gauge.
- Do not use Bloom Art while panicking, but wait for the right moment.
- Always capitalize on a critical hit or heavy punish when the Down Gauge breaks.
Beast of Reincarnation’s combat style can go from chaotic to satisfying really quickly, especially when it clicks. My suggestion is not to give up if it feels too difficult, but to play around with the difficulty settings and combat tips till you have the right balance.
