




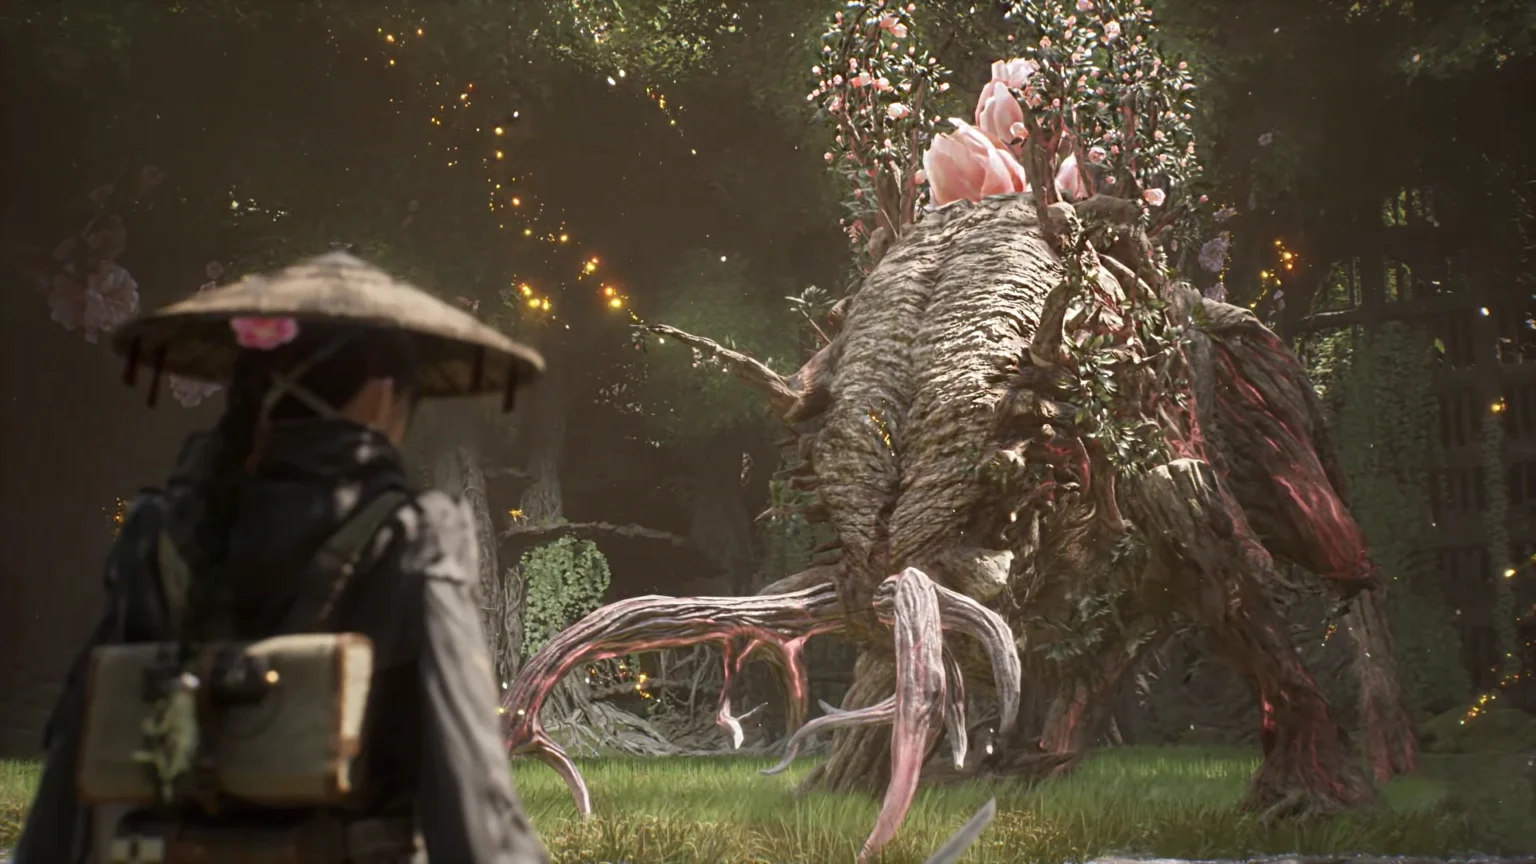

Rangifer is the first boss you will come across in Beast of Reincarnation; it’s a wooden deer with flowers covering most of its body. The attacks here are deadly, and all of them are based on some version of nature-related attacks. Heading into the battle without proper preparation will be a very bad idea, since the boss has two phases and features a range of attacks from easily predictable to deadly if you get caught.
This guide features a complete overview of the boss, preparation for the battle, all of its attacks, and how you can deal with them to defeat Rangifer in Beast of Reincarnation.
Rangifer Boss Overview
- Phases: Two (Attacks from the First Phase do Carry over to the Second Phase)
- Weakness: Flame
- Encounter Chapters: Chapter 1
- First Fight – Lv.9, Kanto Area – Ogouchi Buffer Zone, Subcity 03.
- Second Fight – Lv. 12, Mountainous Region, Matsukawa Zone
- Rewards: Nushi Skill: Sakura Storm and Rangiferine Memories from the First Encounter. Blade Art: Sakura, Sakura: Javelin II Skill for Koo, and Finisher: Sakura for Emma for the second encounter.
Battle Preparations
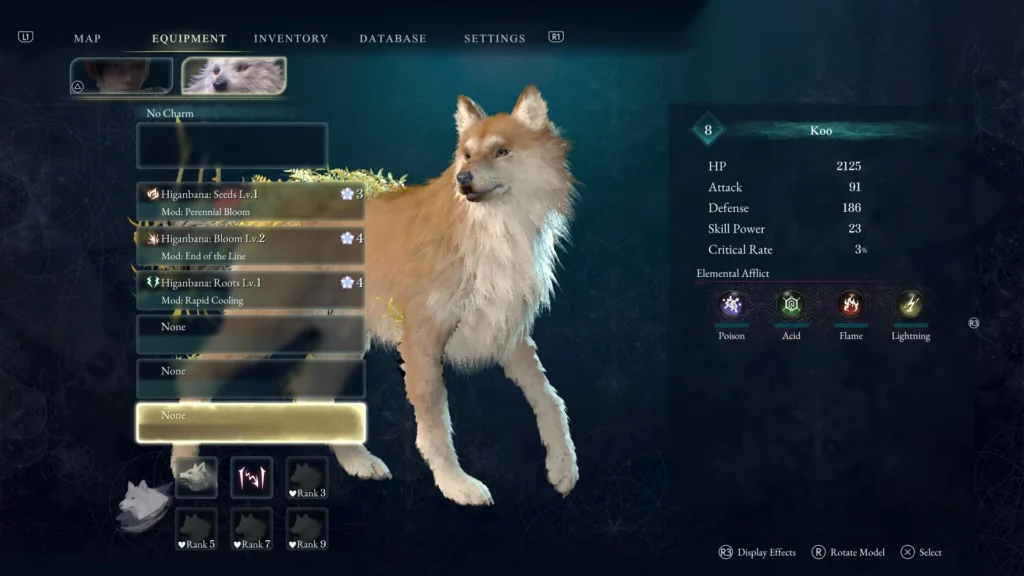
- Weapon – Cirrus Sword
- Armor: Chain Mail (25 Defense/Flame Resistances set to 50/ 4 Spirit Stone Slots)
- First Slot: Fortification: Sets Emma’s Defence for a time. (Boosts Fortitude by 1)
- Two/Three/ Fourth Slot: Onslaught: Sets Emma’s attacks for a time. (Boosts Vigor by 1)
Note: Fill up all the slots; must choose Fortification on one, and fill the rest with Onslaught.
- Charms:
- Higanbana: Seeds Lv. 1 (Perennial Bloom Mod)
- Higanbana: Seeds Lv. 2 (End of the Line Mod)
- Higanbana: Roots Lv. 1 (Rapid Cooling Mod)
- Item and Skill: Recovery Tonic and Frailty Fang.
All Rangifer Attacks First Phase
At the start of the battle, I will recommend putting the ranged weapon to the test and maintaining the distance; switch to the sword slashes once the beast gets close to the location, which will happen frequently with its attacks. Mastering the first phase will make the second phase easier, as all the attacks on the first phase carry over to the second phase.
Tree Spawns
your content.
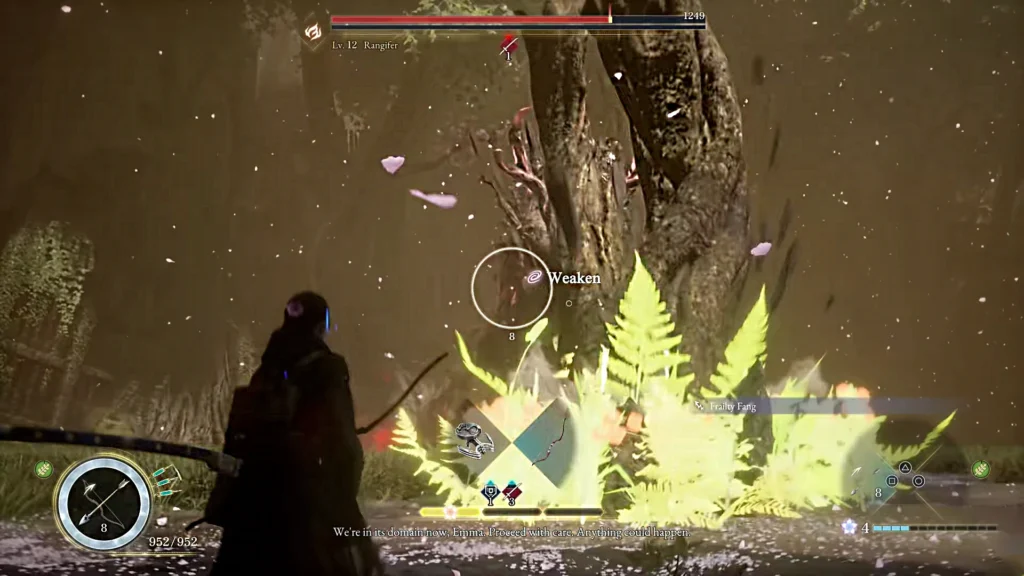
Rangifer will lower his head and spawn massive trees in your direction.
Rangifer, for a good few seconds, will keep his head lowered; once the beast lifts its head up, the tree will start spawning from the ground in a straight direction. Just move to either side of the screen to dodge the attack. Since Rangifer will release the trees in a straight line, I recommend playing safe and keeping your distance, and using your bow to deal damage.
Note: Don’t try to block it; this attack is unblockable.
Leaping
Rangifer will leap into the sky and then land at your location, a simple leap attack with extra effect. This attack hands us the perfect opportunity to get close and perform a few sword slashes at Rangifer’s legs. I recommend 3 to 4 slashes, then quickly getting out of the way, or you will get caught in its follow-up attack.
Tip: Before it starts to leap, you will see a red glowing beam appear on its left front leg, as seen in the picture.
Fire Projectiles
Rangifer will shake its head and then release a few projectiles in your direction from its neck. The best thing to do is to move out of the way; these projectiles are not guided; they will move in a straight line at your current location.
AOE Vein Spawn
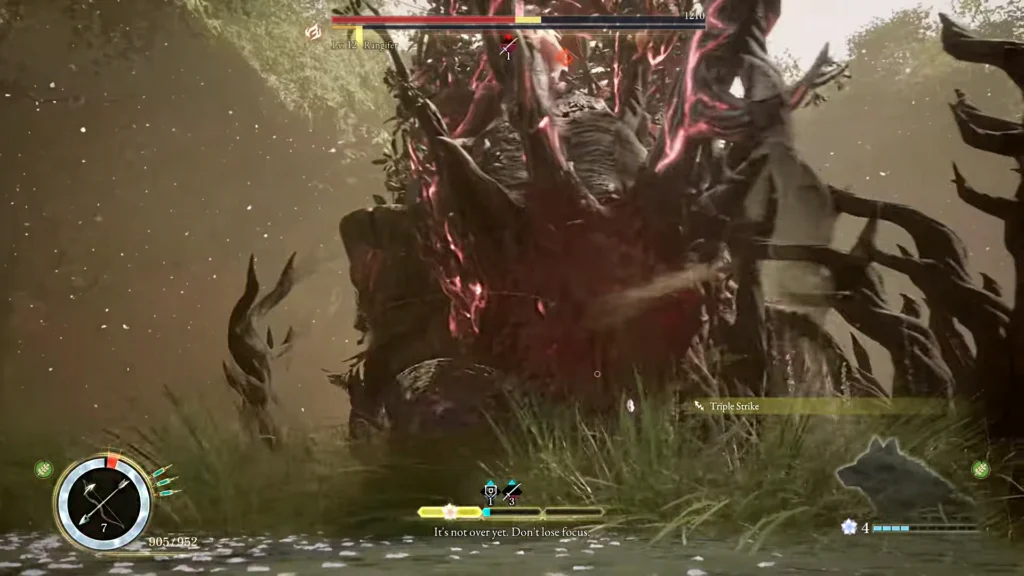
Rangifer will perform a slam attack with its legs to spawn wooden veins out of the ground.
Here, Rangifer will lift its front legs in the air and smash them on the ground, creating wooden tree veins from the ground surrounding Rangifer. Just perform a dodge, and then get close to Rangifer to land a few more slashes on its head. The veins of the ground take time to disappear; I would say a few seconds, which offers perfect time to go all out on the melee attack. Once the veins disappear, move out of the way, switch to ranged weapons to deal damage, and wait for the next Rangifer attack.
Antler Swings
Rangifer will charge and start swinging its head left and right; this sideways head swipe attack offers us a perfect opportunity to parry. Basically, Rangifer uses its antlers for melee strikes. I will advise you to block and parry the swings Sekiro style (well, to be frank, this is much easier than that) to perform melee strikes on Rangifer’s head. Don’t use a ranged weapon here, since the swings are faster and always going to happen in close range; just block and parry to deal with this one.
All Rangifer Attacks on Second Phase
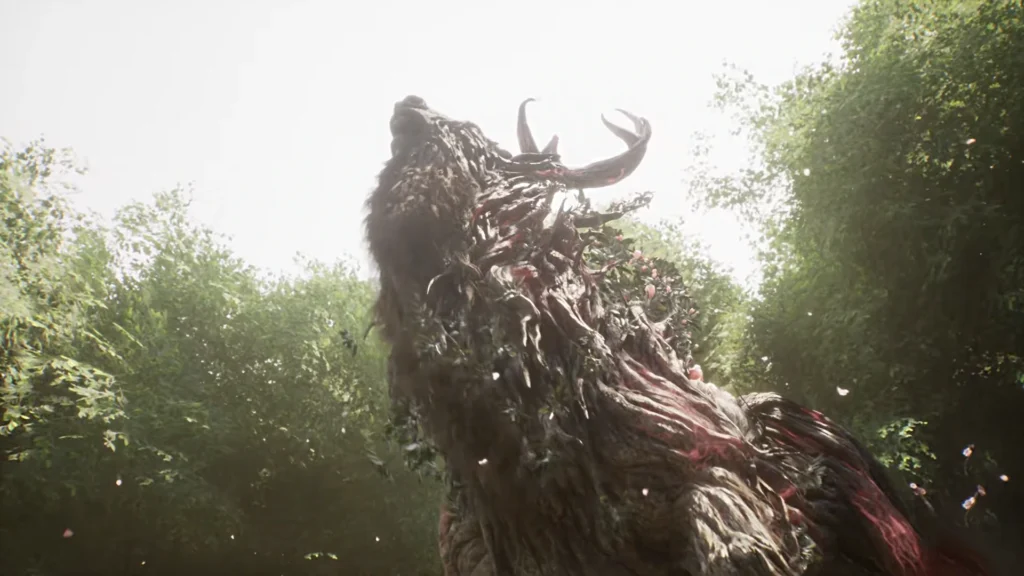
Once you bring the Rangifer’s HP down to 0, a cutscene will trigger a flower blossoming, and with that, our Rangifer will enter the second phase.
Advanced Antler Swings
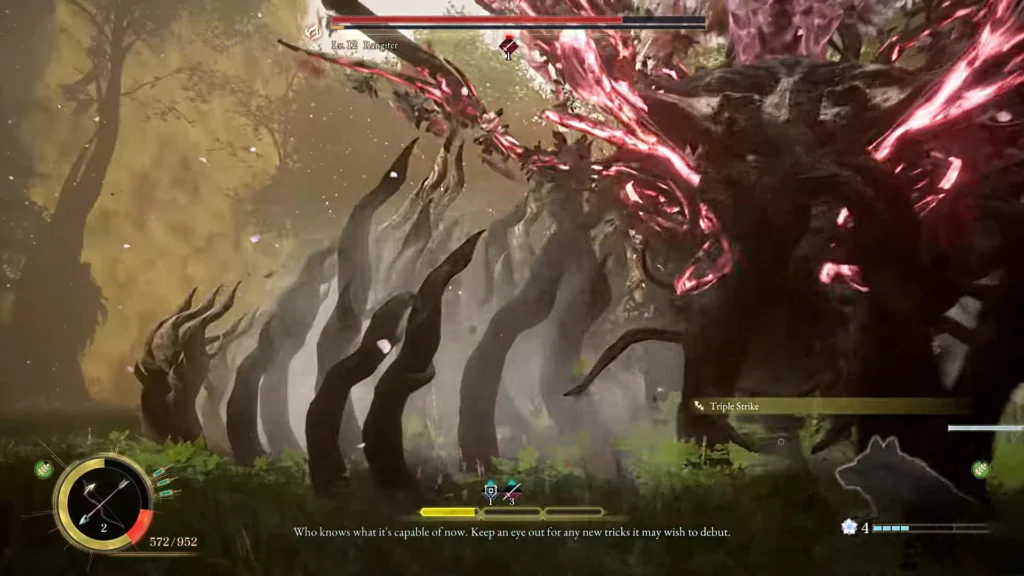
Rangifer will move its head up in the air, and all the pink parts on its body will start glowing, and it will immediately launch antler swings. After four or five swings, it will end the attack by slamming its legs on the ground, creating veins around it.
The attack starts off the same as the common antler swings from the first phase, but don’t stick out for too long, or you will get caught in the tree AOE attack, which the boss executes as a follow-up attack from the antler swings.
Tree Spawns
Once Rangiifer spawns, four trees around its area will spawn. If you don’t attack the beast soon, it will regain most of its HP. Quickly use the spawned tree to propel yourself in the air and attack Rangifer from the air to stun the beast. Adding a good amount of time to perform the melee strikes. This attack takes a while to happen, as Rangifer will have golden particles around its area, which indicates it’s about to spawn the tree. Here, we must be ready to quickly perform the tree grab to do our move.
These are the three new attacks you will come across during the second phase, but once they are done, Rangifer sticks to its basic attacks: Tree Drop, Antler Swings, and AOE Vein Spawn. Once the beast starts to perform its first phase attacks, you can go back to the previous playstyle that we followed in the first phase to bring its HP down.
Tips for the Rangifer
- Grab the Chain Mail armor, an essential defensive piece of gear for this boss fight; you will find it in the strongbox next to the Cliff-facing Tower campsite. If you are lucky, you can also get a jumping R1 strike on Rangifer from this campsite and take off a neat chunk of its health even before the fight starts.
- All Rangifer’s antler swings can be parried; don’t let this attack go to waste.
- Sometimes Rangifer will dig its antlers in the ground to throw rocks at you; just avoid them. You can parry it, but it’s too risky.
- Avoid blocking or parrying any of the Rangifer’s stomping attacks.
- Attack the head; use Entanglement Overdrive to slow down time to perform even more melee slashes.
- Rely on ranged attacks as you make distance from the boss; go for melee once the boss starts charging at you with its close-range attacks.
- Koo’s Higanbana Seed skill is perfect, as it launches a fire-based projectile that can lead to the burn status on the boss.
Rewards on Defeating Rangifer
Defeating the boss gets you the
- Rangiferine Memories – A large piece of amber infused with memories, that bestows Rangifer’s abilites onto you
- Nushi Skill ‘Sakura Storm’, a set of powerful forward strikes that ends with an AOE effect of vines striking from the ground in the area in front of you.
