



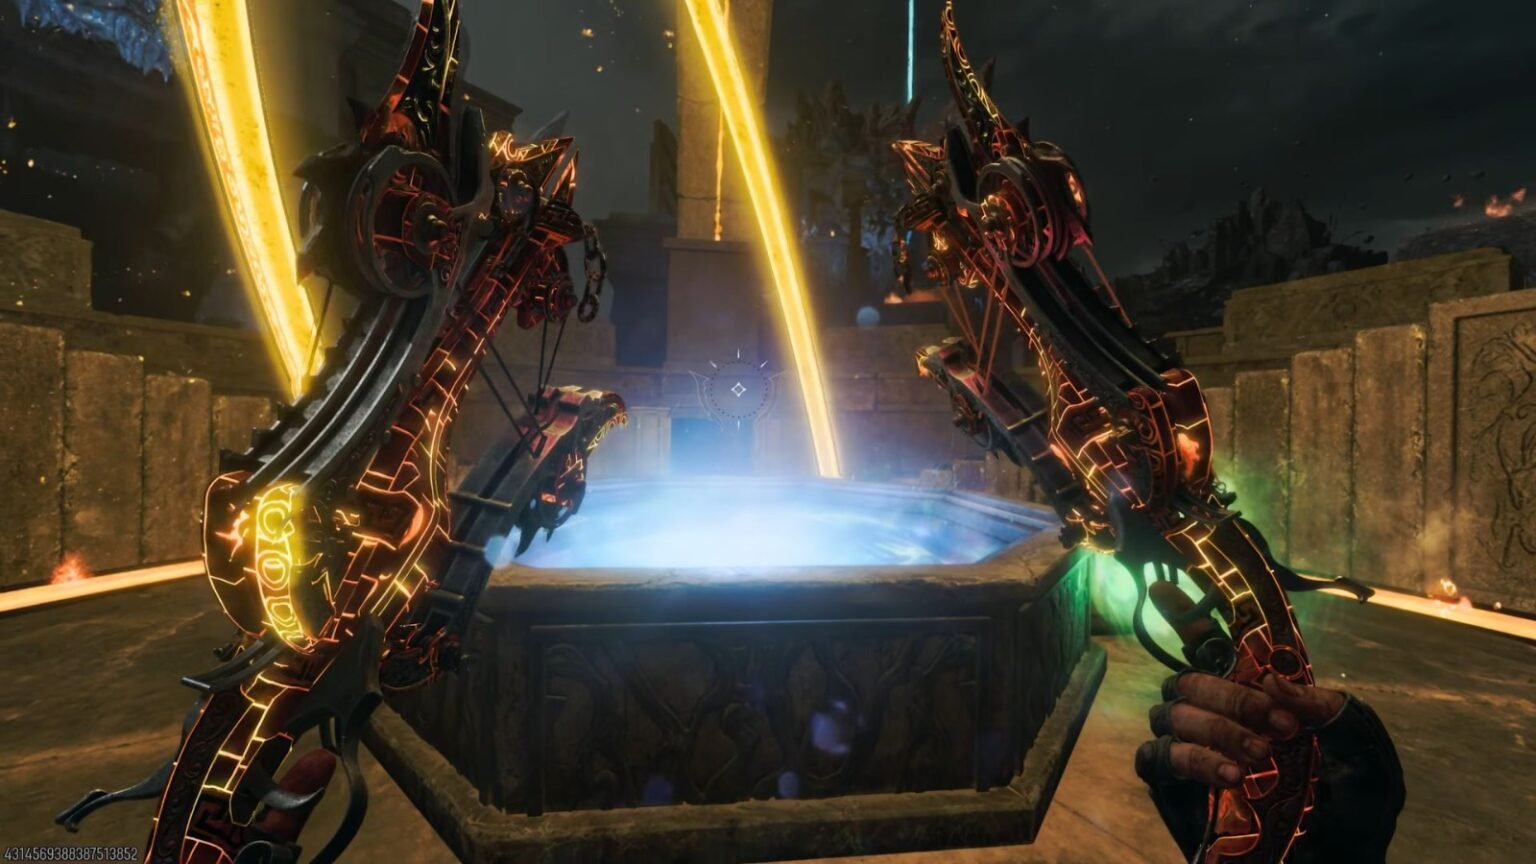

The newest Wonder Weapon has graced the Rex Infernus map in BO7 Zombies. This enhanced dual-handed crossbow will probably be your next best weapon, provided you follow a series of steps to get this weapon quickly. Like all Wonder Weapons, you need to go through the map, complete quest objectives, and figure out the final steps to attain the weapon.
After going through all the objectives to get the Warden’s Blight myself, I have compiled the best way to collect this Wonder Weapon. This guide will include solving all the puzzles across the temples on the Rex Infernus map.
Unlocking the Warden’s Blight in BO7 Zombies
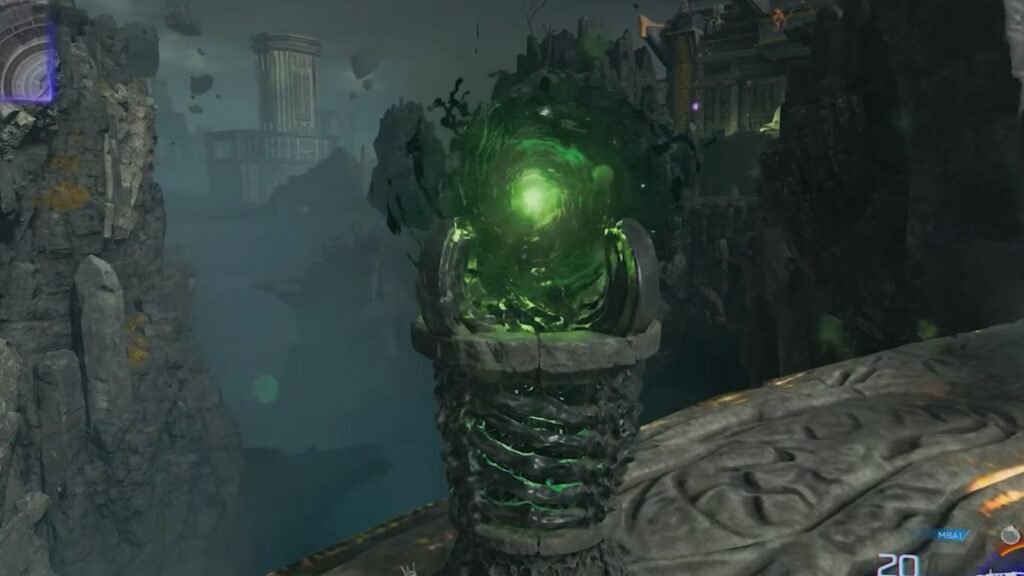
There are several puzzles to solve along the way while exploring Rex Infernus, so take your time and figure them all out. The first step is to unlock the Void Claw grapple hook, which you can get after completing the Pack-A-Punch questline. To get your own Void Claw, interact with any green orb scattered across the map. You can return to the green orbs to charge up the Void Claw anytime you run out of power.
The next step is to collect purple orbs scattered across the Nexus Forge and draw them towards the Pack-A-Punch pool. You will find several of them while looking up and around the Pack-A-Punch area. Use the grapple hook to draw the orb towards the pool. Once the orb is close enough, it will start spinning around.
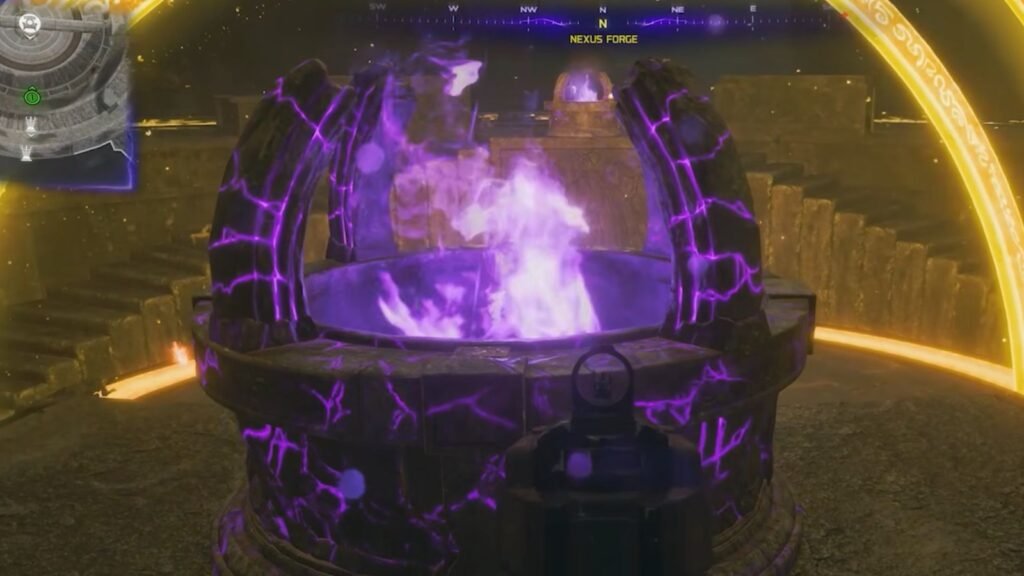
There is a lever at the side of the Pack-A-Punch; spin it around, and the purple orbs will get absorbed by the brazier above the Pack-A-Punch and turn into purple flame. This will be your Astral Flame, which you will need later. If you mess up this step, then you need to repeat finding the purple orbs again and lighting up the brazier.
Collecting the Fracture of Nyxara
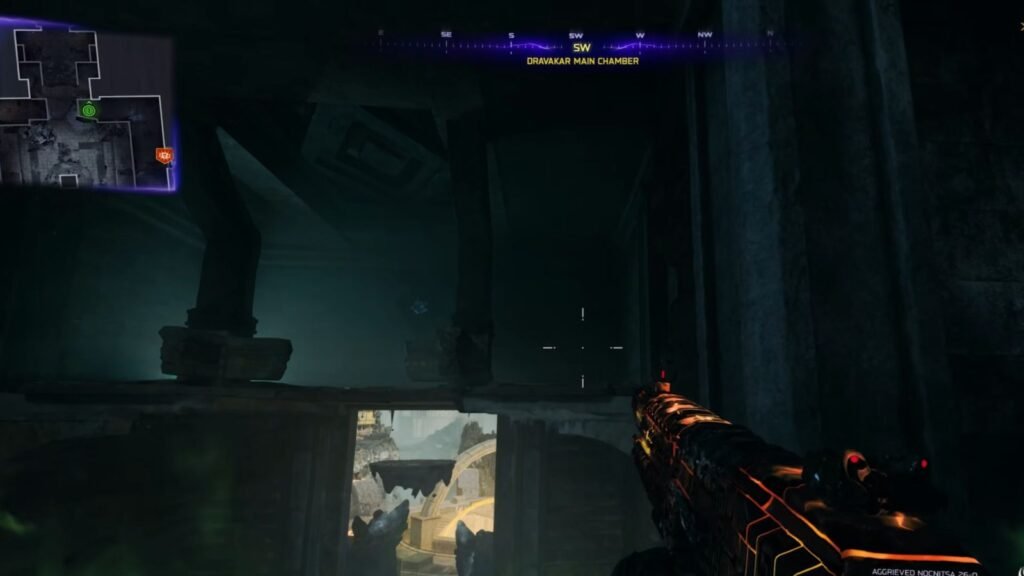
You need to find the Fracture of Nyxara quest item inside the Dravakar Sanctuary. Before you begin, I recommend getting the PhD Flopper to make it easier to find it. If you are at the Dravakar Entrance, head up the stairs on the side, then use your grapple gun or jump across to the platform right above the entrance. Over here, while facing northwest, look for a breakable wall using the PhD Flopper. Tear it down to collect the Fracture of Nyxara.
Preparing for the Nyxara Inner Sanctum Puzzle
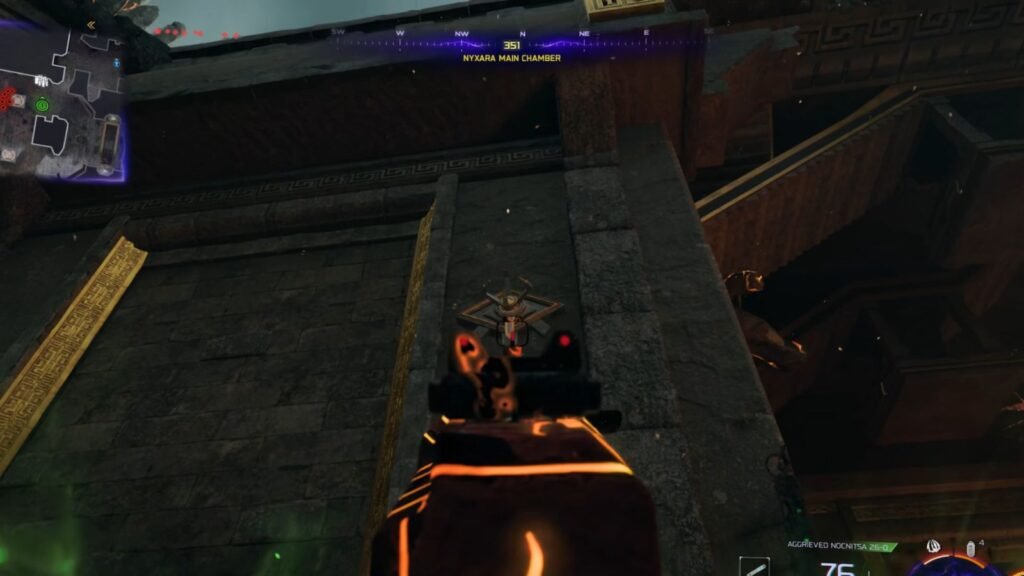
The Fracture of Nyxara should be used to fix one of the crystals within the Nyxara Main Entrance. While facing the doorway of the Nyxara Sanctuary, look to your right to find an empty slot. Use your grapple hook on the holder to place the crystal.
Then, return to the Pack-A-Punch to collect the Astral Flame. Once you start the puzzle, it will be timed, so make sure you have everything ready beforehand. Ensure all the doors to the temple are unlocked, and that you have backup Astral Flames back at the Pack-A-Punch. Also recharge your grapple hook.
Solving the Nyxara Inner Sanctum Puzzle
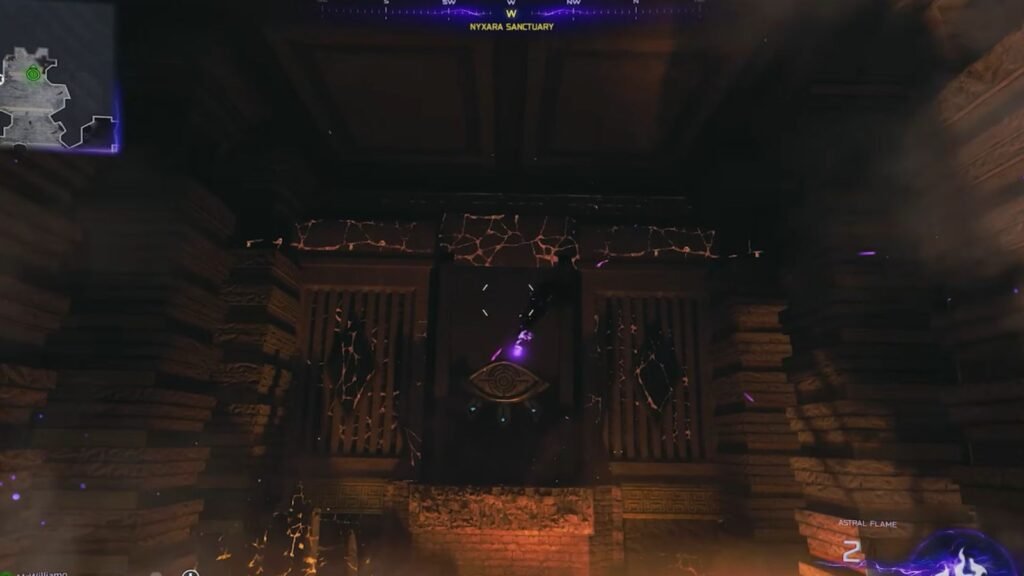
Make your way to the very back of the sanctum to find a large eye symbol on the wall. Toss the Astral Flame at it to light it up. This will release a beam from the eye that will hit all the crystals on the ceiling of the sanctum.
Your goal here is to hit the crystals with your grapple hook so that the beam changes direction. You need to redirect the beam to the Nyxara Main Chamber’s locked southern entrance. The beam needs to exit the sanctum to reach the crystals at the Main Entrance area, then travel to the south entrance.
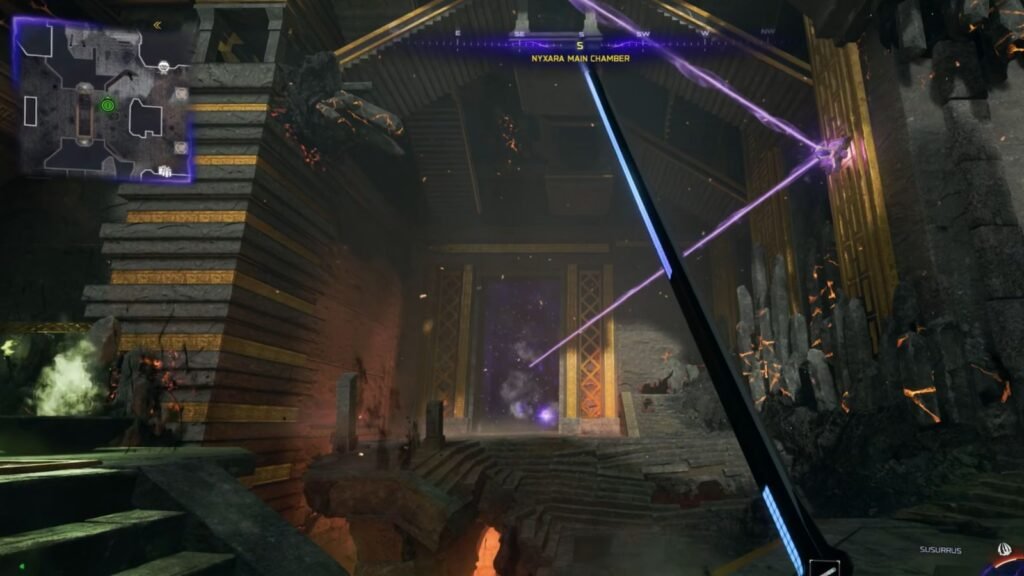
You might need to hit the crystals several times with your grapple hook to have it change direction, so keep recharging your hook at the green orbs. Once the beam has hit the entrance, it will emit a faint glow before dispatching the veil covering it. Go through, and you will find the Purple Orb on the floor. Step near it to have the floor give way.
Collecting the Sacred Seed
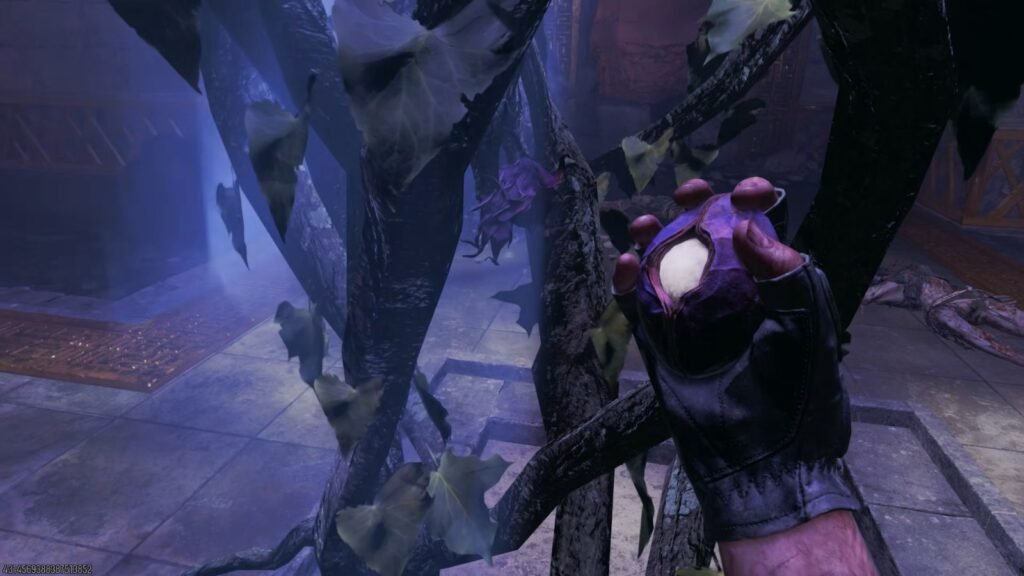
In this secret room, you don’t need to do much except stay alive. In the middle of the room is a large root that will continue to zap your HP periodically. Your goal here is to defend yourself against the oncoming zombie horde while staying alive. Eventually, after several rounds, the root will start glowing and release a seed. Pick up the seed to be transported to the new Forest area.
Gather the Wonder Weapon Parts
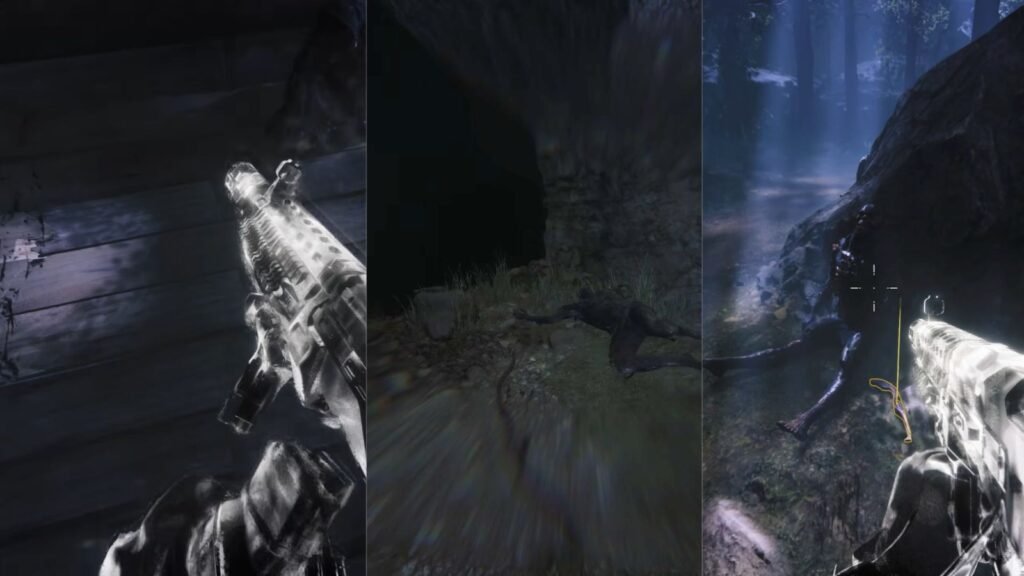
After the cutscene, you need to find three dead bodies and pick up the parts. There is no order to how you get the parts, as long as you scan the entire forest and collect them. The three points where the bodies spawn are:
- Outside the hut near your spawn point, melee the wooden floorboard next to the body.
- At the back of the forest, near a cave entrance.
- In the central area, behind one of the large boulders.
Each time you interact with a body, you will get a short cutscene. Once it ends, you will get one part of the Wonder Weapon. If you die in the Forest, then you need to revisit the Root and complete one zombie round to collect the Seed.
Dravakar Sanctuary Puzzle Solution
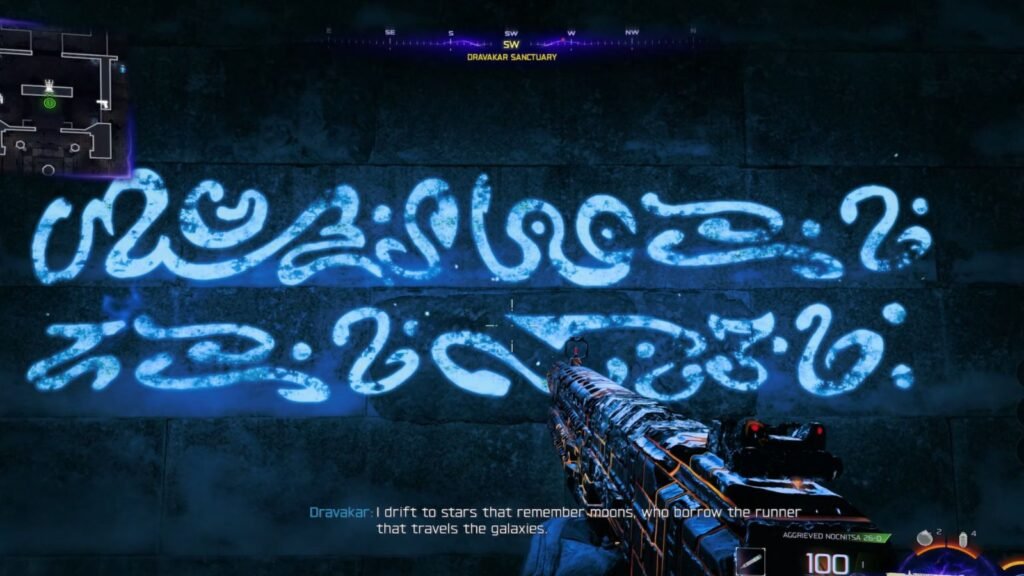
After teleporting back to the main map, make your way to the Dravakar Sanctuary. Towards the very back of the temple, look around for a glowing blue inscription on the wall. Interact with it, and it will tell you certain phrases. You need to memorize all four phrases, and these will be different per playthrough. In case you are looking for a shortcut, you can visit this website to solve the puzzle quickly.
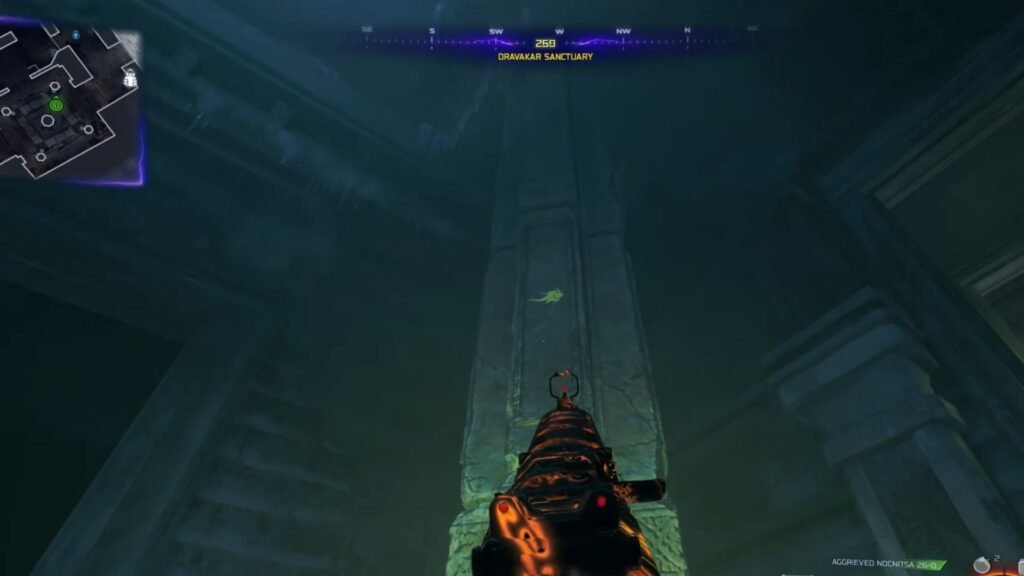
Each time you hear a phrase, it will mention four important things: Galaxy, Moon, Runner, and Star. You need to memorize the order of these four objects as given in the phrase. Then, look at the main area inside Dravakar Sanctuary, and you will find four pillars that have the symbols of the objects mentioned.
Then, if you check out all four temples, i.e., Veytharion, Caltheris, Nxyara, and Dravakar, you will find the same symbols around the temples, similar to what you had spotted on the pillars inside Dravakar. The pillars need to be turned so that they face the respective temple’s direction.
There are levers around the puzzle area that you need to rotate so that the pillars move. But moving one will rotate the others too, so you need to plan this part carefully. You could check out the website linked above, or follow the solution in the table below.
| Puzzle | Left Switch (Northeast) Rotation Turns | Bottom Switch (East) Rotation Turns | Right Switch (Southeast) Rotation Turns |
| “I drift to stars that remember moons, who borrow the runner that travels the galaxy” | 1 | 2 | 2 |
| “I drift to the runner that travels moon, who borrow from galaxies when stars stay true” | 3 | 2 | 1 |
| “I remember galaxies that drift to moons, who borrow the runner that travels the stars” | 2 | 0 | 2 |
| “I remember the runner that travels to stars, while moons and galaxies stay true” | 0 | 2 | 3 |
Unlocking the Warden’s Blight
After rotating all the pillars correctly, a new lever will be revealed at the base of the central large pillar inside Dravakar Sanctuary’s puzzle room. Turn the lever to reveal a secret area on the roof. Use the grapple hook to get up there. In this new room is an anvil, and if you interact with it, you can claim the new Warden’s Blight Wonder Weapon.
This dual-wielding crossbow just shoots a single arrow per crossbow, but after running it through the Pack-A-Punch, you can charge either one or both of your crossbows and release a powerful tornado, which is great for sucking up multiple zombies and giving you room to breathe.
