

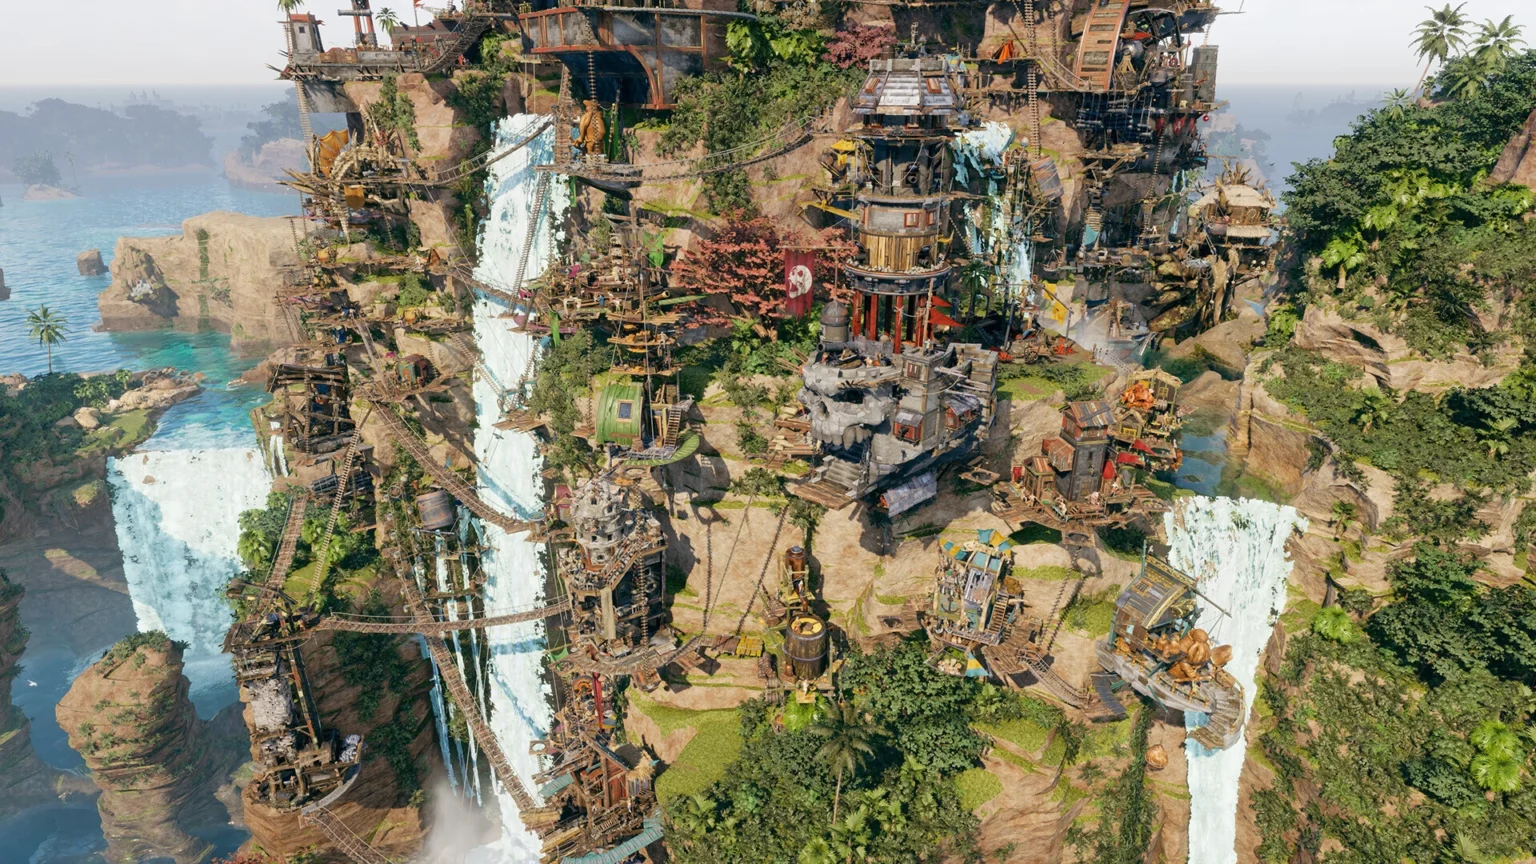

Corsair Cove offers a new way to venture into the pirate world by creating an entire pirate island of your own with the option to become anything you want. The game has layers of deep mechanics that expand its gameplay system in various directions, like the naval battles, for example. If you are interested in trying the game out, then take a look at the guide here to get the best tips and tricks to make your journey smooth into Corsair Cove.
Tip #1: Understanding the HUD
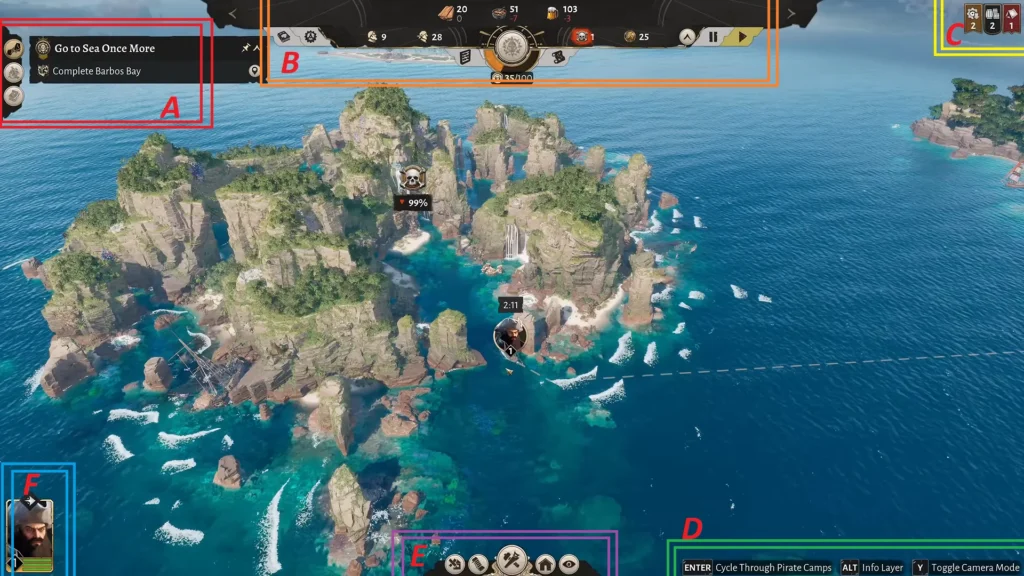
When you open the game and finally start to play it, the game opens up everything right at the start on the HUD. You will see buttons, tools, and loads of icons staring at your face. I’ve divided the HUD into alphabetical order with their color to help you easily pick up the HUD descriptions.
- A (Red Color): The Top-Left screen has all the details of the Main Quest/ Deeds/ and Side Quest. At first, it will be the current tutorial missions of what you need to do to make progress to the next mission or task.
- B (Orange Color): The top section of the screen contains many options; here are the details for all of them:
- Codex (Book Icon): Explanation of various mechanics in the game.
- Game Menu (Gear Icon): Opens the main menu where you can tweak the settings.
- Drifters: Unemployed crew with no duty, but they will take up space.
- Assigned Pirates: Drifters at work. When you assign a Drifter to a working area, they get the pirate.
- Note: The icon on the Pirates will have a cloth wrapped around their head, and Drifters will have none.
- Resource Numbers: Right on the top, you will have the details of all of your resources that are in production and consumption, changing in real time.
- Compass: Direction details to lead your crew to various Principle points.
- Island and World Toggle: Switches the view to either Island or World View.
- Coin: Currency in the game.
- Time Setting: Fast-forward the game or pause the gameplay.
- C (Yellow Color): It shows the Settlement Notification. If you have any potential production or settlement issues, it will be seen at the top-right part of the HUD.
- D (Green Color): Shortcuts to the Cycle Through Pirate Camp, Info Layer, and Toggle Camera Module.
- E (Purple Color): All of your construction, connection, and demolition tasks will be handled at the bottom of the screen.
- F (Sky Blue Color): View the ship’s captain.
You can hide the game’s interface by heading into Settings> Controls to view the key or change the key to toggle the HUD. Now you will be able to take a perfect screenshot of your base without the icons ruining it. The Naval side has its own HUD that you need to familiarize yourself with to conquer the ocean.
Tip #2: While You Can Build Anywhere…
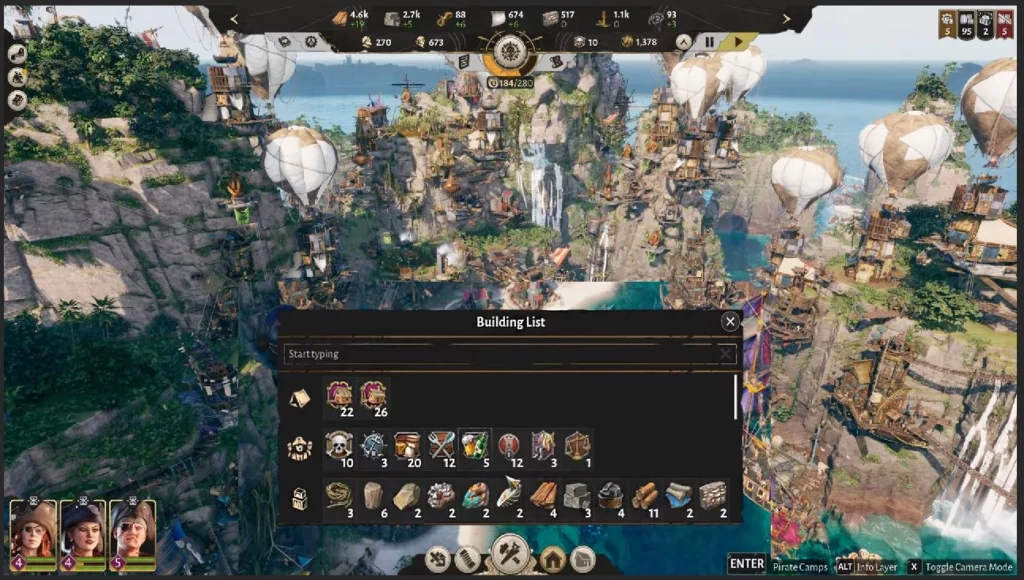
Unlike most games, where you have a vast selection of land to create your own empire, here you are limited to a small area, basically a small island filled with cliffs, trees, and water. Fortunately, the game allows you to take advantage of every scenario; now you can build vertically along the cliffs. You don’t have to actively search for a tiny space to build a house for the Drifters; you can do it on the rocks. The automatic connection will put the building at the right spot.
Sometimes you will run into a connecting issue where you have to manually connect the building. Do note that when you are building your own city, make sure all the buildings connect to the settlement for them to be in an operable condition. When you are assigning Fetchers into the building, make sure to not to add more Fetchers to the same building; it will not lead to any positive influence on the building.
Tip #3: … It is Best to Build Close Together
When you are starting out in the game, don’t construct buildings too far apart; you want them to be as close as possible. Starting out, you will get a task to produce planks, which requires logs. So first build a Woodcutter next to the trees to produce Logs, then you will need to build a Sawmill as close to the Woodcutter to take the wood and turn it into planks. And then the Sawmill needs to connect to a Warehouse to keep up with all the material. These three vital buildings sit close together, without any long stretch of roads.
The rule of building close together will not work all the time, as some buildings require distant locations in a specific environment to be operable. For example, Soup Kitchen: it will require fresh water, and Turtle; you are not going to find it in the jungle.
Sometimes you will find the buildings in an inoperable condition, where nothing works as it sits idle on the island. Here, the game will inform you with a red icon No Pirate Camp Connection pop-up window if the building is not connected to the Pirate Camp. If a building is not working correctly, the connection route is by far the biggest issue, or make sure the building is not paused.
Tip #4: Take advantage of the Info Layer
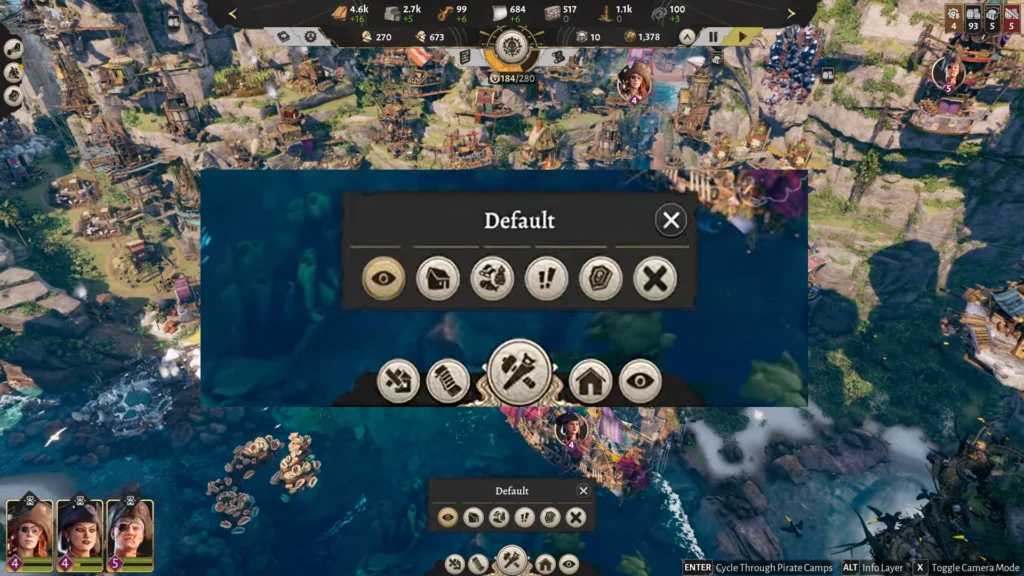
When you are starting out, you will have no idea where everything is, since all building types blend together at a distance. Info Layer: the eye icon at the bottom of the screen will help you pinpoint all building types you have on the island. You can further filter the view by clicking on Info Layer and then selecting the building that you want to view in the game.
When you first click on the Info Layer, you will see all the icons at once. If you don’t have enough buildings, then you will not be bothered by the sight, but for players who have too many buildings, the entire screen will be as complex as staring at Microsoft Excel. Here, the Filters under the Info Layer can help you further customize the view options. Here are the options:
- Default: See everything in the game.
- Buildings: You will only be able to see buildings.
- Deposits: Lets you view the current deposit marked by purple light.
- Warning: Shows all the warnings or Alerts.
- Fortifications: Shows all the fortifications on the island.
How to Look for a Specific Building
If you are looking for a specific building type, then click on the Building List option, left of Info Layer. The Building List features all building types in the game. If you want to keep track of your Sawmill, then open the Building List and choose Sawmill to view all the Sawmills that you have constructed on the island. You will not see any other building besides Sawmill; the same applies to all the other options found under the Building List.
Tip #5: More than Your Average Compass
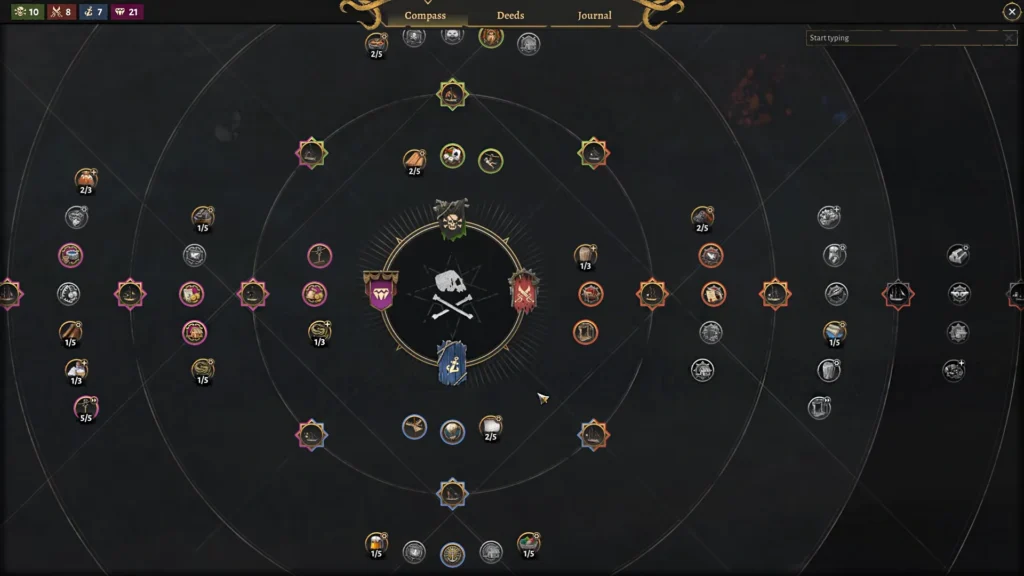
Compass has four paths: Empire, Notoriety, Wealth, and Seafaring. Each will have its own skill tree section with various upgrades. You will need to pick the path that suits your gameplay more.
Here we get technology tree advancement; unlocking them will drastically change the game, but we will need to prioritize what to unlock first.
- Elevator: Increases transportation speed; it is one of the major upgrades that you should get as it speeds up transportation for steep cliffs.
- Fancy Cabin: Provides 12 Housing for the Drifters.
There are some interesting upgrades here; for example, Golden Palace at the end of the Wealth tree allows all resource deposits on the island to get unlimited capacity without ever running into depleted status.
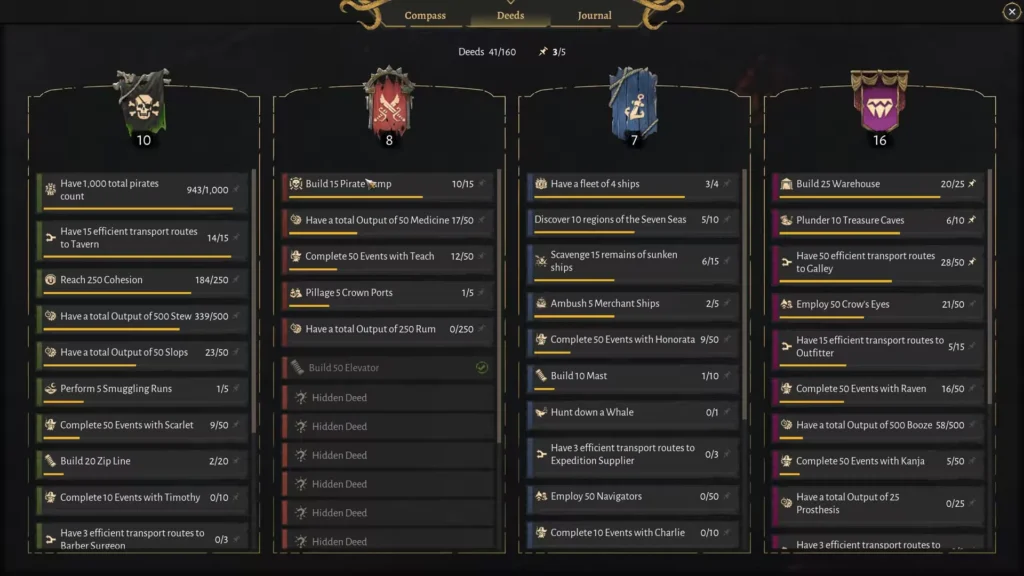
You get a skill point to invest in Compass by completing Deeds and Side Quests. Deeds are a set of challenges, from common to difficult; completing them awards you with a Principle or skill point. The Deed section will also be divided into Empire, Notoriety, Wealth, and Seafaring. Each one will have a list of challenges; completing them will earn you a point in that respective category. If you complete a challenge under Wealth, you will gain 1 Skill point to invest in Wealth in the Compass or skill section.
Tip #6: Aerial Lift Vs Bridges
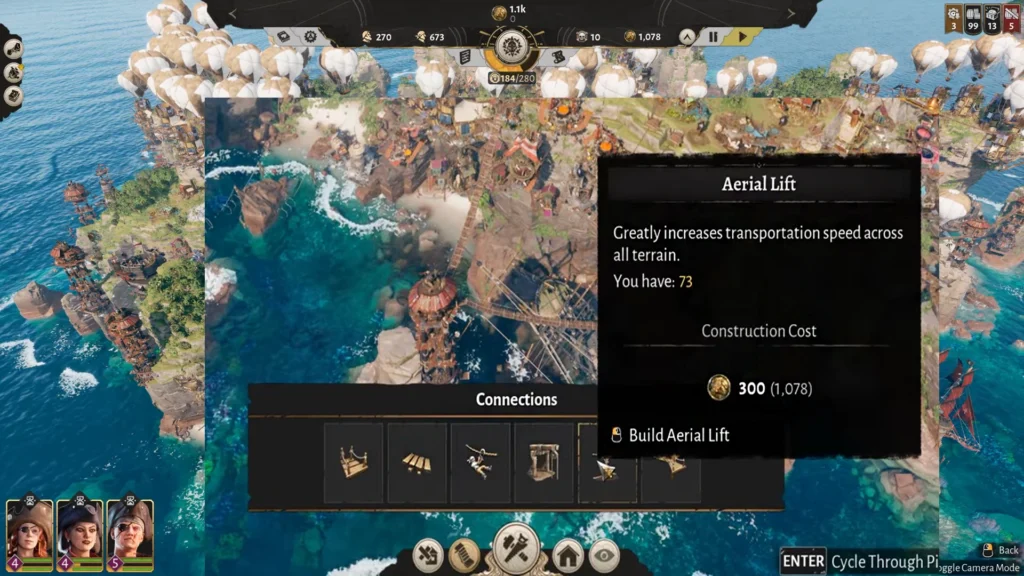
Eventually you will want to convert to Aerial Lift, which makes transportation much faster but at a high cost. While building bridges is free of cost, Aerial Lift, on the other hand, will cost 300 Coins. Early on, resort to building bridges for connection; once you get a good amount of money or coins, then slowly start replacing the crucial bridges with Aerial Lift.
Tip: You can further enhance the efficiency of the Aerial Lift by getting the upgrade under Compass.
Tip #7: Keeping People Happy
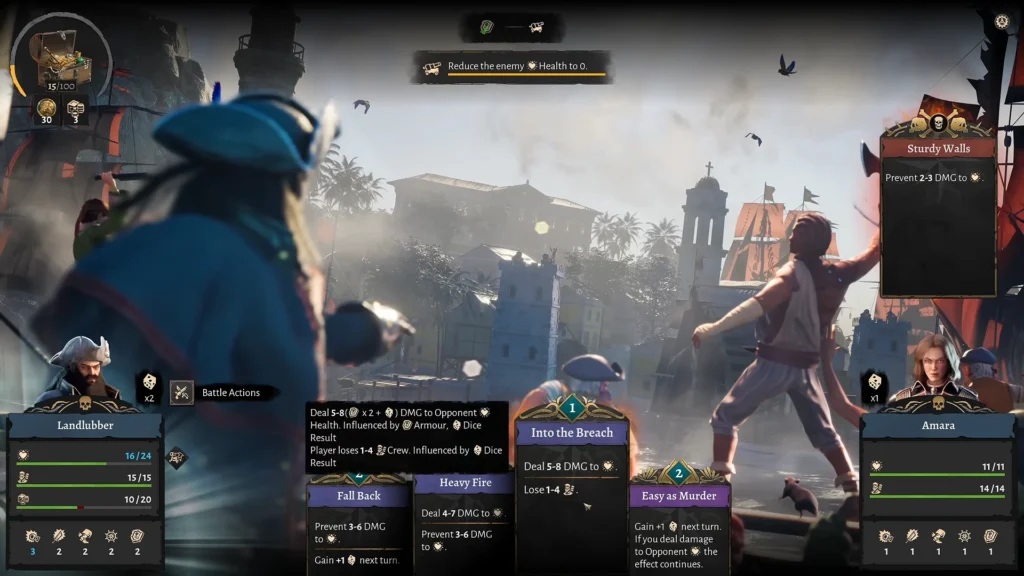
The hardest part about managing pirates is keeping them happy; it doesn’t take too much to satisfy the desires of a pirate, but failing to maintain it can lead to huge consequences. The satisfaction indicator can be tracked with Cohesion, located at the top of the HUD.
The best way to keep pirates happy is by focusing on three things: Food, Shelter, and Drink. Each of them is related to the others; as you get more crew, you will need a higher amount of shelter, which will also impact food and drink consumption. You have to construct a building three steps ahead.
Tip: Build a good number of houses; they will serve a good number of people without people complaining about not having living space.
The game offers a Satisfaction meter (A speedometer with colors instead of numbers) found in every building that keeps track of warnings or problems. Green shows a healthy connection, orange is a bit problematic, and red is a failure. You can use these indicators to make changes to the current gameplay flaws to suppress the problem in the future.
Tier #8: Maintaining the Crew
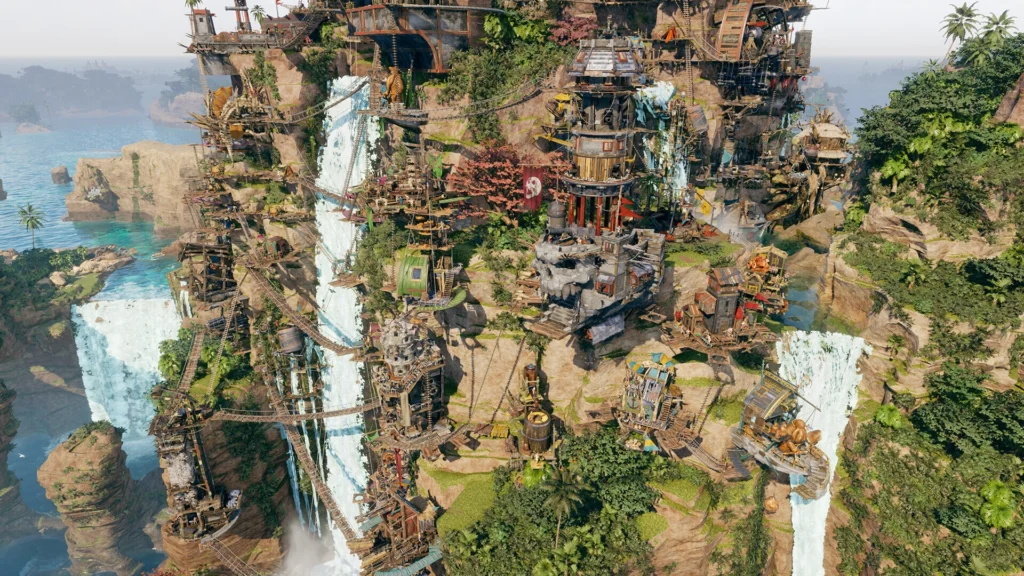
Since we are on the topic of crews, let’s look at how they should be handled in day-to-day operations on the island. Eventually, you will have more buildings than workforce if you are officially running out or ran out of Drifters to assign to jobs. Then you can reassign the Drifters from other buildings to start working on the new one. Target the buildings that are not too essential for the game, take a few of the Drifters out, and put them to work in a new building.
Tip: You can also pause the building to free up the Drifters, especially if you have more than an essential amount of goods from the building.
The game does allow you to speed up the workforce by clicking the All Hands on Deck option found in the building. It will boost production but also sucks up a lot of workforce resources simultaneously, so use it wisely; don’t try to lean on it too much. While you might have to use it early on, the best way to avoid this is by constructing more buildings.
Tip #9: Production Vs. Distribution
Corsair Cove has layers to its product delivery system; you can’t just make booze and expect people to drink it from the brewery. The same goes for food and weapons. You must build a separate building to spread the produced item to the people. You can have a warehouse full of Booze, but it will sit there on the shelf without ever getting to the hands of people. Distribution is the second part of the equation:
- Build a Galley to distribute the food
- Construct a Tavern to distribute the drink
- Crafting the Arsenal distributes weapons.
As you can easily tell, balancing the workforce slowly becomes a crucial aspect of the game, as you will have more buildings set up than workers available on your island. So when you are planning to open up a building for distribution, make sure to also think about the workers or drifters you have at your disposal, or the ones ready for reassignment.
