

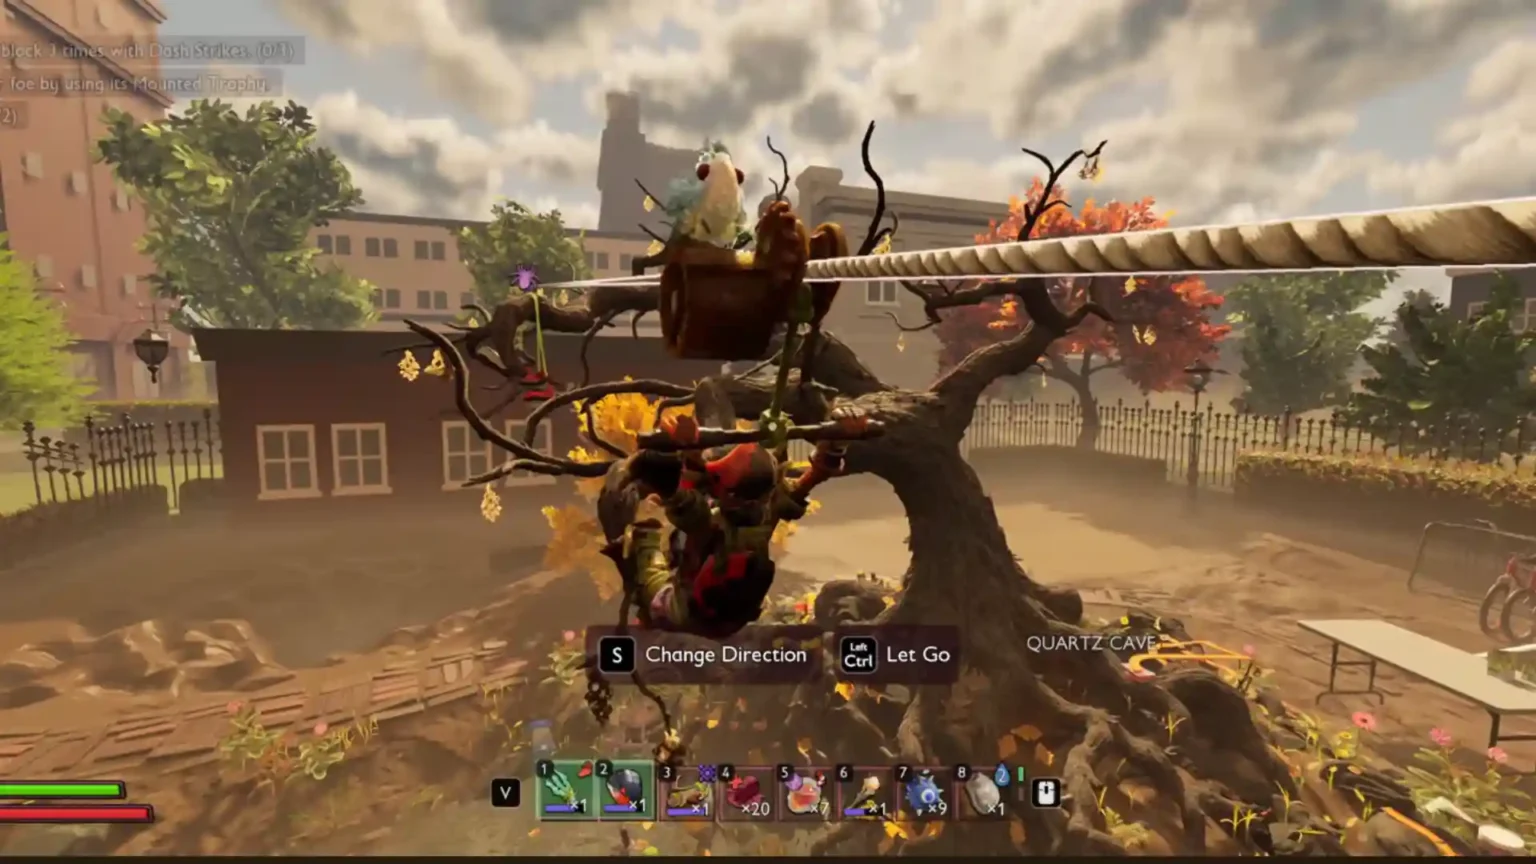

Grounded 2’s Into the Abyss update finally brings Ziplines to the game. However, it was quite challenging for me to get my hands on them, as you need to get two separate items for them to work. Since the map is quite vast, getting around becomes a lot easier with the help of Ziplines. Hence, I would highly recommend getting it as soon as you can.
Unlocking Ziplines and Zip.R is a task if you don’t know your way around the map; however, it can become quite easy if you successfully navigate the path. In this guide, I will explain how you can easily acquire both of them.
How to Unlock Ziplines and Zip.R in Grounded 2
Unlocking Ziplines requires you to unlock two separate things in Grounded 2: the Zipline anchors themselves and then the Zip.R, which actually lets you ride the lines. Here’s a short version of the process:
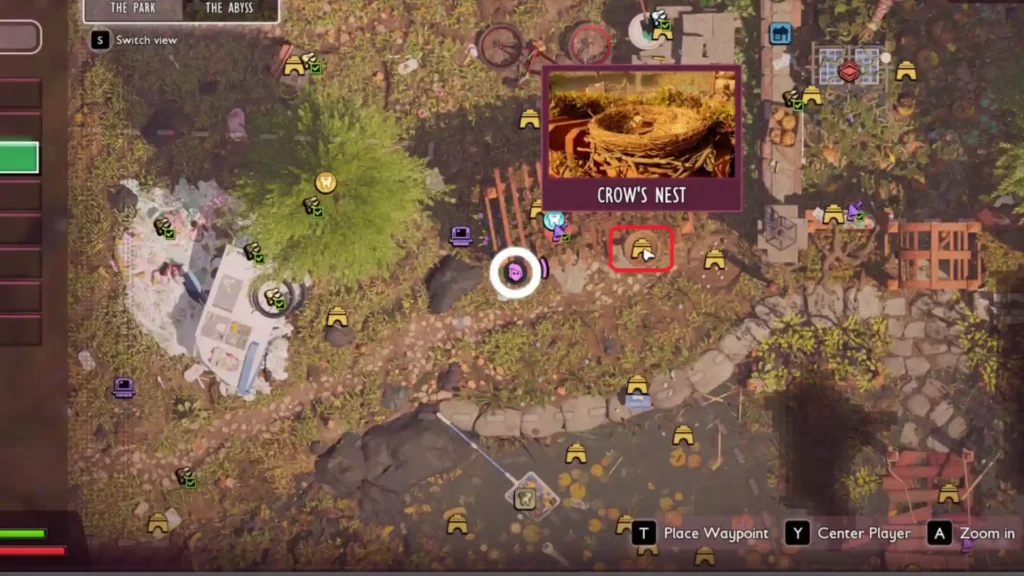
Head to the Crow’s Nest in the Pergola region and climb it to acquire the Optical Disk.
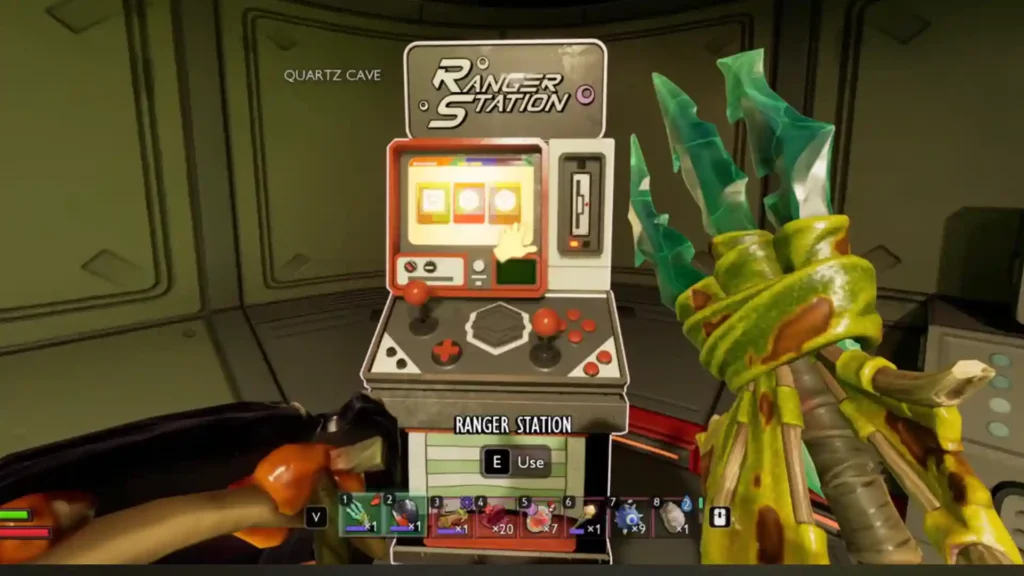
Head back to a Ranger Outpost and register the disk. You will need 2500 Raw Science to unlock the Zipline blueprint.
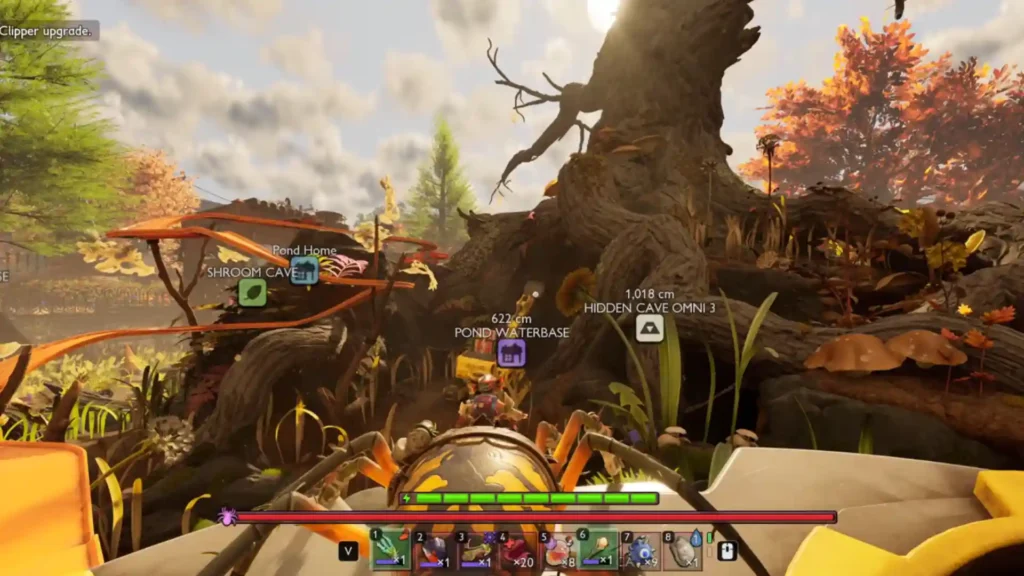
To unlock the Zip.R tool, head to the Gnarly Bark tree. Climb the tree using the moss until you reach the top.
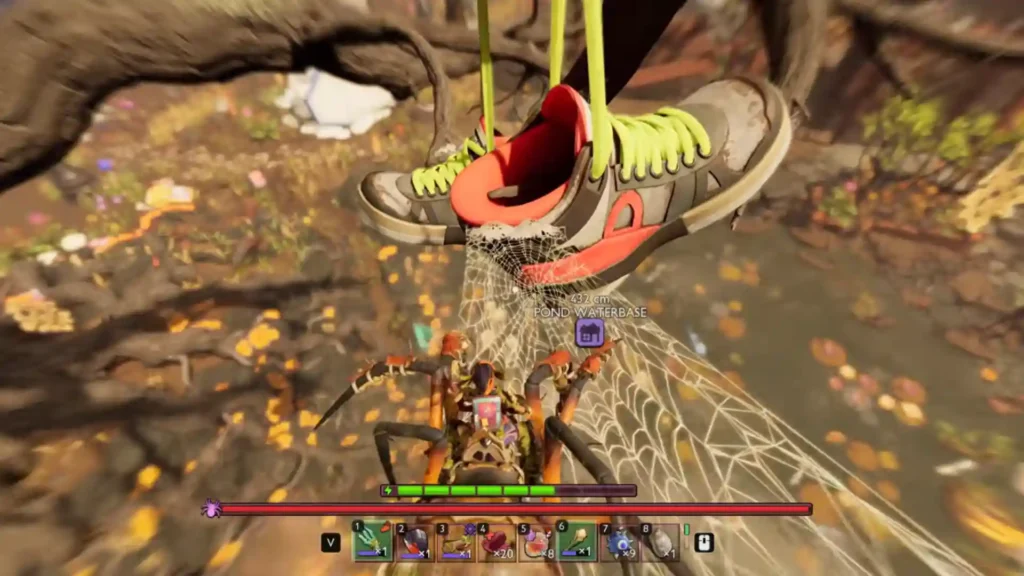
The tool will be hidden inside a pair of hanging shoes. Once you have unlocked them both, you can place and connect them to build your desired Zipline routes.
Reaching Crow’s Nest in Grounded 2 For the Zipline’s Pergola Optical Disk
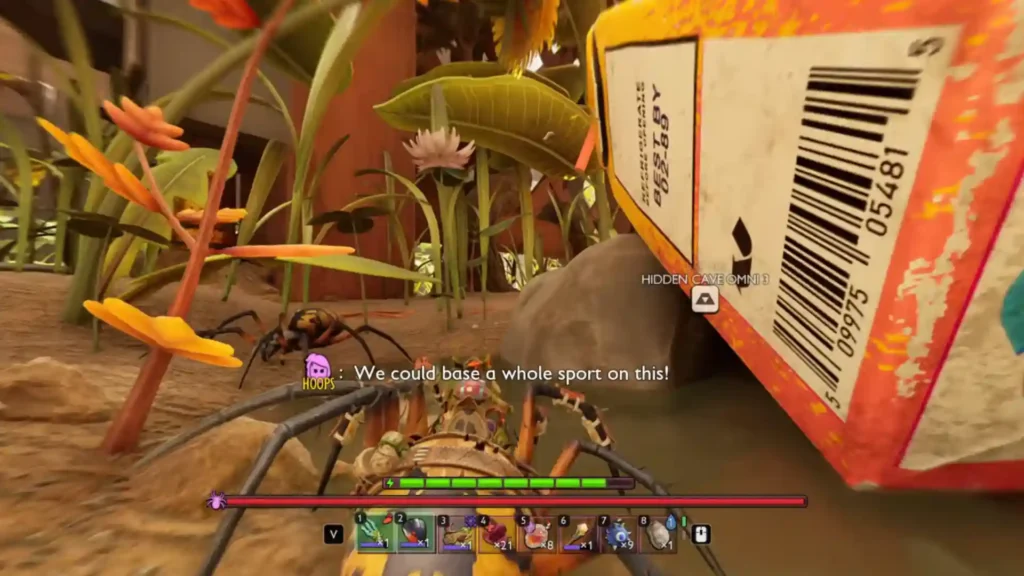
The Pergola Optical Disk is what you require for the Zipline blueprint. But it also means a serious climb.
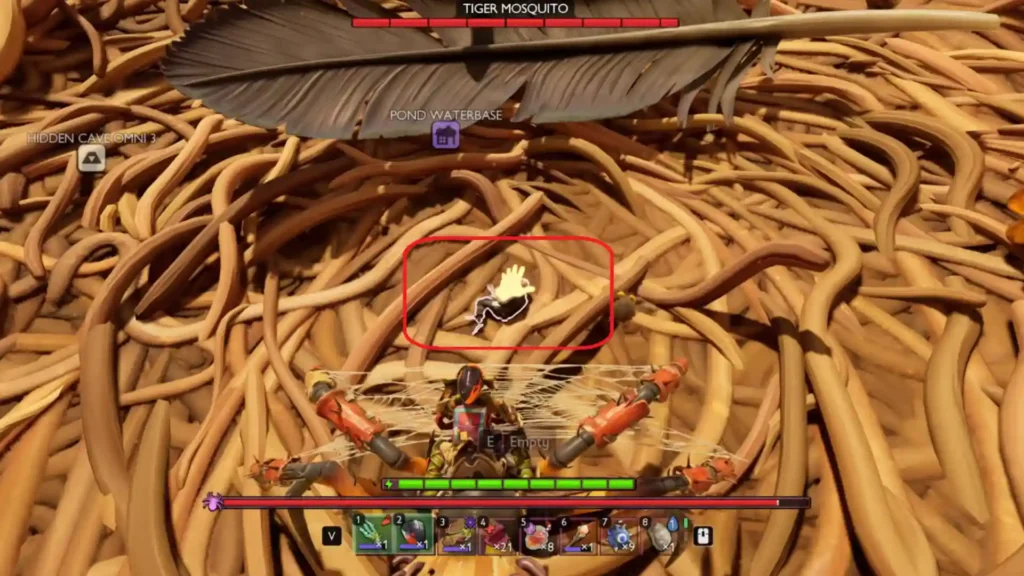
- Head to the Pergola region and look for the juice box past the bicycle.
- Climb onto the tree with the help of the juice box and follow the vine till you reach the top.
- Bring the Orb Weaver buggy to cross the spider webs. It is also the only practical option to climb the tree.
Come prepared for the climb, as enemies on the tree can knock you off. Make sure to have Dandelion Tufts in your hands. After reaching the top, you will find a hidden area called Crow’s Nest. The Pergola Optical Disk is found here. Once you unlock the Zipline through it, you can make the anchors.
Finding the Zip.R Tool in Gnarly Bark in Grounded 2
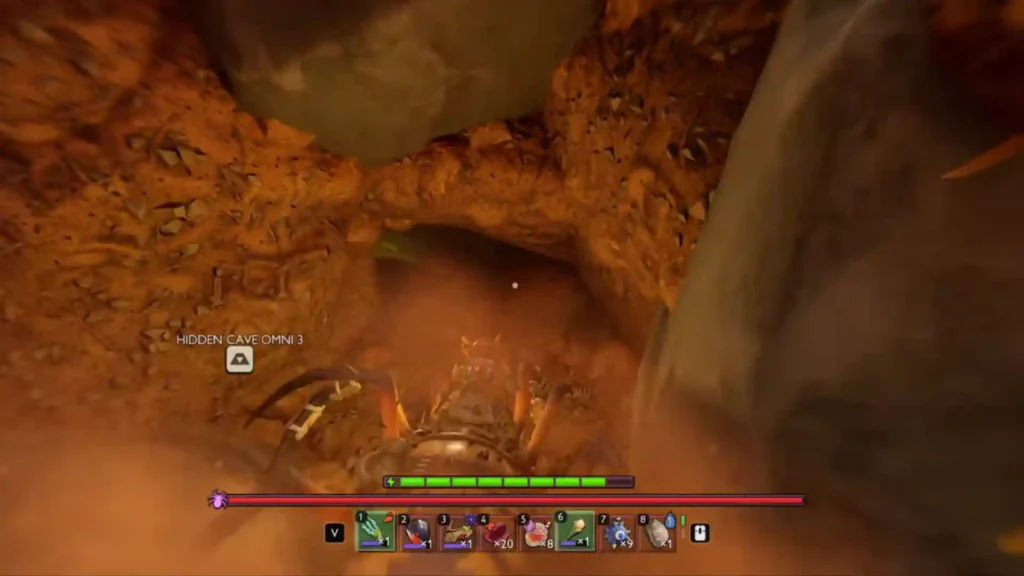
Unlocking the blueprint is only half the task in Grounded 2. You still need the Zip.R tool to ride the Zipline. This tool is hidden in the Gnarly Bark area and will require you to switch between two buggies.
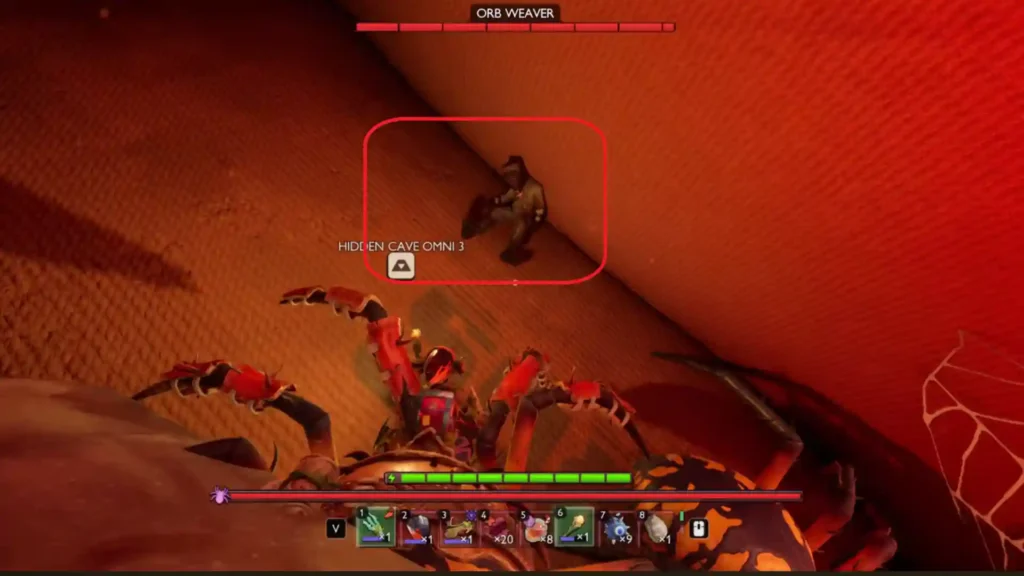
- Look for the branch covered with brown moss in Gnarly Bark. You can make the initial climb using the Orb Weaver Buggy. Reach the rotten tree entrance.
- Once inside, switch to a Black Soldier Ant Buggy and climb past the Cockroach nest along with a group of Earwigs.
- Next to a small bridge, you can find a hole in the bark. Climb inside and keep moving ahead.
- Keep your distance from puddles inside, as they cause Tang Corrosion.
Once you reach the end, you can spot a pair of hanging shoes. You can find the Zip.R tool inside with a corpse.
How to Build the Zipline and Connect it
After you have acquired both items, it all comes down to materials for the anchors, which are of two types. Here’s what you need to make them:
- Zipline Anchor: 1 Silk Rope, 4 Clay, and 5 Weed Stems.
- Zipline Wall Anchor: 1 Silk Rope, 4 Clay, and 1 Bee Stinger.
To finish a single line, you will either require two Zipline Anchors or a single anchor to pair with a Wall Anchor. You can place one anchor at your starting point and the next at your destination. Make sure to keep them reasonably aligned. A line that is too far off-angle will not be able to connect properly.
And that is the complete path you need to unlock the Zipline and Zip.R in Grounded 2. Once you have learned how to use them around the map, traversal becomes a lot easier in the game.
