



Hellraiser Revival features a maze-like environment designed to confuse the player into getting lost. The game also hides many of its upgrades in hidden places that are cut off from the main path, so you need to explore every nook and cranny to get your hands on all of them. When Aiden loses the Genesis Configuration during the mission Hunt Marlowe, we are put into stealth sections, chase scenes, and multiple trials and challenges to earn the cube back.
In this guide, I will take you through the section to get the Genesis Configuration back into Aiden’s possession. I will also help you find all the secrets and loot along the way, and provide tips on overcoming certain dangerous challenges that are part of the objective.
Get the Genesis Configuration Back
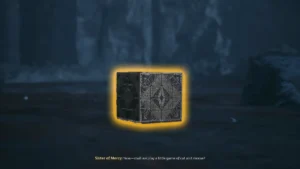
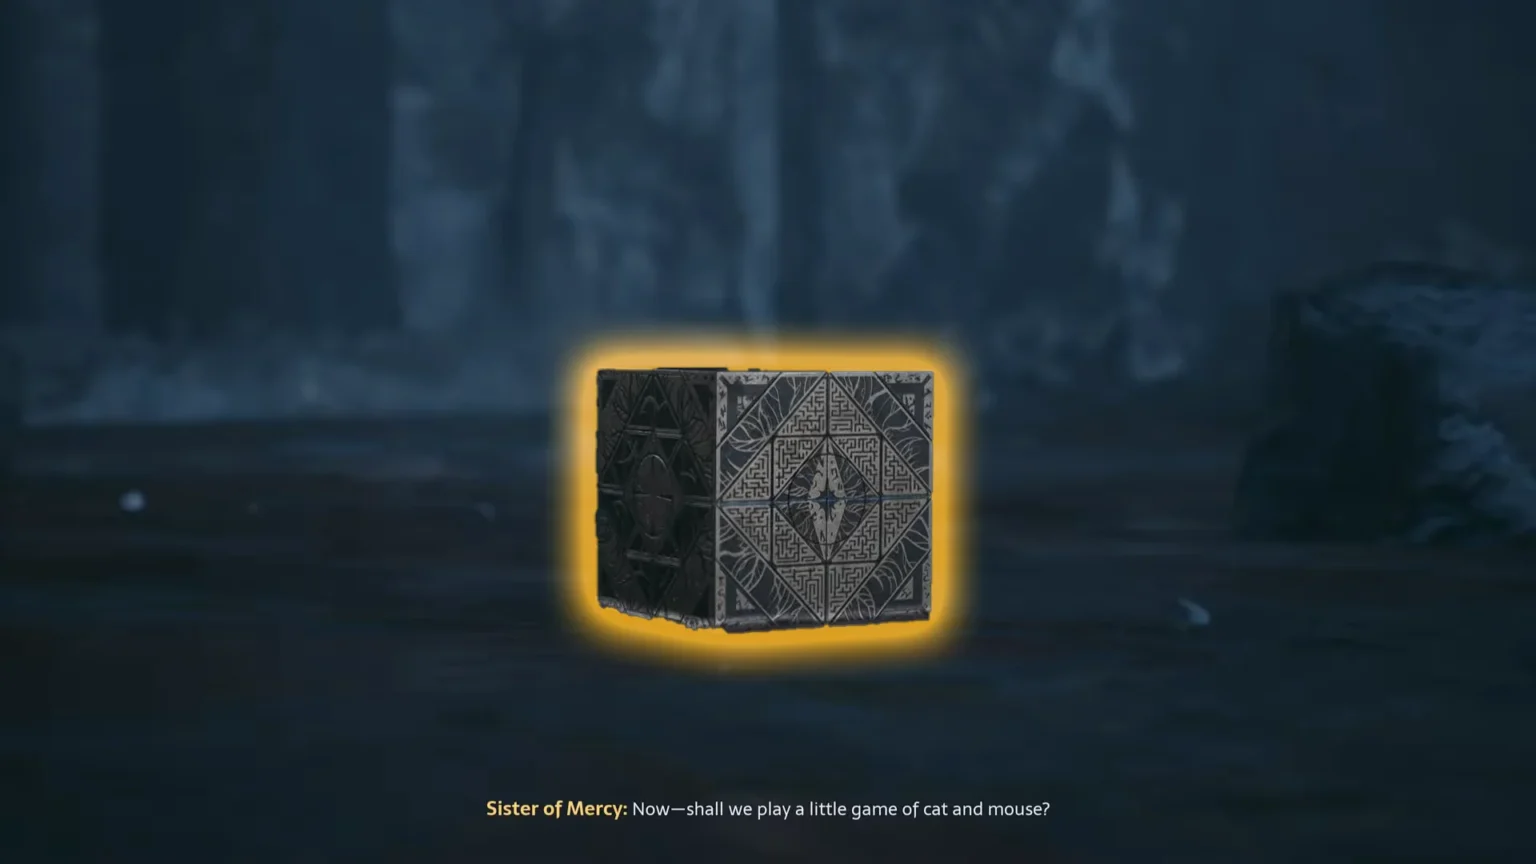
After Sister of Mercy catches you, the Genesis Configuration, or the cube, falls down to the floor below. We are put into a game of cat and mouse, a stealth section similar to Scarecrow encounters in Batman: Arkham Asylum. Here, we must navigate around the room without alerting the Sister of Mercy in the middle of the room. Here is a simple breakdown of the objectives:
- Grabbing Inventory Capacity Upgrade
- Chasing Sequence
- Navigating Through Maze
- Dealing with Blade Traps
Once the gameplay begins, you have two different routes: either move to your left or right. The left side leads to a dead end, but you will find an inventory upgrade at the end. The game plan here is to take the route to the left, grab the Inventory upgrade at the end, and then head back to the original location and take the path to the right.
Grabbing Inventory Capacity Upgrade
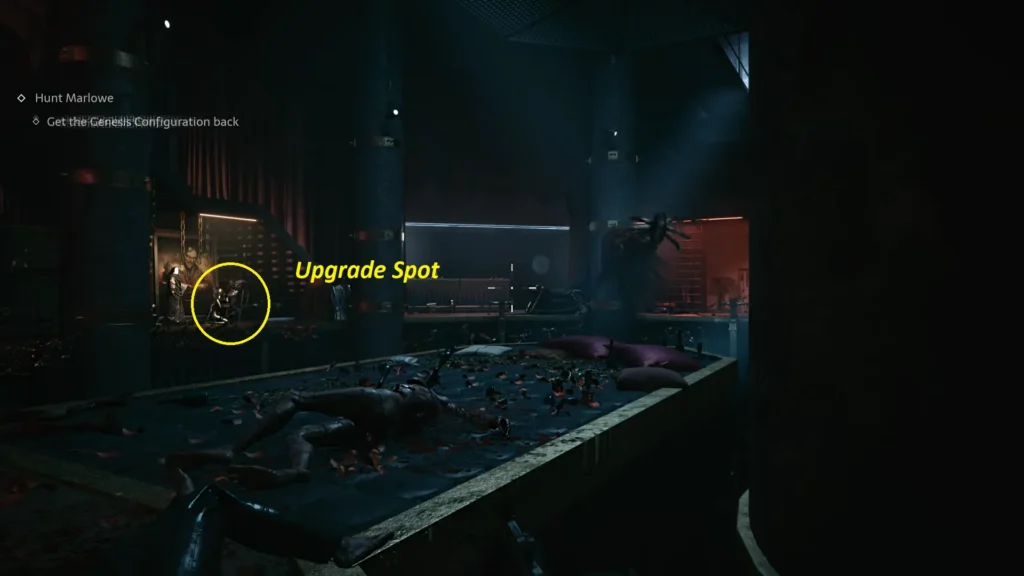
Keep moving to your left, grab the bottle on the shelf on the right; it will come in handy. As you are moving forward, you will come across broken glass shards on the ground; try to get around them. Stepping on them will alert the Sister of Mercy. If you do manage to step on them, just hide behind one of the large pillars in the area. Or use the bottle we grabbed earlier to distract Sister of Mercy from stopping investigating your spot.
Keep moving forward until you finally reach a dead end. You will see a man in a black suit strapped to a chair; look behind the chair, and you will find the Inventory upgrade. Grab it and then backtrack to the original location. It will add +8 to the Inventory Capacity Upgrade. Under the chair, you will also find coins; make sure to grab them +15 Coins.
As you move forward, you will come across plenty of bottles on the floor; make sure to grab them. If Sister of Mercy is in your way, then throw the bottle on the other side of the room to get her distracted. Don’t waste the bottle by throwing it near your spot or at the front or back; always throw the bottle at the exact opposite location of where she is currently looking. The goal is to make her stop looking at your location; throwing the bottle far away will distract her for a bit longer.
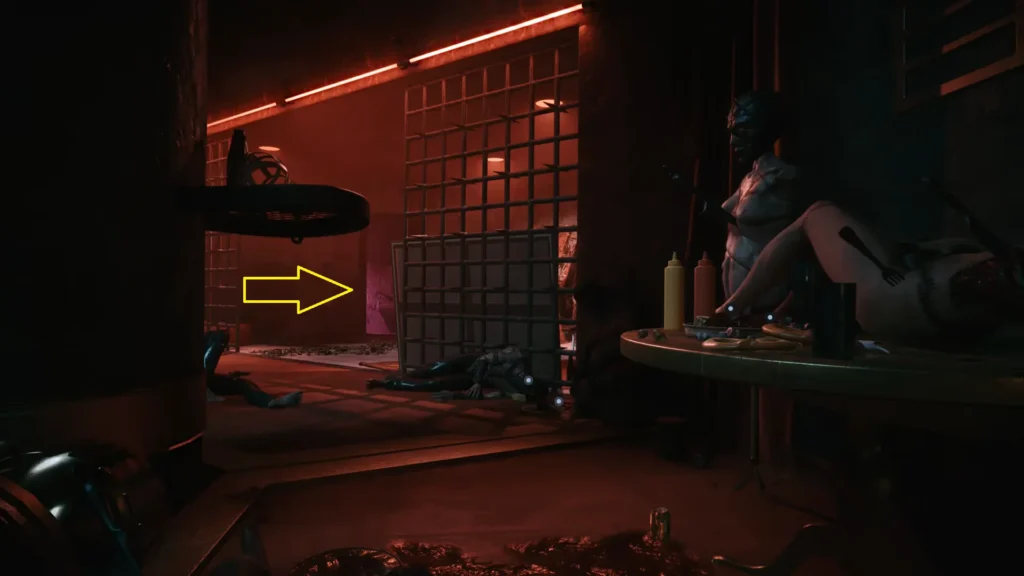
After pushing the cupboard out of the way, turn right, and then head to the bathroom on the left. Once inside the bathroom, check out the trash can be found next to the giant faucet; you will find a x1 Chemical inside. Keep moving forward; check the floor underneath the closed toilet stalls. You will find a Medkit under the stall to the right. After looting everything in the bathroom, take the stairs and open the door to return to the stealth section.
Chase Sequence
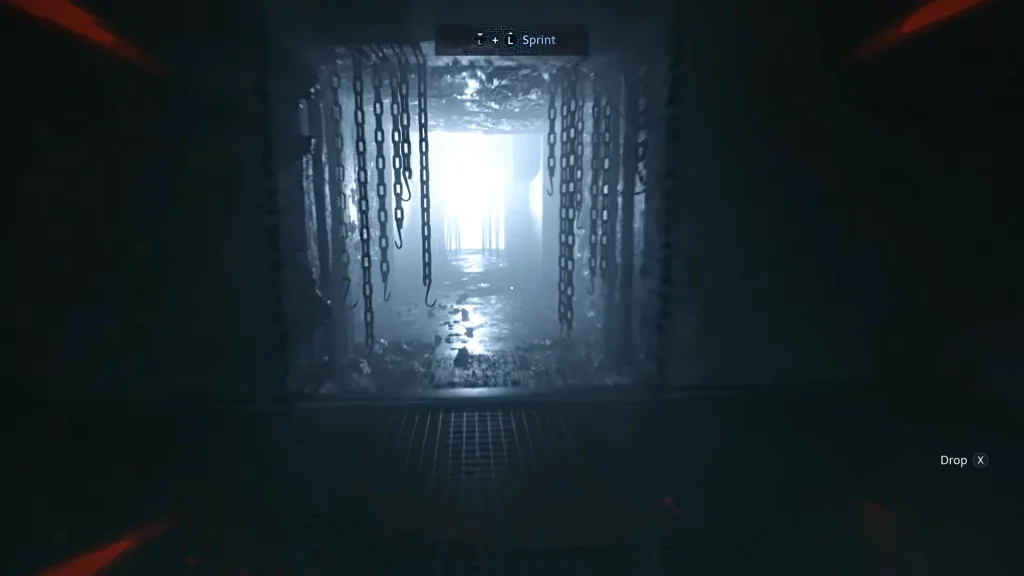
Once you open the door, stay still; don’t head outside immediately, or you will get caught by the spotlight. Just stay put for a few seconds; once the spotlight is moved to a different location, go through the doorway and grab the bottle on the right behind the desk. Turn right and take the stairs; at the top, you will find your route is blocked by a cupboard. Get ready; once you begin to move the cupboard, you will trigger the cutscene, and it will immediately lead to a chase sequence with Sister of Mercy.
The chase sequence here is small; it will take around a few seconds to complete. Just make sure to slide under the obstacle, and you will be fine getting away from her. Head towards the white light, the one with chains hanging from the ceiling, and that will end the chase sequence.
Navigating Through Maze
You will now find yourself in a large area. You will see the Genesis Configuration on the floor a few feet away, but as you start to run towards it to grab it, the floor will slowly descend to the bottom.
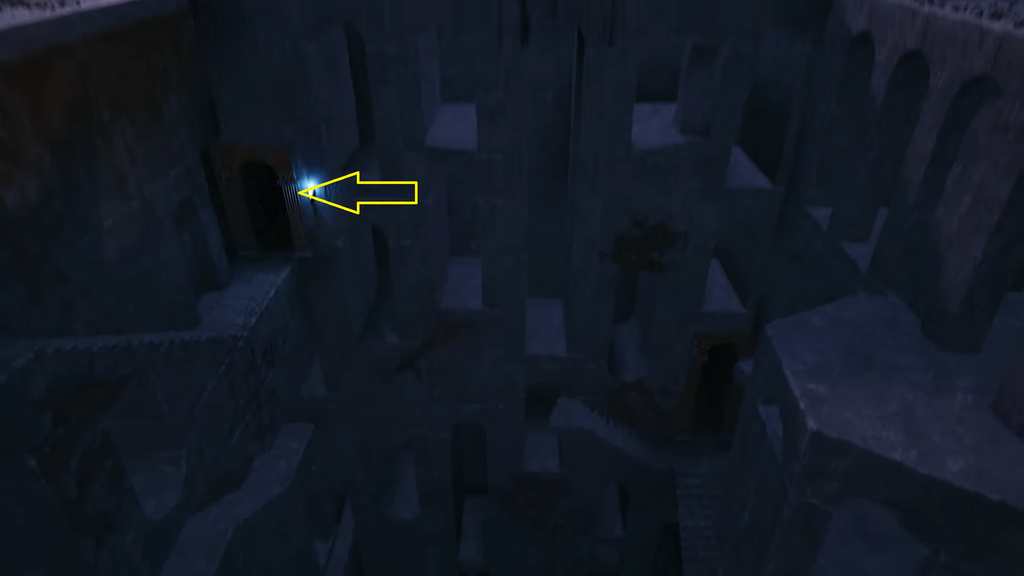
Take the stairs on the left; the only path is to go through the doorway (marked with a yellow arrow on the image) with a blue torch on the right. The route from here is narrow, with branching paths that can confuse the player. At the start of the doorway, if you look straight, you will spot a crack in the wall with white light coming out of it; that’s where we want to go. From the doorway, head straight until you reach the crack in the wall with white light coming out of it, turn right, and then left to the lower floor.
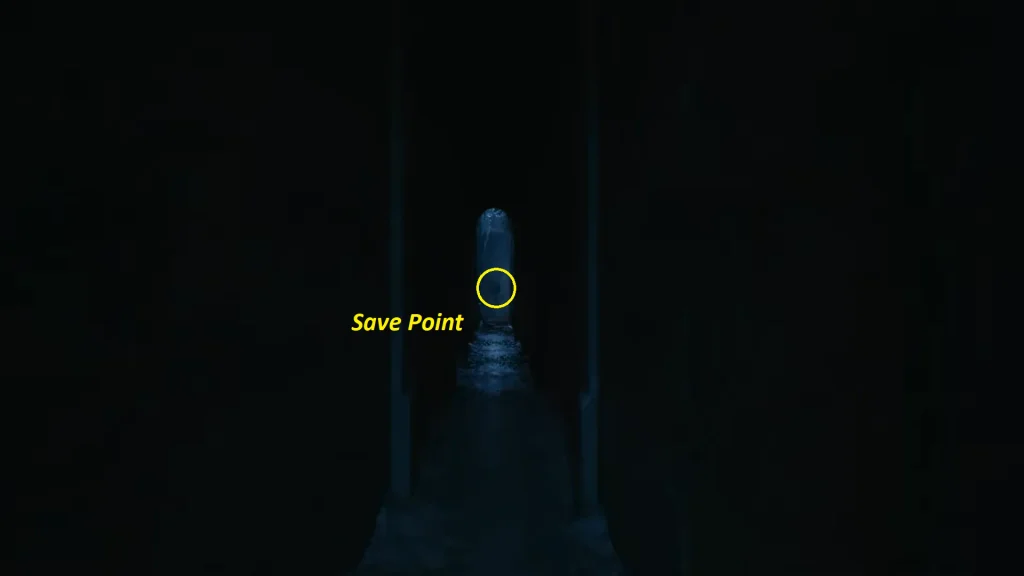
Now the route is fairly linear; keep moving forward, and soon you will come across a small crack in the wall; interact to save your game’s progress (Yellow circle on the image). After the save progression is complete, keep moving along the linear route from the save point, and soon you will see a man a bit far away, on your path, moving from the right side of the route to the left. He is guiding us to the next path, so follow his route to reach further down the area.
Dealing with Blade Traps
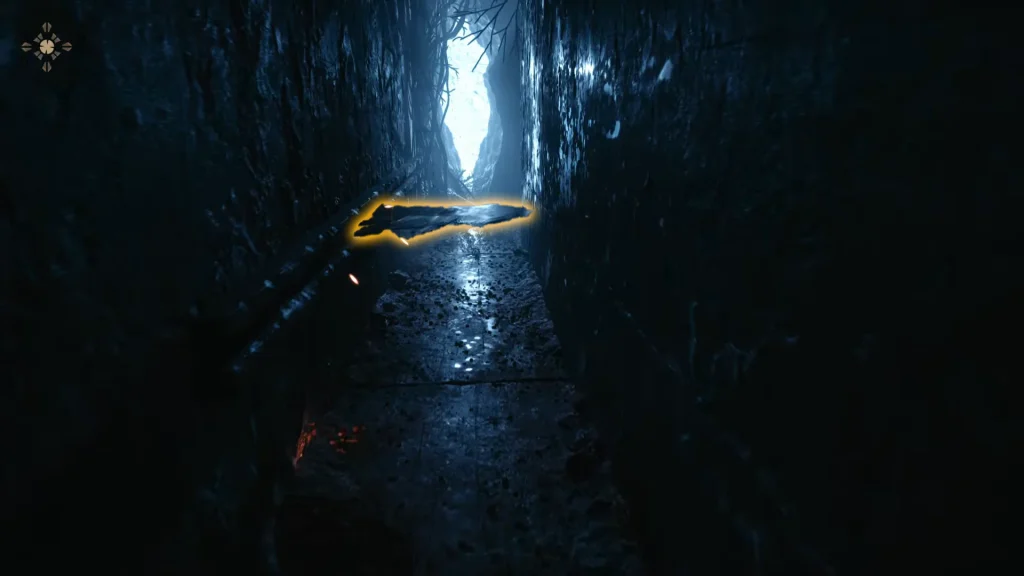
The course is linear, so you will not get lost; keep moving forward until you see blades coming out of the side of the wall (Marked on the image above). Don’t rush this section; the blade has the same movement pattern; it runs on a loop. They appear from the left side of the hole in the wall and move to the right; again, they appear on the left, creating a loop. The trick here is to move with the blades but always stay behind them. Always move after the blade shows up on screen; stay behind the blade, and you will pass through this section without taking any damage.
Note: What you shouldn’t do is delay your movement. If you rush in ahead, the blade will easily catch up to your back. If you are too late and not keeping up with the blade’s speed, you will fall behind, and the blade will meet your back.
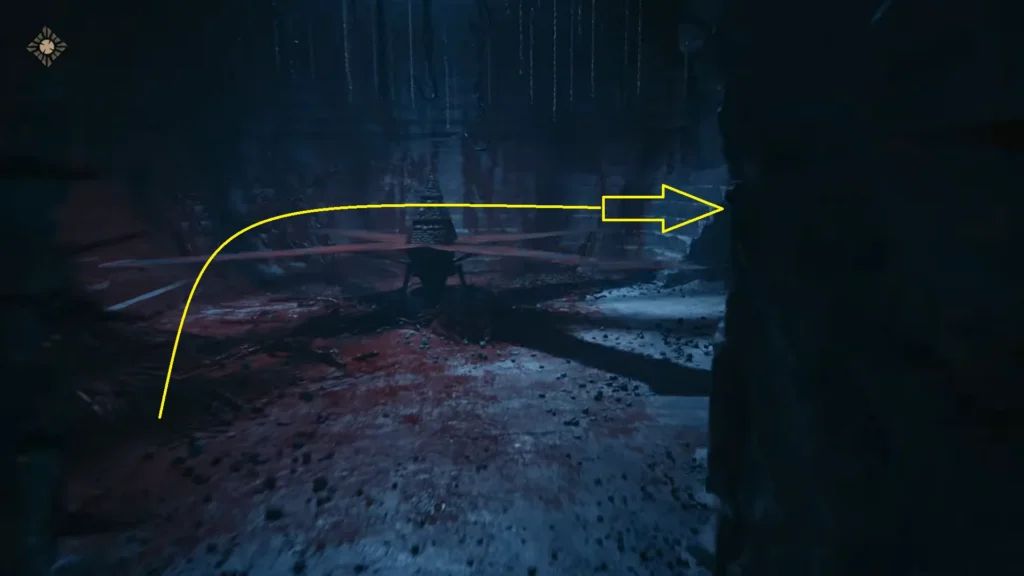
After the blade sections, you will come across a room with a spinning blade in the middle with four wings. Just stay behind one of the wings and move with the wing of the blade to get to the next area. Keep moving forward, and you will soon find a creature feasting on the corpse; here, the room will flip around, creating a new path for us. Keep moving forward and then turn right; here you will have to deal with another set of blade walls. After crossing the section, you will find the Genesis Configuration on the floor.
