

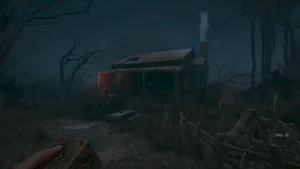
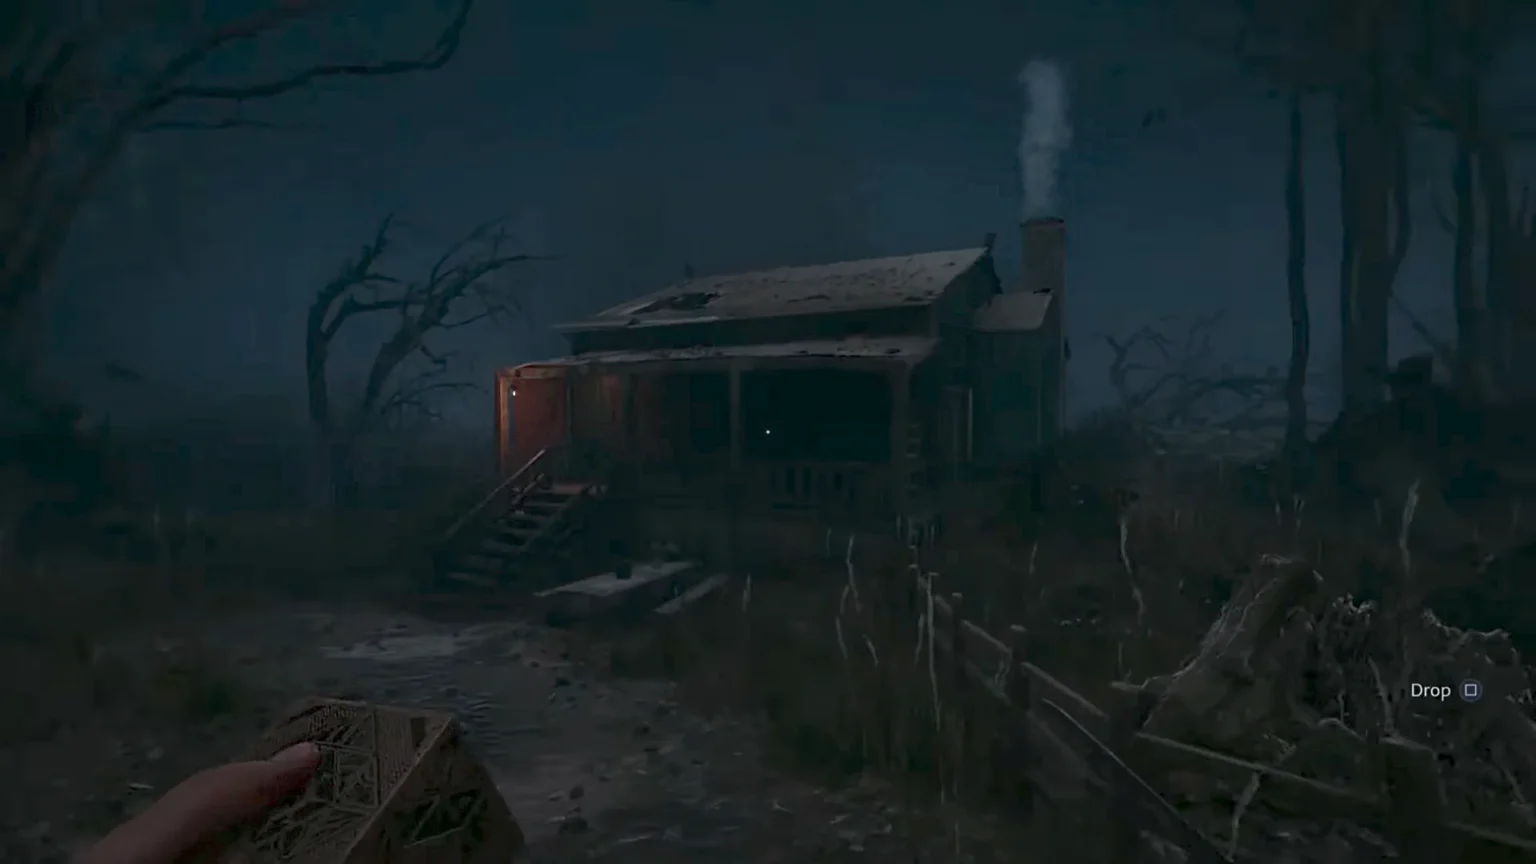

Cabins are always a nightmare section in video games; surviving in a cabin is a typical encounter in many horror franchises. If you have played the original or the remake of Resident Evil 4, you are probably aware of these scenarios and how they eventually end. In Hellraiser Revival, you will encounter a cabin, and the name of the game is survival. Here you will end up dealing with multiple waves of enemies while making sure you make it out alive before they get you.
The section can be very rough and can easily take down players and punish bad strategies. In this guide, I will help you strategize your survival in the cabin so you will survive the encounter and make it out alive in Hellraiser Revival.
Planning out the Survival in Cabin
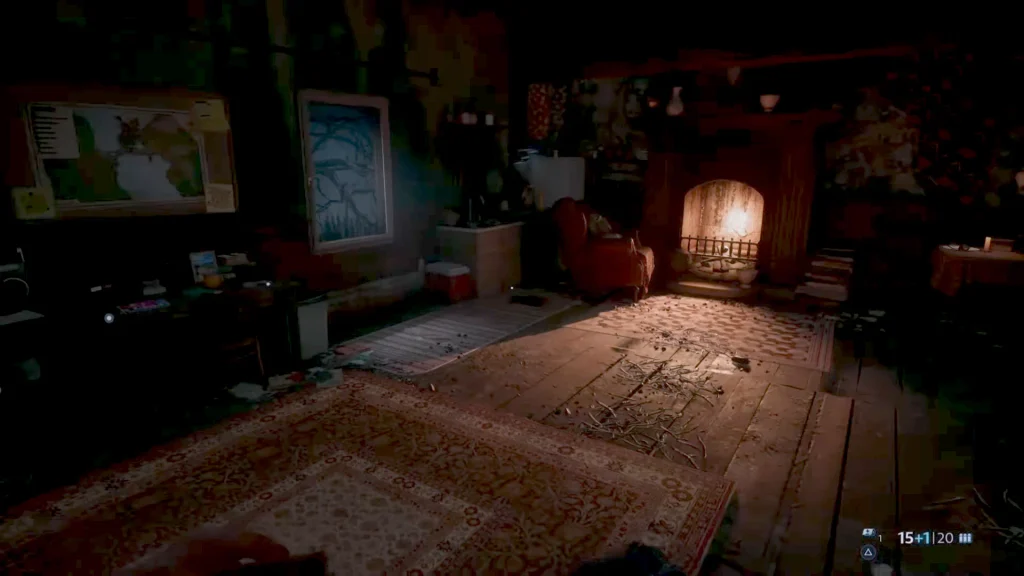
Head inside the cabin, but don’t pick up the Statue’s Head on the chair, or it will start the combat encounter. The cabin encounter starts off somewhat easily, but the difficulty gets amped up in the middle and during the last section; prepare to handle the worst. Our preparation also follows the same route; we are also going to save the best for the last and carefully manage our HP during the encounter.
- Guns, A lot of Guns: Make sure to bring all of your guns with ammo, because we are going to fend off a lot of zombies in the cabin. Also bring your melee weapon, so we might save some ammo during the encounter.
- Loot First: Skip the Statue’s Head for later; we have to loot everything beforehand. You will find Apple, Cloth, Spring, and ammo. Unlock the safe by lockpicking; you will find a medkit, a bottle, and other stuff inside.
- Throwable Items: All the throwable stuff are highlighted with blue color with the button L1 appearing on all of them. This is useful so we can throw objects against enemies without wasting our precious ammo. Don’t use them all at once, especially at the beginning of the encounter. One of the throwable items is a red gasoline can; I highly recommend saving the can for the last section in the cabin.
Now we can move forward in Hellraiser Revival by interacting with the Statue’s Head to start the encounter. Hopefully, you have all the HP upgrades from the previous chapters to make things move a bit more smoothly.
Start the Encounter
Once you start the encounter, you will find a lone enemy in the room; kill it quickly so we can begin moving to other things.
Board the Windows
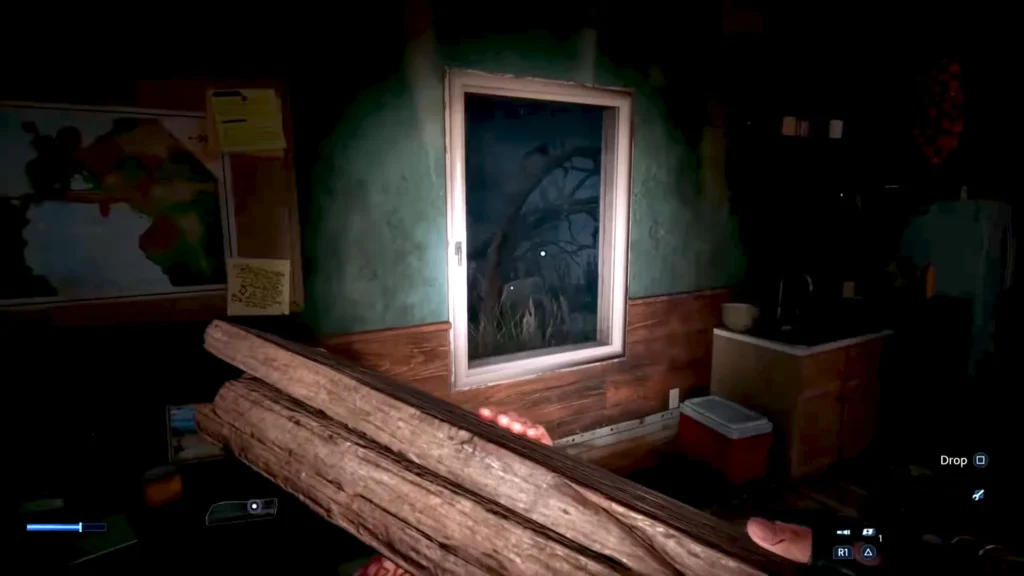
Grab the wooden boards in the cabin and barricade all the windows inside the cabin. After killing the first enemy, you will get a good 10 to 15 seconds; use the time to board up all three windows in the cabin. Lastly, set a bear trap next to the door in the small room. There is a sneaky enemy that will pop up during the combat encounter; luckily, the bear trap will take care of him.
Once the combat encounter begins, make sure to kill the enemies through the barricade by shooting them through the wooden planks of the barricaded window. Don’t let them break the barricade; kill them before they attack the barricade or long before they even reach the window.
You are not restricted to ranged firearms; you can also use melee attacks, but don’t get too close to the window, or you will take damage from their swipes. The best way to use a melee weapon is by doing a 2-hit combo of slashes and then pushing back. Don’t get greedy with your attacks; make sure to always push back after attacking them with a melee weapon.
Tip: Sometimes the enemies will have a projectile that you can use by using L1 on your controller and throw it back at them.
Don’t stick to only one window and wait for the enemies to show up. Move between all three barricaded window spots; once one spot is clean, move on to the other. The idea here is to make sure that every barricaded spot stays intact to the window without taking any serious damage from the horde of enemies.
Dealing with Armored Enemies
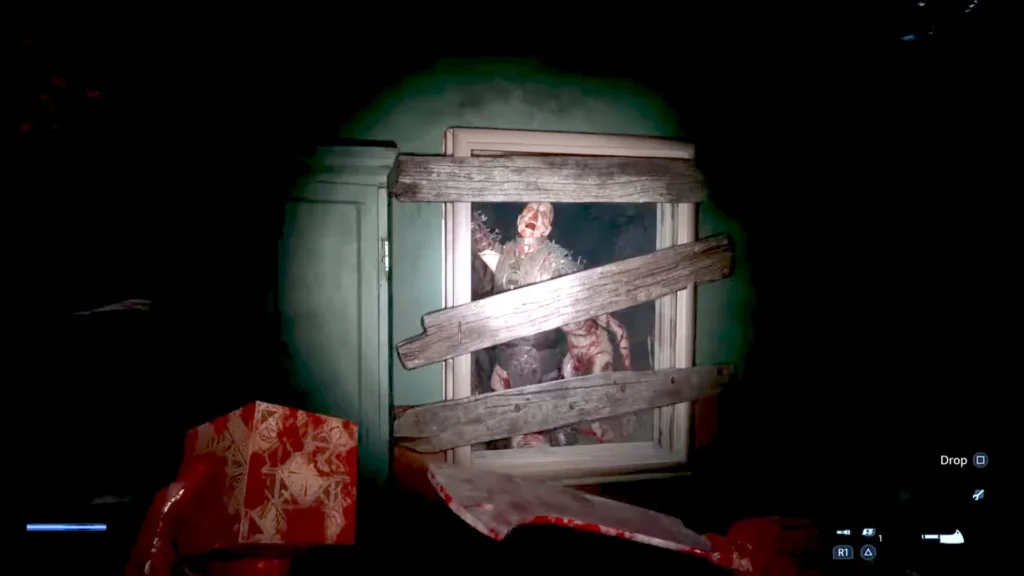
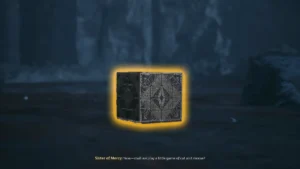
Welcome to the second stage of the cabin encounter. If you start seeing armored enemies, then it is a sign we are getting close to the end. Once the game starts to spawn armored enemies, use the telekinesis of the Genesis Configuration or cube to throw the objects at the enemies through the barricaded window. Around this time, expect the barricades to break down, so be on your guard. If more than one enemy is inside the cabin, don’t just simply walk from one side to another; perform dodges to go around enemies without taking any hits. Don’t waste too much ammo on armored enemies; rely on using throwable objects.
Now set a bear trap on the rug in the middle of the room, as the enemies will start jumping through the ceiling. If you don’t have any bear traps in your possession, then use the cube’s telekinesis on any of the objects lying in the room to dispose of the enemy quickly, as they land in the middle of the house from the ceiling.
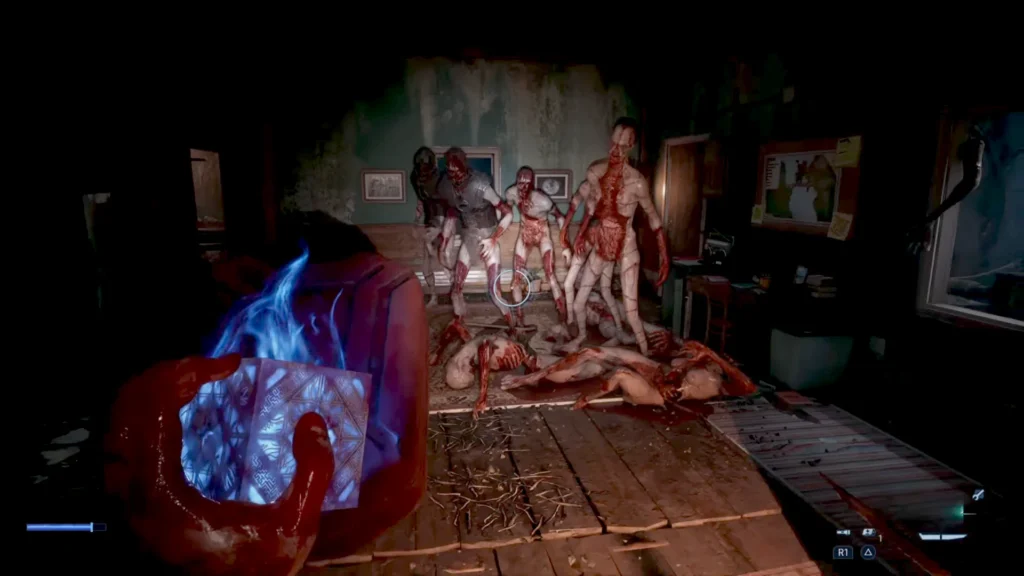
Soon after, you will be surrounded by multiple armored enemies and common enemies crowding the cabin. Here, we will use the last weapon we have, the gasoline can that we saved before, to blow all of them up and set every enemy in the cabin on fire. The explosion will deal heavy damage, and the lingering fire will deal damage over time. Make sure to get to a safe distance before throwing the gasoline can, so you don’t wind up in the fire. Take care of the remaining ones with melee attacks or with the gun if you still have some ammo left in the magazine.
Now the game will spawn an exploding enemy to trigger a cutscene of you getting blown up, but don’t worry; it’s part of the story scene. Congratulations, you survived the cabin encounter.
