



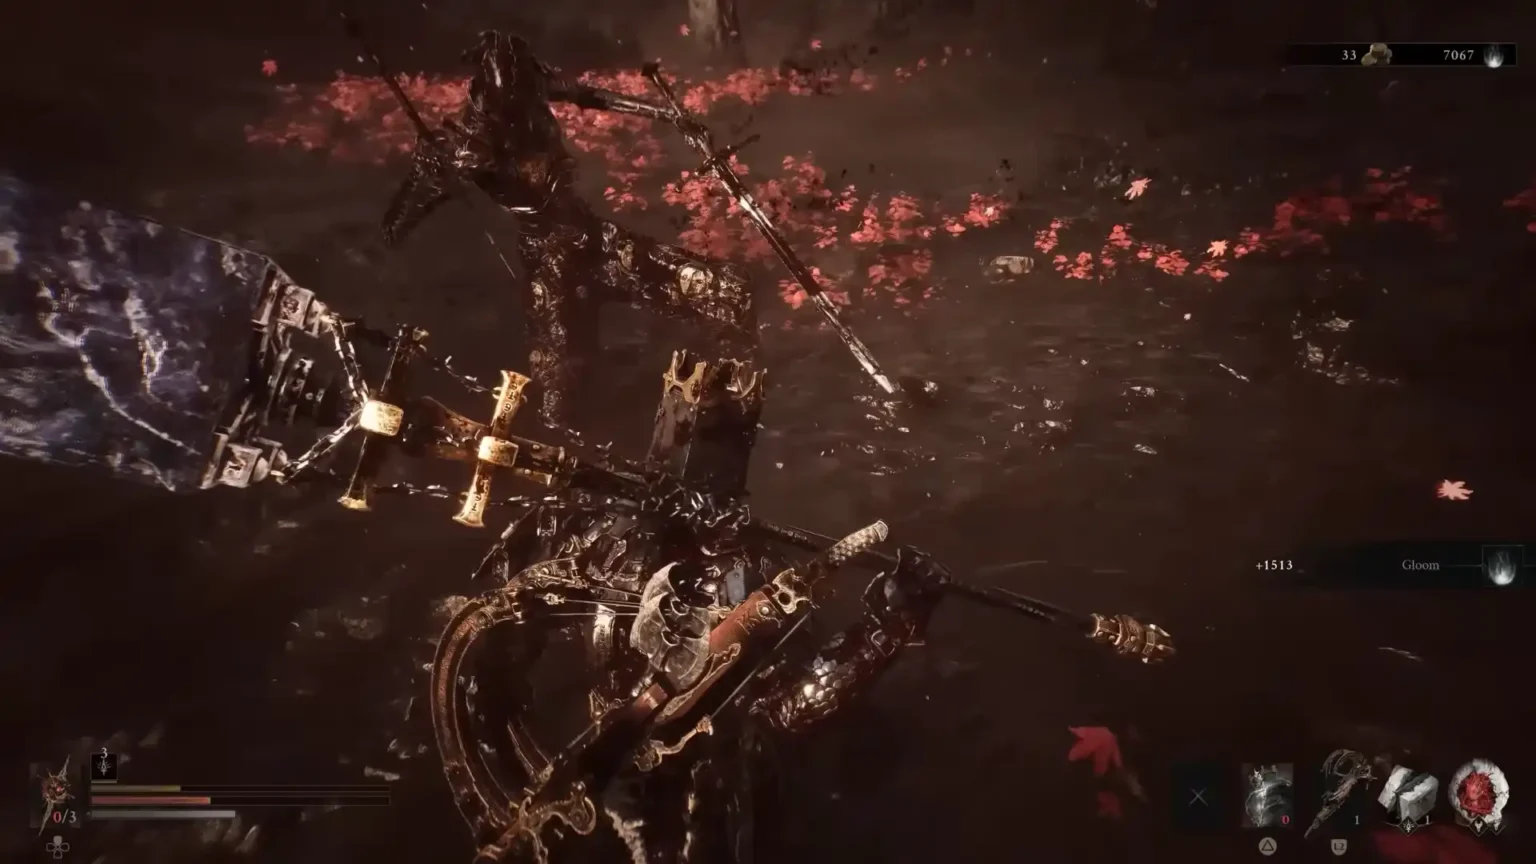

I will be honest with you: when it comes to combat, Mortal Shell 2 is not here to be merciful. Mistime a single parry, panic-press your Harden while on cooldown, and you will certainly lose your Shell in a single, ugly swing from the enemy. And at the same time, this is what makes the combat exciting. Once it clicks with you, the combat becomes an extremely satisfying experience.
The sequel also comes with a lot more than its predecessor, adding a new rhythm to the Harden, Parry, and Resolve mechanics. In this guide, I will walk you through everything that you require to know about Mortal Shell 2’s combat system, so you don’t have to learn it the hard way.
Exploring Mortal Shell 2’s Combat System
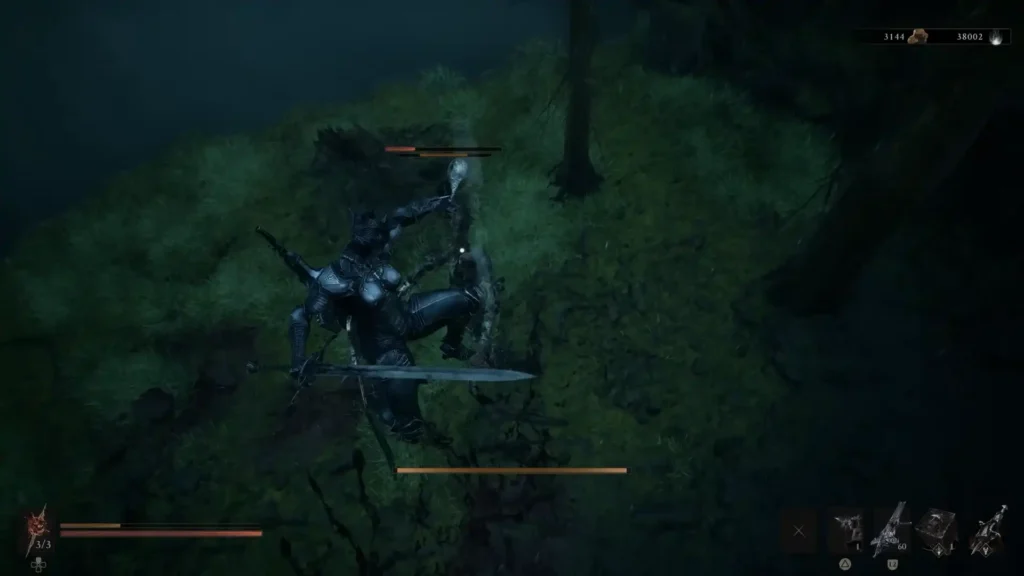
One of the biggest differences I spotted in Mortal Shell 2 Open Beta’s combat is mainly structural. For example, the sequel has no stamina bar, like at all. This might make you feel a little weird, especially when the first game draws so much from traditional Soulsborne titles. Here, everything revolves around keeping as much pressure as possible on the enemy. Here’s a breakdown of the basic mechanics:
| Differences | Mortal Shell (2020) | Mortal Shell 2 |
| Stamina | Is an important mechanic and limits attack strings | Is removed entirely |
| Defense | Hardening is an important and single mechanic | Addition of Seals, which are swappable and modular |
| Resolve | Resolve is built by attacking | Resolve fuels guns, Seals, and Shell abilities |
| Enemy Stagger | No visible meter | Adds visible meter above enemies |
So while attacking constantly is certainly an option, the game is smart to mix in enemies that can tank your attacks and land their own, so just plain attack button mashing will not get you far – a smart mix of attacking, then either dodging/parrying, building up resolve to then use your abilities is the combat cadence the game expects you to master.
Seals In Mortal Shell 2
When it comes to defensive options in Mortal Shell 2, I found myself depending on Seals. Seals are the most important part of combat, and as a defensive option, it does not have a single dedicated button like the first game. You begin your journey with the Untarnished Seal, which is great for guarding and parrying, and the open beta gives you the Infinite Seal and the Vatra Seal. The Vatra Seal lets you Harden, so if you have played the first game, you will feel right at home; while the Infinite Seal is a high-risk, high-reward one that builds up the Break Meter on enemies rapidly if you parry perfectly.
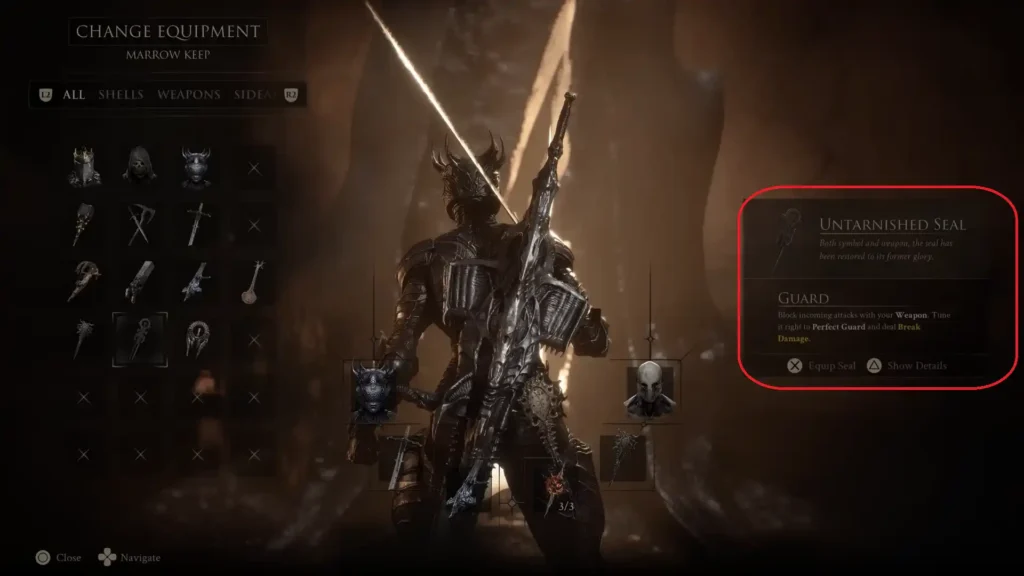
- Harden: Harden allows you to turn your Shell to stone. It makes you invulnerable against one physical hit. However, it runs on a cooldown now, instead of stamina. You can also trigger it mid-air or mid-swing to cancel your animation and resume attacking right after.
- Parry: Parrying requires a Seal equipped on you and demands perfect timing. Landing a parry can nullify incoming damage. Moreover, if you have built your Resolve, you can take advantage of Empowered Reposte on the enemy.
One more thing I found extremely satisfying is that Mortal Shell 2 makes reading attacks a lot easier than the original. You can watch for the color of an enemy’s attack to tell the type. Red means an unblockable hit, while yellow means a parryable attack. It looks like a small addition, but it matters a lot in how you approach each enemy.
However, do be mindful of using Harden, as it requires a recharge after absorbing a single hit, so spamming it won’t be helpful at all. In fact, you will take multiple hits with no ability to block.
How to Use Resolve in Mortal Shell 2
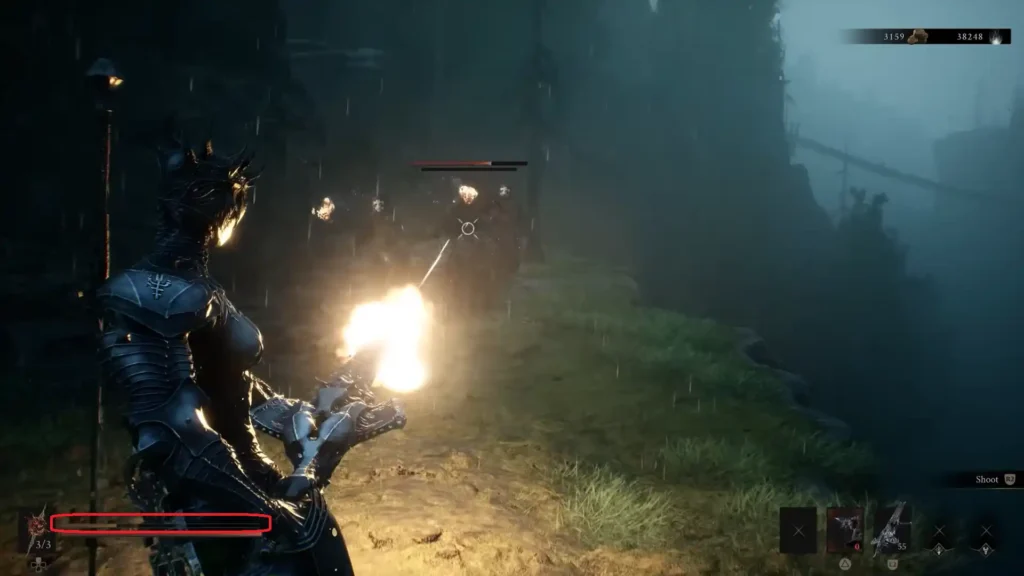
Resolve is the one single resource that fuels almost every offensive option in Mortal Shell 2. Let’s break it down in detail:
- You build Resolve by landing melee attacks on enemies.
- It can power your firearm shots, Seal abilities, and Shell-specific skills.
- It comes with a bonus effect upon successful parry, as it immediately fills Resolve when running low.
When late into a fight, especially with bosses, a parry landed with Resolve left in the meter can lead to Empowered Riposte, which delivers a heavy damage hit and also restores health. This makes it an effective healing item as well in Mortal Shell 2, so I would recommend mastering it.
With the Tiel Shell, for example, you can use Resolve to execute the Shadow strike ability, which allows you to land behind an enemy and deal a devastating blow that wipes out a satisfying chunk of the enemy health bar and is invaluable in boss fights.
Understanding Critical Hits and the Break Meter
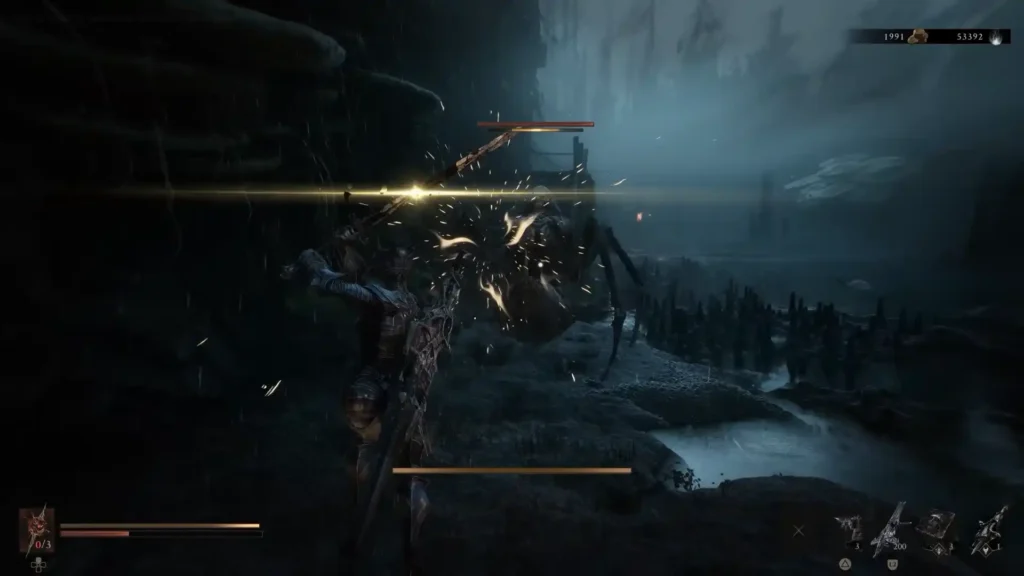
As mentioned, one of the most interesting additions to Mortal Shell 2 is the visible Break Meter, which is shown as the healthbar over the enemy’s head. This works a lot similarly to Sekiro: Shadows Die Twice’s posture meter. Much like FromSoftware’s title, the mechanic encourages aggressive rhythmic combat to break down an enemy’s structural integrity.
Thanks to the welcoming addition, the guesswork on when the enemy is nearing a staggering stage is completely gone. That said, here are a few things you must know about the entire mechanic:
- Both sustained attacks and successful parries will help chip away at the break meter.
- Once the Break Meter fills, the opponent will be open to staggering and critical attacks.
- Building the Break Meter along with your own ability meter happens simultaneously, so aggression is highly rewarded.
Mortal Shell 2’s combat is built around delivering continuous pressure to your opponent. Not doing this only leads to enemies resetting their posture.
New Firearms and Weapon Types
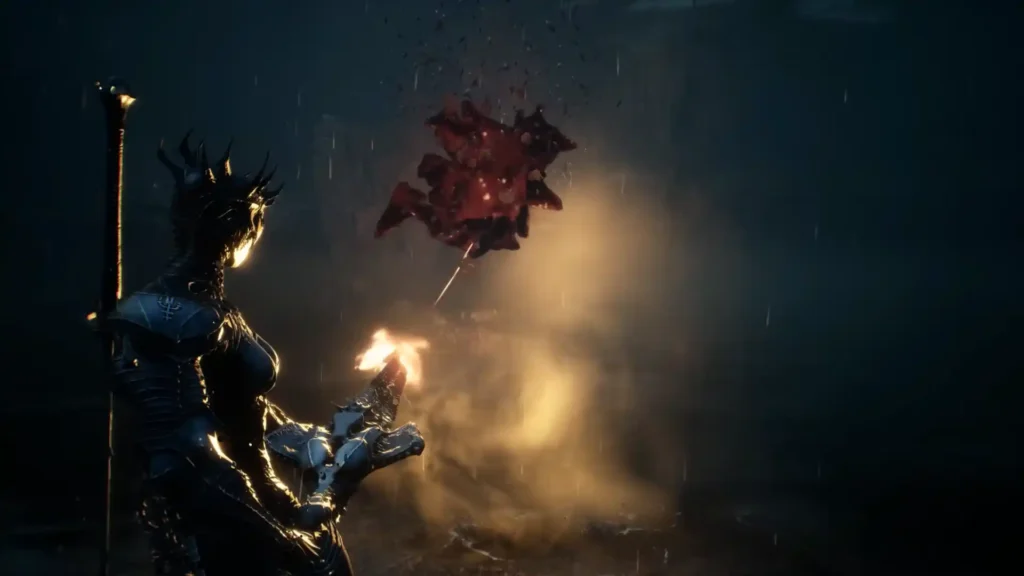
I was highly impressed to see a bigger arsenal in the sequel, with the game offering eight primary melee weapons and eight secondary firearms to mix and match. The original offered four melee weapons and a single Ballistazooka. Here’s how the combat looks with both melee and ranged options:
- Leaping attacks: Close distances fast with melee weapons.
- Heavy swings: These are great for hitting your enemy hard and cannot be interrupted once the animation starts, aside from cancelling into Harden.
- Guns: Firearms don’t just provide extra range. Ammo for each firearm is tied directly to your ability meter. This means firing a weapon will cost Resolve rather than having a separate ammunition pool. One thing I enjoyed about this is that it keeps you locked into the aggressive playstyle.
One thing to note is that different guns will cost you different amounts of Resolve upon use; however, that cost drops as you level up the weapon. If you initially feel a gun is too expensive to use at the early stages, make sure to revisit it after upgrading, as it might prove useful to your playstyle.
Your Shell of Choice Becomes Your Combat Identity
Think of Shells as your character builds in Mortal Shell 2. I liked the fact that the sequel offers generously more of them compared to the original’s four. So far, here’s what’s confirmed:
- Harros Shell: This Shell is from the tutorial section, which seems balanced but cannot be equipped again after the Prologue.
- Tiel, the Acolyte Shell: Focuses on a thief-style and offers Shadow Strike, allowing you to phase through objects to land surprise hits.
- Eredrim, the Venerable Shell: Focuses on tank-style. It is great for players who want to last a fight out rather than mastering maneuverability.
- Proxima, the Broodseeker Shell: This is the first confirmed brand-new Shell for the game.
Cold Symmetry’s gameplay reveal trailer also offers a look at how each of these builds play out against the same enemies. Moreover, more Shells are expected to be added to the game closer to its release.
When it comes to progression, Mortal Shell 2 has two separate routes. The Shell Points go into each Shell’s individual skill tree, while your character’s core statistics increase by clearing areas and reaching checkpoints in the game. I found this a welcoming change, as now I was able to invest deeply into one Shell’s tree without worrying about falling behind on my character’s raw stats.
Mortal Shell 2 Combat Tips You Must Not Miss
Before you dive into the cold, gothic world of Mortal Shell 2, a few things are worth knowing. Trust me, I learned it the hard way.
- Match your Seal correctly. If a boss is leaning more towards complex combos, bring a guard-focused Seal. If you are confident in reading the combos, bring something to favor parries.
- Avoid spam rolling at all costs. As much as I would love to relive my first Dark Souls playthroughs, this game treats you a lot differently. Harden and Parry do most of the work here, not dodge.
- Don’t stop attacking. Since Resolve building is heavily dependent on landing hits, standing back and playing safe is just putting you at a disadvantage.
- Use your Harden skill to cancel recovery frames, not just block hits. You can trigger it mid-swing to cut your own animation short and get back on the offensive much faster.
Mortal Shell 2’s combat may initially seem to ask a lot from you early on. But trust me when I say it rewards players who stick with it. My recommendation would be to carefully read the Seal descriptions and focus on the color-coded cues of the enemy to master the combat swiftly.
