




This is a WIP article – and as we keep discovering more Seals, we will keep adding them to the list below.
Combat in Mortal Shell 2 can be a difficult experience, but luckily the game hands out the strongest item early on to make your early playthrough a bit easier. Among the early items you will get are Seals and Tarstones. While they might not look much, they will change the name of the game. These come with different abilities, modifying certain skills to be more efficient than others. I can safely say equipping these seals will help create many great builds later on in Mortal Shell 2.
This guide will focus on all the Seals available in the game, including their location, abilities, and what kind of playstyle each Seal is best suited to.
Slayer Seal
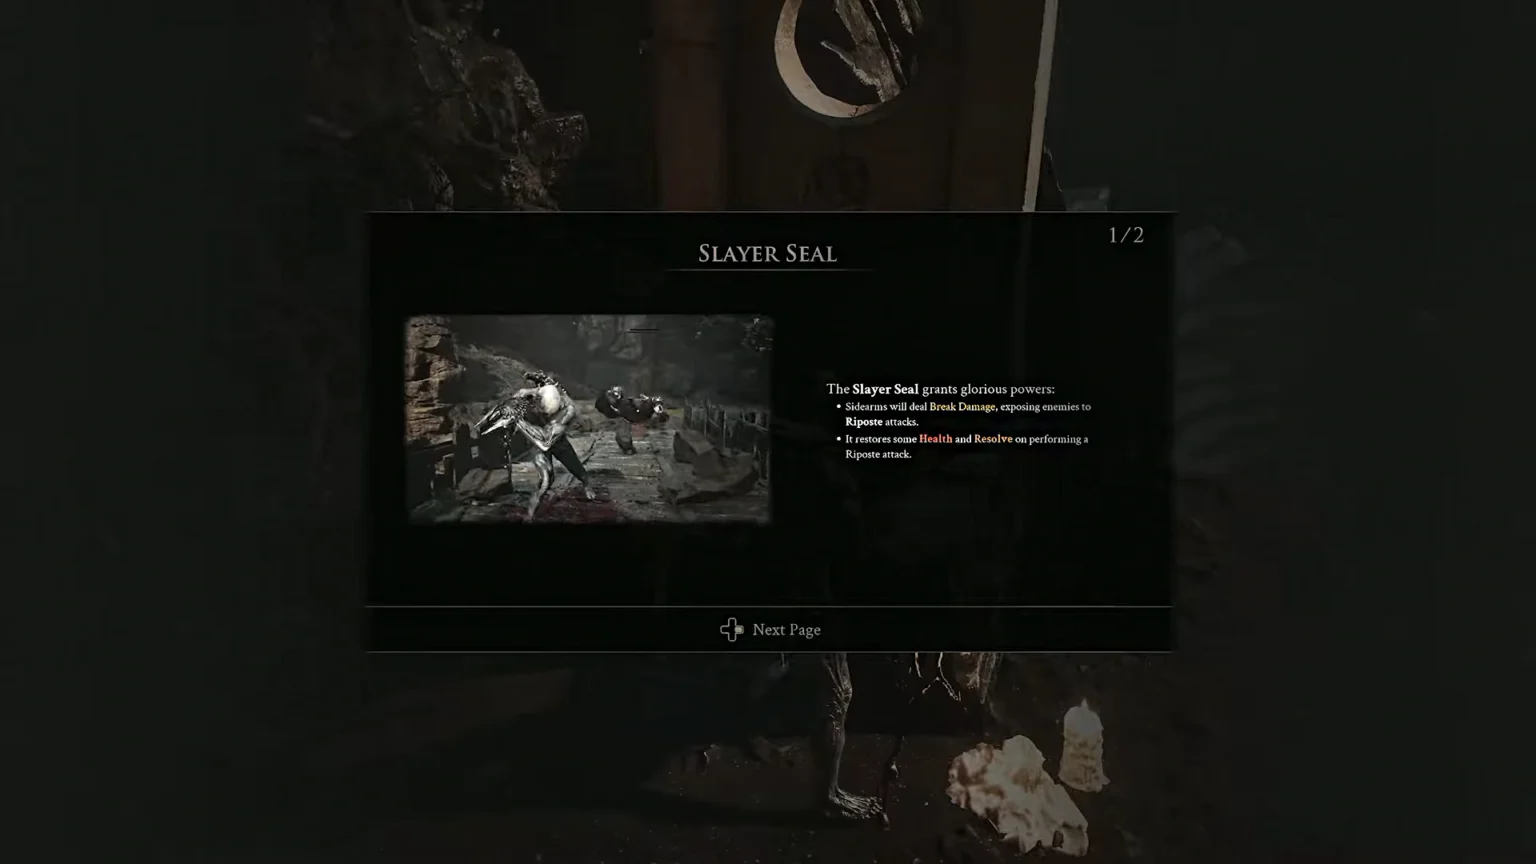
- Slayer Seal: Gloomslayer- It makes your sidearms deal Break damage. The seal also restores Health and Resolve when Ripsoting an enemy.
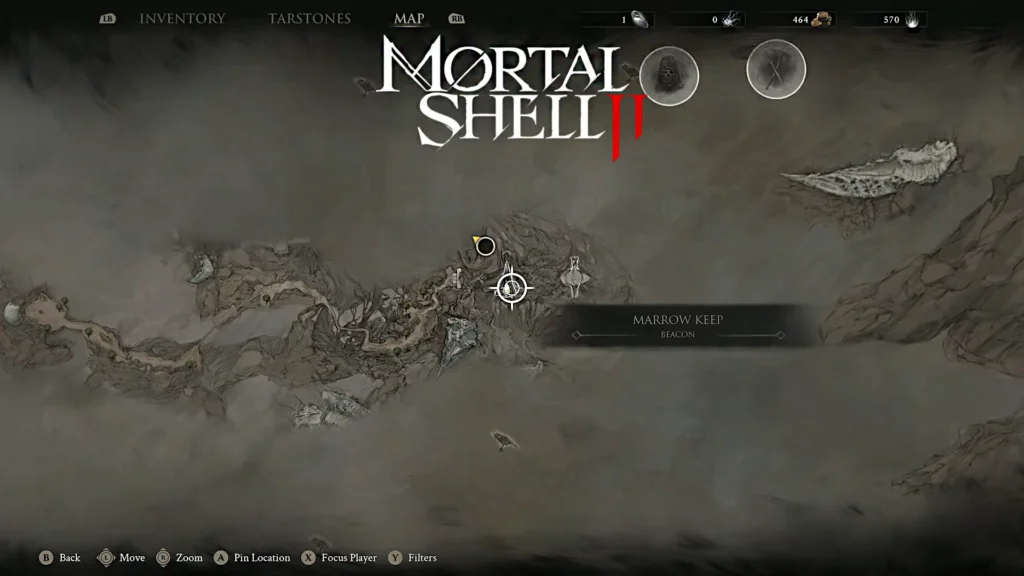
- Location: Make your way to the Marrow Keep beacon and then head to the area with a giant tree in the middle. Here you will find a throne sitting near the cliff with a single candle on its right arm. Here you will find the Slayer Seal on the spot.
Overall, early on, Slayer Seal is a game-changer; it makes your ranged weapon deal Break damage and also helps you restore Health and Resolve when you perform a finisher on enemies. Break damage can lead enemies to lose their balance, fall to their knees, and enter a staggered state. Now you can perform a finisher to restore HP and Resolve while killing off an enemy.
Note: A seal so good is destined to have some caveats. Equipping this seal locks certain achievements in the game, while it opens up others. If you are one of those gunning for all trophies, I would recommend keeping this Seal aside for a second playthrough, however tempting its abilities may be.
Infinite Seal
- Infinite Seal: Parry – A perfect parry can break enemies.
- Location: Head to Marrow’s Keep, then make your way to the tomb area, filled with white tombs all around the zone. Here you will meet Sester Genessa in the training zone. Complete the training on parries and you will be rewarded with the Infinite Seal.
This Seal is absolutely perfect for players who are confident in parrying. While parrying with this Seal equipped leads to higher Break damage, at the same time, it also makes the parry window smaller: a high-risk vs reward system that I recommend you put on only once you have broadly mastered enemy movesets.
Vatra’s Seal
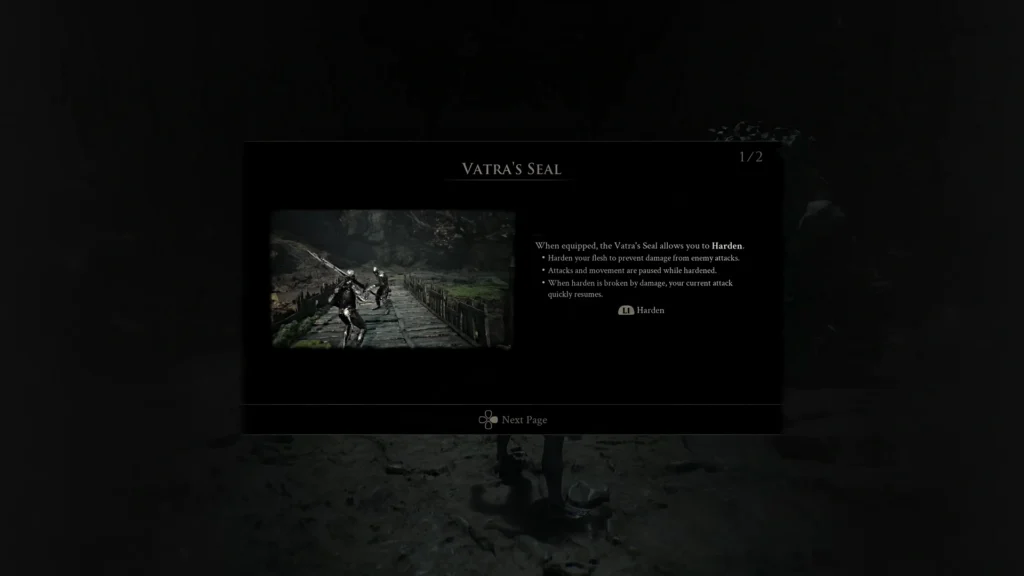
- Vatra’s Seal: It hardens your body to resist more damage. When you perfect the timing, hardening the body will trigger the Break Damage.
- Location: Vatra’s Seal is a reward from defeating the boss Tar Golem in Disciple’s Grotto. This is not a missable boss, as the boss is part of the prologue. After you defeat the boss, a short cutscene will trigger, and then you will be able to pick the item off the ground.
The Harden mechanic returns from the first game, allowing you to tank enemy blows while landing in and completing your own combo. The hardening effect from Vatra’s Seal happens instantaneously and lasts for 3 seconds.
Untarnished Seal
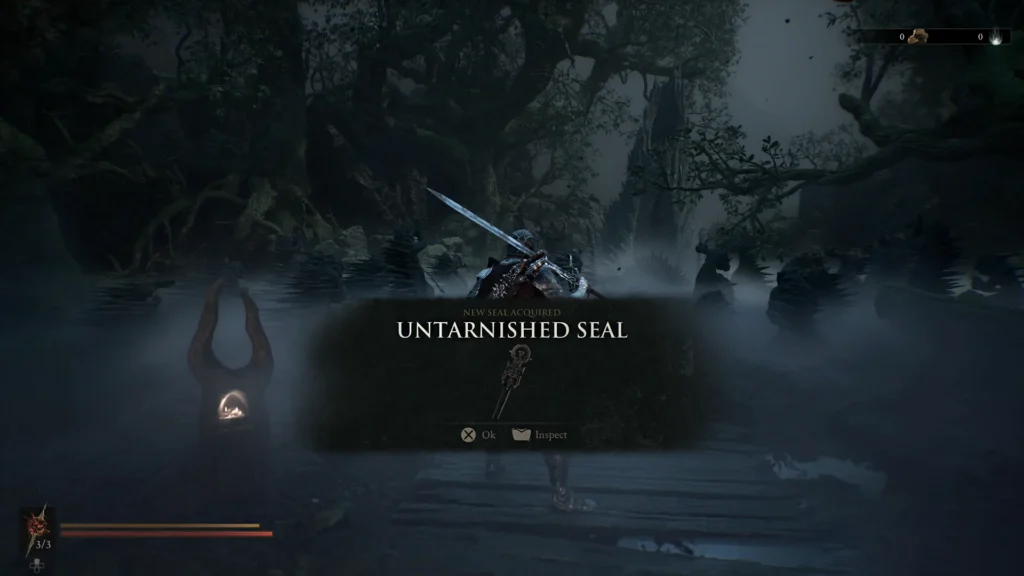
- Untarnished Seal: Block incoming attacks and time your perfect block to deal Break damage.
- Location: You will get the Seal automatically during the prologue, right at the very beginning of the game. along with your first melee and ranged weapon.
Once equipped, you will receive a guard passive that allows you to use your weapon to defend against enemy attacks. While it sounds amazing, you must pay attention to the system that comes with this seal. Here, you will also have to worry about Guard energy; it depletes when you start defending yourself against enemy attacks. Just like perfect parry, you can also perform perfect guard at the right time to fill up the break meter, opening the enemy for a finisher.
This is the perfect Seal to use while you are getting a sense of the combat rhythm in Mortal Shell 2, and gives you the opportunity to block and parry attacks. You can then decide, as you progress, which of the more ‘specialised’ Seals works for you.
