



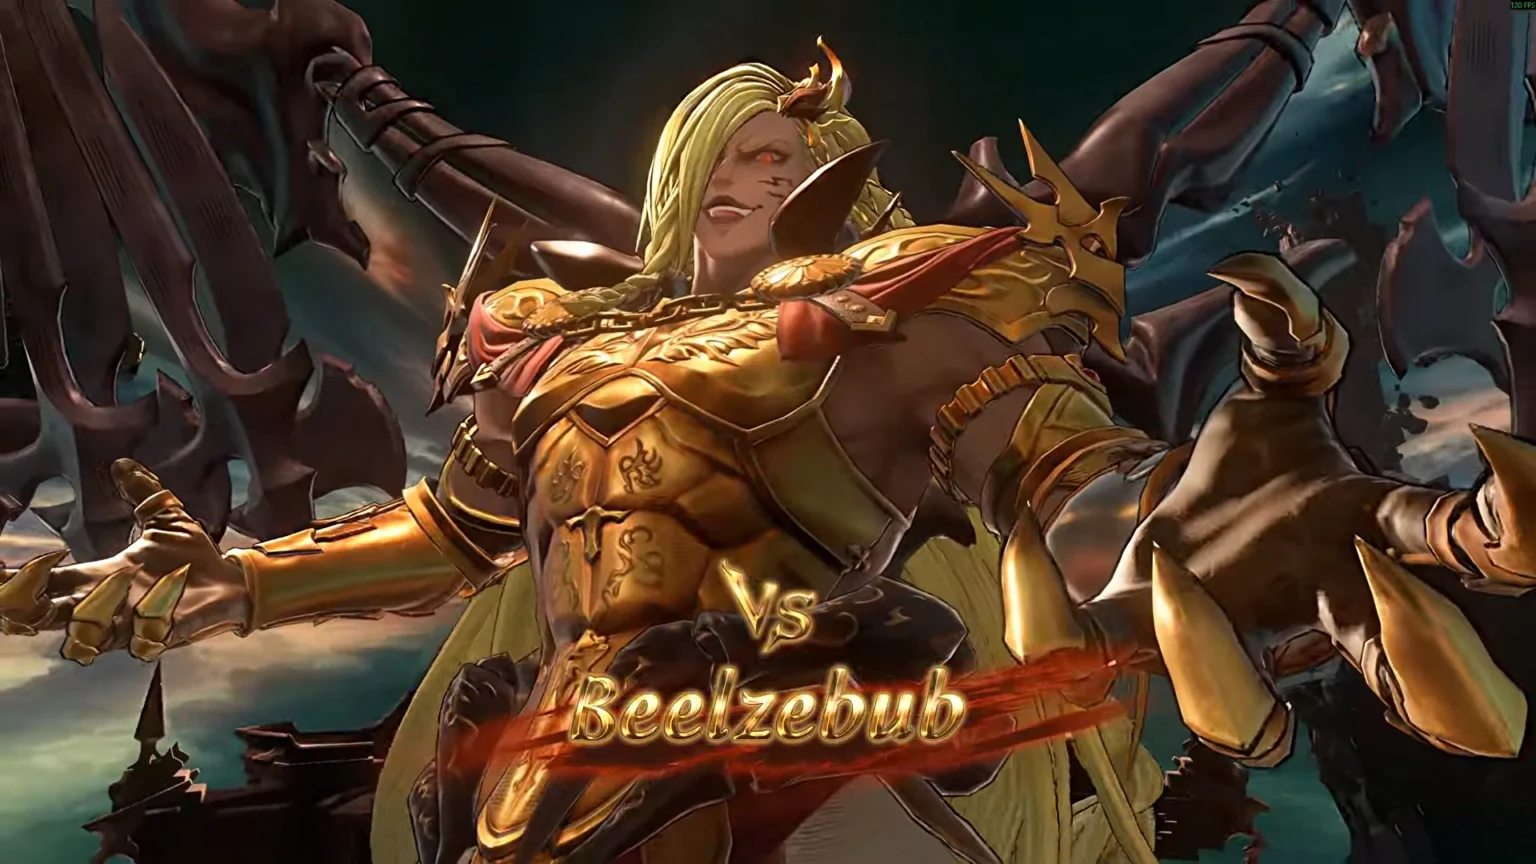

When you have reached the endgame portion of Granblue Fantasy Relink, you will come face-to-face with Astral bosses from the Astral Realm. So far, there are only two Astral bosses in-game: Beelzebub and Lucilius. Both are notorious for their difficulty; this guide will focus on the Beelzebub boss fight. Here we will take a look at all of its attacks under each phase that you must avoid to grab the victory from the boss.
Boss Details and Team Guide
The boss fight will take place in three phases; each phase has a set of attacks that repeats throughout the battle. And most of them are one-shot kills, so be prepared and spend your time creating a proper build for all characters before stepping into the ring. Here is a quick look at the boss’s HP, weaknesses, resistance, level, and helpful information to prepare you for the fight.
| Boss Name | Beelzebub |
| Unlock Req | * Reach Rank 150 or Higher * Complete Chapter 132 Story: We Reject Happiness * Complete Side Story What Makes the Sky Blue II: Paradise Lost * Complete Dark Rapture * Complete Chapter [131/132/156/157/158/162/163/164/165/173/174] Quest Chaos Returns: Dusk |
| Location | New Utopia- Z2 Promotion Ward |
| Level | 250 |
| HP | 722,224,444 |
| Not Immune to | * Gravity * Delay * Poisoned * Burned * Putrefied * Blinded |
| Teams | * Fraux/ Rackam/ Ferry/ Zeta * Maglielle/ Beatrix/ Gallanza/ Ferry |
| Rewards | Prestige Pendant/ Abyssal Wing/ Lineage Ring/ Damascus Grain/ Silver Centrum/ Legendary Merit/ Crystal x50 |
First Phase
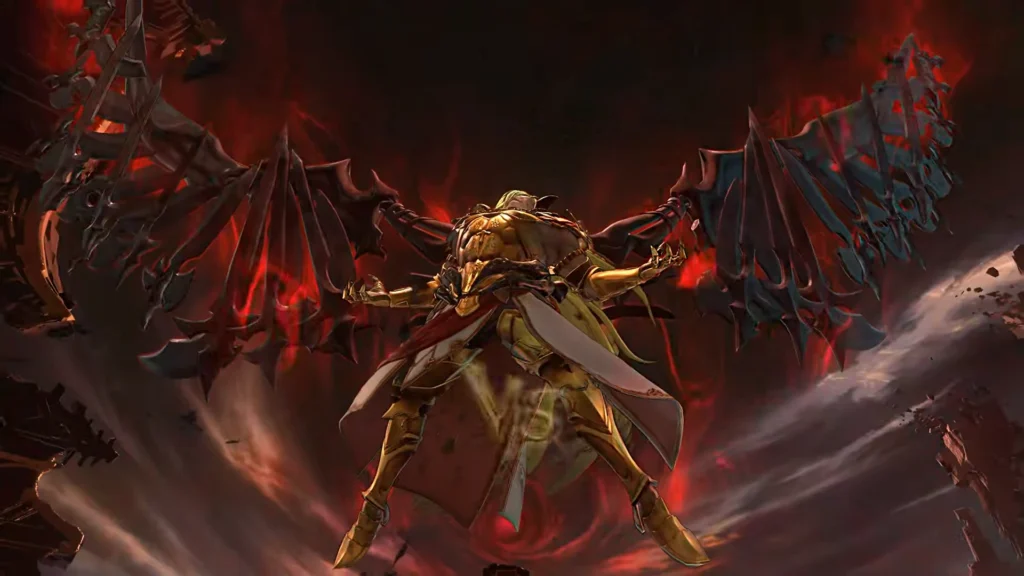
Two Red Orbs
Beelzebub will spawn two giant red orbs hovering over both of his shoulders, and then launch them towards your location. Just perform a simple guard or move out of the way to avoid the damage. These orbs will not follow you; they are straight-line projectile attacks that will only move in a single linear path. Do note: the boss will release one orb at a time; after moving away from the first orb, prepare to dodge again for the second one.
Dark Wing and Golden Wing Slash Combo
Beelzebub will have dark wings and rush towards your location and perform a 3-swing combo. With dark wings, the combo stays at a close range without any AOE effect to the swings. After the swings, the wings on the back of Beelzebub will turn golden; now the combos will be slow, but the AOE of each swing will be vast. Beelzebub will then perform large-scale swing attacks, ending it with a dark explosion on the ground.
When the dark explosion slam attack connects with the ground, it will launch dark thorns in four directions; but the good thing is, you will see the outline of the thorn attack on the ground. Get between the spaces of the thorn outlines to avoid the damage.
Note: After the Golden Wing Slash combo, Beelzebub may fire Summon Pointy Spikes or a different move; it can be a bit unpredictable when it comes to the follow-up attacks.
Power Thrust
Beelzebub will perform a charge move, creating a gold orb around its hand and lunge forward. The best way to avoid this attack is by not standing in the way. This one can be easily predicted, as the charge move takes up most of the screen with its aura effect. Most times, the first phase starts with the power thrust charge attack.
Summon Pointy Spikes
Beelzebub will summon 5 or 6 flaming giant spikes right in front of him and, after a few seconds, will launch all of them straight ahead. Best advice here is not to get caught, as it can lower your HP to a single number; best to move out of the way when the charging phase begins. The attack takes place in front of the boss; if you head to the back, you will not get hit, as Beelzebub doesn’t move from its charging location.
Dark Wing Explosion
Beelzebub will have dark wings and release a reddish dark explosion around him. It’s an AOE explosion that covers most of the area; the attack also releases yellow damaging charges over a wide range.
Large Spike AOE
Beelzebub will launch a large-scale AOE attack that covers the entire floor, as he launches pointy spikes from both sides of the arena. The only way to save yourself is by standing in the space between the spike attack outlines. This attack covers the entire floor, and it can be deadly. Make sure to get between the spaces, as you have only a few seconds to figure out the safe spaces for the attacks. Don’t let your guard down after dodging it once; Beelzebub will perform this attack twice back to back with a few seconds in between.
Get to the safe spaces in the diamond-shaped areas to protect yourself from getting caught by this attack.
Mid Air Lunge
Beelzebub will launch a red explosion around his body, covering the entire field. Then the entire arena will go black, and you will see red glowing projectiles around Beelzebub’s place. Here he will take off into the air and start lunging towards your location. All the red glowing projectiles will scatter and hit the ground. After that, Beelzebub will perform a backflip into the air, creating four straight lines of dark thorn attack, like the one we saw on Golden Wing Slash. But this time, instead of performing in a circle, the boss will launch the Dark Thrones in a straight line at your location. If the boss is facing your way while performing the backflip attack, then be ready to dodge the upcoming thorn attack. Beelzebub will finish this move with an AOE thorn attack covering the entire field.
Grab Attack
You will see a small red orb glowing out of the hand of Beelzebub. After he finishes charging the energy orb, Beelzebub will lunge in a straight line and grab you and slam you on the ground. This is an instant killer, so make sure to avoid this attack.
Second Phase
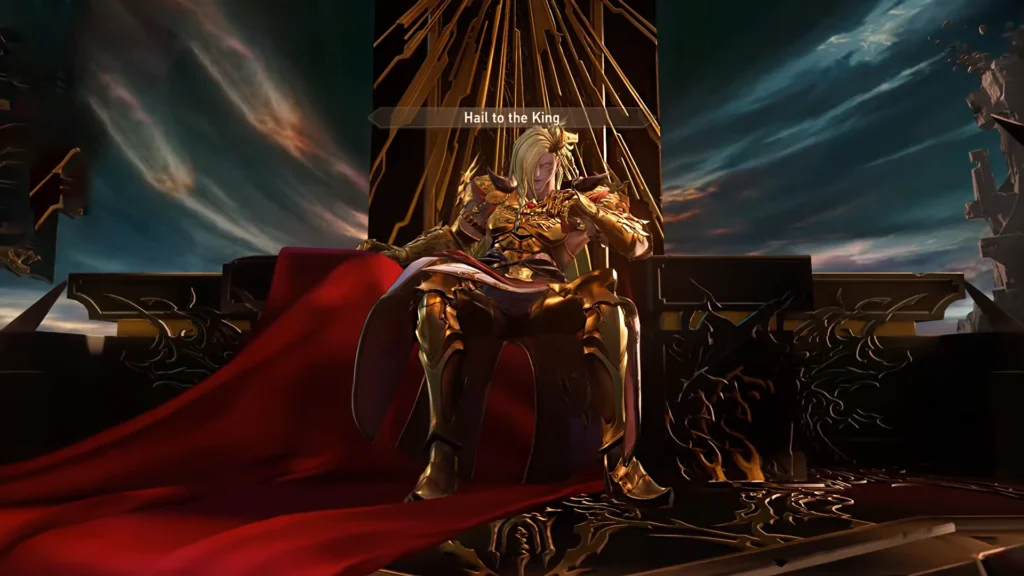
Get the HP down to 65%, and the second phase will kick in. Here we will see Beelzebub leaving the battle floor to sit on a throne on the upper floating platforms. Time to prepare for a barrage of new attacks, and a combination of two at the same time. Second phase attacks will start off differently, from one person to another.
First Pattern:
Black Hole + Large Spike AOE
Beelzebub will open up a black hole in the arena, pulling your team towards the hole; at the same time, he will summon the spikes on both sides of the arena to do the Large Spike AOE move. Here you have to move away from the ever-sucking black hole, at the same time staying safe in the diamond-shaped spots on the ground. This can be very difficult, as one wrong move and you will be caught in the line of the Large Spike AOE attack. This can happen easily with the black hole pulling you towards its core.
Red Aura
Now Beelzebub will cover the entire area with a red hue, leaving only a triangular section of the arena safe. Beelzebub will summon a black hole near the safe zone, so you are always getting pulled into the black hole. Head to that space in the arena to avoid the damage of the red hue, which is basically 75% to 80% of the entire arena.
This was just an appetizer; in the next attack, Beelzebub will again cover the entire arena with a red hue, leaving a triangle of safe space. But once you get to the safe space, Beelzebub will launch the Large Spike AOE. Now you have to find a diagonal space on the floor to avoid the attack damage from the Large Spike AOE.
Lastly, Beelzebub will cover the entire arena with a purple line, leaving only 5% of the area safe. Get to the safe area, or you will die on one hit.
Second Pattern:
Black Hole + Straightline Spikes
A more skewed version of the first attack, instead of spikes moving in a more tilted direction to create diagonal patterns on the floor. This new attack has a black hole on the corner as usual, but spikes will move in a straight line, creating a good amount of room to move around. It’s just five or six spikes moving in a straight line; the gap between the spike attack outlines is the only saving grace to avoid receiving damage.
Red Aura:
If you face Black Hole with Straightline Spikes as the very first attack in the second phase, then you will see Straightline Spikes in the Red Aura phase. Beelzebub will turn the arena red, leaving only a small portion of the land to move around. Once you settle in the safe zone, Beelzebub will create a black hole near the safe spot and trigger the Straightline Spikes move to make things more difficult. Prepare to dodge
Two Golden Orbs
Unlike the red orbs, Golden orbs will have a target. Before the Beelzebub launches the orb, you will see a golden chain-like light coming at your location. Once the chain link is fixed, the golden orb will move in the way of the chain. Once it hits you, you will be stunned in place; the boss will rush at your location with a claw swing slash. Since you are stuck, you will die.
AoE Spike Slam
Beelzebub will create an energy aura around him and launch purple spikes all around the arena. These spikes will have a purple circle around them; spikes that will release the energy effecting in the circle around them. Suffice to say, don’t be inside the circle or you will take damage. Fortunately, the circle around the spikes is small, leaving plenty of open space to move around.
Power Thrust V2
It acts as the same power thrust move as the last one from the first phase, but once Beelzebub lunges at you in a straight line, the distance of the lunge will be longer, and he will turn around and launch a thorn attack from the ground in a straight line.
Third Phase (Chaos Legion Phase)
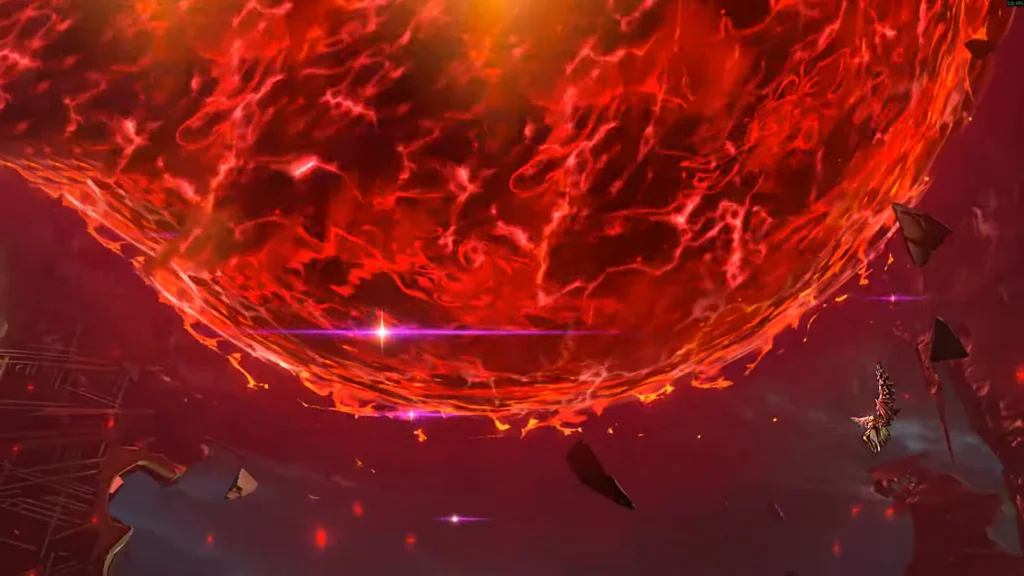
Here, Beelzebub will move up in the air and create a giant energy ball that will slowly reach the ground. The energy ball will create large red ripples on the ground. So make sure to jump to avoid the damage from them.
Beelzebub will continue to perform the same attacks as before, but the arena will be a bit deadlier with the red ripples popping out of the battlefield at an unpredictable time. Another important part about this phase: the giant energy ball is slowly moving towards the arena; if you don’t kill Beelzebub soon, then the ball will land, performing a complete party wipe.
So defeat him as quickly as possible, and you will unlock a variety of items as a reward. But most especially the unlocking of Transcendence for Ascension Weapons. You now have the ability ot transscend Ascension weapons.
