

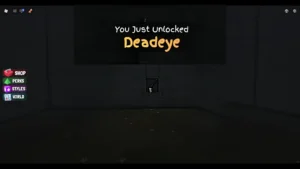

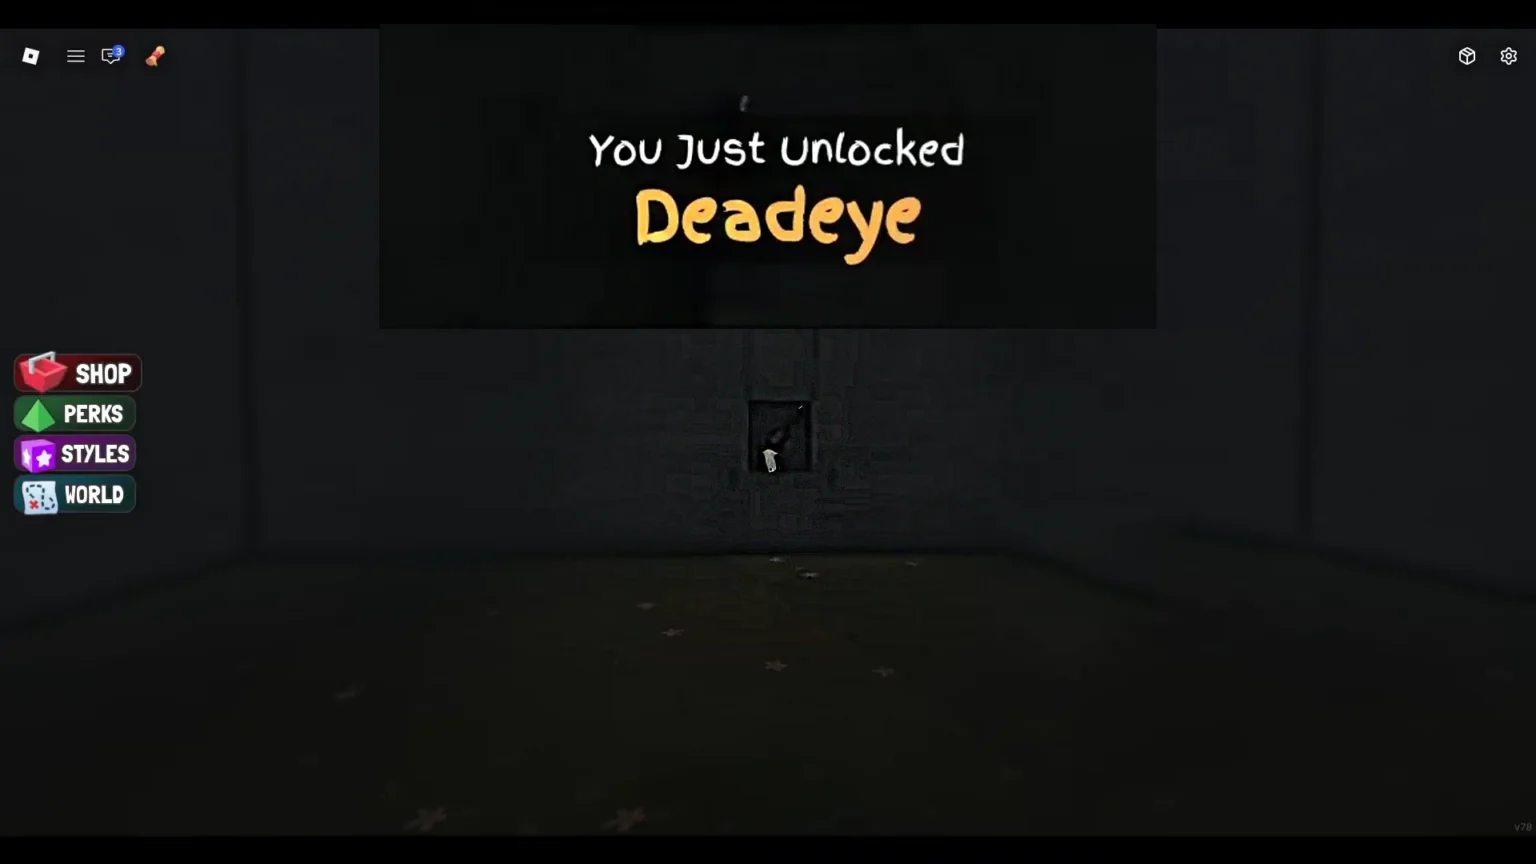

Secrets are one of the thrills in games that only get better as you find more of them, especially if the game is trying its best to hide them from being seen. When you encounter the maze in Protect the House from Monsters, it can be overwhelming, as the hedges inside the maze are large, and quickly you will find yourself lost in the blur of the maze. Inside the sprawling maze hides a unique key that unlocks a special keyhole for one of the best weapons in the game, the Deadeye Revolver.
As you could’ve guessed, none of it will be easy; you must navigate properly in the maze to find the key and then the spot to recover the very special weapon, the Deadeye Revolver. In this guide, I will help you find the key in the maze of Castle World and grab the weapon at the end.
How to get the Secret Deadeye Revolver
We can access the Deadeye Revolver secret by unlocking it with a Golden or Yellow key found in the Castle World’s maze. The Castle map has a large Maze covered by many doors that act as a giant gate. The only way to access the maze is by heading through these gates. The secret here requires us to obtain a key and then use the key to get the treasure. First, we need to obtain the key found in the maze by accessing it via the “E Gate,” and then we can look for the Deadeye Revolver in the maze by heading through the “C Gate”.
Treasure Map Location
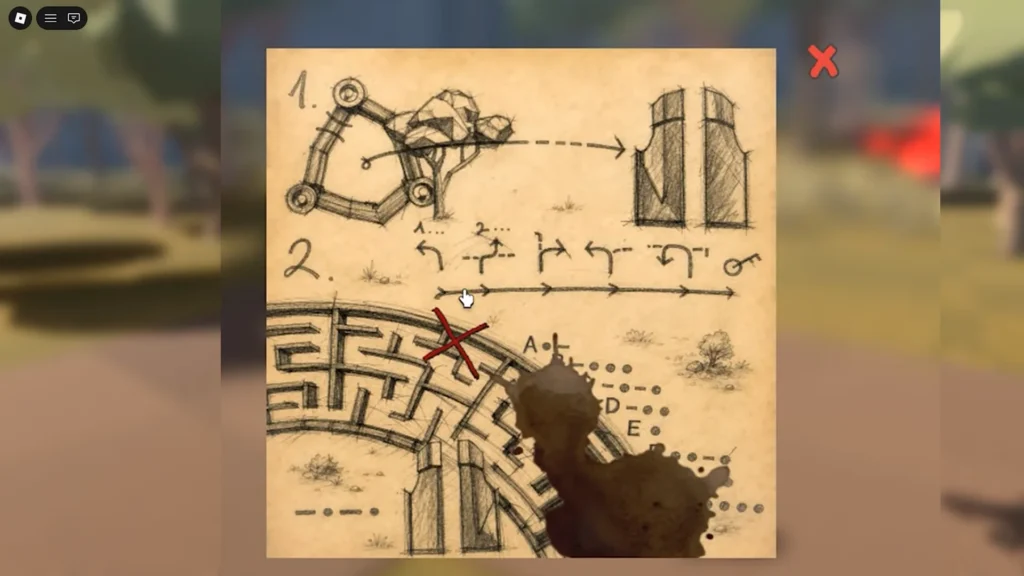
Head to Outbound (Train Defense) Worlds, go to the Merchant stall, and then buy the treasure map for 1500 Skulls. Once purchased, you will get the notification “Map Unlocked” at the top of the screen. Now travel to Castle (Wave Survival) Worlds. At the bottom of the screen, open the map by choosing the Map tile. The treasure map gives out two distinct locations:
- Clue #1: The five directional inputs lead to the location of the key.
- Clue #2:The red cross marked on the map shows the location of the keyhole or the secret. The gate for the maze is symbolized with the Morse Code ” ─ • ─ • “, which translates to the letter “C”.
Note: You can skip the purchase; you don’t necessarily need to own the map to get the Deadeye Revolver. If you know where to go, as I will cover that in the guide, you don’t need to buy the treasure map. If you want to follow the quest by the book, then go right ahead and buy the treasure map. Since you can see the treasure map, I will say to save the Skulls for anything other than buying the map.
Getting the Key
Here we are dealing with multiple directions, so follow the images and the arrows pointing in the picture to know where to go in the maze.
Left Turn
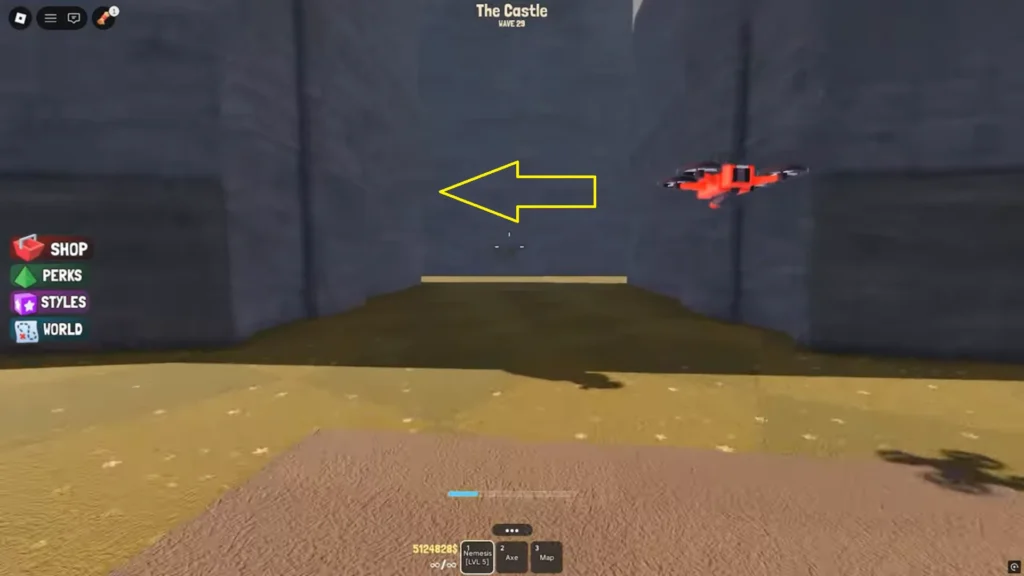
Go through the “E Gate“; each gate is marked with the letter right on top of the door. The E gate is located to the right of the “D Gate“; they are marked alphabetically, so you will have no problem tracking it down. Once the gate opens up, head inside and take the route left, as shown in the picture.
Right Turn
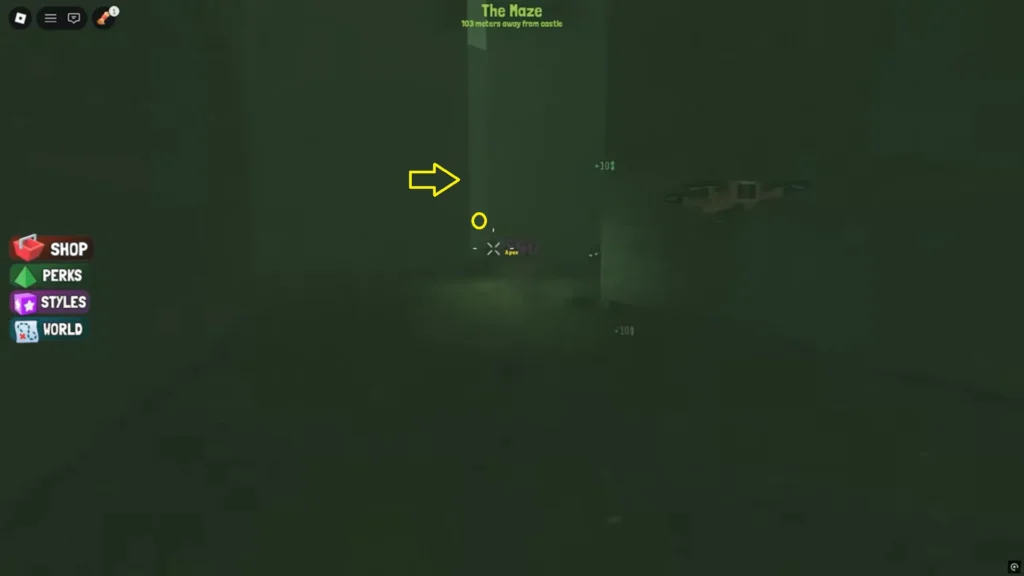
Now you have to head straight. To make it simpler, I’ve marked the spot with a small yellow circle in the picture above. Get to the spot; it will take a bit of a walk to reach it.
Right Turn
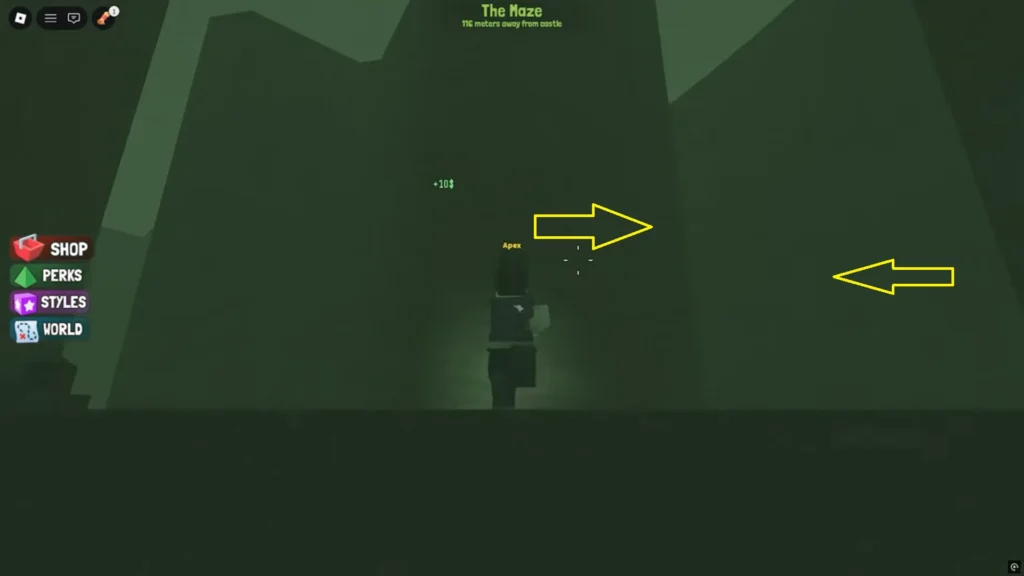
Now turn right from the yellow circle spot and take the route to the left, as shown in the picture. After that, keep heading straight.
Left Turn
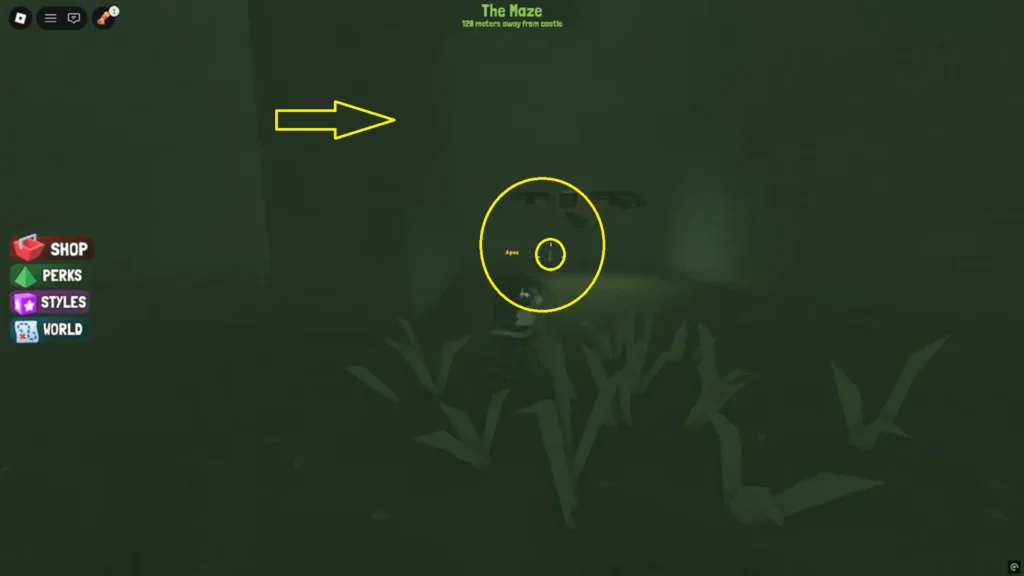
Finally, make a sharp left turn, and in the little corner of the dead end on the right, you will find a golden or yellow key next to the wall. Congrats, we now have the key; all we need to do now is to grab the secret Dead Eye.
Getting the Dead Eye Revolver
Get out of the “E Gate”; enter the maze through the “C Gate“. Since the gate follows the alphabetical structure, it’s the door on the left of the D Gate. Once out of the E Gate, take the route right, skip the D Gate, and then you will find yourself standing before the C Gate. The journey is not over yet; we are going back to the maze, which means more navigation. Buckle up, here we go!
Left Turn
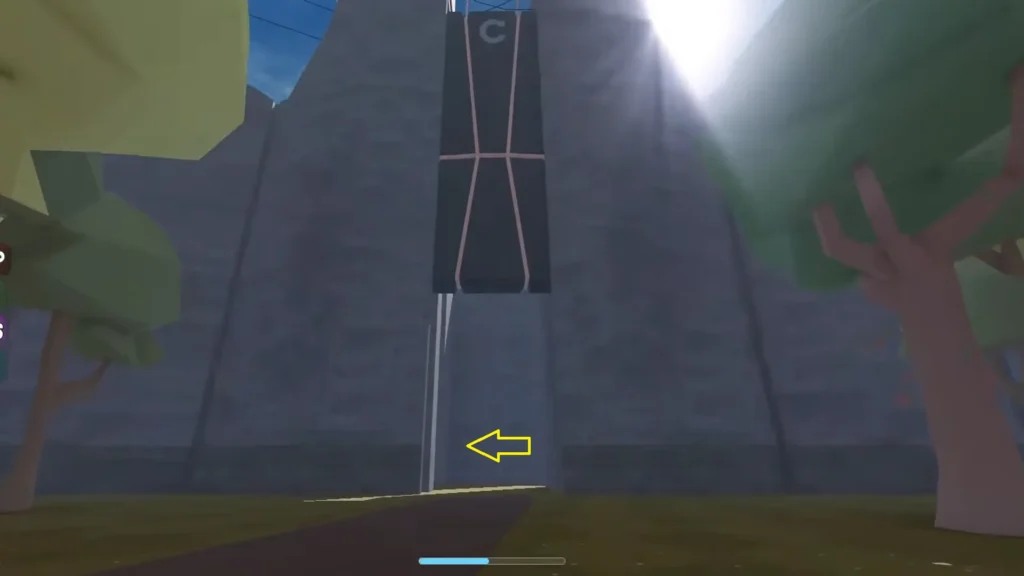
From the entrance, turn left as shown in the picture and then keep heading straight.
Right Turn
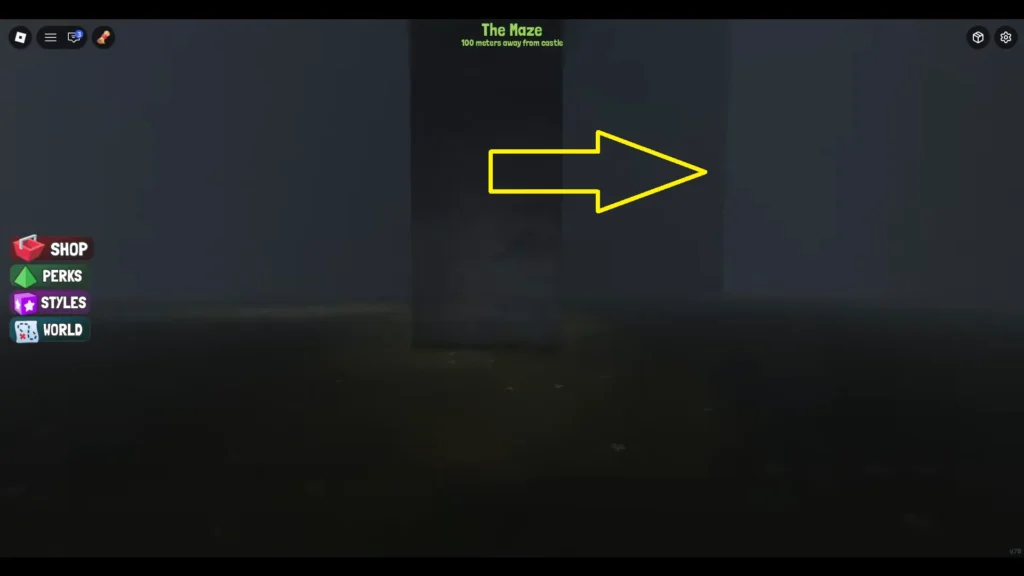
Follow the route, and you will find a fork in the road: one route leading to the left, another to the right. Take the route on the right, as seen in the picture.
Right Turn
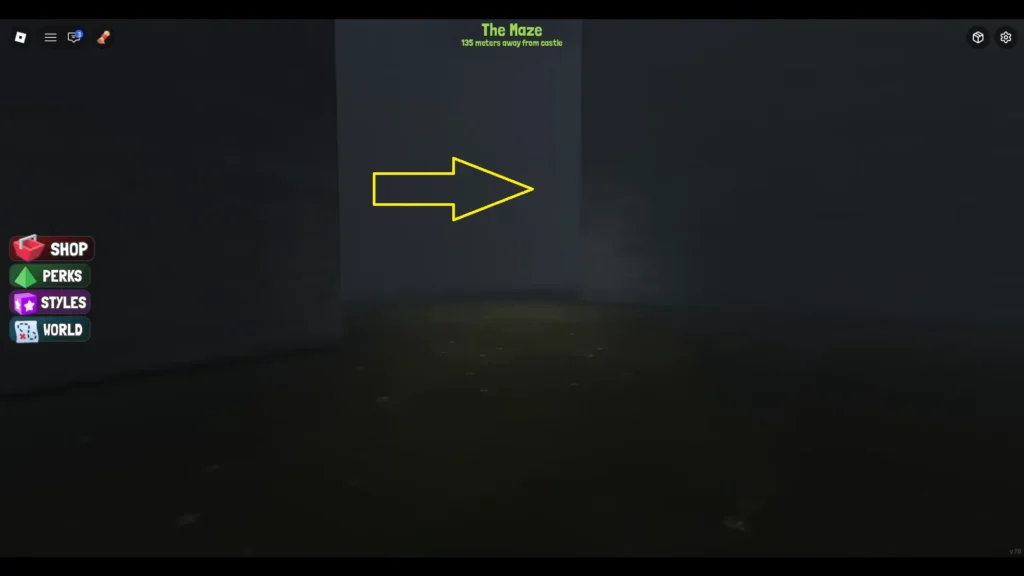
After a brief walk, you will find yourself looking at two separate pathways; take the path on the right, as shown in the image above.
Left Turn
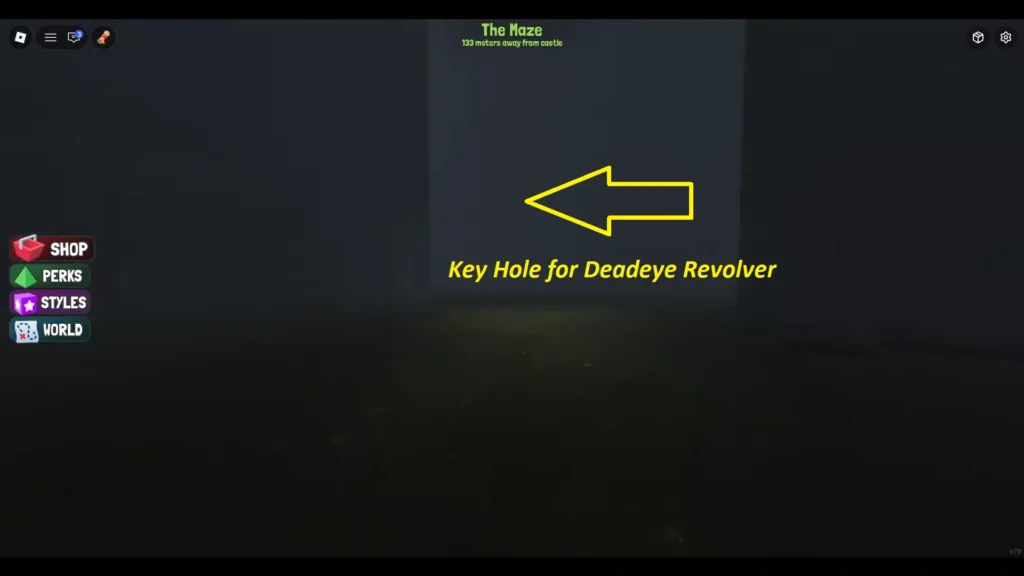
Follow the path, head straight, and then take the path on the left to find the keyhole on the wall.
Interact with the keyhole with the key we picked up at the E Gate section of the maze, insert the key to reveal the Deadeye Revolver hidden inside. That’s it; you will unlock the gun and a Deadeye Revolver Badge!
