

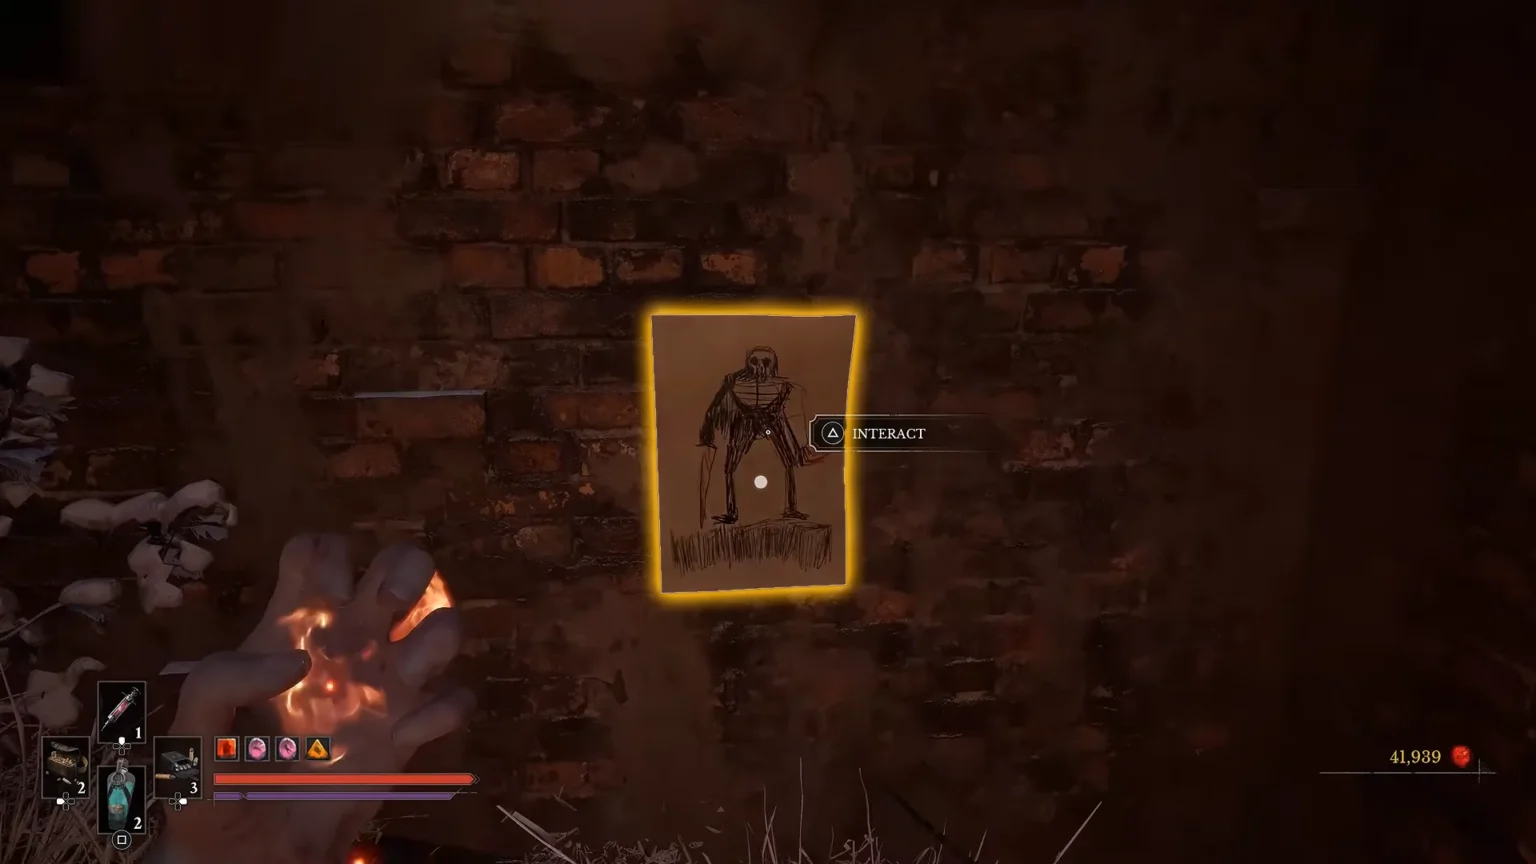

Some side quests end easily, and some make you work for it. From the beginning to the very end. The Monster Hunt side quest in Valor Mortis revolves around finding specific drawings all throughout the city. Hunting these down is quite a task; almost all of them are hidden extremely well, in the corners of the city that often go unnoticed by many players. Prepare to navigate through many twists and turns to finally see the thing we are looking for, in this case, a rough painting on a wall.
There are 17 drawings for the Monster Hunt; collecting all of them will reward you with Quintessential Transmutation Material and the Book of Beasts Trophy or Achievement. The quest only becomes active once you pick up a drawing in the city. In this guide, I will provide you with a complete, detailed walkthrough of all 17 drawings found in Chapter 8 in Valor Mortis.
All 17 Drawings in Monster Hunt Quest
Our journey to collect all 17/17 drawings begins at the City of Orphans, the starting point in Chapter 8. Each drawing has its own name and location:
- #1 | Drawing of a Lancer
- #2 | Drawing of a Risen Soldier
- #3 | Drawing of a Howler
- #4 | Drawing of a Volunteer
- #5 | Drawing of an Eternal Guard
- #6 | Drawing of a General Lothaire
- #7 | Drawing of a Sapeur
- #8 | Drawing of a Slaughtermill
- #9 | Drawing of a Swarm Mother
- #10 | Drawing of Shambling Civilians
- #11 | Drawing of a Remnant of the Iron Regiment
- #12 | Drawing of a Sphinx
- #13 | Drawing of a Carrion
- #14 | Drawing of a Grenadier
- #15 | Drawing of an Unknown Monstrosity
- #16 | Drawing of an Abomination
- #17 | Drawing of an Unknown Figure
#1 | Drawing of a Lancer
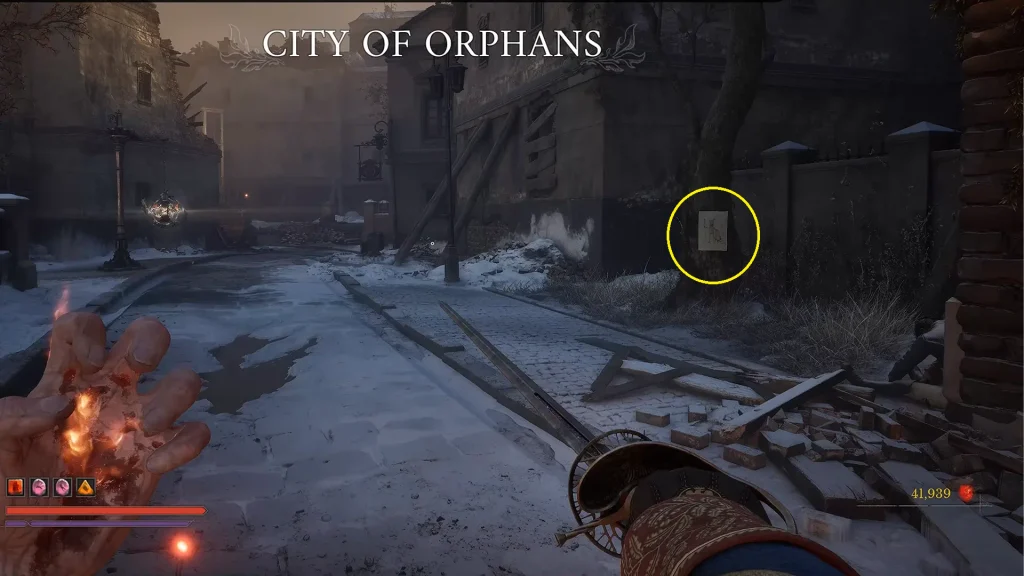
At the beginning of Chapter 8, in the City of Orphans, the very first drawing is stuck to the tree on the right. Pick up the first drawing, in this case, Drawing of a Lancer, to begin the side quest “Monster Hunt“.
#2 | Drawing of Risen Solider
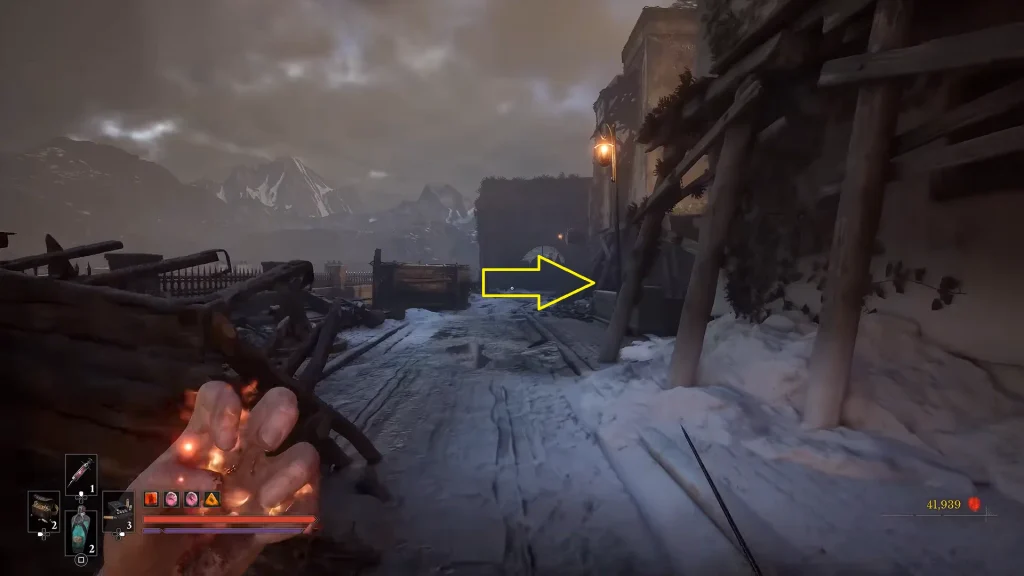
From the very first drawing, take the route left, and another left, and you will soon be on the bridge. Don’t cross the bridge; instead, take the narrow route on the right (As marked on the image) and then turn to your left. You will find the drawing stuck to the wall. Pick it up, and you will get the Drawing of Risen Soldier.
#3 | Drawing of a Howler
From the last drawing, get back on the bridge and cross it. Follow the path, and it will lead you to a horrific area filled with burning wood and hanging corpses.
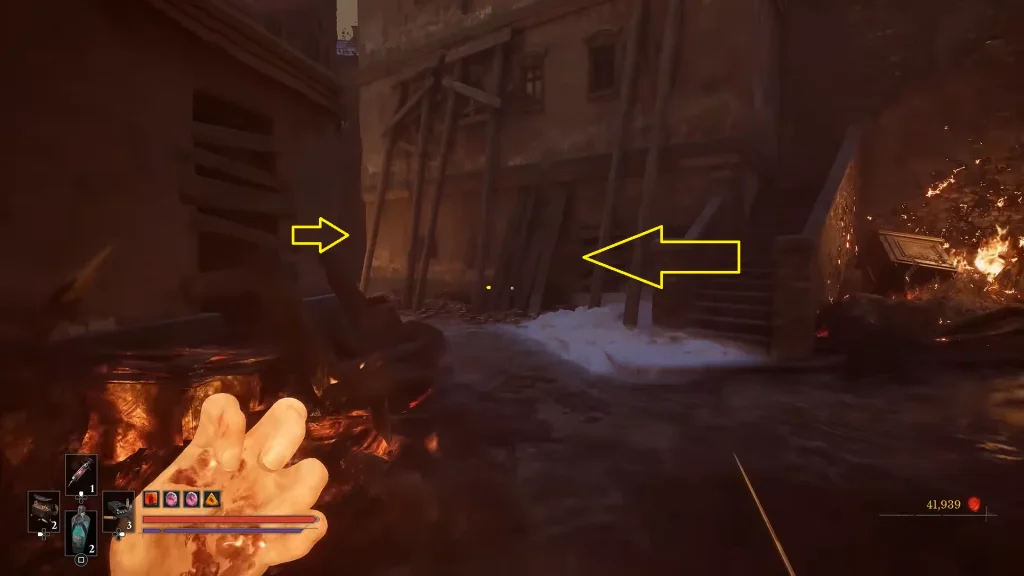
Pass through all of them and then turn left (As marked on the image above); you will find a dead end, a small circular area with a tree in the middle on the right. Next to the tree, you will spot the “Drawing of a Howler” stuck to the wall.
#4 | Drawing of A Volunteer
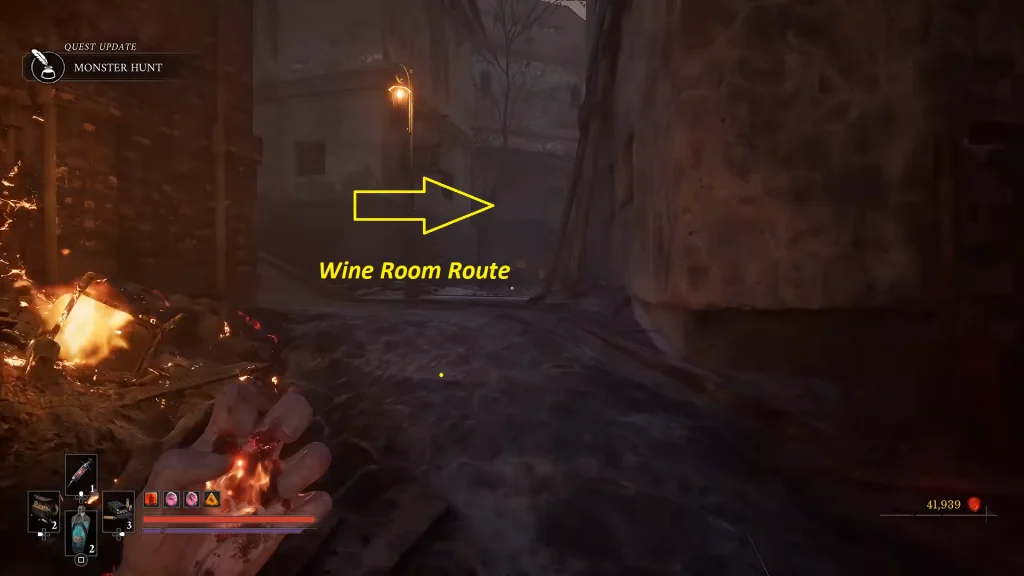
From the last drawing spot, turn right and head straight. Don’t take the path on the left; take the route on the right(As marked on the image above). Keep heading straight until you find yourself in a room with wine barrels, stacked against the wall.
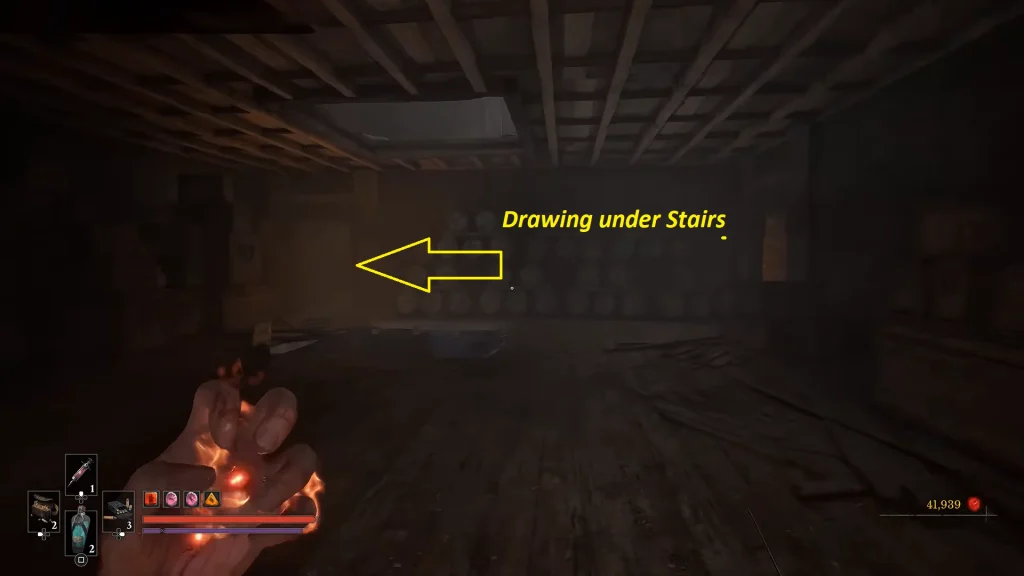
Don’t jump down; instead, go through the door on the left inside the room (As marked on the image above). Here, turn left, and you will spot a staircase leading to the upper floor. Don’t take the stairs; check the wall underneath the staircase to find the Drawing of Volunteer stuck to the wall.
#5 | Drawing of an Eternal Guard
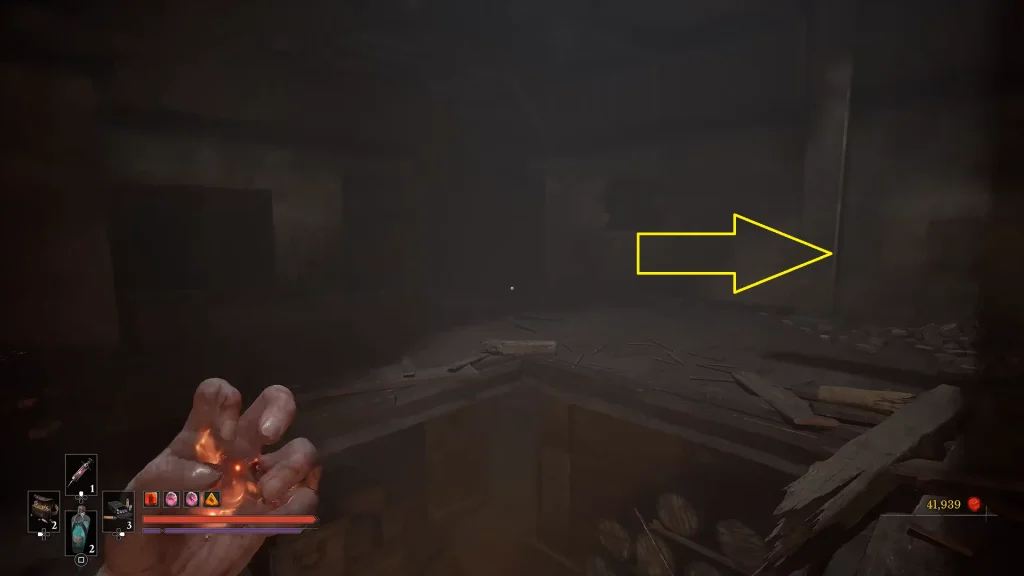
Head up the stairs from the last drawing, turn right, and then jump over the small gap on the wooden floor. Now turn left, jump over another hole on the floor, and start moving to the right. Take the stairs and then carefully navigate on the wooden beams to get across to the other side.
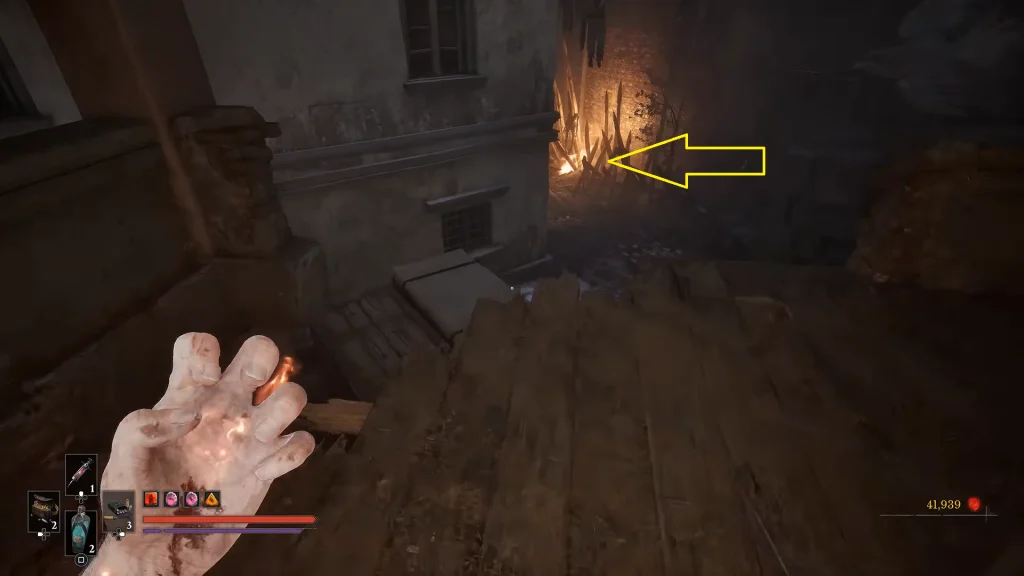
Now jump down, turn left, then another hard left, and you will find the Drawing of an Eternal Guard inside an alcove.
#6 | Drawing of General Lothaire
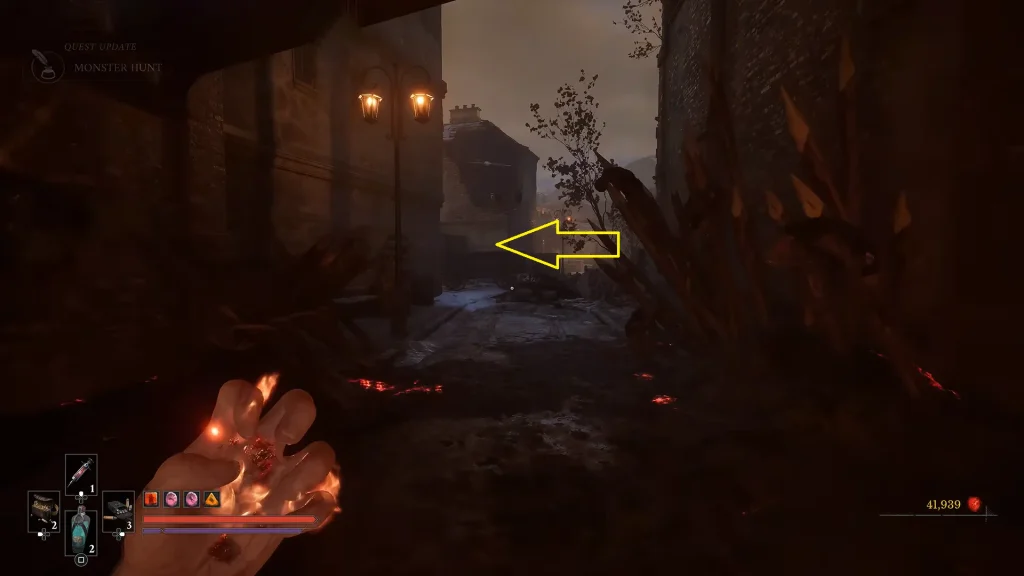
From the last drawing spot, turn right and then take the path on the left. Cross the area filled with wooden spikes, corpses, and fire on both sides. Then head to the small parking/storage area on the left, as marked on the image above, and you will find the Drawing of General Lothaire on the side of the wooden cart parked in the spot.
Also Read: Valor Mortis – All Empty Ferrofluid Flask Locations
#7 | Drawing of A Sapeur
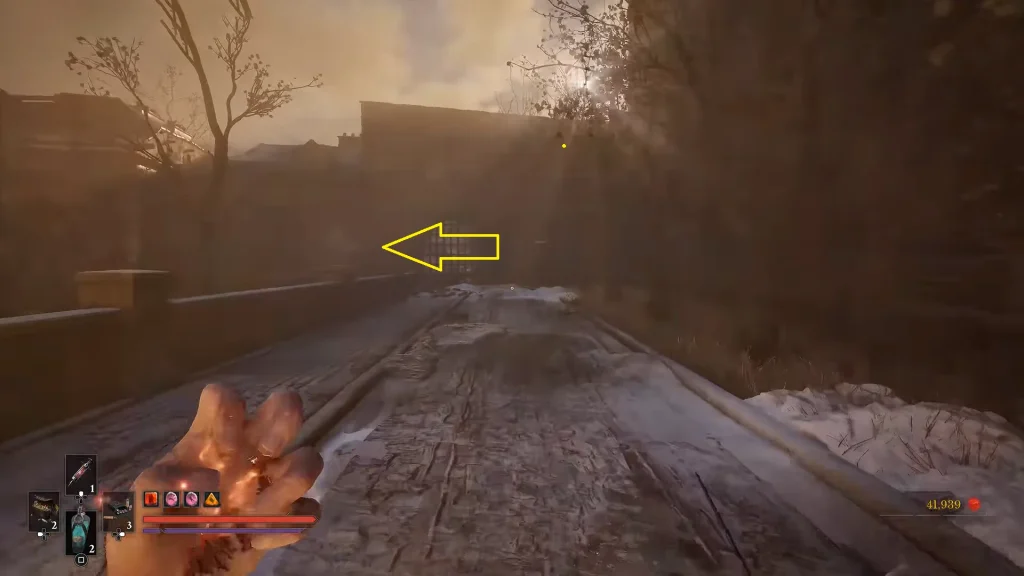
From the last drawing spot, get out of the area and turn left. Keep moving forward, past the lantern on the left until you reach the dead end. Now head through the wooden bridge on the left (As marked on the image above), move a bit further, and then head through the broken hole in the wall on the left.
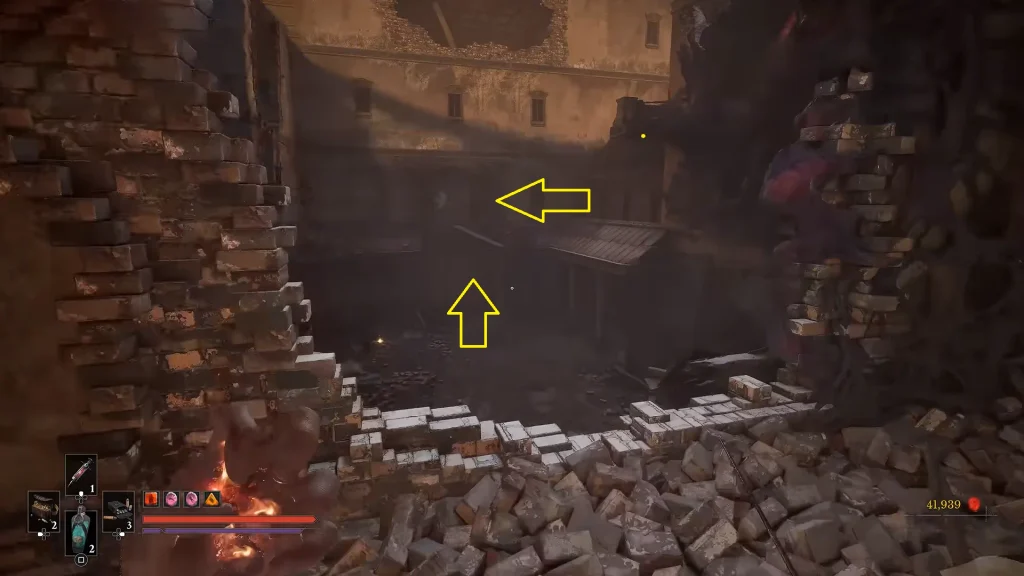
Drop down, climb the ladder ahead to the upper floor, just as shown in the image above. Go through the door, then head through the hole in the wall on the left. Activate the wall on the right to lift open the wall ahead. Lastly, activate the wall on the ground to drop down to the basement section. Be warned, this area is filled with poison; the room ahead has the Drawing of a Sapeur on the wall next to the small windows. Quickly grab the drawing and leave, or you will take too much poison damage.
#8 | Drawing of Slaughtermill
From the last drawing, turn around, head left, and the path will lead you to the top floor of the house, and you will finally be free from the poison gas from the basement. Climb on the wooden parts of the house to make your way to the top floor.
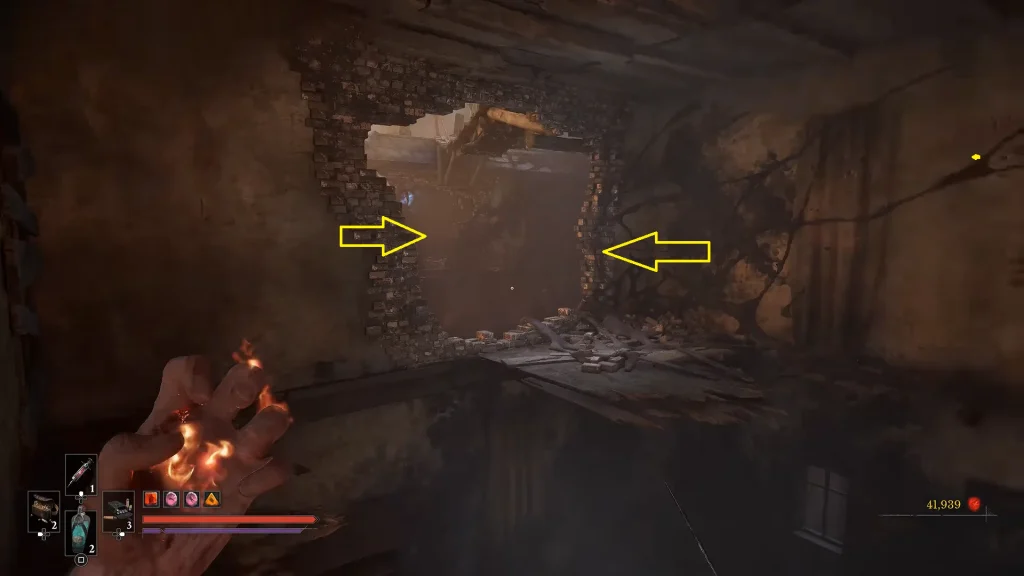
On the top floor, jump to the wooden platform and then use the grappling hook point to get to the house on the other side, as shown in the image above. Here, take the doorway next to the cupboard and go inside the room. You will find the Drawing of Slaughtermill inside another cupboard leaning to the left side of the wall, next to the broken window.
#9 | Drawing of the Swarm Mother
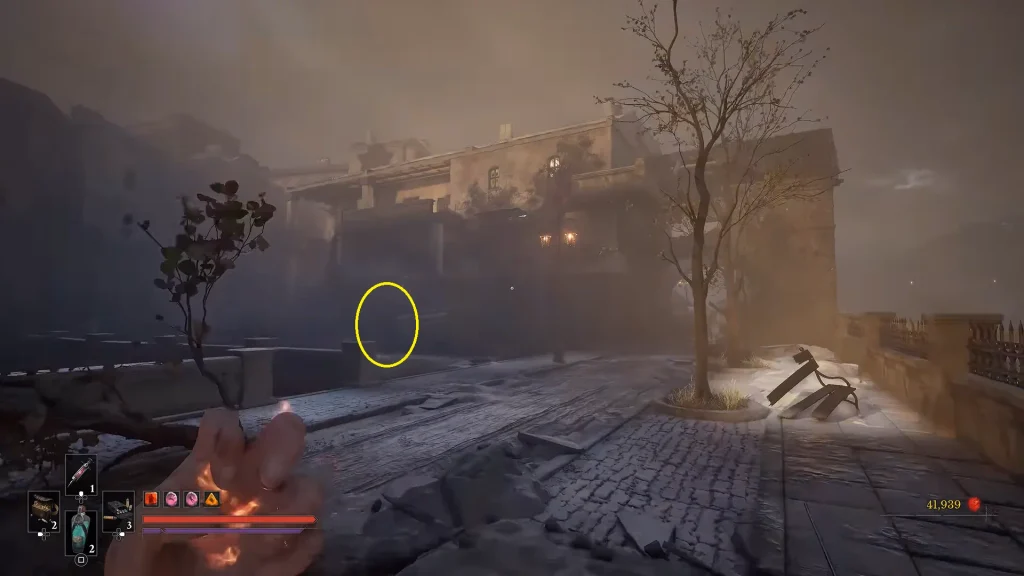
From the last spot, jump through the broken window on the right. Then slowly descend to the streets below. Take the path on the left and head through the door, marked as a yellow circle on the image.
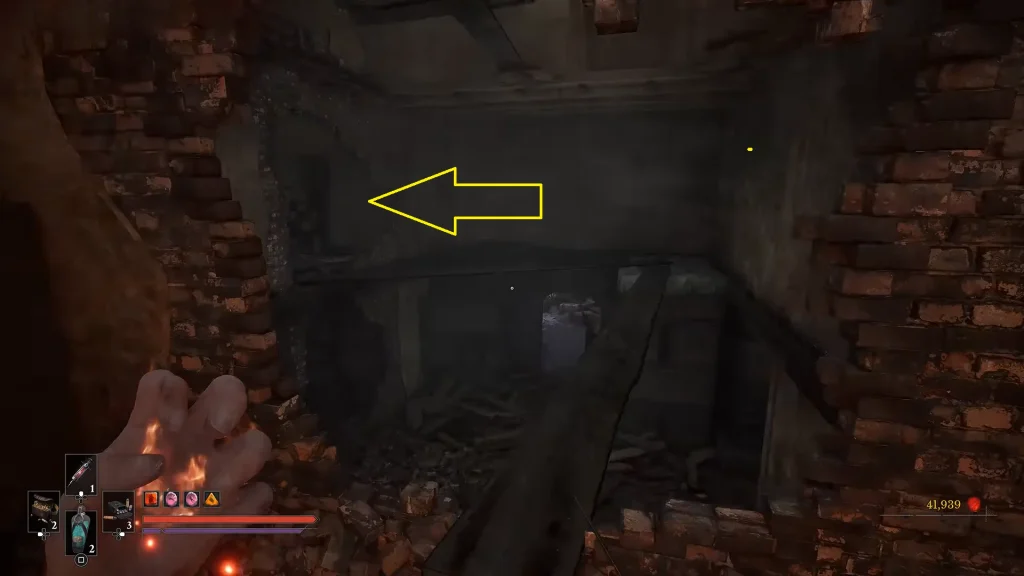
Inside the building, turn left, then climb the stairs on the right. Through the busted hole in the wall, you will see two wooden beams connecting to the other hole on the left side of the wall. First, carefully balance yourself on the wooden beam to reach the hole on the left side of the room, as marked in the image above.
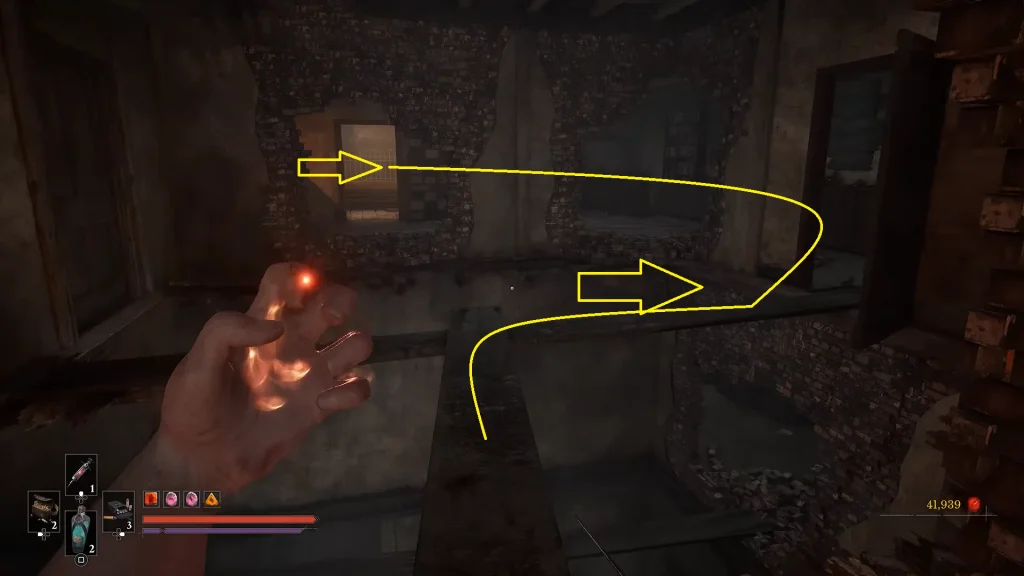
After crossing the beam, jump to the platform with the open door on the left, climb the stairs, jump over the gap in the middle of the room, and then navigate on the beam to your right, as shown in the image above. Now head through the doorway to the balcony with sunrays coming into the house, turn right, and you will find the Drawing of the Swarm Mother.
#10 | Drawing of Shambling Civilians
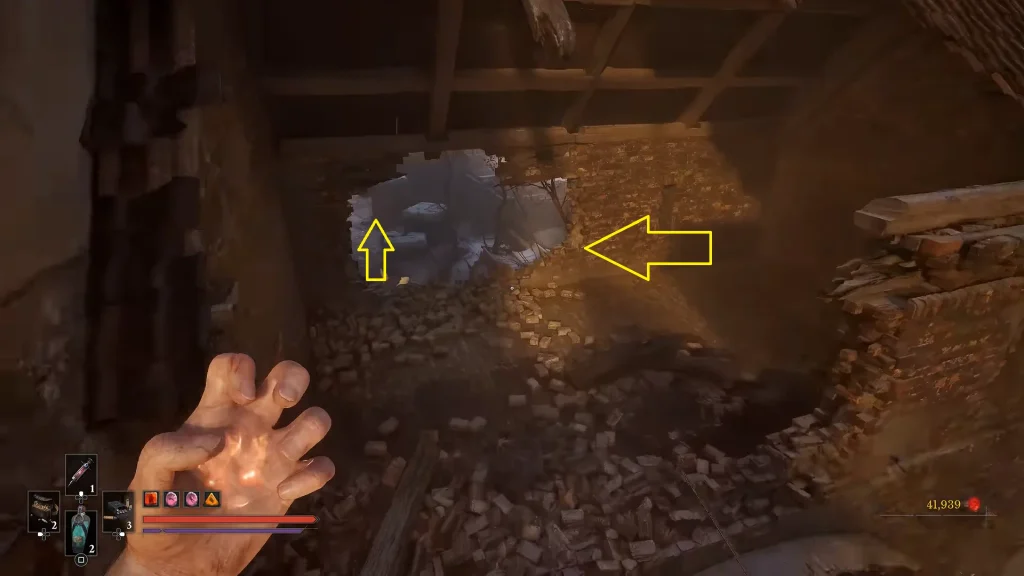
After grabbing the drawing from the last spot, turn around and get to the corner of the balcony. Swing on the pole to land on the floor on the other side. Keep moving forward; don’t drop down or fall down; we need to be on the rooftops for this one. Now jump to the building on the side and make another jump to the street ahead, as seen in the image above.
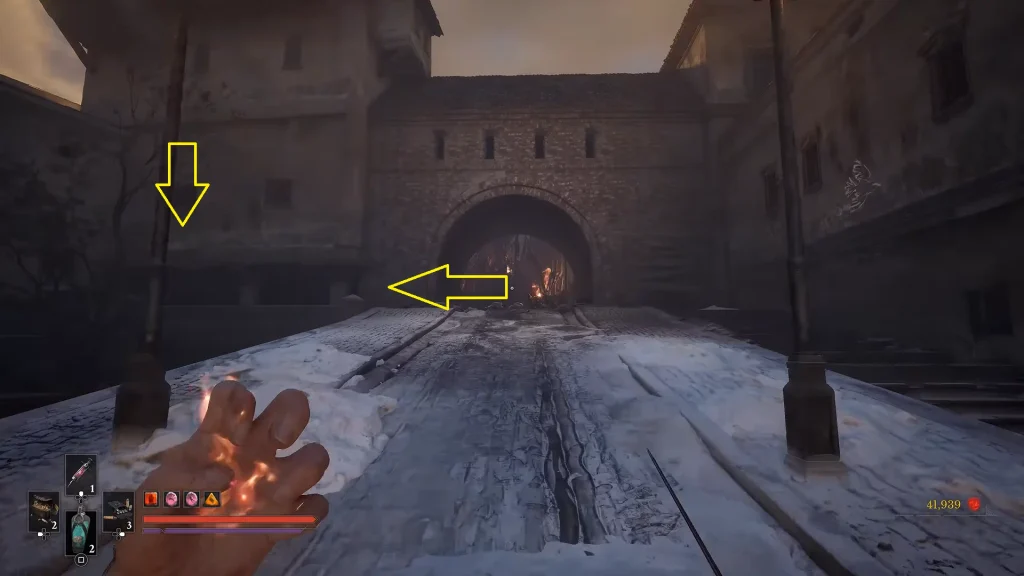
Now head straight and take the slope on the left side of the road. Don’t go through the stone tunnel at the end; turn left (As marked on the image above), and you will find the Drawing of Shambling Civilians stuck to a pillar.
#11 | Drawing of a Remnant of the Iron Regiment
From the last Drawing spot, turn right and go through the tunnel. Pass through all the wooden spikes with corpses and fire. After a while, you will be in a common street, as seen in the image above. I’ve marked the landmark at a distance. Head to the landmark, and you will find the drawing plastered on the wall below.
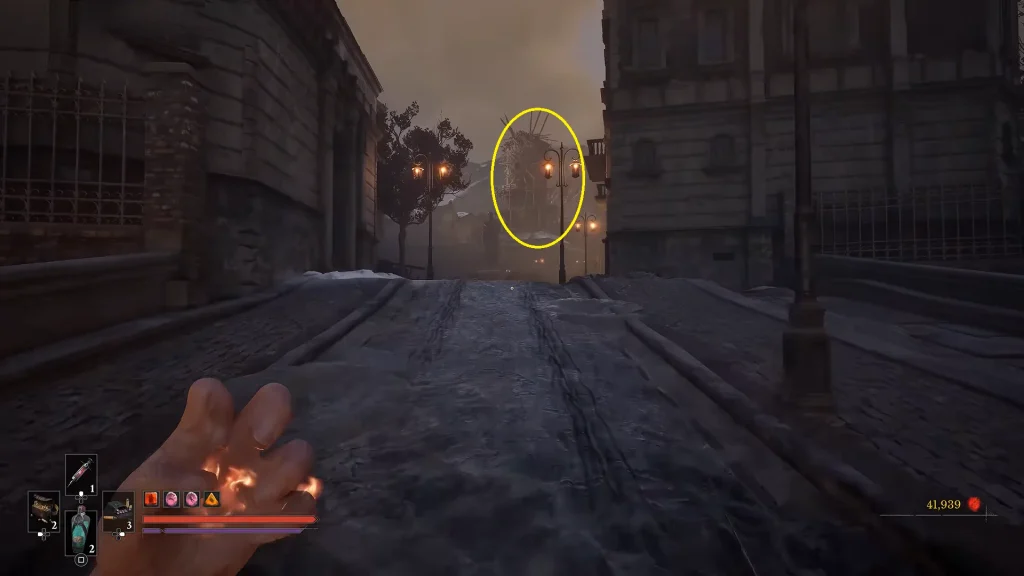
Keep heading straight, pass the statue in the middle of the area, and head to the building behind it, as marked on the image above. Here, on the side of the wall, you will find a Drawing of a Remnant of the Iron Regiment.
#12 | Drawing of Sphinx
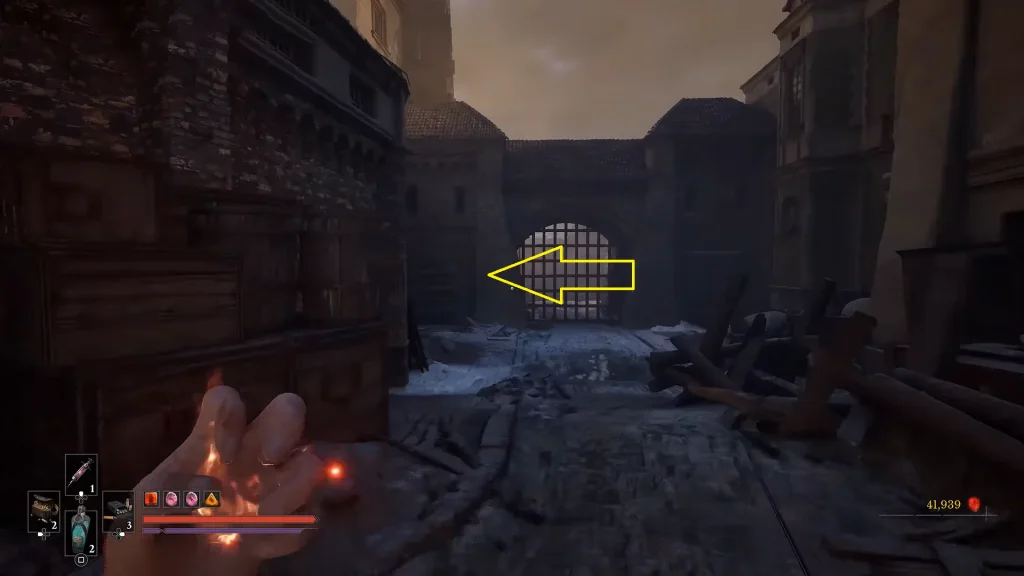
From the last drawing, turn around and start moving to the right. Here you will find an open doorway on the left and a route on the right. Skip the open doorway on the left, take the route on the right, and it will lead you to a caged gate at the end, as shown in the image above. Here, turn left, and you will find the Drawing of Sphinx stuck to the wall.
#13 | Drawing of a Carrion
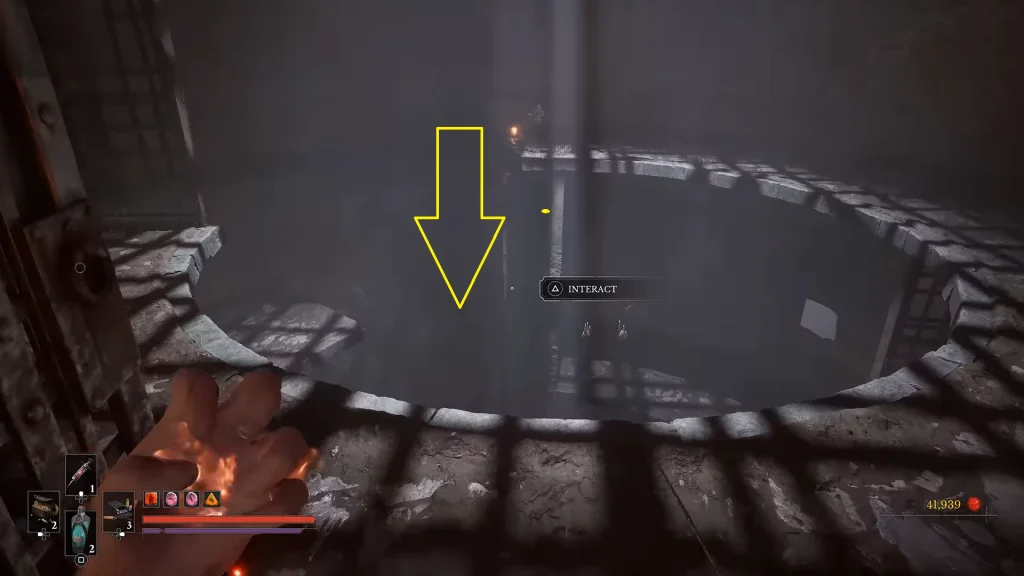
Now turn around from the last drawing, and head through the open doorway we skipped during the last drawing hunt. Enter the building; now you need to make your way to the bottom, either by taking the ladder or by jumping on the small platform on the wall.
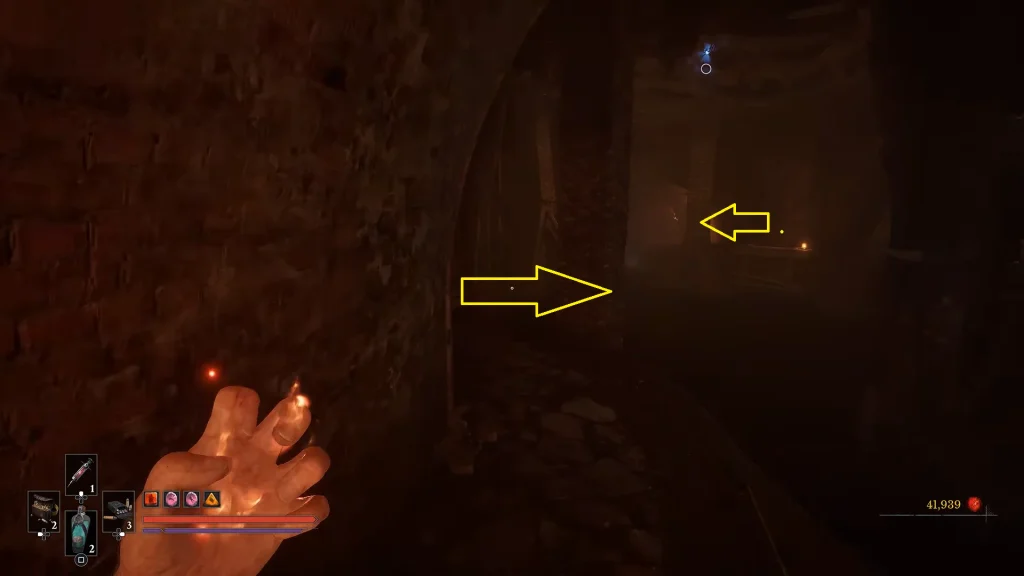
Pass the lantern on the right, and head through the tunnel ahead. After a bit of walking, use the grapple ability to jump across the large gap on the right, as shown in the image above. Now take the route on the left, cross the bridge to the left, and keep heading straight.
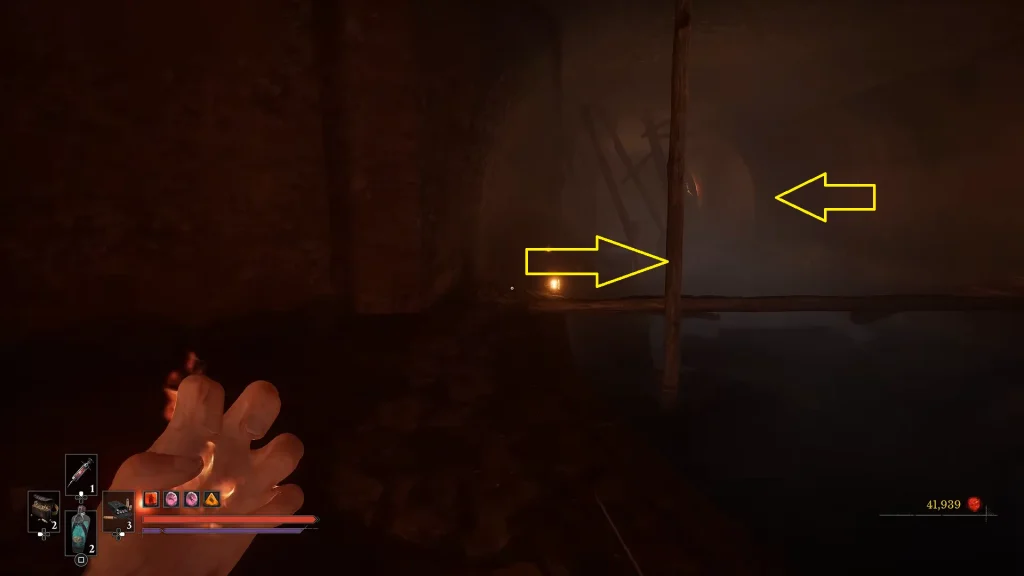
Soon you will find a wooden bridge connecting to the other area on the other side; cross the bridge(As marked on the image above). Here we will run into two separate routes, one to the right and another to the left; take the route on the left, and keep heading straight.
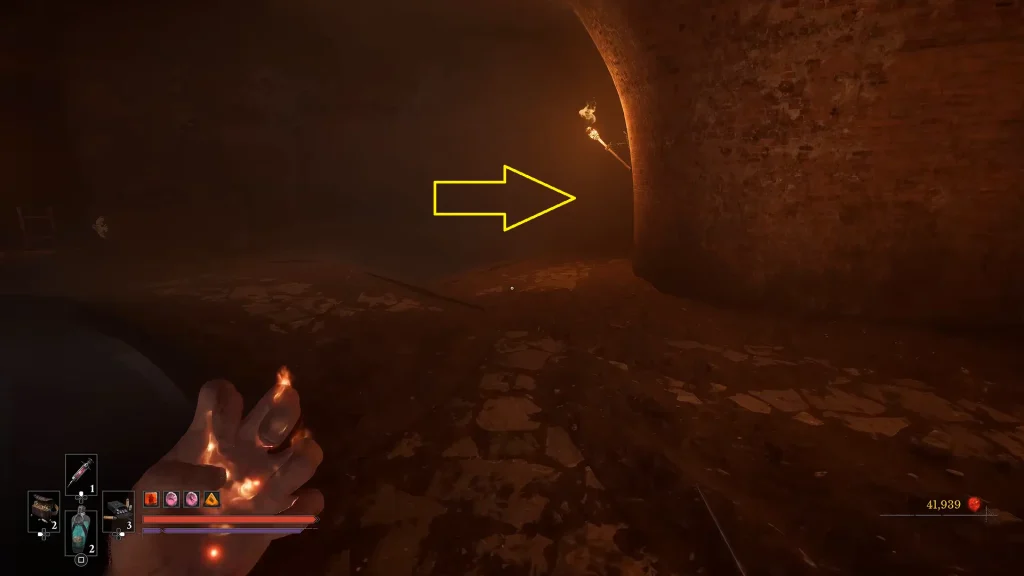
After a short walk, we will also reach a fork in the road; here, take the route on the right from the torch (As marked on the image above). After turning right, you will encounter a tunnel blocked by a few wooden boards. Just crouch through them to get to the other side. Now look up at the ceiling and use the grappling ability to jump to the upper floor.
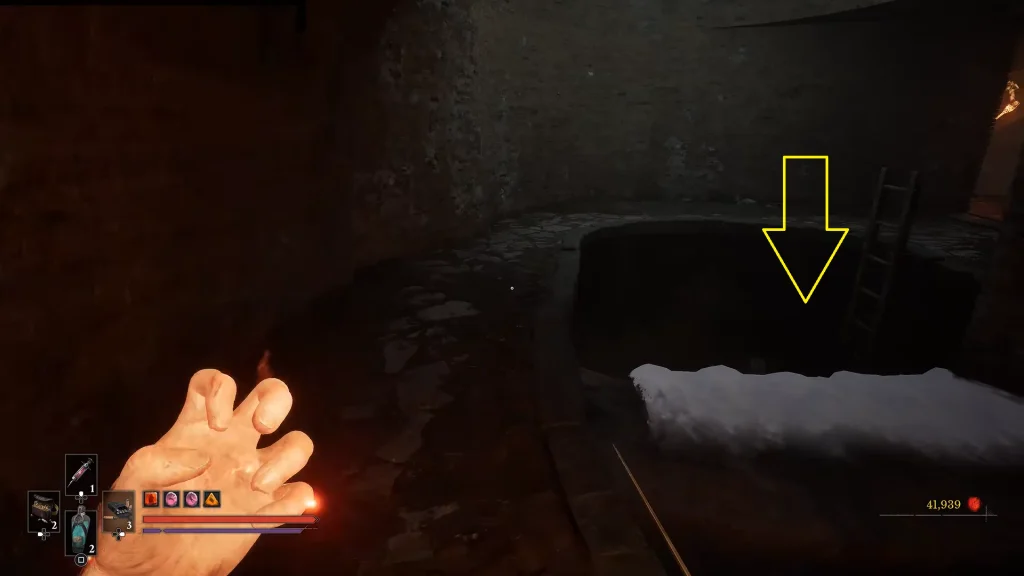
Now head straight, jump to the other side, and walk through the other wooden barrier on your way. The goal is to keep heading straight until you come across a ladder leading down below. Climb down the ladder, and you will arrive in the area filled with poison. Now just head straight, cross the wooden bridge on the right, and you will spot the Drawing of a Carrion.
#14 | Drawing of Grenadier
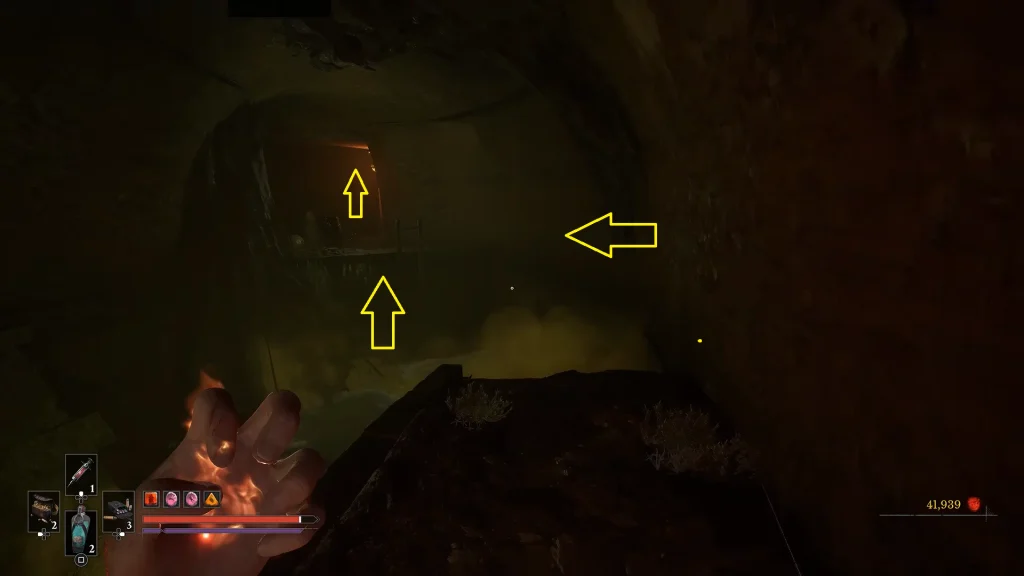
Take the route left from the last drawing spot until you see the ladder at the end, as shown in the image above. Take the ladder to the top, and then turn right and go through the wooden barricade. Now jump to the other side, keep moving forward until you come across a circular hole in the wall, and use the grappling point on the ceiling through the circular hole in the wall to get down below.
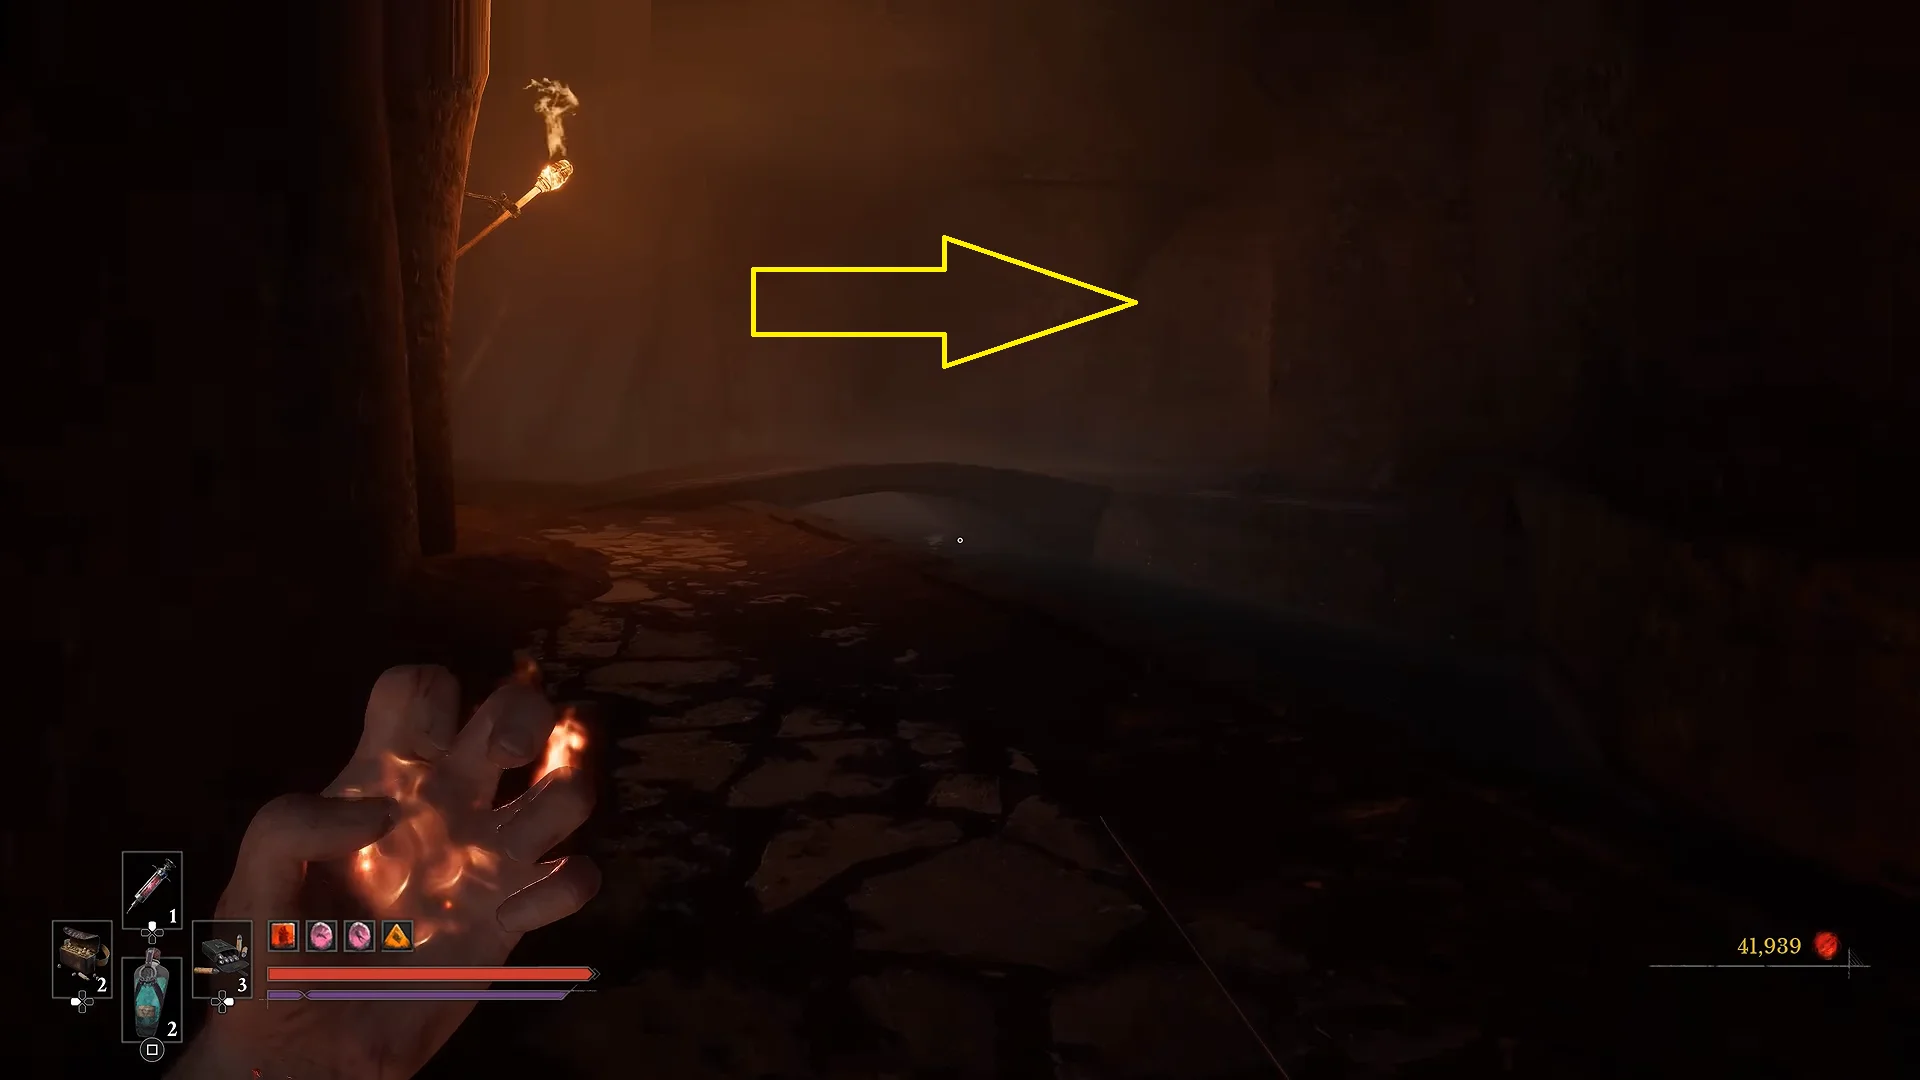
Now walk between the gaps of the barricade, take the bridge on the right, as seen in the image above, and drop down the ladder to the floor below. Just to your right, you will find a treasure chest; loot the chest to get the Sewers Key. After grabbing the key, take the small doorway on the left of the chest and head up the stairs to the upper floor.
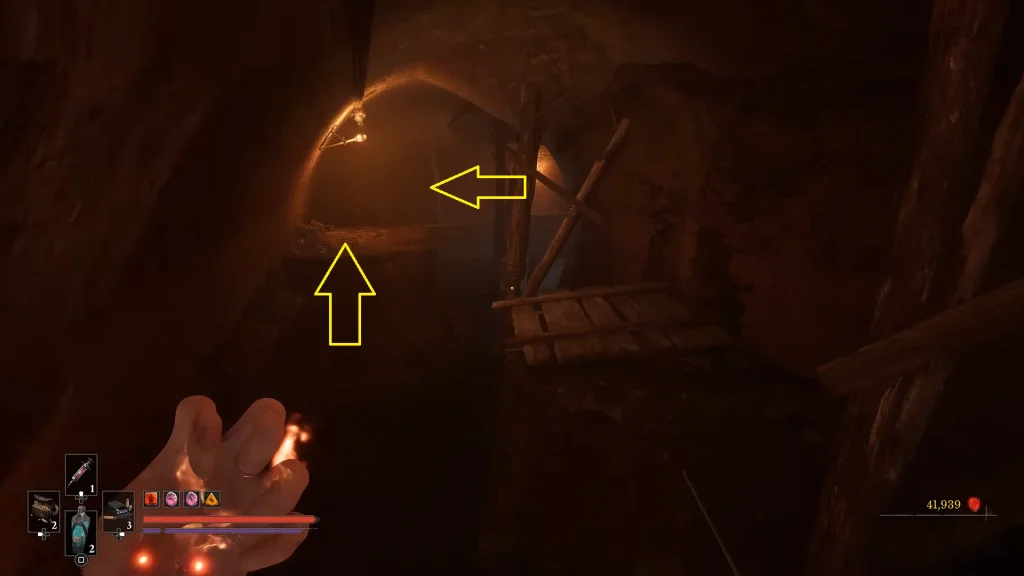
Here, pass the candles on the left, hug the left wall, and some platforming later, make one last jump from the wooden bridge to your left, and you will find the Drawing of Grenadier to your left, as seen in the image above.
#15 | Drawing of an Unknown Monstrosity
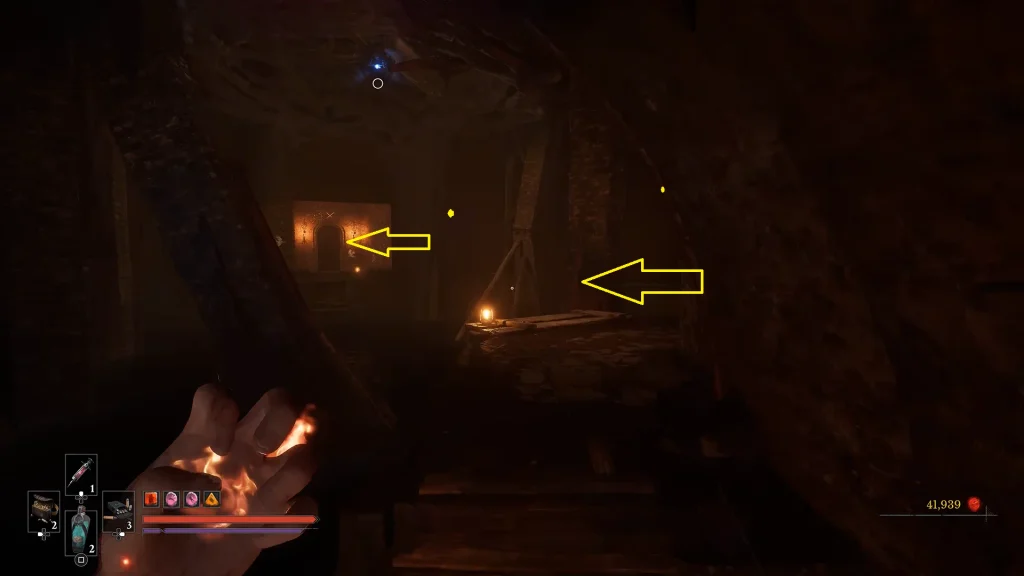
From the last drawing, jump to the wooden bridge on its right, the same way we came before. Take the route left, jump over the platforms, and keep heading straight. Soon you will reach a grappling point on the ceiling to take you to the other side, as seen in the image above. Once you make the jump, head through the doorway, take the stairs, and you will reach another grappling point on the ceiling; use the grapple to land on the other side.
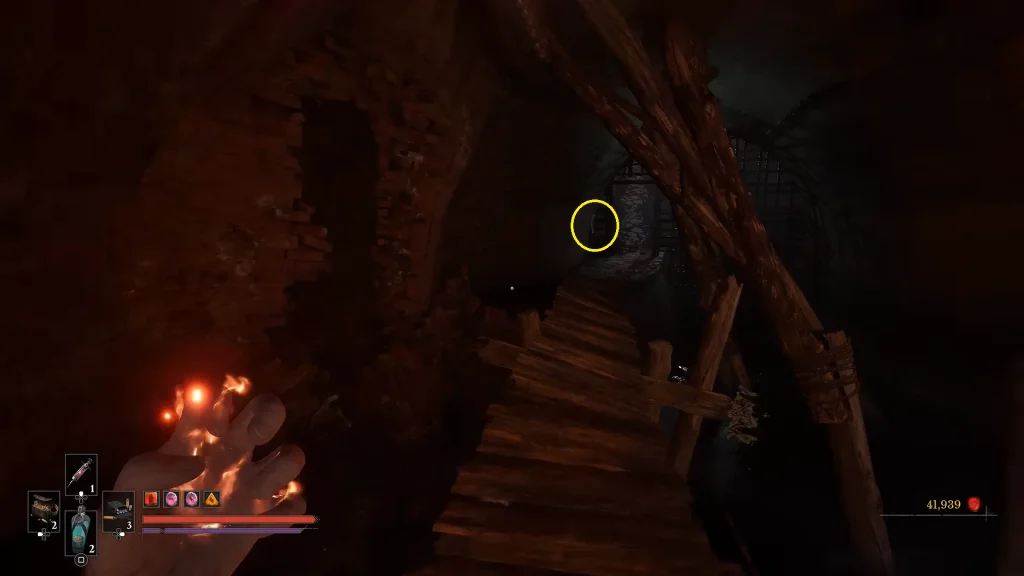
Now turn right, keep following the route, and you will find the Drawing of an Unknown Monstrosity on the wall next to the steel gate, marked in a yellow circle on the image.
#16 | Drawing of an Abomination
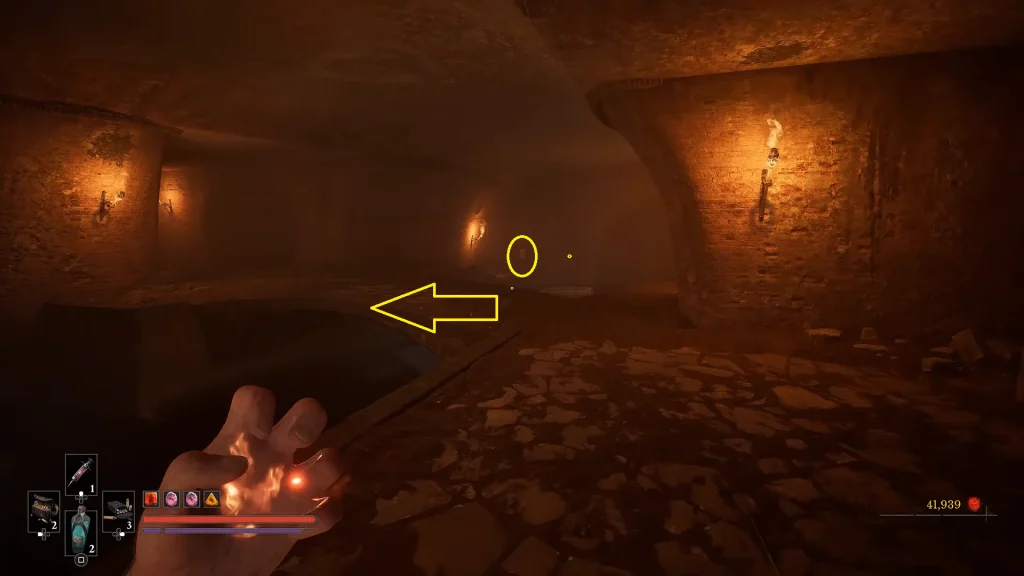
After grabbing the last drawing, turn left, take the wooden bridge, and keep heading straight. Turn left at the location shown in the image above, and move to the right to find the Drawing of an Abomination, marked in a yellow circle.
#17 | Drawing of a Menacing Figure
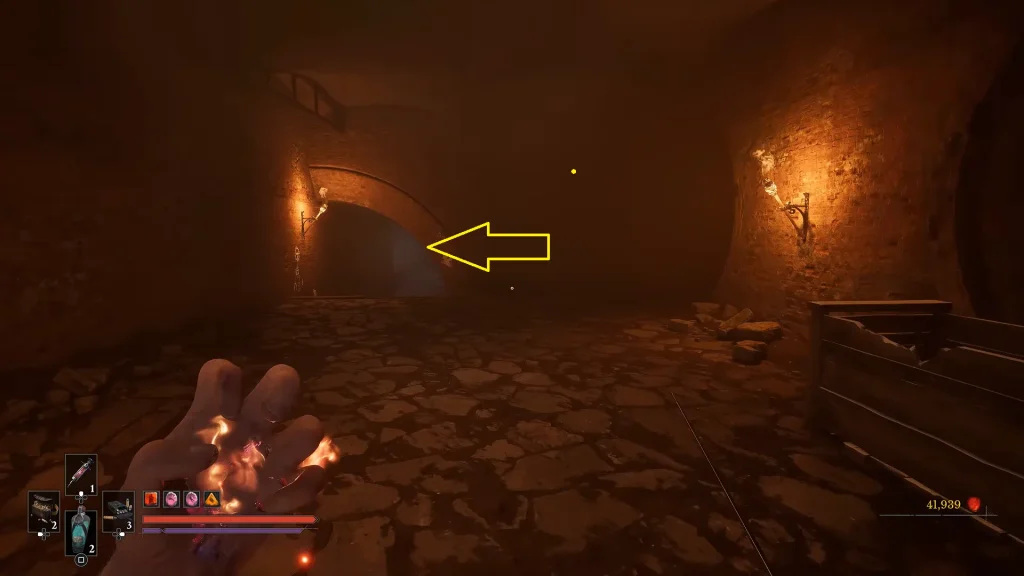
From the last drawing spot, jump on the floating platforms on the water to get to the other side, and then turn left. Here, take the small tunnel to the left of the room, as shown in the image above, by the torch with white paintings. Keep heading straight, and you will finally be outside. Just after a bit of walking, turn right, and you will find the Drawing of a Menacing Figure on the wall to the right, between trees.
After picking up the last drawing, the quest will be complete, awarding you Tiny Whisker Gift x1 and Quintessential Transmutation Material x1.
