

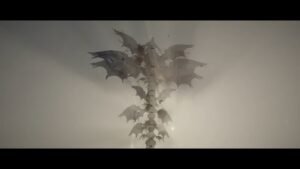


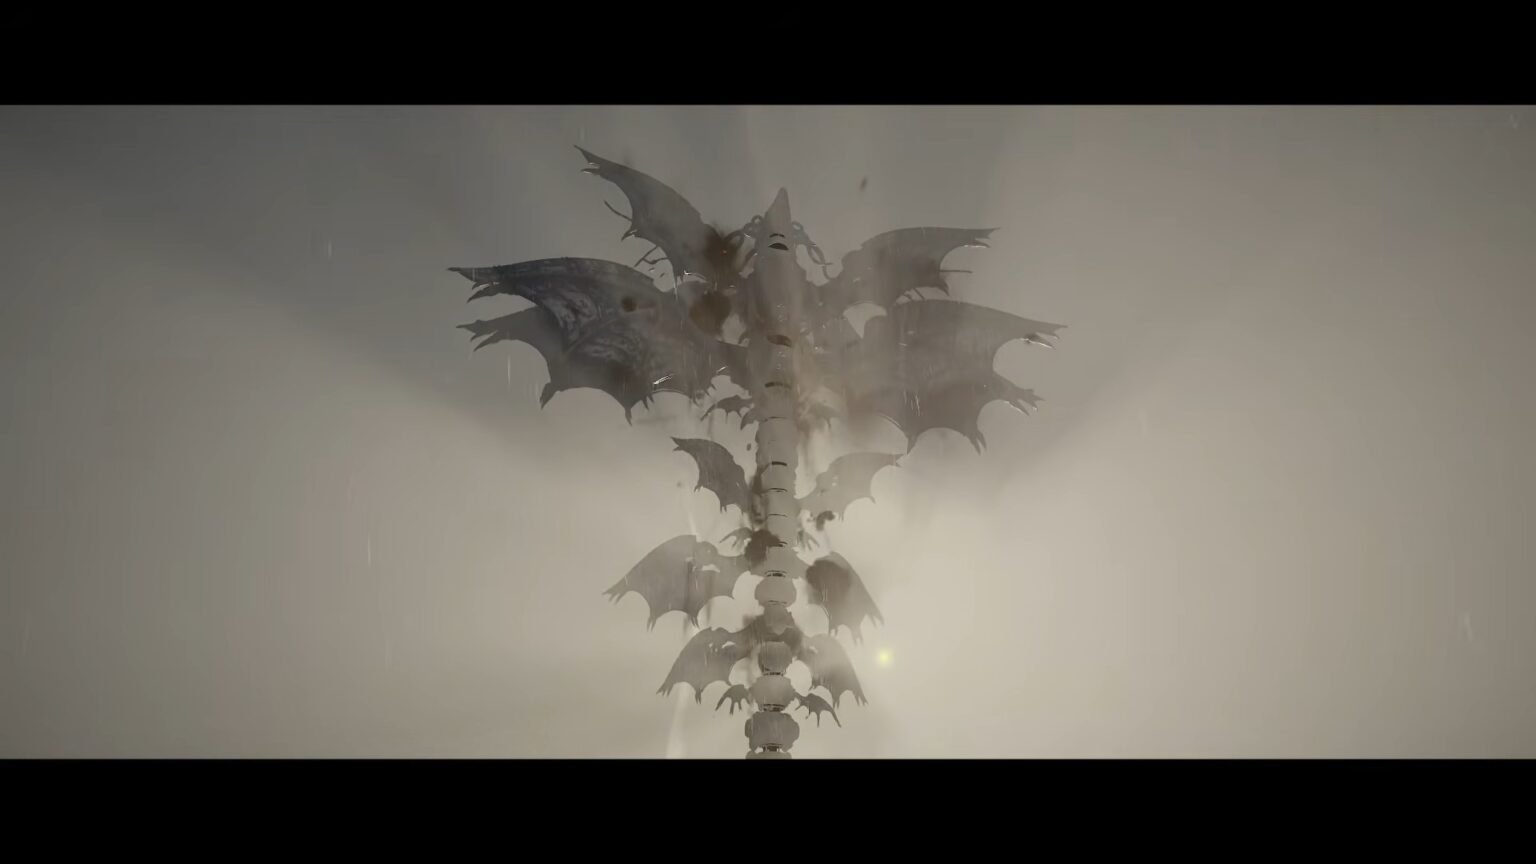

Crimson Desert: Charting the Unknown opens up a whole new world of possibilities. With new weapons to uncover, new areas to explore, and new mounts to collect, you will have your hands full by completing all the new underwater questlines. But the sea is home to some dangerous enemies, and one of them is the Leviakan.
This mechanical deep-sea creature might look tame from afar, but its laser beams can easily break through your ship and your health in no time. The only way to stop its destruction is to explore its body, locate all the devices that you need to break down, and quickly power it down. Here is a quick-to-follow guide on how to find and beat the Leviakan in Crimson Desert.
How to Locate the Leviakan
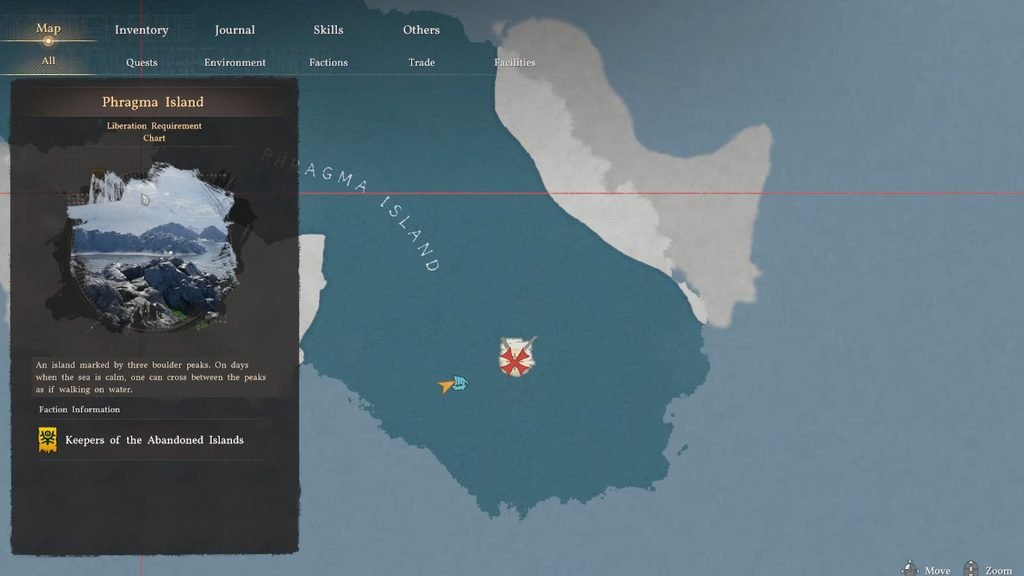
The Leviakan boss in Crimson Desert is part of the Mistbound Sea – Ancient Shrine questline. You will find the quest under Samora Island in the Great Ocean faction quest in your journal. After talking to Milo about finding a lost serpent relic, you will get the quest marker to find the Silent Serpent Shrine Cave.
First, head over to Phragma Island and travel east on a mount or ship towards the island ahead. From there, dive underwater to around 100 meters to find the shrine entrance. After entering the shrine, rotate the wheel near the entrance to move the hatch on the floor and gain access to the area beyond. Explore the underwater passages until you reach an area where you can get out of the water.
You will find a secret Serpent Relic here, and you can pick it up to trigger the Leviakan’s arrival and start the Catastrophe of Ancient Times quest.
How to Beat the Leviakan
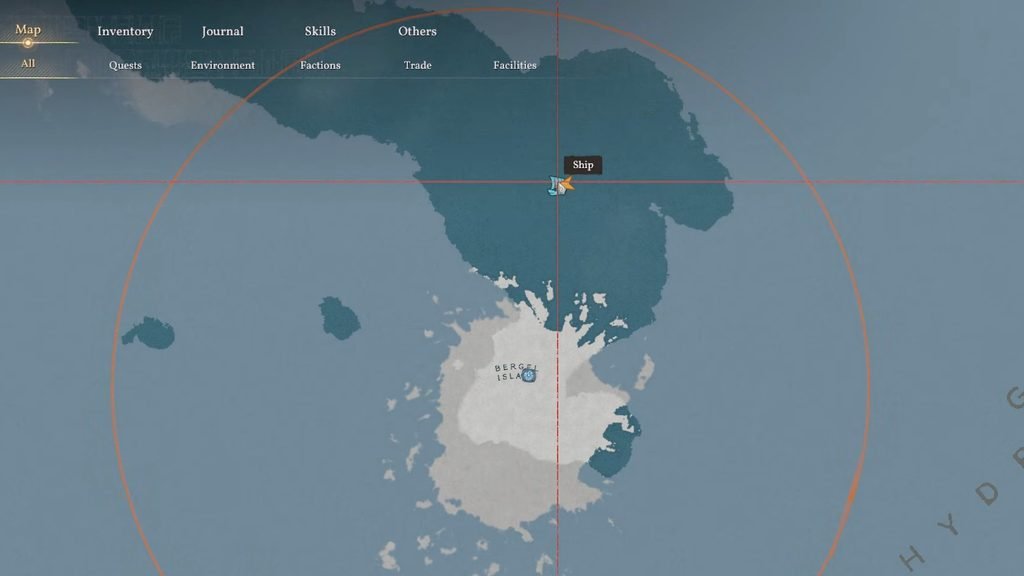
After triggering the quest in Crimson Desert, you can use the Bergel Island Abyss Nexus that’s located southeast of the South Sea, then use your ship to make your way north to find the Leviakan. I would suggest halting your ship a bit further away from the boss and using a flying mount or your shark to get close to it. The Leviakan will continue to emit several damaging beams in different directions, and this will have a chance to hit your ship if it is nearby.
Destroy the Red Contraptions
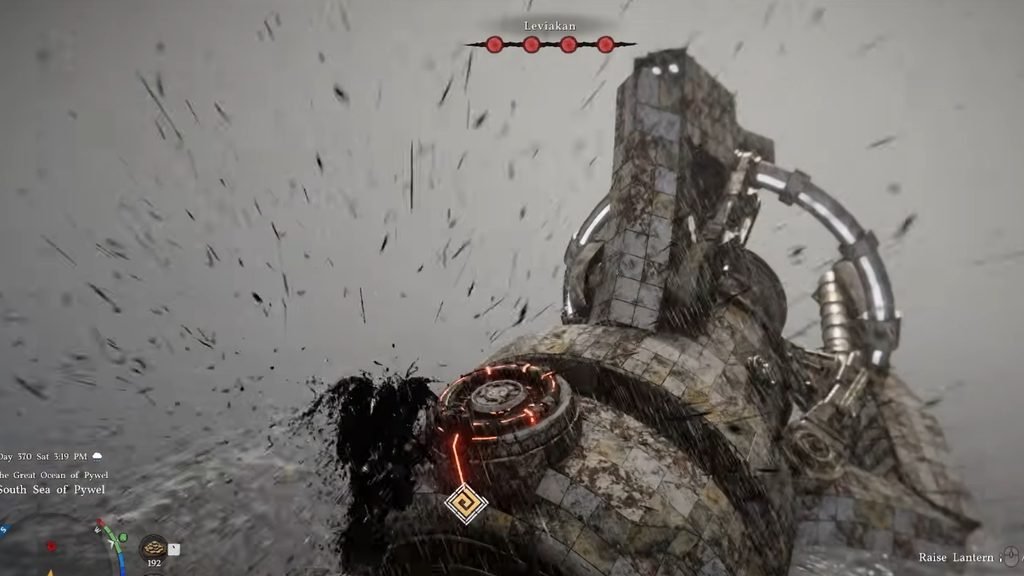
Once you get close to the Leviakan, glide towards its back to have the quest objective change. You need to locate the boss’ power source and deactivate it to power it down for good. After gliding up on its back, make your way all along its spine. You will find four red glowing platforms that you need to destroy one by one.
If you look at the top of your screen, you will notice four red circles under the boss’ name. These circles will dim out each time you destroy a contraption. Starting at the base of the tail, use any powerful ability to break down the contraption and move back down along the spine to destroy the other red glowing platforms too.
Power up the Nodes
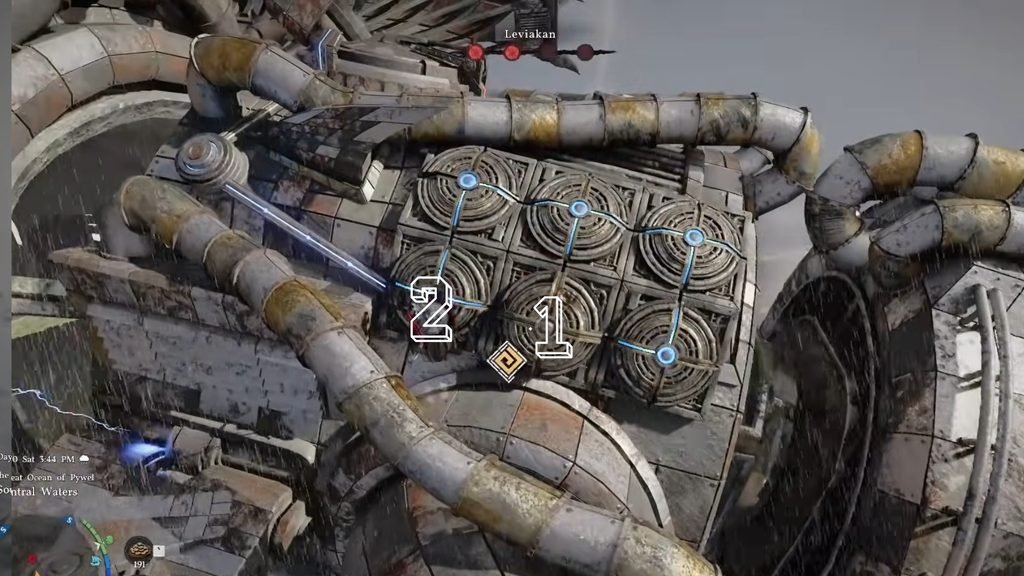
Upon reaching the third contraption, you will notice that it is locked. To unlock it, look to the sides to find 6 nodes on either side of the Leviakan. You need to hit these nodes to power it up by climbing on the nodes and hitting them. Your goal here is to light up all the nodes in a way that all of them, except for the bottom central node, have a blue light shining through them.
If you are starting on the nodes on the left, then I would suggest hitting the bottom central node first, then the bottom leftmost node. Make your way to the other side and hit the bottom central node and the bottom rightmost node. This will unlock the latch on the third contraption, allowing you to destroy it.
Unlocking the Fourth Contraption
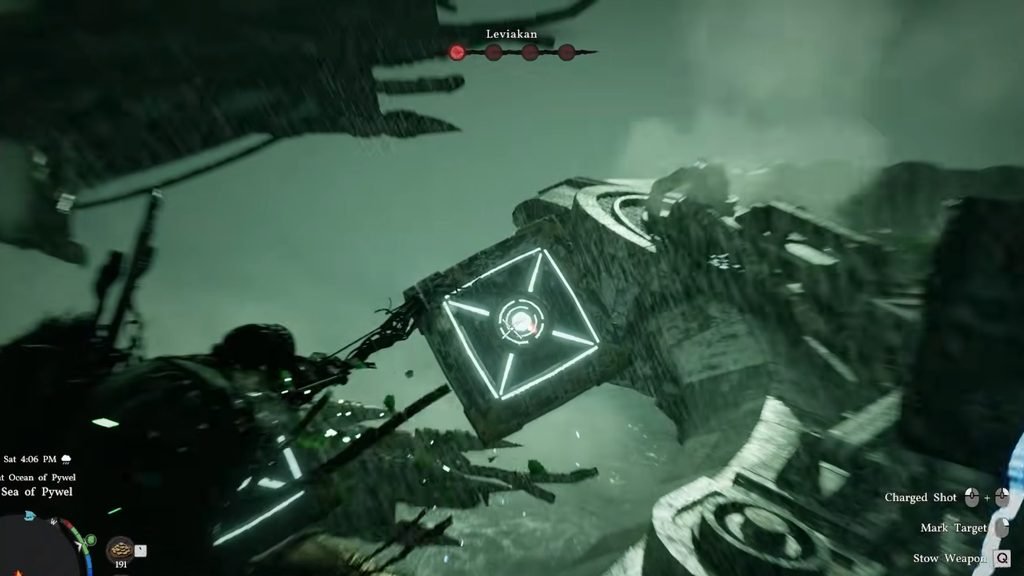
The next contraption is also locked, but the puzzle solution for this is different. I recommend switching to your bow and arrow before stepping on the contraption’s latch. On your left and right, you will spot three diamonds appearing in a row. Your goal here is to aim at the center of each floating diamond and shoot it down.
To make things easier, what I like to do is activate Focused Shot and use Multishot to aim and select each diamond’s central area. After letting go, your arrows will hit all the diamonds before they rotate out and disappear. But this still won’t help unlock the latch, so this time, make your way towards the ends of each wing and break down the bright white devices on either side.
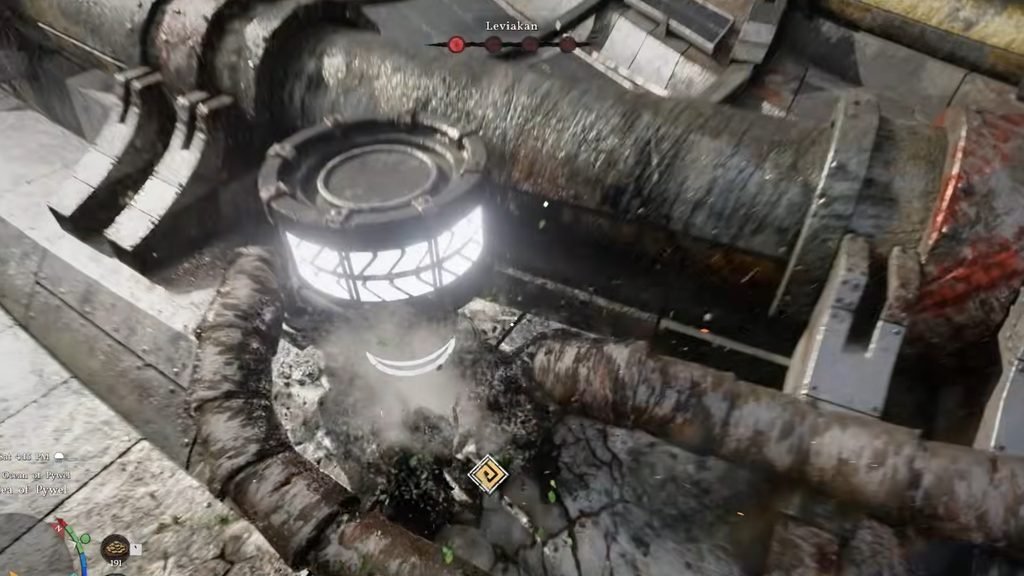
There is one final white device ahead of the third red contraption that you unlocked previously; it is located right behind the large mechanical monster scale. Destroying all three devices will unlock the latch for the fourth contraption, and you can destroy the final contraption to plunge the Leviakan into the ocean.
Destroy the Maintenance Unit
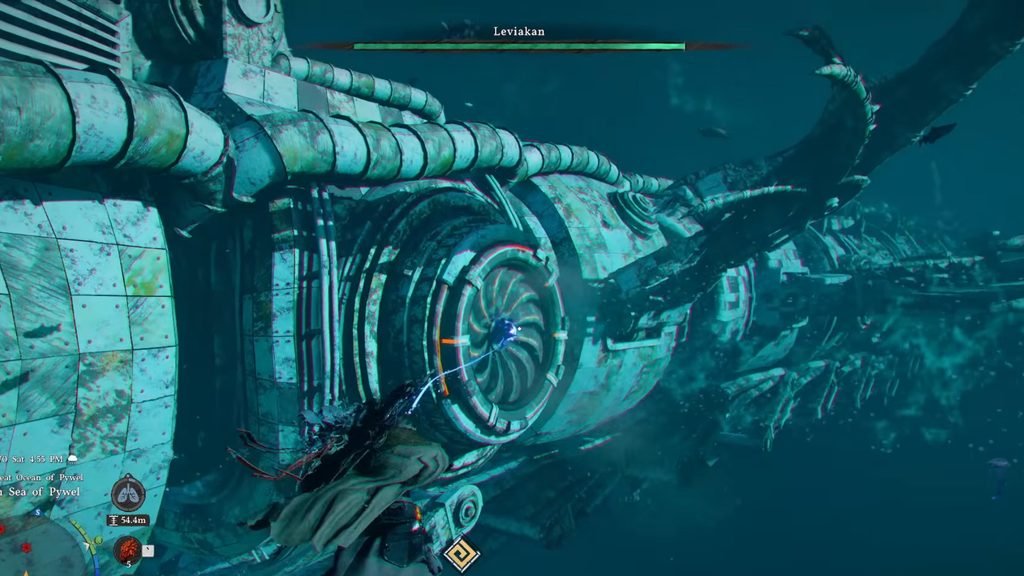
But the quest is far from over, as you still need to find the Maintenance Unit and destroy it to prevent the Leviakan from moving again. I highly recommend using a shark to navigate the waters quickly and find all the devices that you need to destroy. As you travel along the sides of the Leviakan, you will find more red contraptions to break apart on either side.
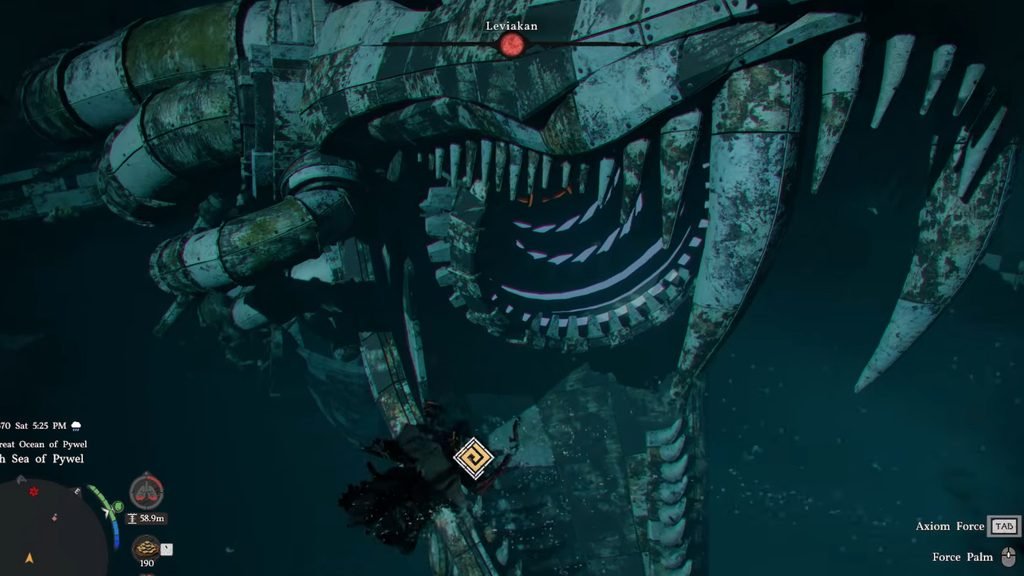
After breaking those down, follow along the spine to find the white device to destroy. Then, travel all the way down to the mouth to find the final device. Be careful here, as the spinning suction of the final contraption will draw you in and deal damage. Keep your distance and use any ranged attack to break it down, which will stop the Leviakan for good and complete the Catastrophe of Ancient Times quest in Crimson Desert.
You can also claim 1x Abyss Artifact and 1x Guardian’s Gaze, and the Guardian’s Gaze can be equipped on gear to fire a Guardian Ray and deal damage.
