


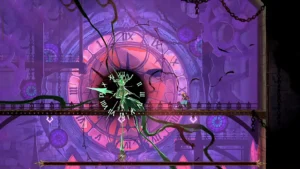
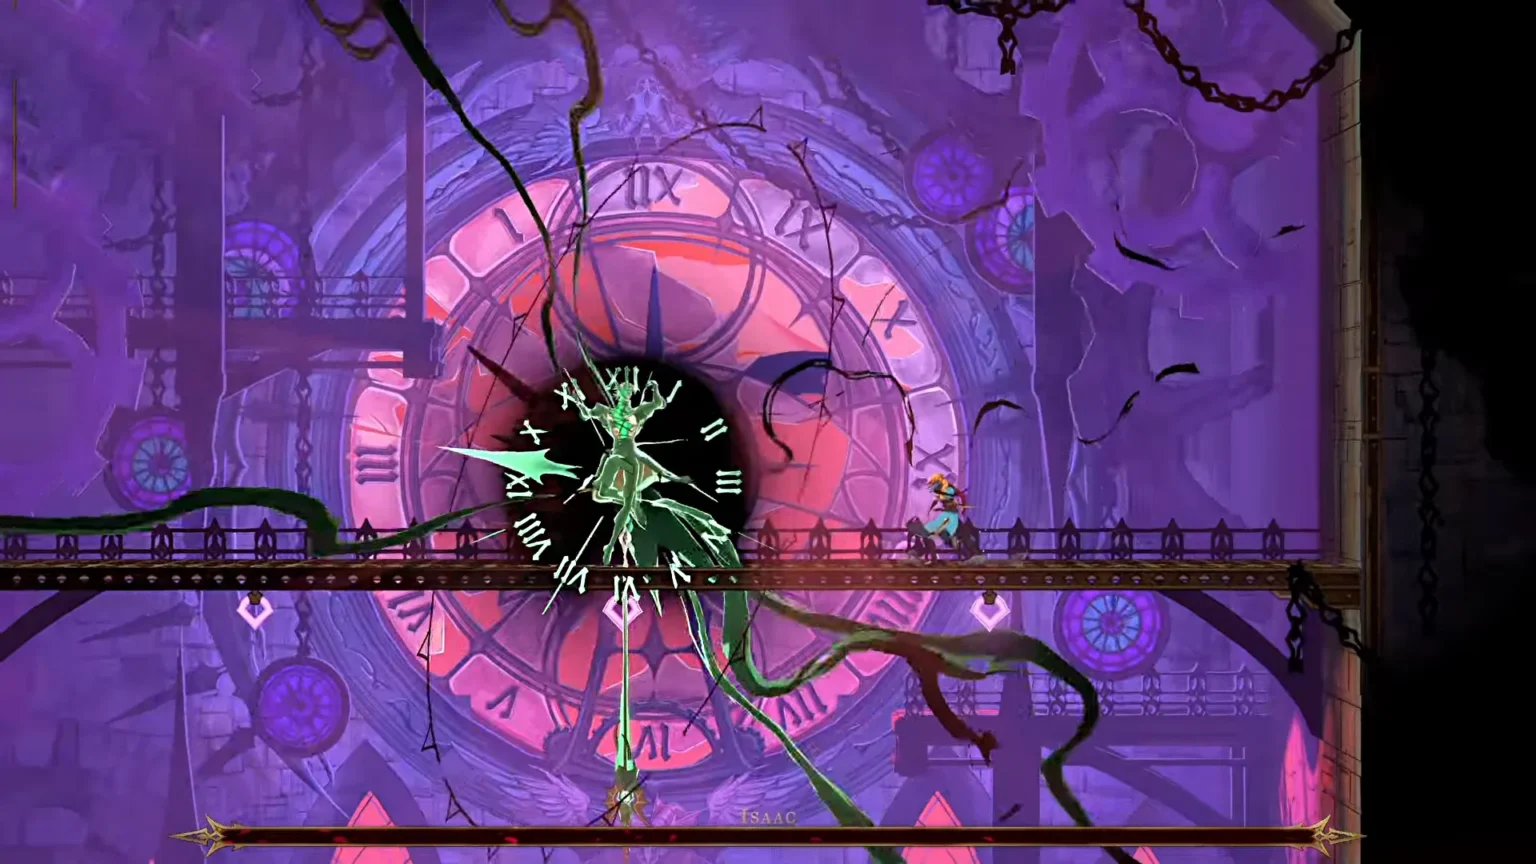

Isaac’s 2.0, or second encounter with the boss, can be a bit of a rough one in Castlevania: Belmont’s Curse. The boss has three different phases, and while most attacks get carried over, there are a few surprises designed to catch you off guard. If you don’t have a proper plan or strategy to handle all three phases, the boss will be relentless, and you will see your HP reach 0 in a matter of seconds. Having a game plan here will keep you survivable through multiple barrages of Isaac’s moves.
This guide is about how to defeat Isaac 2.0, or the second encounter battle, by guiding you through a proper build that I have prepared for the fight. Here I will go through all boss attacks and the best actions to perform during them to stay alive while at the same time dealing damage. All parts in the build are geared towards damage dealing, as our goal is to put Isaac to sleep as quickly as possible.
Set Up for Isaac Boss Fight
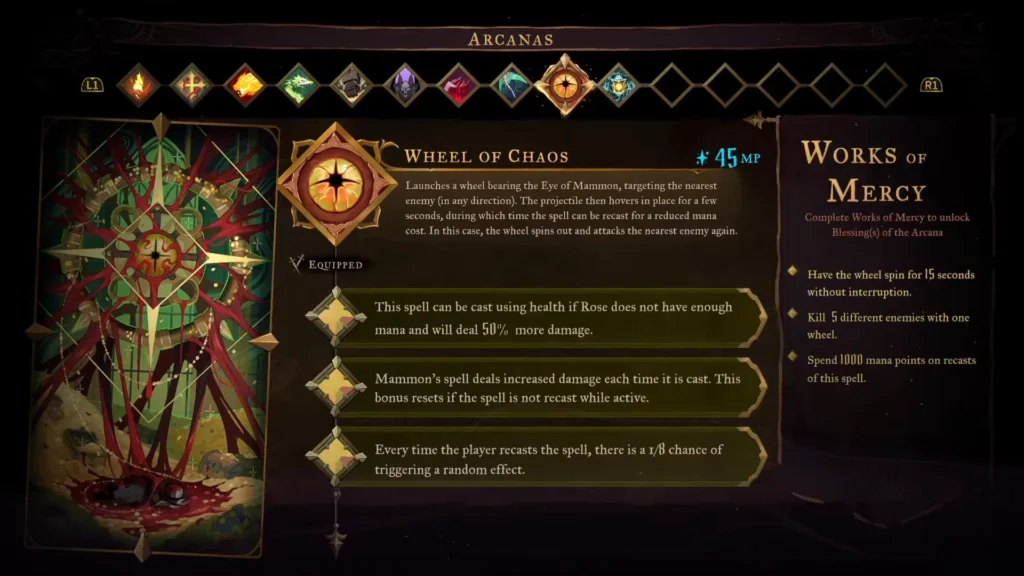
- Arcana: Wheel of Chaos – A perfect Arcana against Isaac, as the Wheel of Chaos offers excellent enemy tracking, especially helpful against bosses that move around the arena. Fortunately, Isaac does like to move around a lot; choosing Wheel of Chaos will be a perfect choice against Isaac.
- Weapon: Vampire Killer – Comes with 100 Attack Rating, and its perk allows it to burn enemies on hit and then cause enemies to be killed by exploding in flames. Check out the guide to obtain the Vampire Killer in Castlevania: Belmont’s Curse.
Distance does matter a lot in this boss fight, as it will help us stay safe from getting hit, but at the same time, it will make our whip lash out more damage because of the Vampire Killer being a whip. Any whip in the game comes with the perk “The furthest point of the weapon’s attack deals more damage.”
- Relics:
- Witch’s Brew: Rose deals 20% more damage per empty healing potion.
- Forsaken Ring: Rose deals 25% more damage at 100% max HP.
- Witch’s Knot: Healing potion restores 100% of Rose’s HP.
The first two relics are centered around dealing damage and tied to the potions. Witch’s Brew helps us deal damage from the empty healing potions, and Forsaken Ring will also help us deal damage every time we restore our HP to full. Lastly, Witch’s Knot will allow us to restore 100% HP per potion. First, we restore the HP to 100%; then Forsaken Ring will do its thing by providing us with 25% more damage. Once we run out of healing potions, Witch’s Brew will help us deal 20% more damage per empty healing potion.
Do note, the more empty healing potions we have, the more damage we will do in the game. Forsaken Ring will be active from the start, since we will be at full HP, so we are getting a 25% bonus damage right from the start. Once we take damage, pop the Healing Potion to gain a 20% damage bonus from one empty healing potion, so in total we have a 45% increase in damage (Forsaken Ring (25%)+ Witch’s Brew (20%)). The number will only go up once we empty all the healing potions.
We have three healing potions; emptying all of them will grant us 60% damage. Stack that number with the Forsaken Ring: 25%; we are looking at 85% damage at full HP with no potions. Even if you take damage, the number will go down to 60% more damage from all three empty potions.
First Phase
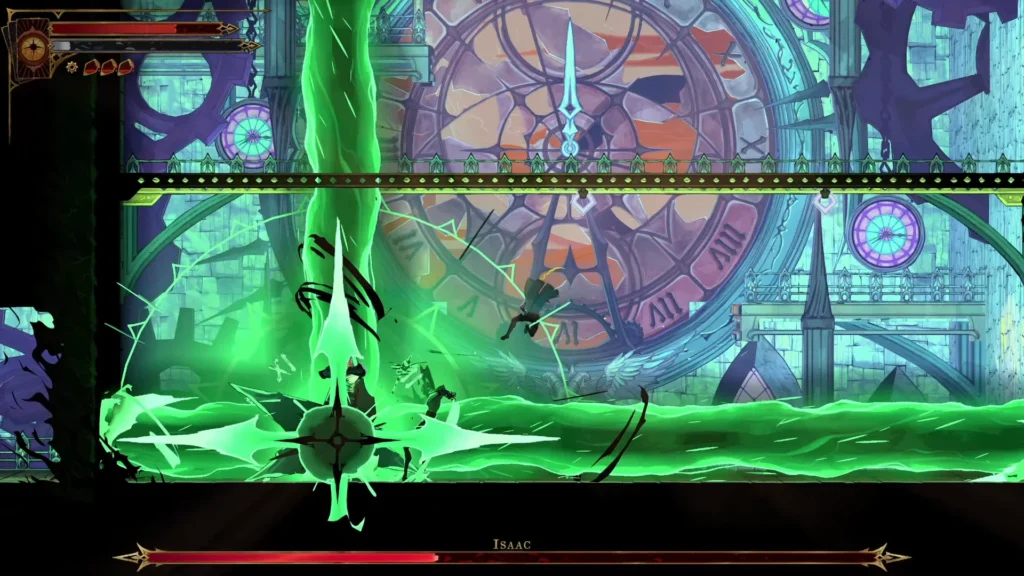
- Melee Strikes: Isaac’s will do many melee-based attacks; here, you can easily dodge out of the way or parry them. Some players might not know, but in Castlevania Belmont’s curse, you can parry while attacking. If you get the timing right, you can parry Isaac’s attack while attacking at the same time.
- Laser Beam Release: After taking a few hits, Isaac will do a dive bomb and release green lasers from all four directions. Before the boss pulls the dive bomb, a green clock will appear around him; use that as an indicator to target his spot or location. It’s also important to note the laser origin point: all four lasers will spawn from the boss in all four directions. Here, all you have to do is jump over the laser to avoid taking damage from it. Isaac will perform the laser beam attack three times; after the third one, it will stand still for a couple of seconds, giving us a chance to deal damage.
You should avoid getting closer to the boss during the laser attack. Don’t try to jump over him, or stay below his attack spot during the laser attack. It’s better to maintain distance from the boss, wait for the laser to spawn, and then jump and dash to move out of harm’s way. Sometimes the boss will spawn on top of you; here you need to time your dashes to move out of the location.
Isaac Second Phase and Third Phase
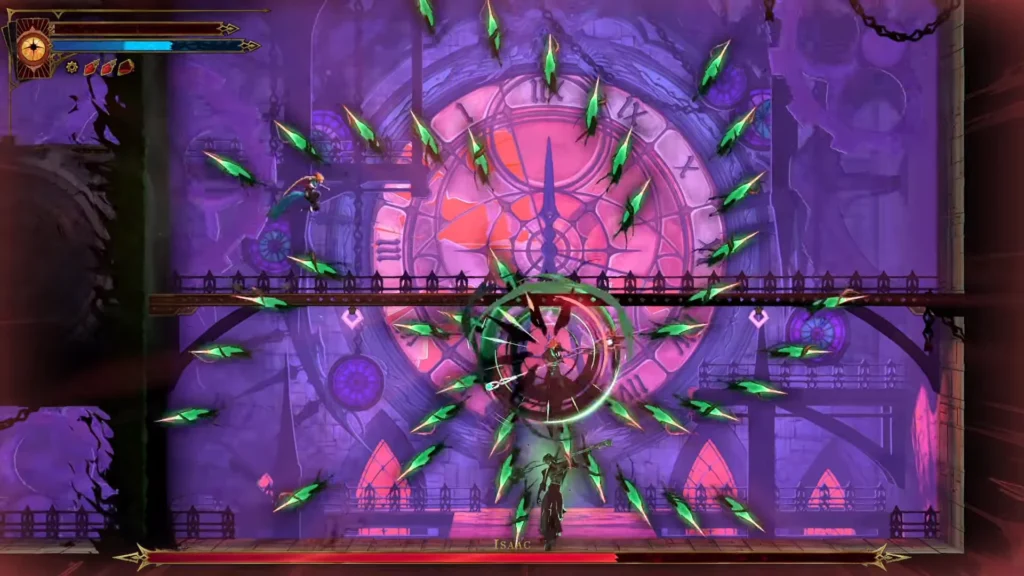
At the start of both the second and third phases, release the Arcana, Wheel of Chaos. Especially during the third phase, the spinning wheel will follow the boss and deal more damage over time since it will be spinning around the boss.
- Spear Thrust: Isaac will thrust towards your location with the spear; just jump and dash to avoid getting hit by the attack.
- Projectile Swarm: As it says, Isaac will launch slow-moving needles all around its location. Here, the game turns into a platforming challenge; just spot the gap between needles to avoid taking hits from them.
Besides these two new attacks, everything else gets carried over from the first phase. The only major difference you will see is in the pacing of the attacks. The laser beam attacks will get faster as Isaac spawns them relentlessly, so make sure to stay in the air longer to take any hits.
During the third phase, the boss will summon a doppelganger, a shadowy form of itself, that performs most of Isaac’s attacks (Laser beam, melee, thrust). Here you must juggle between two bosses: the actual one and the one covered with shadows. The third phase is all about playing defensively; just focus on dodging the attacks from this version of Isaac, and use the Arcana to deal damage. After some attacks, such as the laser beam, the boss will take a breather for a few seconds; use these moments to deal damage.
General Tips Against Isaac
- I highly recommend you learn the parry mechanics of this fight to pass the first phase of the fight without any hassle. Doing the parry in the middle of the attack feels good, and it deals good damage against the boss.
- The laser beam will last for a good 1 to 2 seconds, so you must do more than just jump to survive; in short, the more we stay in the air, the better. To make Rose stay in the air for longer, first perform the initial jump, then follow the jump with a dash, and lastly just do a random melee attack. This combination will help Rose to stay in the air a bit longer before falling on the ground.
- During the Spear Thrust attack, Sliding also works, but dashing or jumping is safer against this boss move.
- Since we are relying on the Vampire Killer whip Weapon to deal melee damage, it’s better to use its passive perk of staying farther away to deal more damage. Maintaining a perfect distance will help you deal even more damage on top of everything we have running in the boss encounter.
