

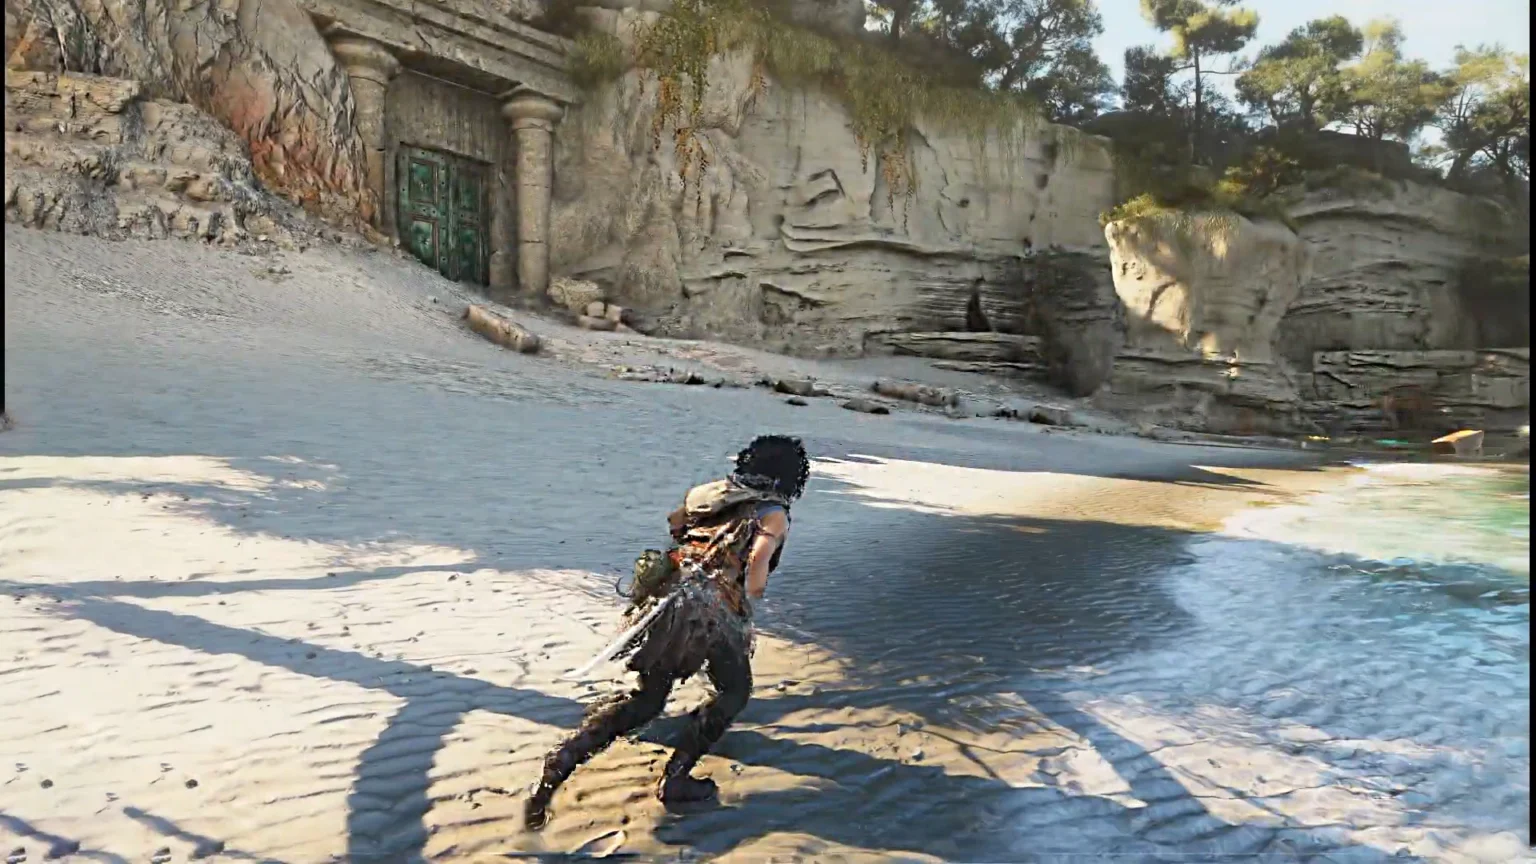

Resonance: A Plague Tale is sprawling with puzzles and areas that vastly differ from each other. In Chapter 3, Those Before Us, you are on an open island with a giant door. At first, I did as many have and will, heading to the giant door hoping pressing a button would open it, but the game had a different idea or puzzle in mind.
Here you must follow through all of the necessary steps and solve each puzzle section on the island to get around the giant gate to finally open the route to the Plunderer’s Hideout. I have put up below all steps that you must take to solve this puzzle and progress further in the story.
Following the Plunderer’s Track
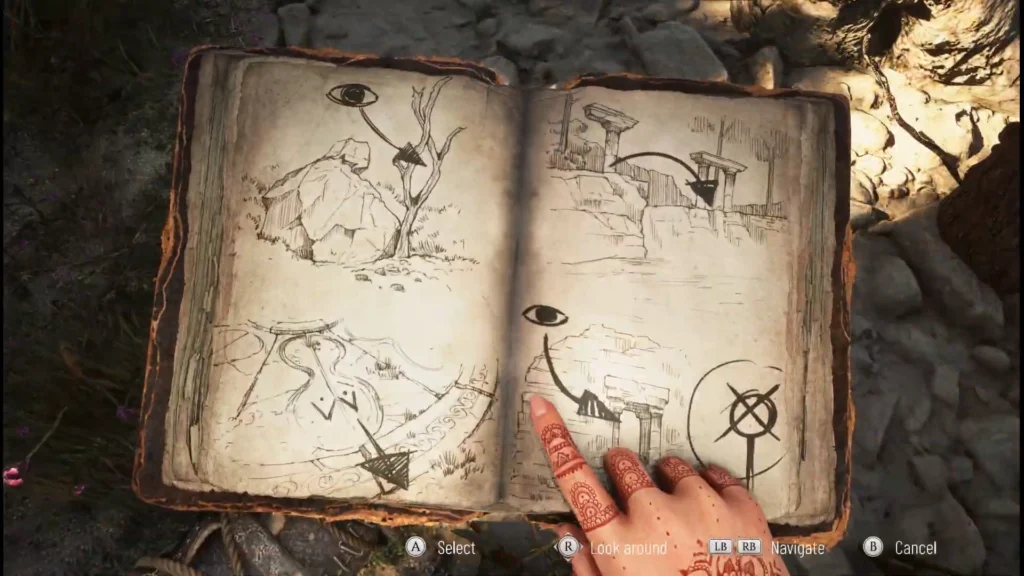
Following the Plunderer’s Track will guide both Sophia and Leni to Plunderer’s Hideout. The picture above shows all the necessary clues that we need to solve the puzzles on the island.
When you reach Chapter 3, Sophia and Leni enter the strange island with the ocean roaring on the right and multiple pathways leading to dead ends. The very first task is to follow the Plunderer’s Track. To help us with the tracking, we have Sophia’s Book filled with illustrations.
Here is the set of actions you must perform that will lead us to the Plunderer’s Hideout.
- Take the Hidden Route
- Climb on the Rocks
- Follow the Marking
- To the Watch Tower
- Find the Hidden Trap Door
Take the Hidden Route
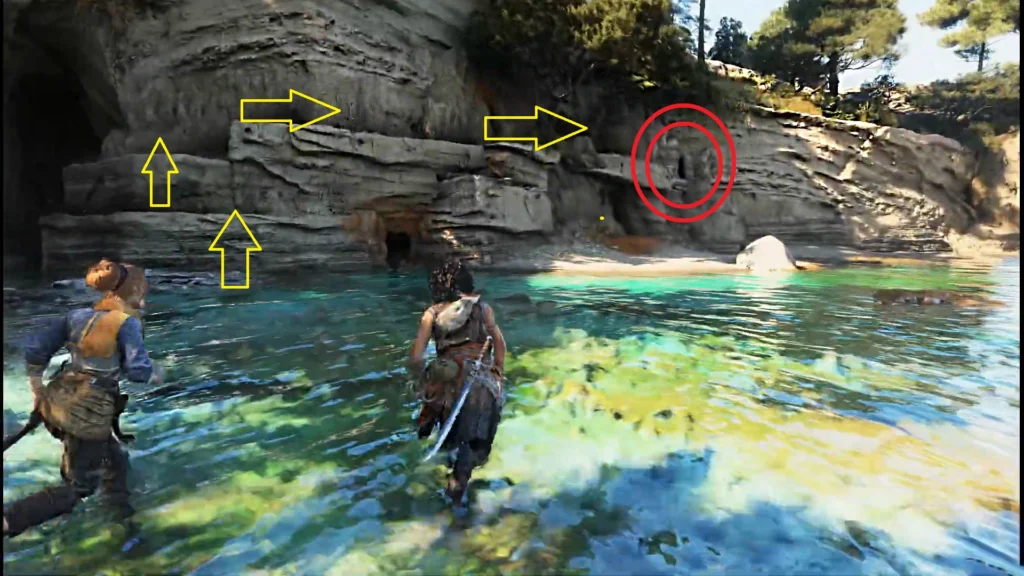
If you look at the rocky wall on the left, the area is filled with holes that lead to nothing but dead ends; only one of them takes you to the next area. We must go through the hole located all the way to the right side of the rocks, as highlighted in the image above. First, climb on the ledges on the left and make your way to the hole on the right to get to the other side of the island.
Climb on the Rocks
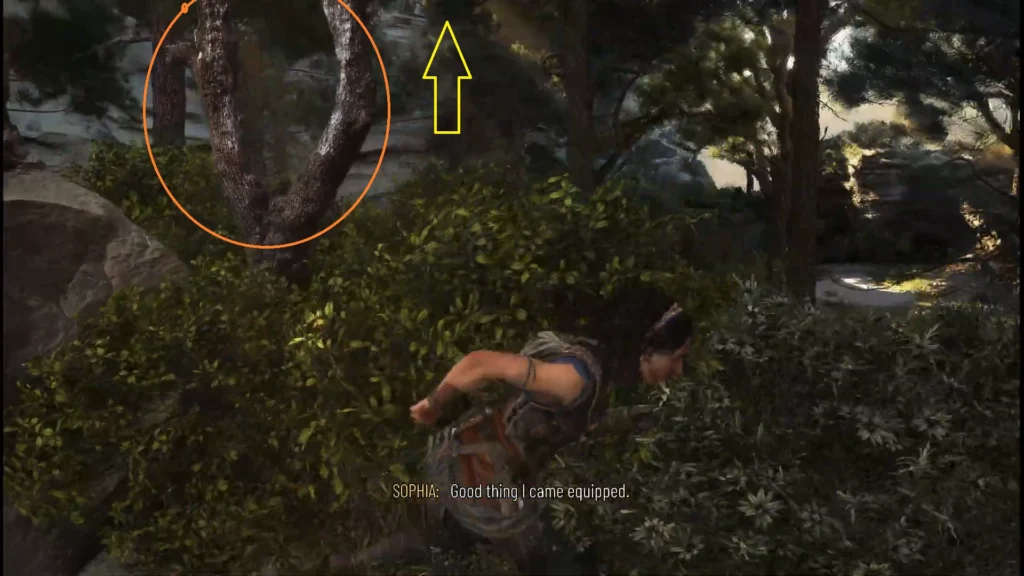
Unlike the last area, where we were surrounded by the calming sound of the ocean, now we are covered with large trees. Here, you will find the route to the next area by looking through a specific tree branch, as shown on the map above. By looking through the branch, Sophie and Leni will conclude to climb on the rocks to get to the next section. Get close to the rocks and use the grappling hook to climb up the rock wall.
Once Sophie is all the way up the wall, she will see an unusual object on the shore. Our next target is to get to the unusual object by the shore. Just take the linear route on the left, and it will lead you to the shore.
Follow the Marking
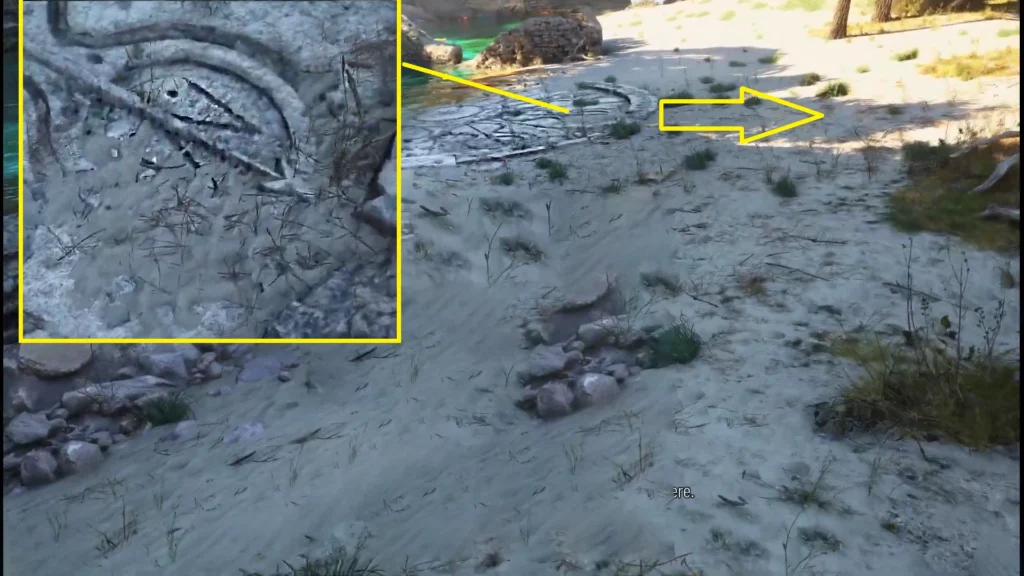
Once you get closer to the object, you will begin to see symbols with strange markings inside them. Here, look for the symbol with a “W” marking and follow the route. You can look at Sophie’s Diary to view the marking information. Now follow the route from the symbol with a W marking, as seen with the yellow arrow in the picture.
To the Watch Tower
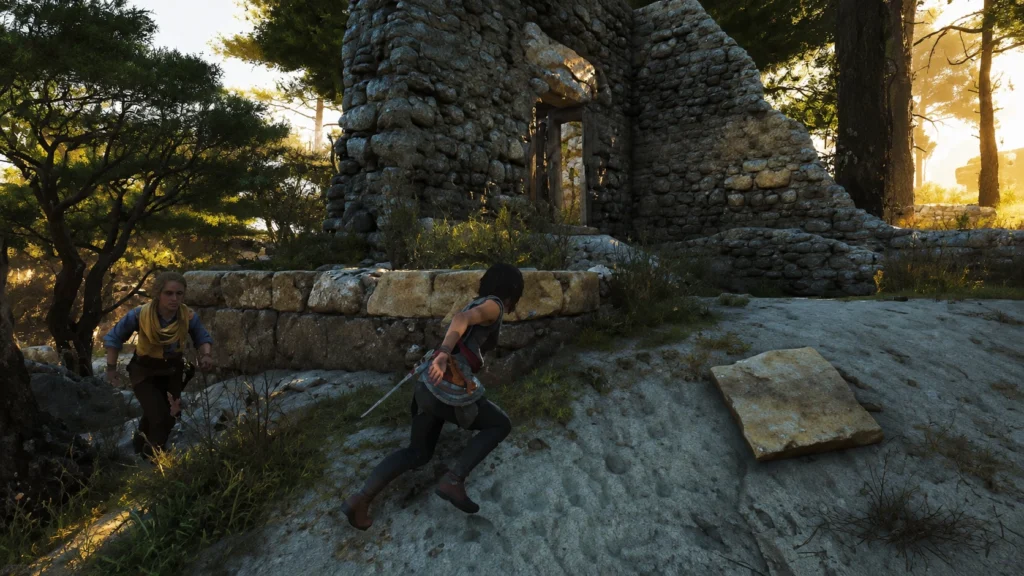
After a short walk, you will find yourself in a large area with many ruins around every corner. Here you need to go to a specific ruin with only one wall left, with a window in the middle (As shown in the image above). Interacting with the window will help you spot the watch tower at a distance. Now get close to the watch tower and climb to the top to get the clue for the final objective.
Find the Hidden Trap Door
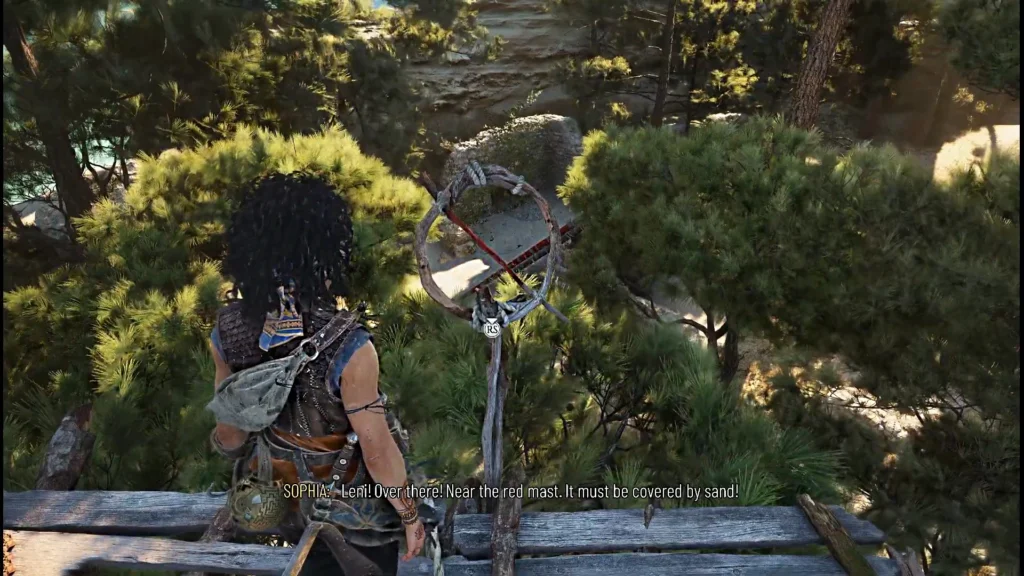
Once in the Watch Tower, look through the wooden hole on a stick to see the spot where the fallen red colored mast from the ship and the red stick attached to the hole create an “X” cross. Get to the cross spot, and Leni will already be working on the hidden spot; give her a hand to open the route to complete with the tracks and move on to the next area.
Follow the linear route, and after a quick cutscene, you will be at Plunderer’s Hideout. You may want to bookmark our guide page for the Maze Light Puzzle solution in Chapter 4 in case you get stuck at it.
