



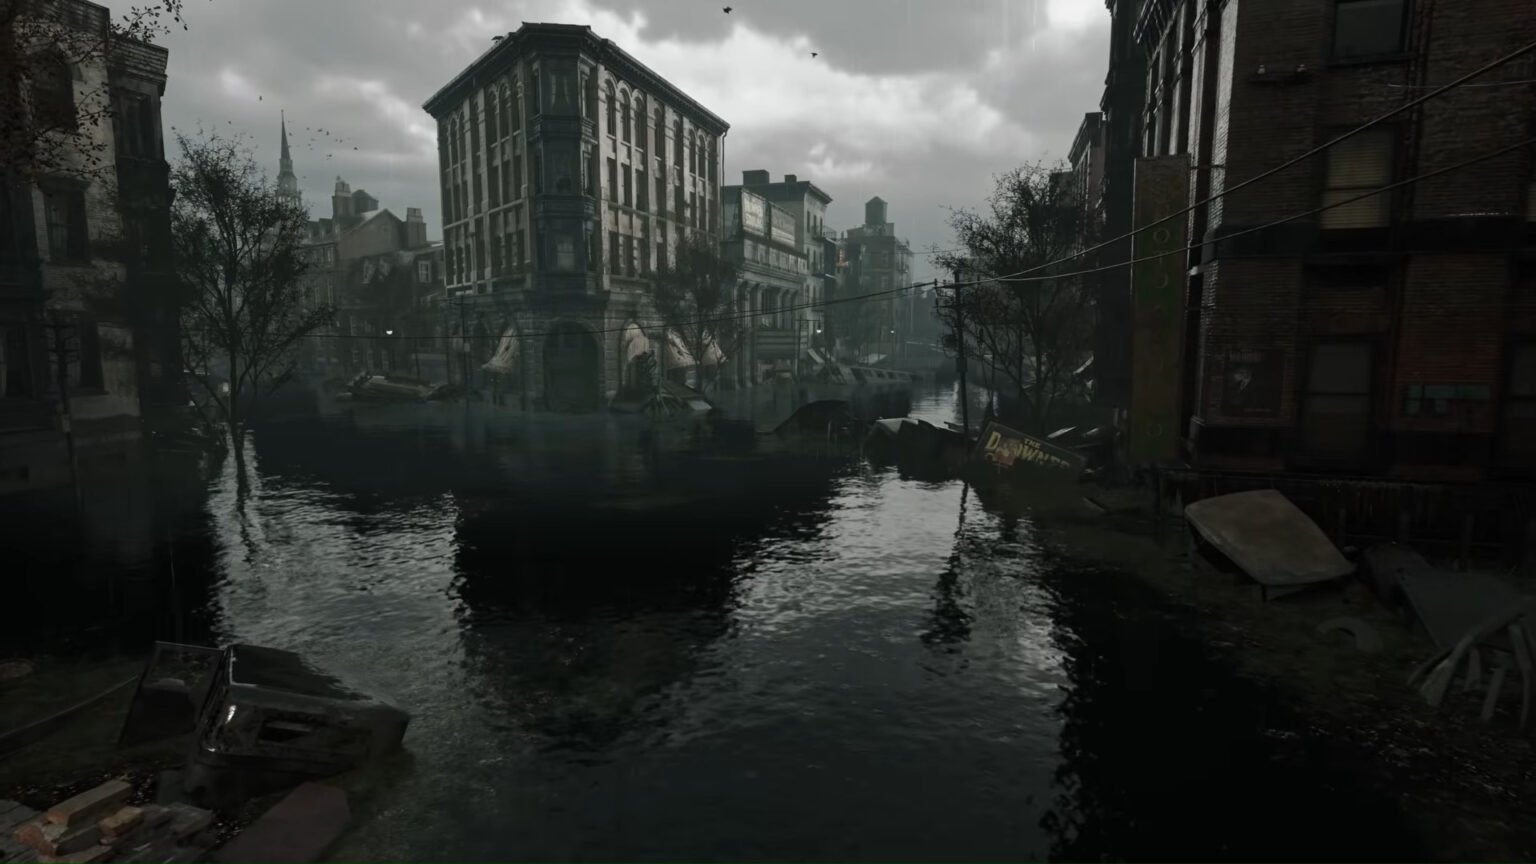

You have to open the floodgates and fix the gate mechanism if you want to finish the Reach the Miskatonic Library Annex objective in The Sinking City 2. Although the process is a bit long and complicated, the major task here is to fix the gate mechanism. Opening the floodgate barely takes a second in comparison.
In this article, I have detailed all the steps, along with codes wherever required to progress and reach the Miskatonic Library Annex.
How To Reach the Miskatonic Library Annex in The Sinking City 2
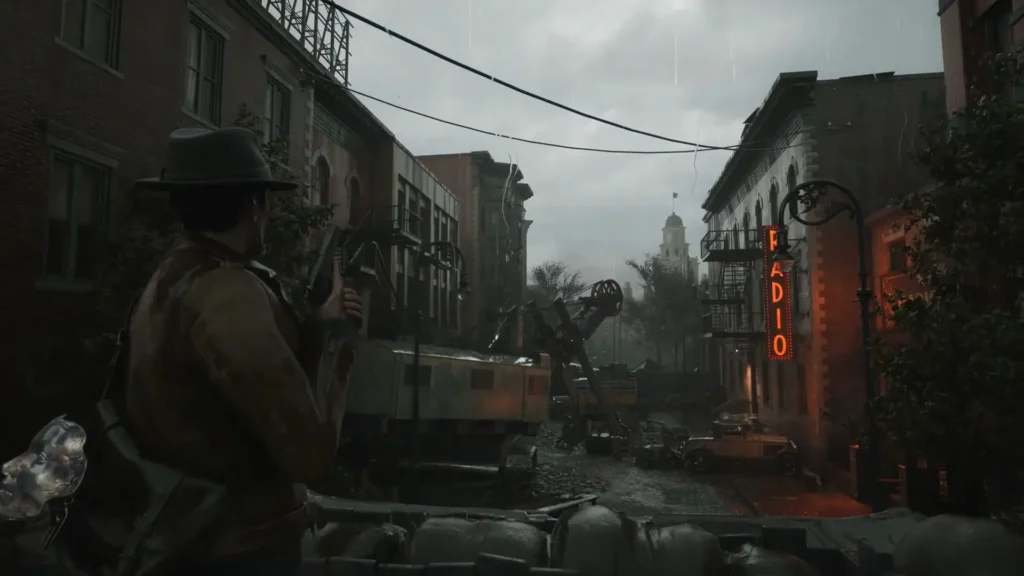
Here are the steps you have to follow to open the floodgate and reach the annex:
- Head to the nearby Safe Room.
- Grab the Gate Switchboard clue outside the Safe Room.
- Go to the Garrison St. Apartments.
- Jump down to a lower floor and pick up the Gate Fuses and Wires clue.
- Crawl into the Allen Radio Store to find the actual Electrical Fuses.
- Return to the gate, attach the Electrical Fuses, and open the floodgates.
- Proceed ahead to reach the Miskatonic Library Annex.
This will be detailed further below.
Safe Room and Gate Switchboard
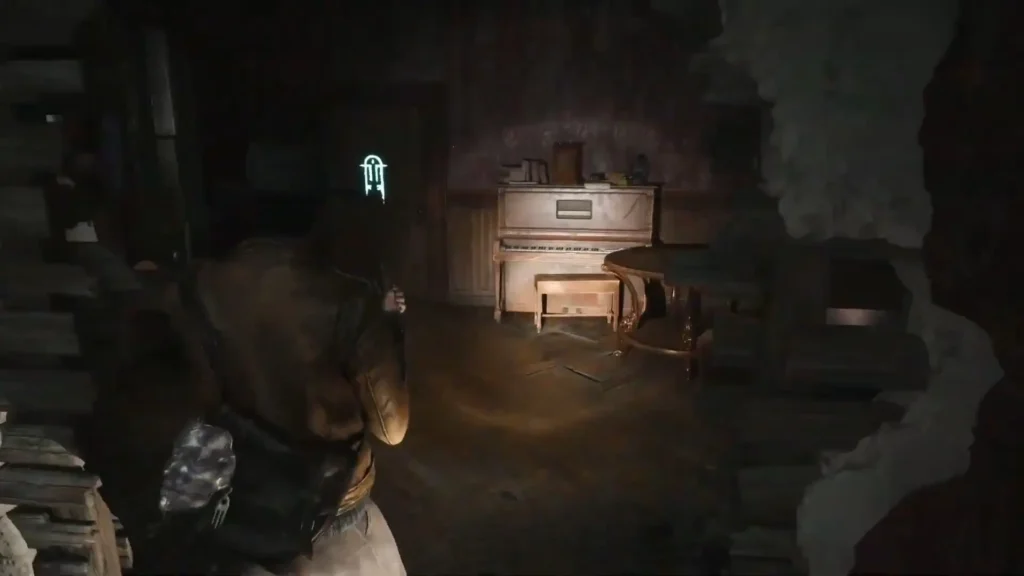
Just next to the Gate Console, you will find a Safe Room where you can save and store your items. This will be shown in the image above. Exit the safe room from the other side and go down the stairs.
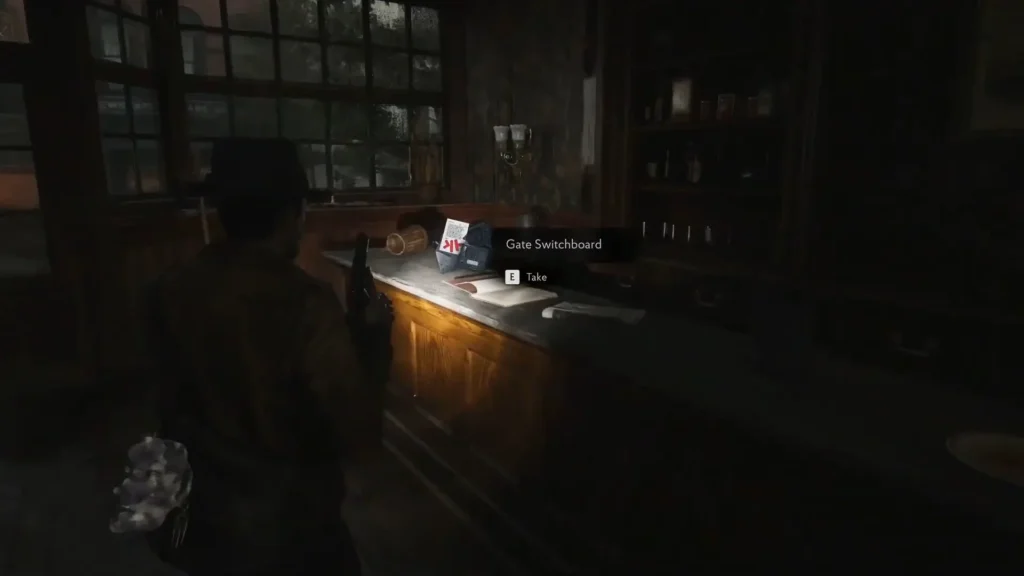
In this room, you will find the Gate Switchboard clue. Keep this handy for later, and proceed out of the door to the street. In front of you will be the Radio Shop, which you cannot enter through the front door (trust me, I tried). Instead, turn left and proceed ahead.
Garrison St. Apartments
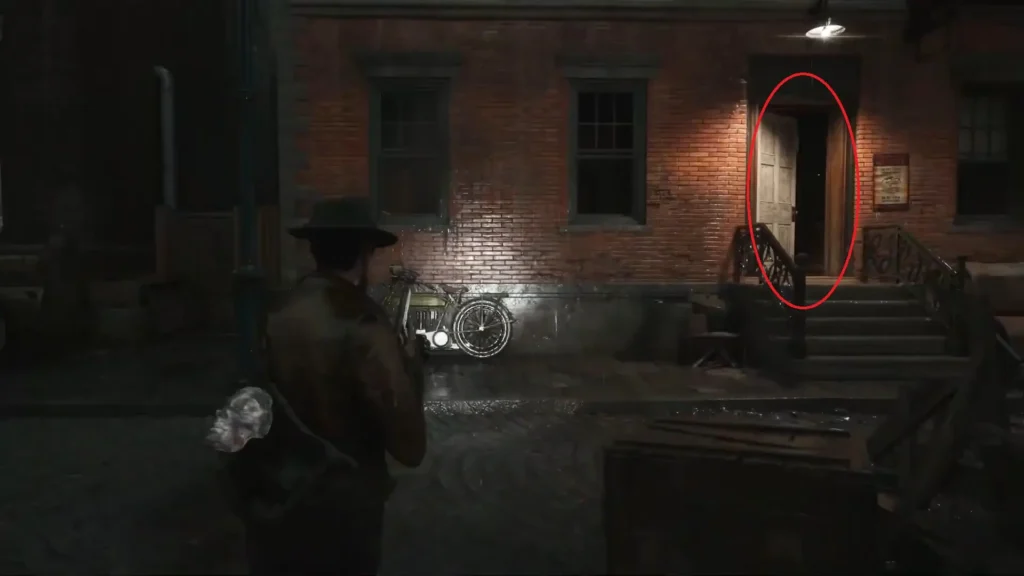
The door next to the Radio Shop will be open. Enter the apartment building and check the first door on your right to find a map.
Optional but recommended: Check the drawers and containers you see everywhere. These contain ammo and other useful items. I got some useful handgun ammo which definitely came in handy later.
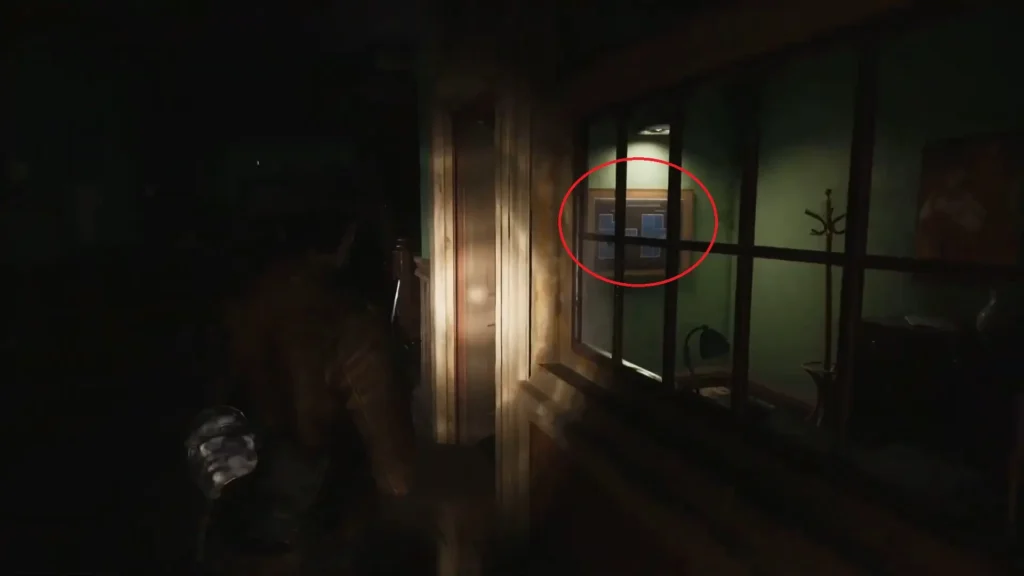
Head up to the second floor via the stairs, and go to Room No. 5 (the number 5 will be marked on the door).
Room No. 5 and 6
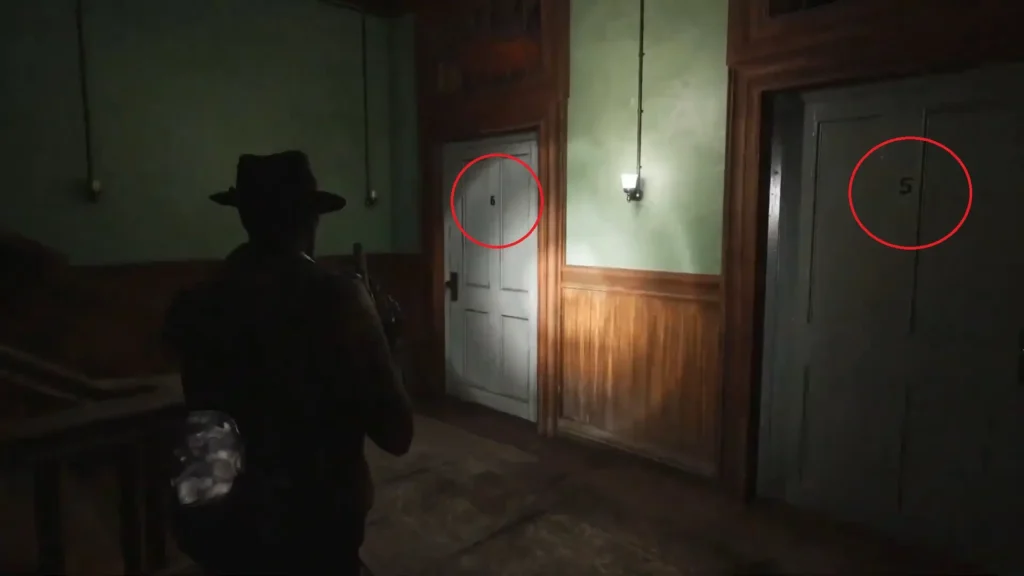
Room No. 5 is optional, but nets you some decent rewards. Go right, and you will see a vault behind the ‘To Martin’ clue. You will have to come back to this vault later if you want to get the loot inside normally. Alternatively, you can just read ahead and find the passkey. Punch in ‘1908’ to open it, grab the items, and get back outside.
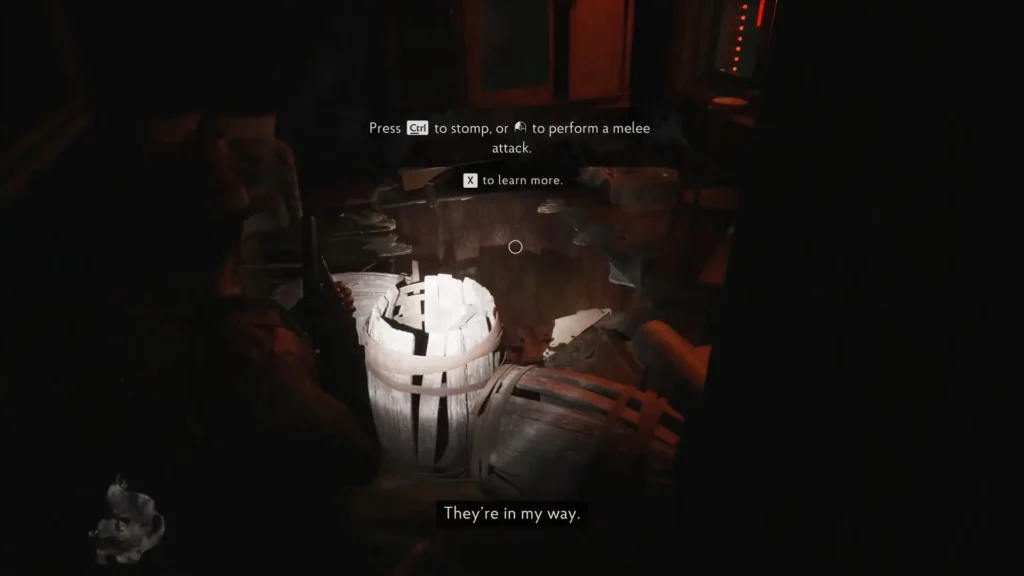
Now enter Room No. 6 (which is right next to the previous room), and look left. You will spot some crates blocking a hole to a lower floor. Stomp on these crates to break them and jump down.
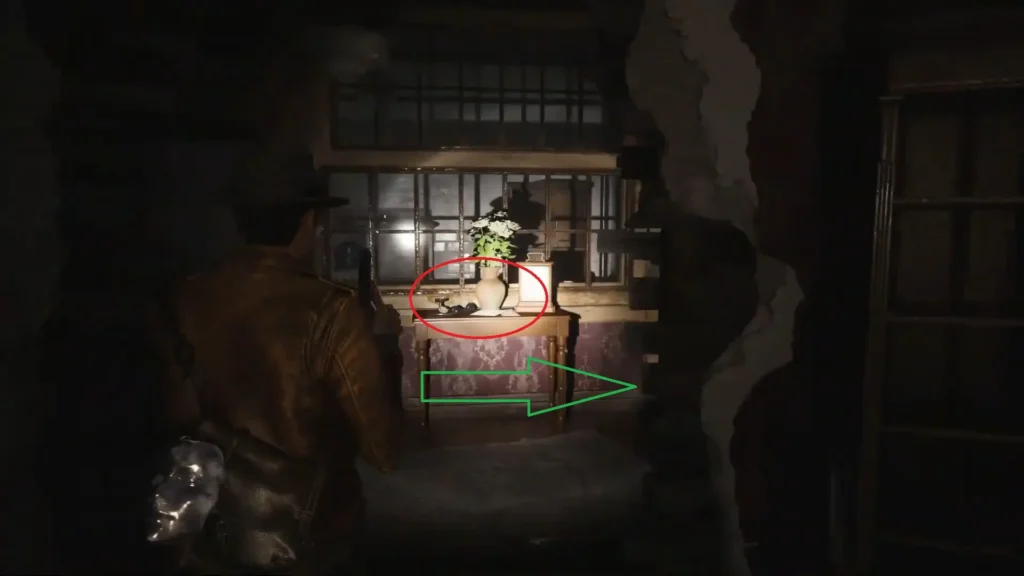
Turn around and collect the Gate Fuses and Wires clue. Connect this clue with the Gate Switchboard clue from earlier.
Allen Radio Store
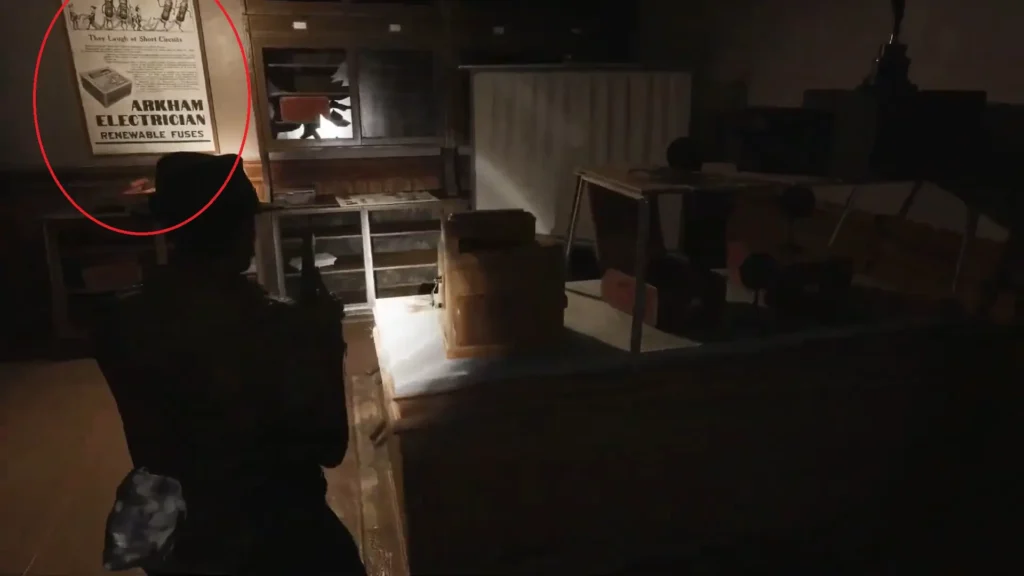
Turn to your right, and you will spot a crawl space in the wall. Crawl to the other side, and you will emerge inside the Radio Store. Reload your guns and get ready.
Pick up the ‘From a Sister’ clue, although this is optional, since it is for the vault you would have previously unlocked inside Room No. 5.
Next to the clue, you will also find the Electrical Fuses that you need to insert into the Gate Console. As soon as you pick them up, some Slithers will possess a body inside the store. Shoot its weak point, or use melee attacks to put it back down. If you feel confident in your melee skills, then these two are quite easily disposed of without the use of a single bullet. However, I chose to shoot their weak points and make progress quicker.
You are almost to the end. All you have to do is push the barricade out of the way of the door, and make your way back to the Gate Console. However, be a tad bit more cautious, as the enemies out on the street will now be awake and try to attack you.
How To Fix the Gate Mechanism and Open the Floodgates
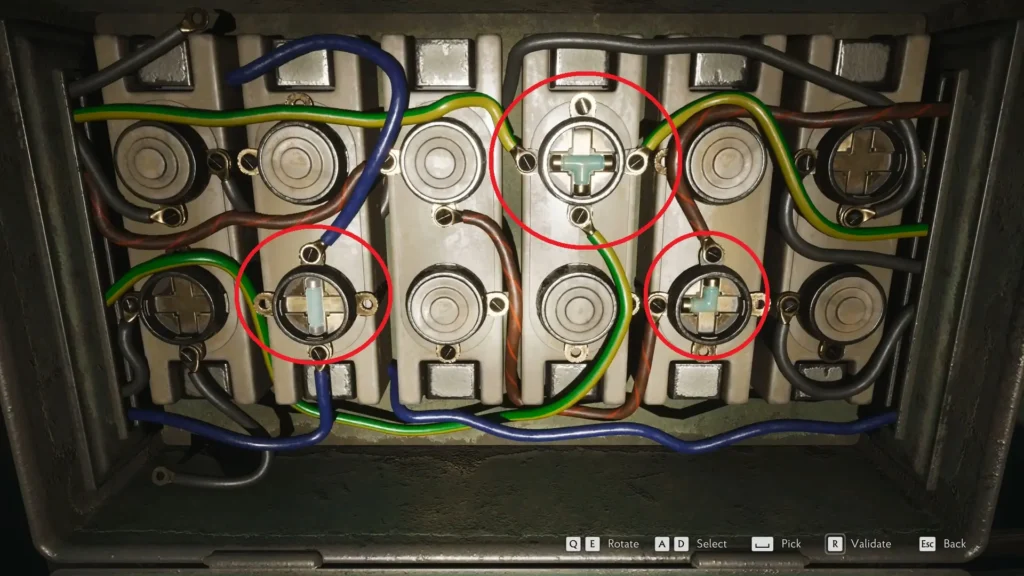
You have three fuses that you need to place into the console. Place them in the locations shown in the picture above (marked in red circles). Once this is done, you can flick the lever nearby to open the floodgates and proceed ahead. You can also find the solutions to various other puzzles, like the Church Obelisk or the Radio Frequency Puzzle in the Wireless Room.
Reach the Miskatonic Library Annex in The Sinking City 2
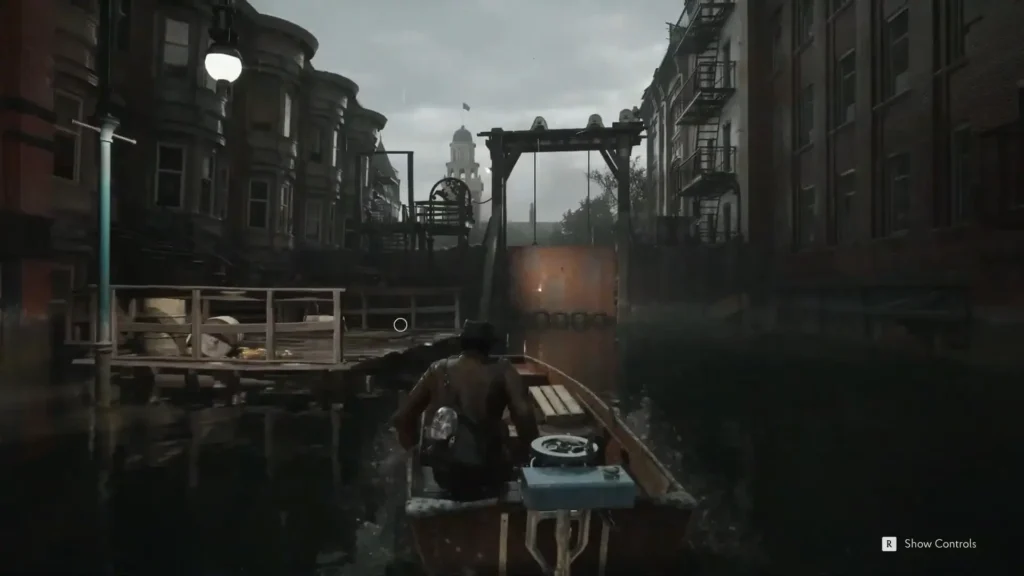
The final stretch awaits, and this is going to be the hardest part yet. Get back into your small boat and proceed ahead since the floodgate is now open. (Be aware that an enemy will be awake in the dark hallway. So, don’t get spooked as I did.)
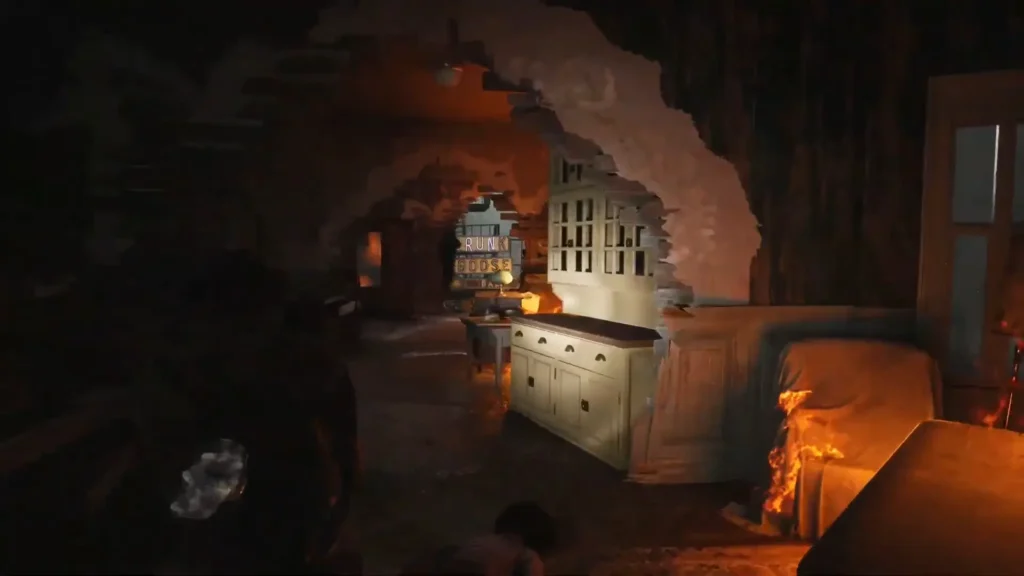
Drive ahead and dock at the next platform. Just before you reach it, a huge explosion will go off a short distance away. Run inside and don’t stop. Hordes of enemies will charge at you, making you waste a ton of ammo if you stay and fight. Instead, do as I did: ignore them all and run up to the second floor and jump out of the hole seen above. The ensuing explosion will wipe them all out, letting you escape without a scratch.
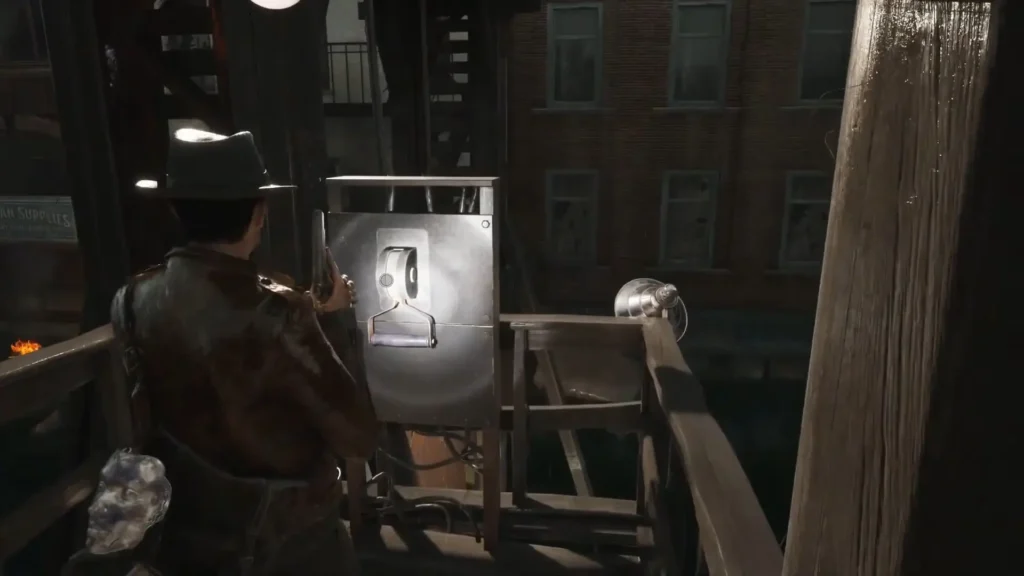
Pull the lever towards your right side to open the next floodgate. Climb down to your boat from here, and drive ahead to reach the Miskatonic Library Annex in The Sinking City 2, and end this mission.
