




Pulling off the Kortz Center heist might be more complicated than any other heist in GTA Online. After planning your heist route to efficiently enter the vault room of the center, you are tasked with implementing it next. This is easier said than done, as doing the heist physically without alerting the authorities is no easy task.
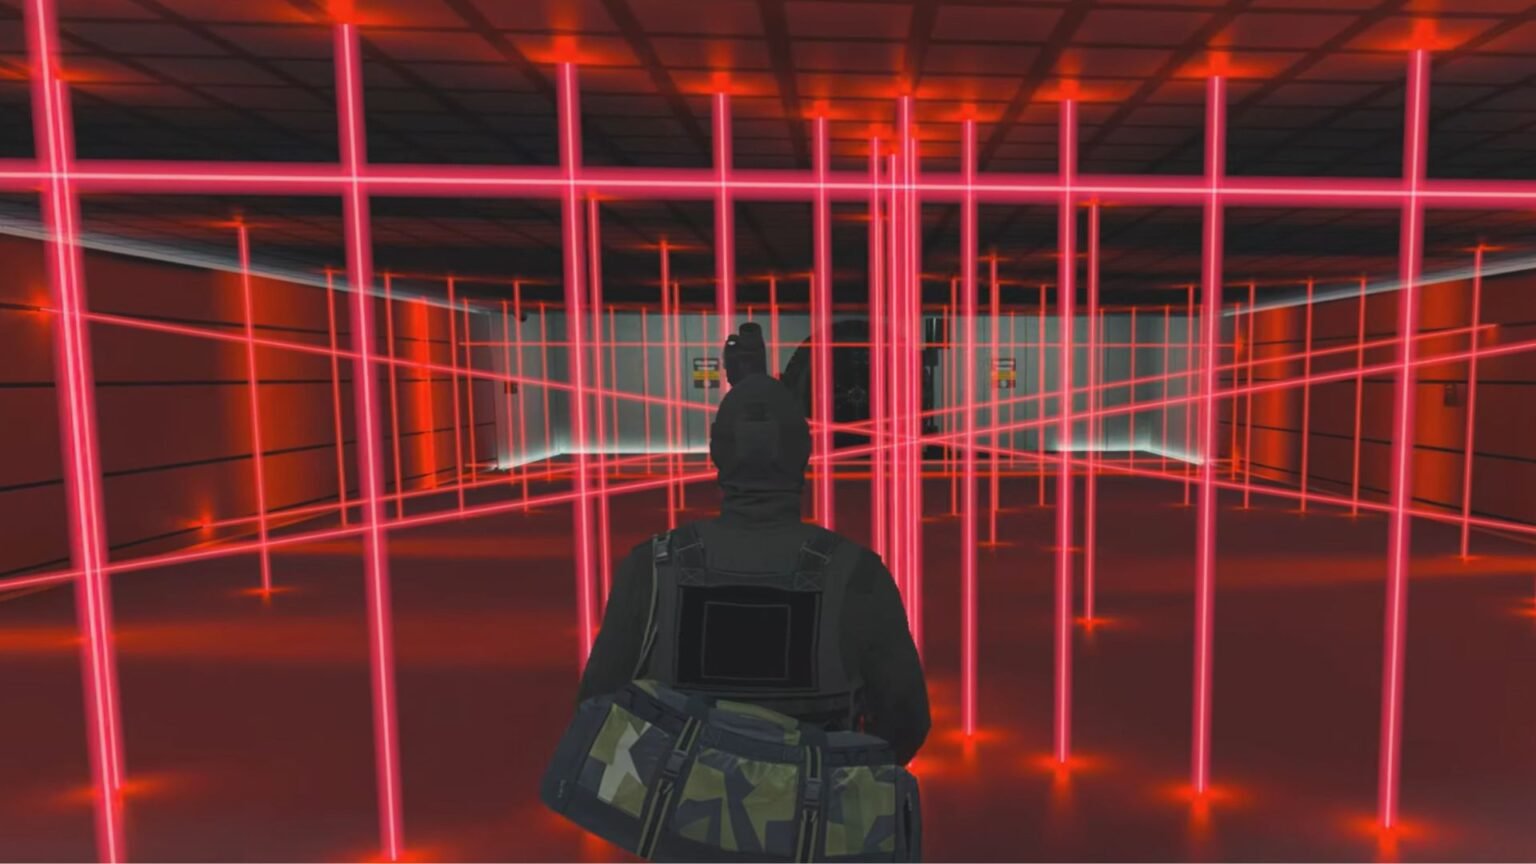
Once you have finally reached the inside of the vault room, you are met with the final challenge: navigating all the randomly placed lasers. One wrong move and your entire heist will go up in flames. Since this part is quite difficult, here is a step-by-step guide on navigating the lasers in the Vault Room.
How to Bypass the Vault Lasers in GTA Online
You are just one step away from unlocking the vault, but you have to navigate the room full of lasers before you get to this point. The lasers move in sets of twos or threes, depending on your game’s difficulty. Each set offers a different movement mechanic too.
The most efficient way to disable the lasers is to interact with the three fuse boxes on the wall. Unfortunately, these boxes are placed away from each other at various points in the room, so you still need to learn how to read the movement of the laser so you don’t get caught.
What helped me during this stage is to locate where each fuse box was on the wall, then stick to that wall while bypassing the lasers. Being in first person will also help check the laser movements efficiently. With these tips in mind, let’s start with the first set of lasers.
Phase 1
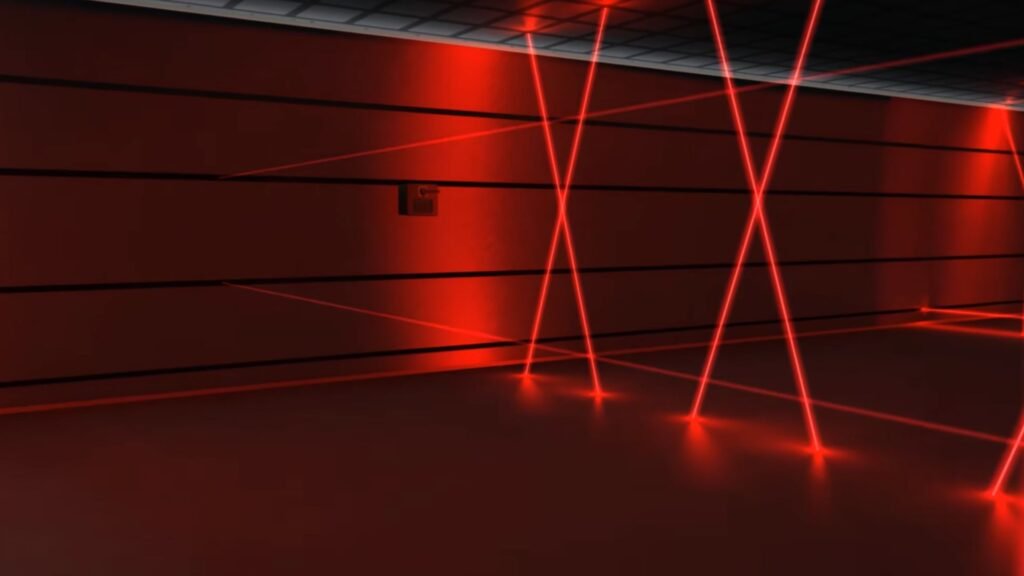
The first one is easy to do, as the first row of lasers is static. Just pass through it to the fuse box on the left. Stick to the left side wall and wait for the two lasers to disappear before quickly inching forward and turning it off.
In case you are in hard mode, you will find several lasers moving left to right or vice versa in a row. If the lasers are moving left, you move right and avoid sticking to the wall. Wait for the laser to disappear before inching forwards, then repeat this step until you reach the fuse box.
Phase 2
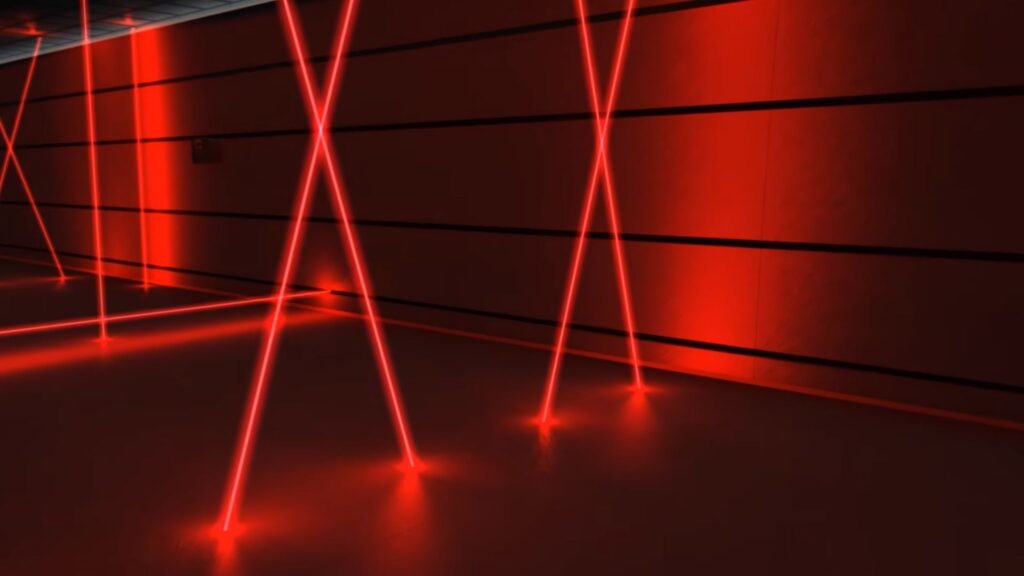
This one could be a bit difficult to navigate, as there is a set of lasers moving sideways and another sweeping the floor. Besides that, there is also a singular laser moving randomly around nearby. The fuse box is on the right, so go all the way to the right side wall.
Keep an eye on the laser sweeping the floor and wait for it to disappear. Then, position yourself through the larger gaps between the lasers moving sideways and pass through it. The singular laser is easy to avoid as long as you don’t stay in its path. Quickly head over to the switch and turn it off.
Phase 3
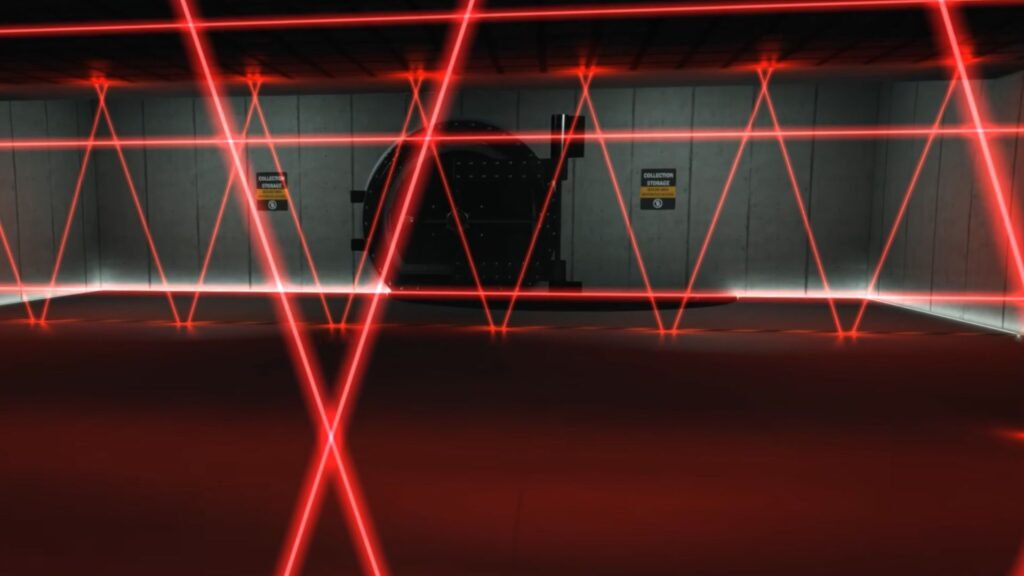
In the third phase, there are two sets of lasers that move diagonally, and one set in a group of three moving towards you. The other lasers on the sides can be ignored, as they don’t pose a threat. I won’t recommend sticking to the wall for this one, so stay in the middle instead.
Wait for an opening between the first set of diagonal lasers and move through it, then quickly crouch down to avoid the lasers coming right at you. Once the lasers pass overhead, get up and pass through the final set of diagonal lasers. Deactivate the switch on the left, which is the final part of the laser puzzle.
