



Mortal Shell 2 lays a heavy emphasis on exploration, and that makes getting the full map unlocked that much more important, especially because of the several hidden nooks and crannies, the road to which is not always clear.
Fainweald is the first area that you will unlock, and it has 5 Map Fragments to collect and reveal the full area. In this guide, I have put up the exact locations for all 5, and I recommend that you make a beeline for closing this first.
Do note that while the Fragments have a different number to them, I have put up the fragments in the order that is easiest to get.
Fainweald Map Fragment #1
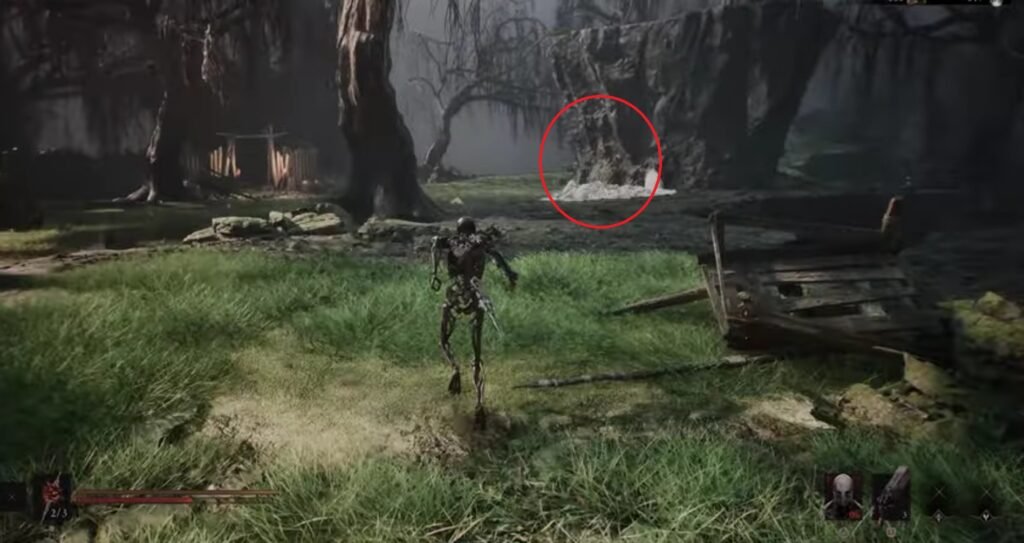
From the Widow’s Overlook Beacon, head straight, taking the path that winds down, and as you come up, on the right, you will see those white platforms that you can jump upon to climb to the rock above and get the second Map fragment in Fainweald, revealing the area around where you are right now – central Fainweald.
Fainweald Map Fragment #2
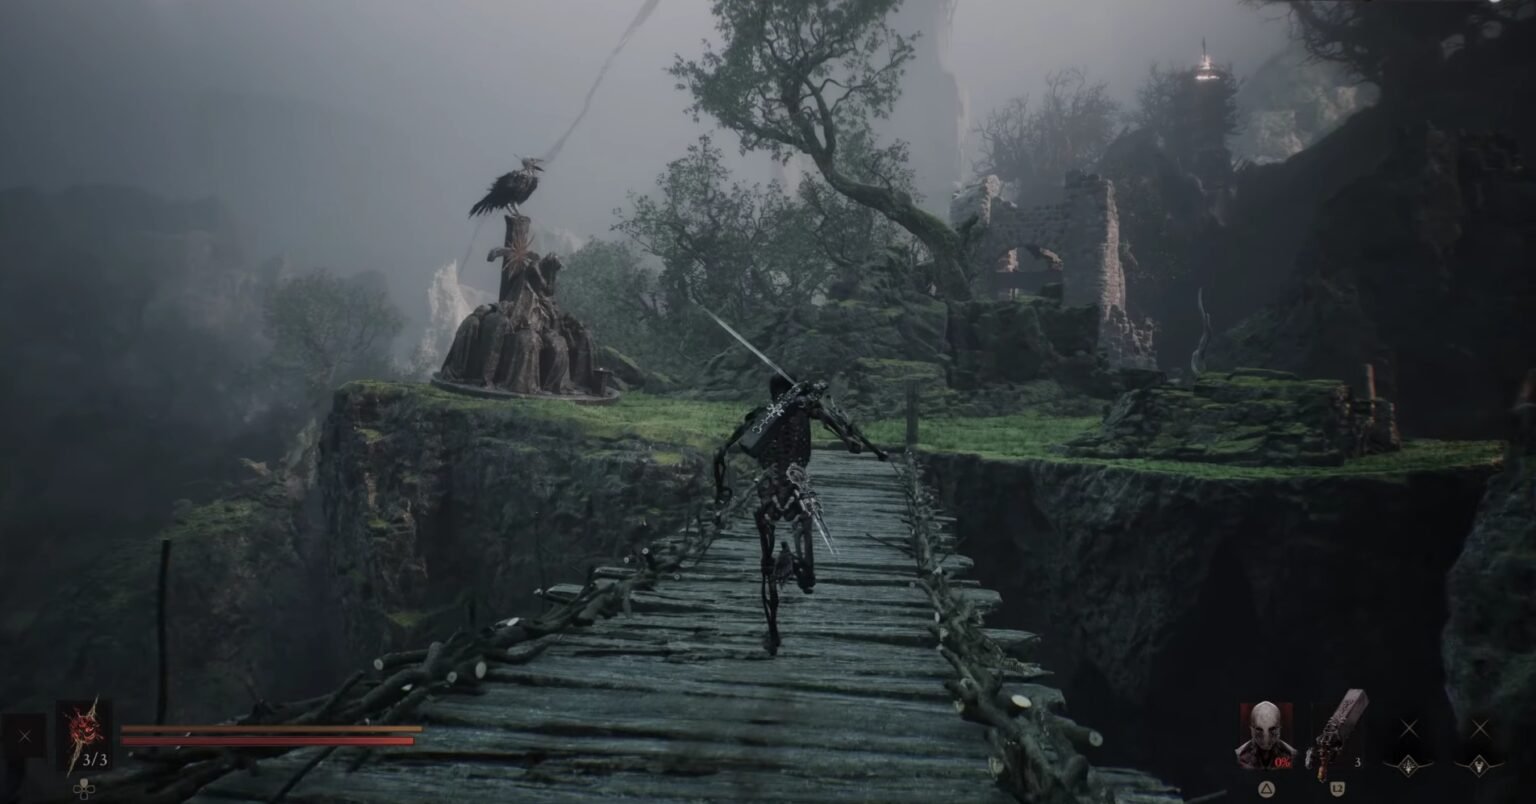
From the Widow’s Overlook Beacon, head back, across the first Trial area, and take a left to the area that was previously closed in the beta. This will have you cross a bridge, and you will spot Ruk perched on a statue, that has a Map Fragment, revealing a part of the area to the north.
Fainweald Map Fragment #3
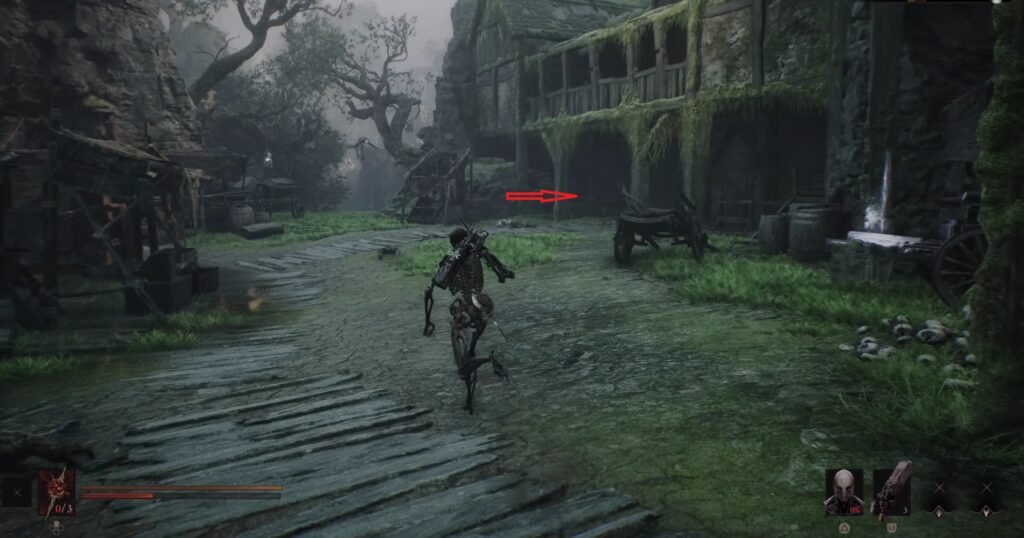
Start this time from the Mushroom Village Beacon, take the path to the right, and keep following the rough path identified through the boards on the ground. Cross through the structure shown in the image above, continue on the path ahead till it takes you beneath a rocky overlook, and then take the path that veers to the left. Ruk will be visible, and that is your cue for the next Map Fragment.
Fainweald Map Fragment #4
This is the one with the longest path, and takes you from the Widow’s Overlook Beacon to the Ruins of Nochte, to the Hags Area, and finally to the map fragment. Here’s the step by step path for this:
- Start from the Widow’s Overlook Beacon, towards the Great Arbiter of Flesh boss area
- Keep to the right, past the boss, and cross the two small bridges.
- Take the portal to be transported to a stone bridge.
- Run past the enemy, and take the second portal to be transported to an area with tombstones and a LOT of enemies
- Stick to the right, past the tombstones, jump down, and you should now find yourself in the Ruins of Nochte.
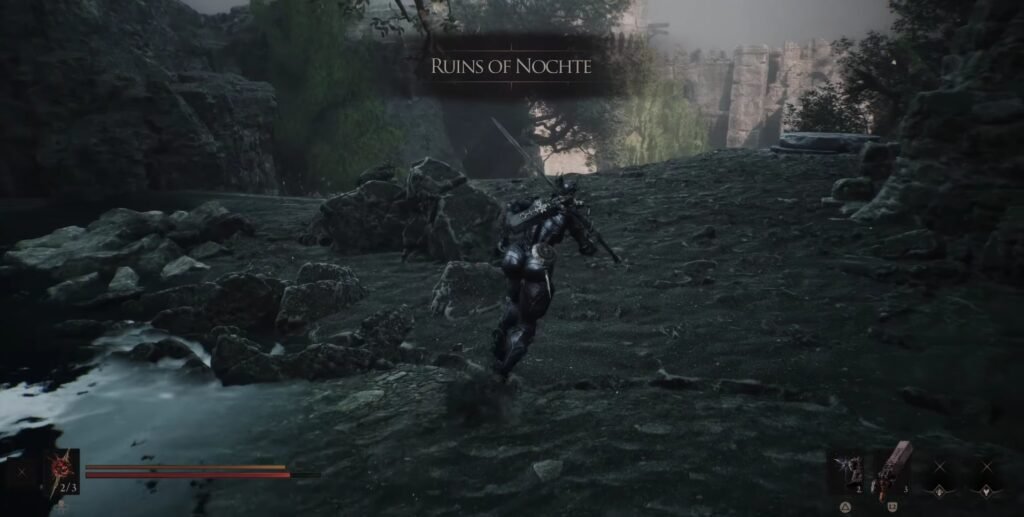
- Again, stick to the right, and you will see one of those white platforms that you can safely jump onto.
- Jump, and immediately take a sharp right and run ahead to avoid any enemies in this area.
- You will come to an area that has skeletons and bodies hanging, jump down into a shallow lake area, again, with quite a few enemies. This is The Hag’s Path, and we are almost there.
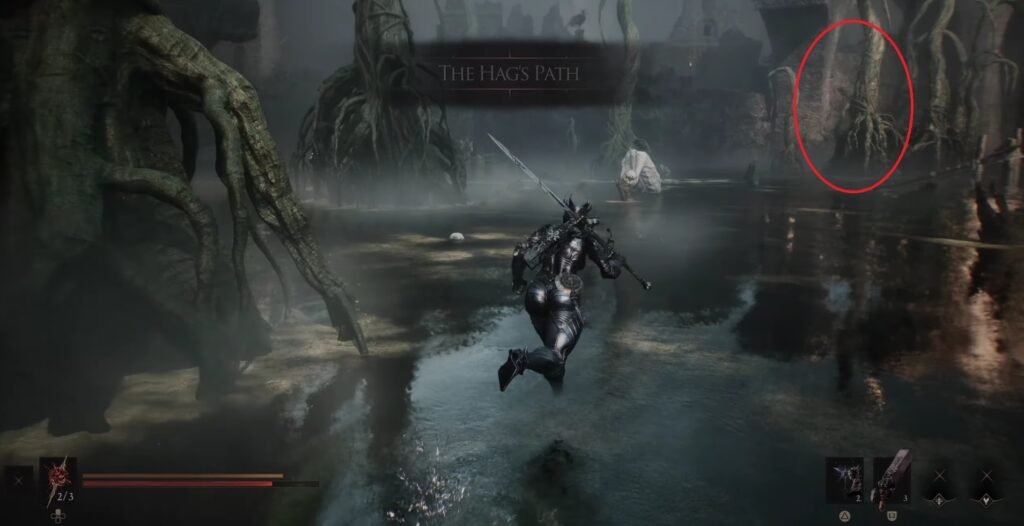
- On the far left, you will see a bridge with an imposing arch, head in that direction, keep hugging the rocks and cliff on your left, and you will see a path that winds upwards.
- Take it, past the entrance, and you will see Ruk in the distance, with your next Map Fragment.
Fainweald Map Fragment #5

If you have explored and located the Citadel of Penance, it makes getting the Map Fragment much easier. If not, follow these steps to first get to that Beacon, and then to the Map Fragment.
- Start from the location marked in the image above, and keep to the left.
- Cross the bridge, take a right, go up the stairs, and interact with the flame on the left to enter the Citadel of Penance.
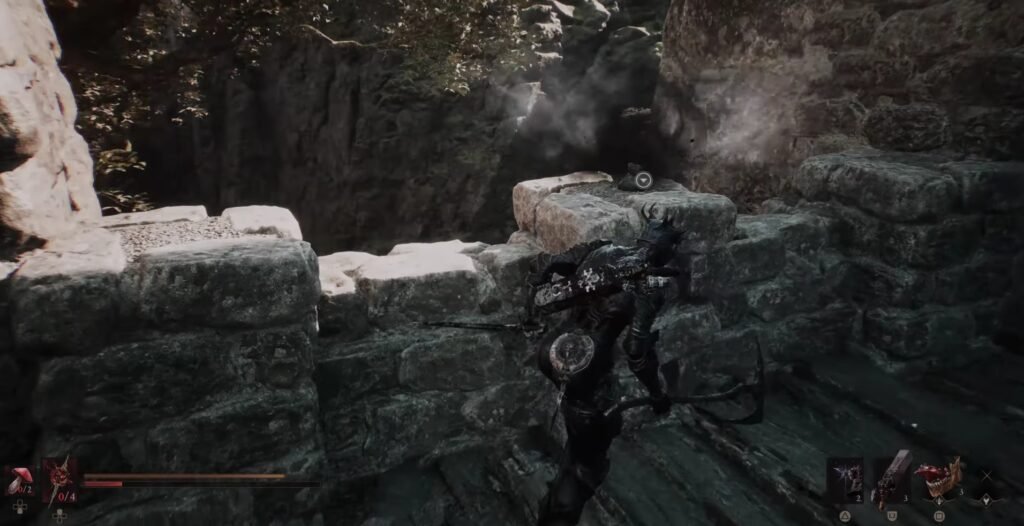
- Explore that area till you come across the white platform, jump on it to land on the ledge above. Take the left, and you will come across the Citadel of Penance Beacon.
- From here, take a left, go up the stairs, take a right, following the steps, and into the open courtyard below.
- Here, you will see the familiar statue, and the last Fainweald Map Fragment.
With that, you are now free to explore and uncover the numerous secrets that Mortal Shell 2 holds, including the various Tarstones, Seals, Melee Weapons & Ranged Weapons.
