



Shells add a unique layer to the combat in Mortal Shell 2. The game features eight different shells, a big step up from the first game, and all of them add unique perks and abilities to enhance combat. Irrespective of whether you are looking for a stagger or break-focused build, or a full-on glass cannon setup, you are likely to find a Shell that suits your playstyle perfectly.
Shells can expand on the build type further and flow well with the bonus from Seals and Tarstones to deliver the best defensive and offensive options. Here, I have put up for you my tier list for all Shells in Mortal Shell 2, as well as the location and abilities for each later in the article.
All Shells Tier List in Mortal Shell 2
| Tier | Shell List |
| S-Tier | * Tiel * Eredrim * Genessa |
| A-Tier | * Proxima * Smert * Sariel |
| B-Tier | * Lazlo |
| C-Tier | * Gragu |
The S-Tier features the best shells available in the game. The Tiel Shell can make you invisible with its ability, Shadowstrike; it helps you sneak around the enemy to deal a guaranteed strike. Performing a perfect dodge will unleash the Shadow Dash ability, making you invisible in the process, making it a perfect choice for an assassin playthrough for AOE and boss encounters.
If you are fond of dealing Break damage to open the enemy for Riposte or a finisher, then choose Eredrim Shell; it’s a better version of the Gragu Shell, as Eredrim is focused on dealing damage and relies heavily on Break Damage. Leveling up Eredrim can help you achieve the Break damage much faster, leaving enemies to finishers at a quicker rate.
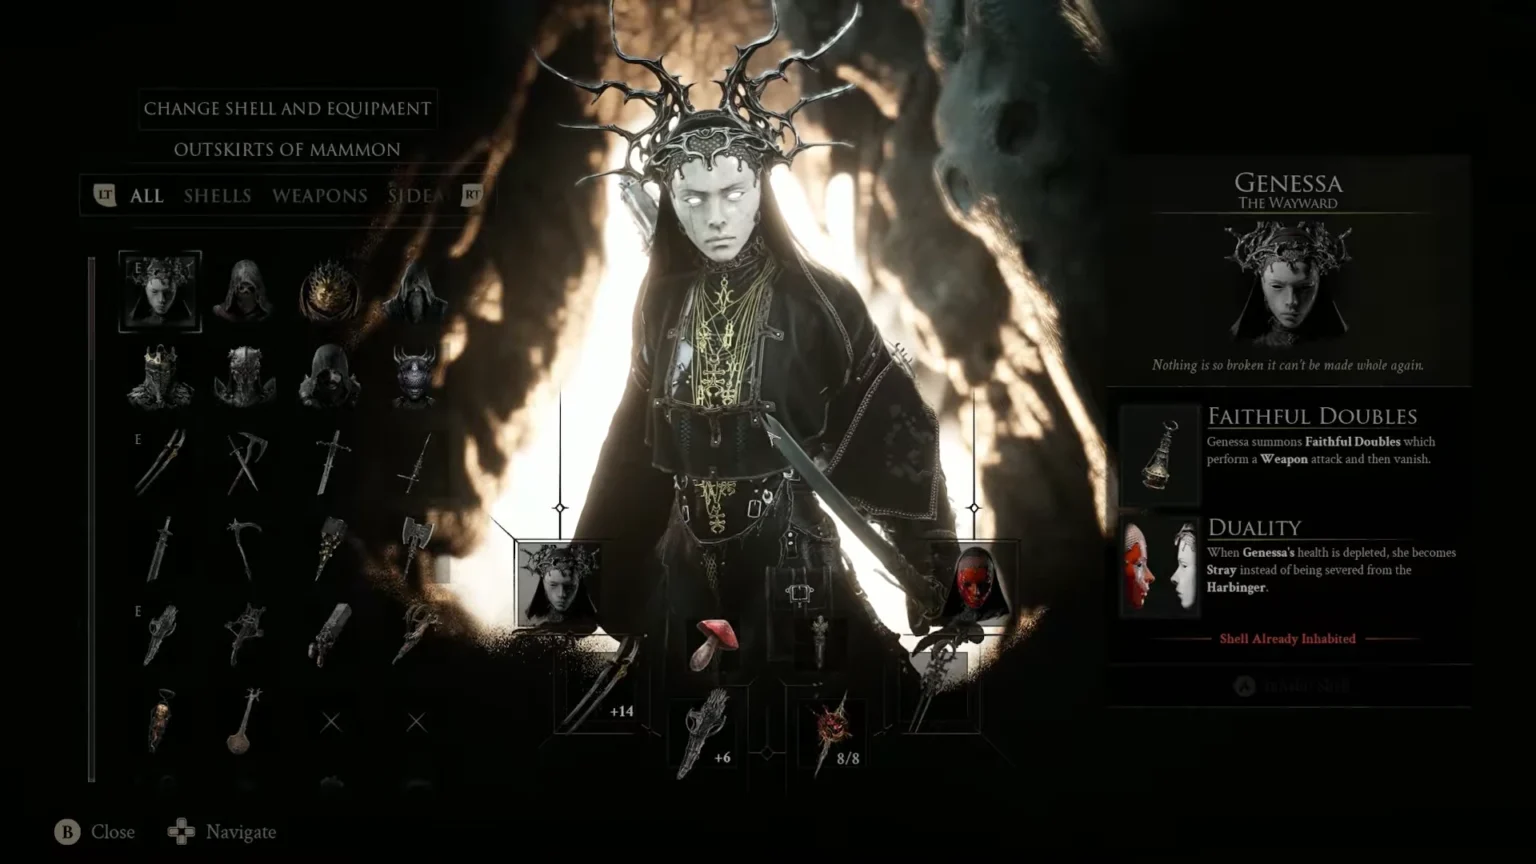
Genessa is basically a minion build, where you rely on ghosts or summons to deal damage to enemies. The summon ability keeps you safe from enemy attacks, as they will be dealing the damage. You can also bend the shell to perform melee summon or ranged summon.
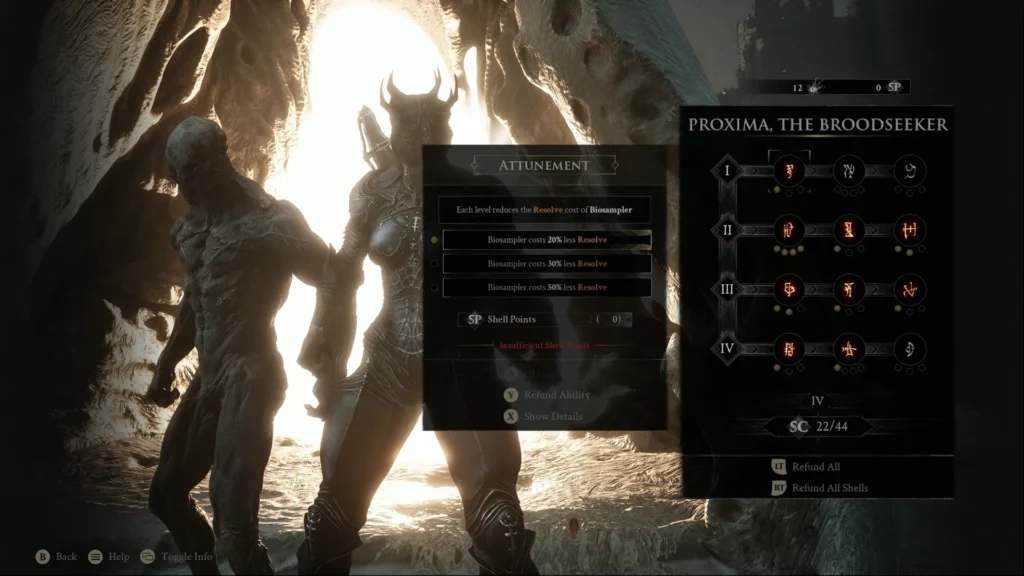
A-Tier features many good and decent shells; each one of them will help your gameplay better in terms of expanding the technicality of the combat. Proxima Shell is one of the best beginner-friendly shells, as it helps you pull enemies towards you and you can execute a follow-up attack to deal damage. Later upgrades make Proxima Shell even better, as you will be dealing lightning damage stacks with more damage upgrades.
Smert requires a risky playset, as you gain the ability to slow down time but, in exchange, you lose half of your HP. All the attacks here deal Chaos damage, and the more damage you do in the slow-motion time, the more the attack detonates at the end. Lastly, Sariel, where you will release thrones from your body to hit the enemies around you; it makes the next enemy’s melee attack deal no damage.
Now we look at B-Tier. Lazlo’s shell does AOE burn shockwaves around your location; more upgrades expand the AOE radius and damage from the shockwave. It is a perfect choice for crowd control, but the cooldown can break the flow of the game. One of the weaknesses of Lazlo is the number of sacrifices you must make when choosing the skill. Choosing one good skill means you must abandon the other; while it may not mean much, it can change the skill’s attack and defensive moves.
Lastly, we have Gragu in the C-Tier. Gragu hands you an extra flask that refills after killing enemies. The damage here is basic, but the sustainability is good. Gragu doesn’t do much starting out; it is a basic choice, as the latter upgrades help you deal more stagger and some damage bonus. Gragu is the best choice for new players who are finding the game challenging with the basic melee and ranged setup, as its health flask does keep you away from dying. But compared to other shells, it falls far behind the list.
Let’s now go through each of these with the location and ability descriptions detailed out.
Proxima, the Broodseeker
Locations: Make your way to the Blackridge Pass Beacon, move northeast from the beacon to find the Shattered Beacon Dungeon. Head inside the dungeon and you will find a body on the ground. Interact with the lying body to get the option to inhabit the unknown shell. You will unlock the achievement Arrival once you get the shell unlocked in the game.
Stats:
- Biosampler: Pull an enemy towards you with a rope and do a follow-up attack that inflicts lightning status. Lightning status deals damage over time on enemies, and after successful hits, the shell will release a shockwave.
- Grafted Armor: Proxima Shell offers a 15% chance to mitigate melee and ranged damage. Mitigated damage is reduced by a base of 50%, and it also prevents stagger.
Tiel, The Acolyte
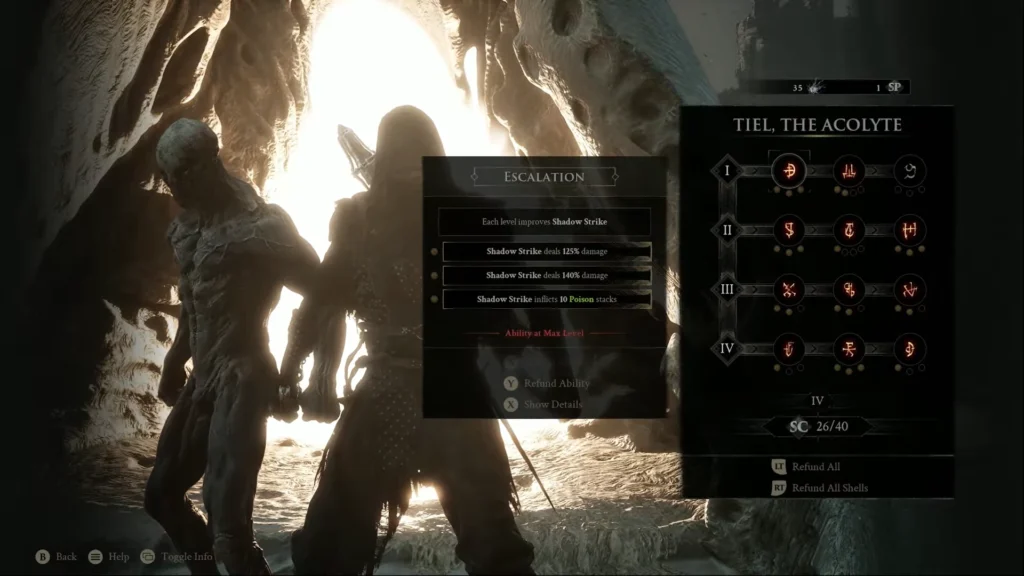
Locations: Get to Widow’s Overlook Beacon and keep going straight ahead, past the Mushroom Village on your left, till you come to a gate, as marked by the Search Area on your map. Here, you will find a glowing corpse near a gravestone. Interact with the corpse to trigger a cutscene. A few linear gameplay sections later, you will obtain the Tiel, The Acolyte Shell.
Stats:
- Lingering Shadow: Tiel gains Shadow and performs a shadow strike with his dagger. It also renders you undetectable for the set duration.
- Shadow Dash: Performing a perfect dash before getting hit grants Tiel Shadow and also inflicts stagger damage.
Gragu, The Insatiable
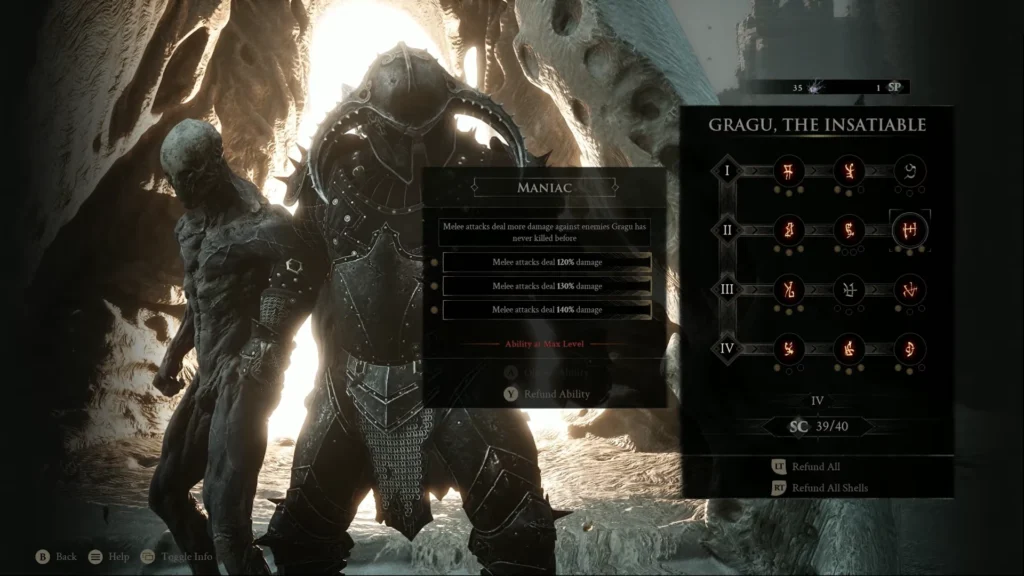
Locations: Head to the One Legged Wolf Beacon point, then move east from the point to find the temple in the fog.
You will find the Heart of Vatra item inside the temple. Now with the item in hand, head over to the Tavern near the One Legged Wolf. Head inside, and then strike up a conversation with Gragu sitting on the bench near the wall. Exhaust all the dialogue until you are given the chance to offer Heart of Vatra to Gragu. He will fall right on the table; interact with his body to inhabit the unknown shell.
Stats:
- Staggering Blow: It will charge your punching power to leave the enemies in a staggering state. The longer you hold the charge, the more damage you will be doing against enemies.
- Revered Heart: It’s basically a potion that can be used to restore HP, and another unique perk is that killing enemies charges up the shell.
Eredrim, The Venerable
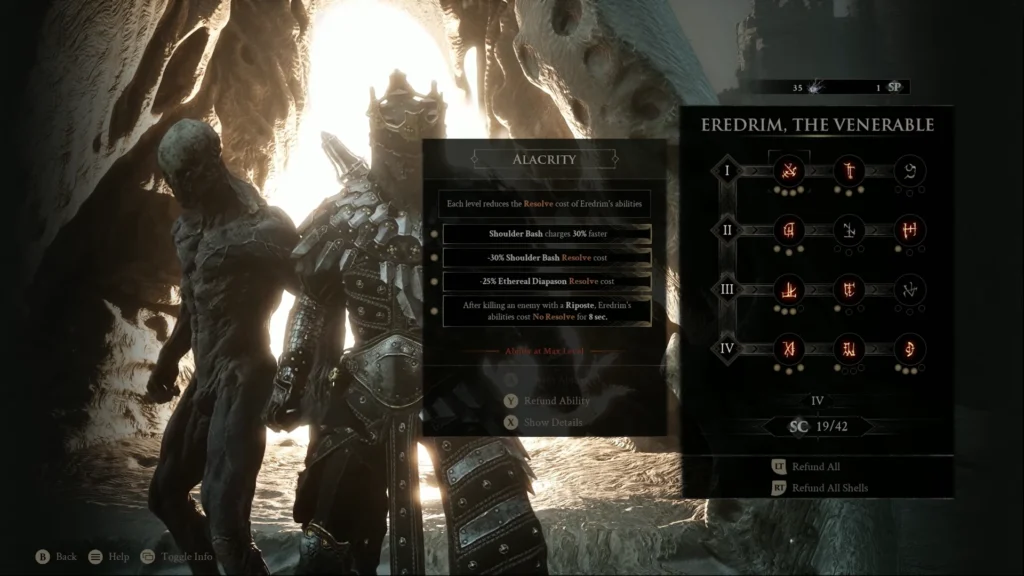
Locations: Head to the middle of the Citadel of Penance Beacon to start the boss encounter. Defeat the boss, and you will find a king kneeling near the spot. Interact with the dead boy to inhabit Unknown Shell. This shell helped me complete the first game, and it is just as good here as it was then.
Stats:
- Shoulder Bash: Eredrim charges forward with his shoulder, slamming into enemies, dealing Break damage. Dealing sufficient damage with Shoulder Bash will leave the enemy vulnerable to Riposte or a finisher.
- Ethereal Diapason: Eredrim will smash his Diapason to create a shockwave that deals Break damage to all enemies in range. Dealing sufficient damage with his attack will leave the enemy open to Riposte or a finisher.
- Executioner: Eredrim executes enemies at low health and gains Slaughterer stacks by performing finishers. Each stack raises the low health threshold of enemies that are executed.
Smert, The Apostate
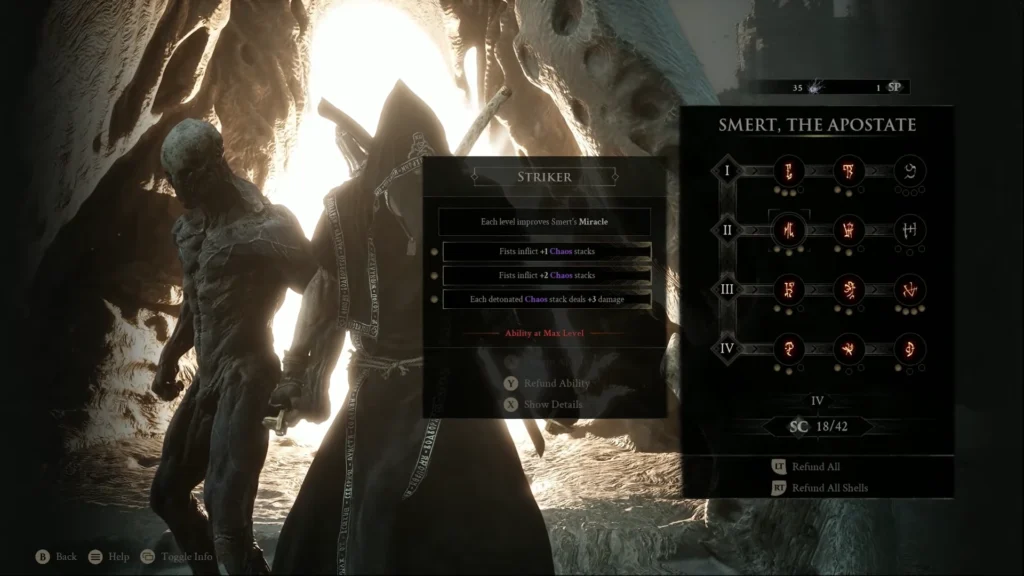
Locations: Head southwest from the Outskirts of Nochte Beacon and fill up 3 small pools of blood in the area by defeating enemies in the pools. The short way to get around it is by offering your blood to the pool.
In the area, you will find a giant pool in the middle with three smaller, round-shaped pools around it. Your job is to fill the pool with the blood of enemies or yourself. Once all three pools around the main pool have blood running inside, head up to the altar with the dead body near the pool and inhabit the shell.
Stats:
- Miracle: It freezes time, and you will enter the Fight stance where every unarmed attack applies Chaos stacks that explode for damage when the time gets unfrozen or resumes. Basically, it sets a slow-motion field where you deal nothing but unarmed damage, and at the end there is an explosion. During the effect, Chaos stacks inflict random conditions when it expires, and attacks will regenerate additional Resolve.
- Deadly Revelation: At 10% Health or lower, Smert has Faith, which allows melee attacks to regenerate additional Resolve.
Sariel, The Endless
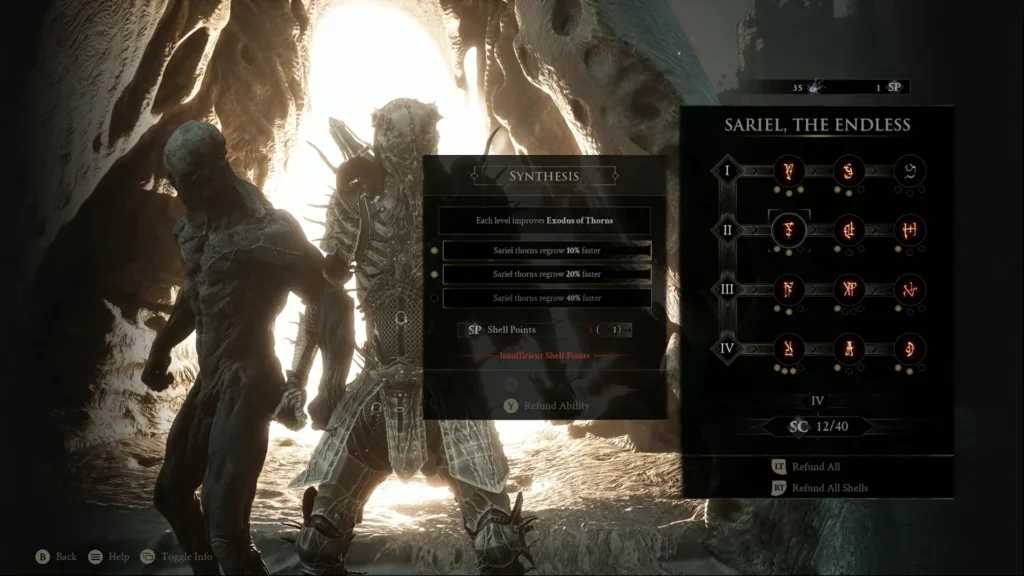
Locations: Head south of Silent Steps Beacon to start the encounter against Sariel, a multi-level encounter. At the final encounter, destroy the stone tablets to finally kill Sariel for good. After defeating the boss, you will obtain Clockwork Scythe, one of the 8 melee weapons in Mortal Shell 2. Before moving forward, inhabit Sariel’s dead corpse to get the Sariel Shell.
Stats:
- Exodus of Thorns: Release parasitic thorns projectiles that deal Curse stacks on enemies. Each activation inflicts Pain on Sariel. Stacking enough Curses nullifies the enemy’s next melee strike against you and turns it back upon them. It will also turn the regular Health into Gray Health; a single hit can take away your HP, but performing melee attacks can cure it.
- Purge: When Sariel has no pain, 50% of any incoming damage becomes pain. At the max pain level, Sariel’s dodges become faster than usual.
Lazlo, The Justiciar
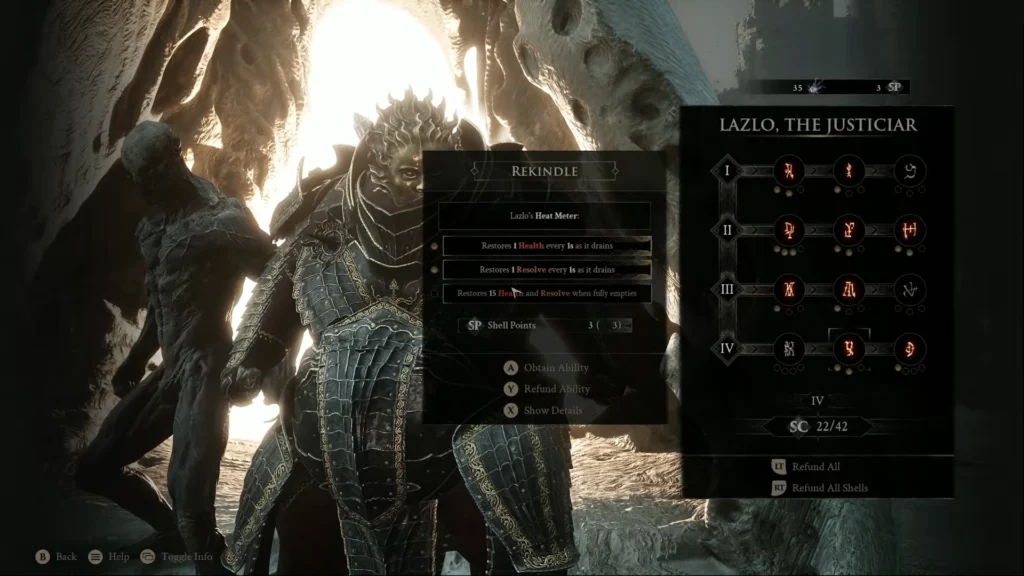
Locations: Get to High Lord’s Courtyard Beacon, head west from the beacon you will find the corpse behind the miniboss in the Royal Crypt of Mammon. Defeating the boss at the gate will open it, leading to the lower floor. Here you will find the corpse that you can inhabit to get the shell.
Stats:
- Retribution: Lazlo will heat up the armor, releasing a shockwave. Repeated use causes Overheat, which then releases a stronger version of the shockwave that inflicts Burn stacks but disables the armor temporarily. The Burn status effect deals accumulated damage over time.
- Fortified Plate: As long as the armor is on, Lazlo will have a base 10% damage reduction.
Genessa, The Wayward
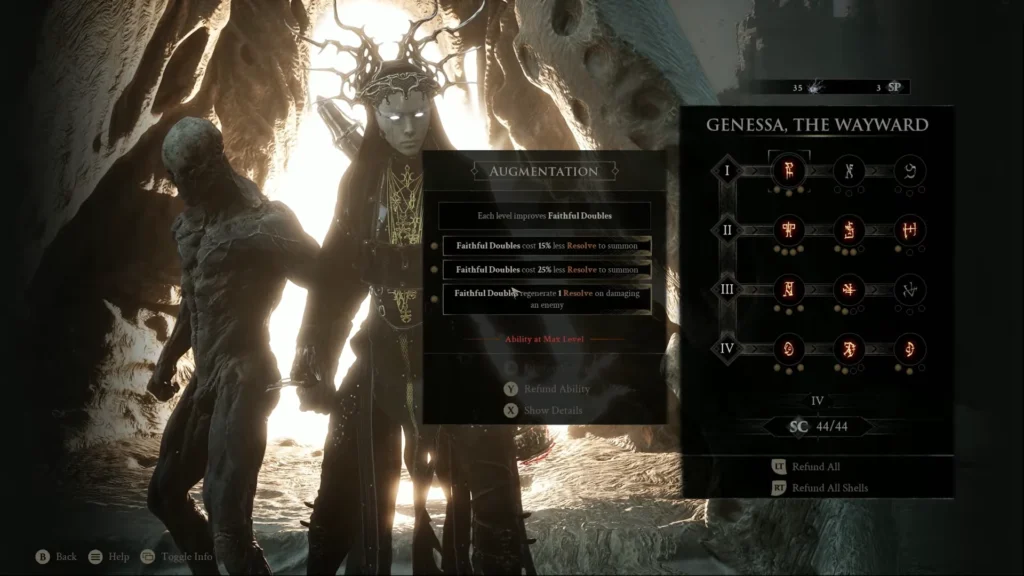
Locations: Get to Abbey Entrance Beacon point, head north to get the Sester’s Censer from the dungeon. Then you need to take the Sester’s Censer to Genessa, found in Marrow Keep.
Head north of Abbey Entrance Beacon to get to Revenant Graves; here, touch the Censer hanging from a shadow tree. You will quickly get transported into the boss arena; defeat the boss to obtain the Sester’s Censer item.
Stats:
- Faithful Doubles: Genessa summons faithful doubles to perform a weapon attack and then disappears.
- Duality: Once Genessa’s HP depletes, she becomes Stary instead of being severed from the Harbinger.
