



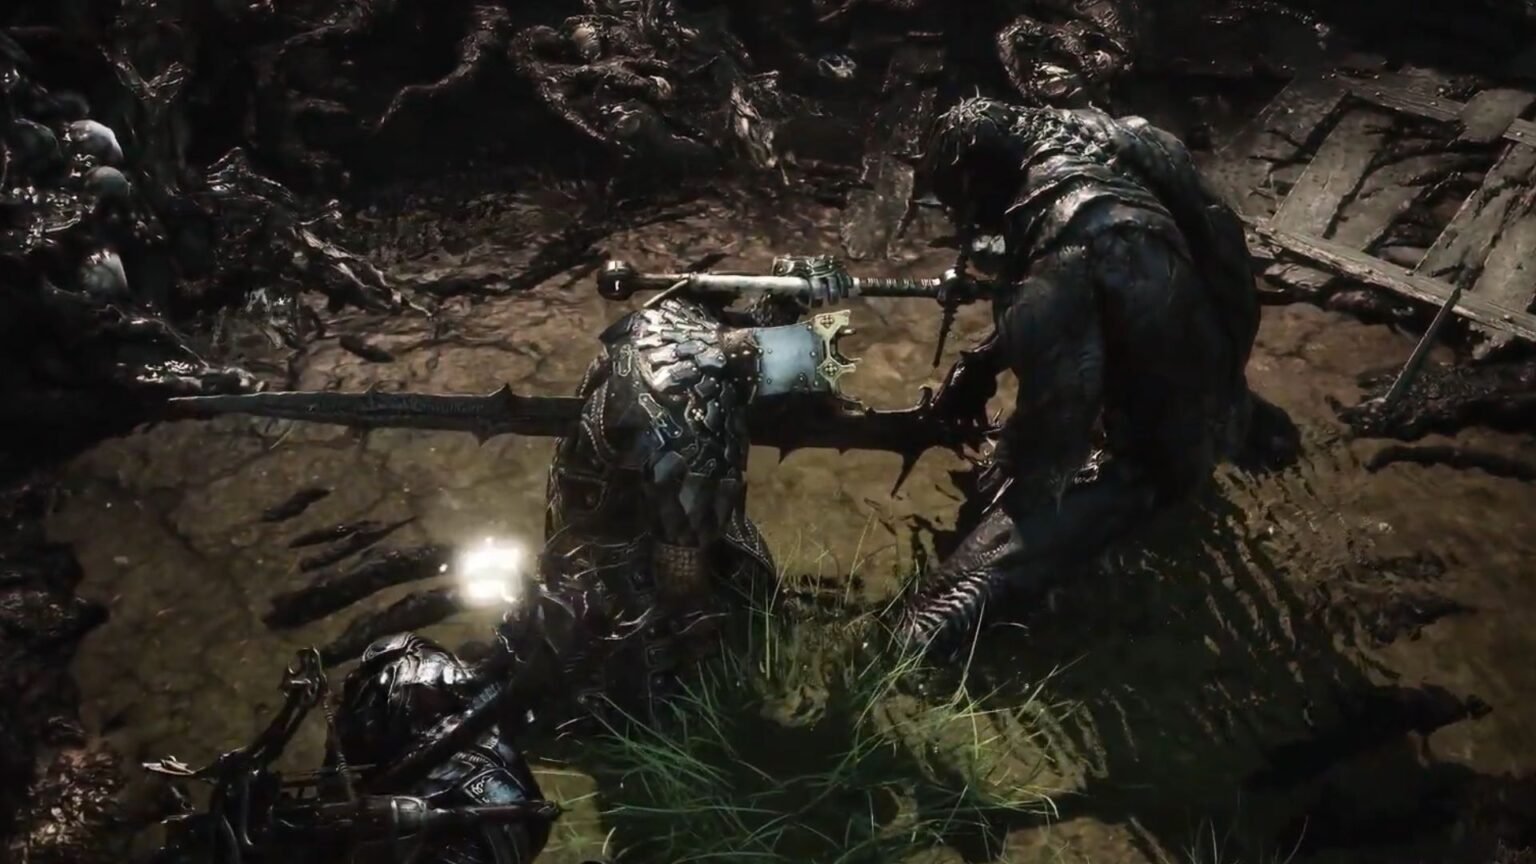

There are a few missable exploration points that you would easily overlook during your time in Mortal Shell 2. The Citadel of Penance is one of them, since you will have a hard time trying to unlock the gate from the start. It will require some more exploration until you find a way to unlock the gate, but there is another method to get inside too.
This guide will detail all methods for entering the Citadel of Penance, where to find the boss, and how to defeat the boss to unlock a unique Shell.
Citadel of Penance Location in Mortal Shell 2
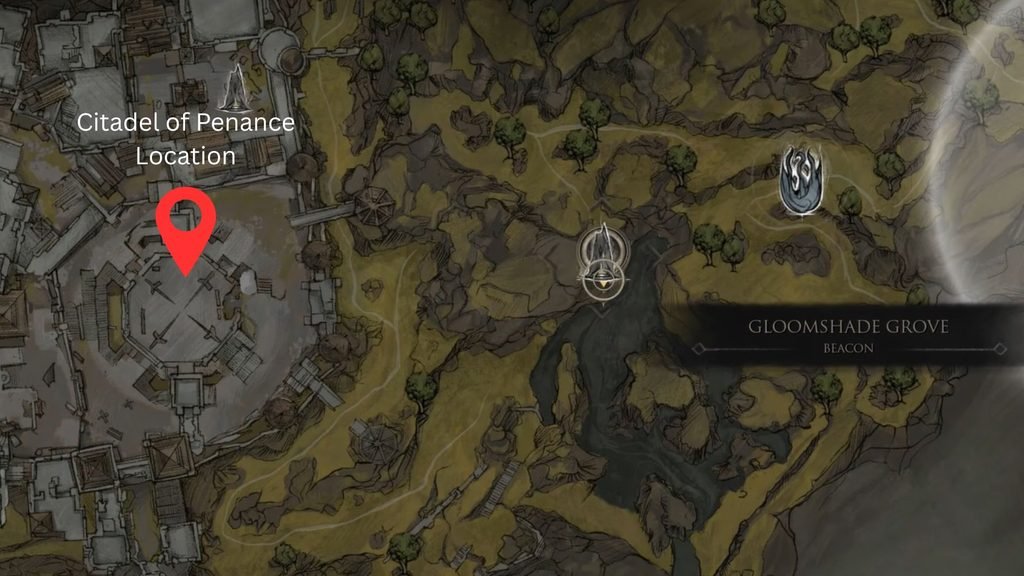
The Citadel of Penance is located in the northwestern Castle Area in Fainweald. The closest beacon to this area is the Gloomshade Grove Beacon. From the beacon, head west and follow the dirt path until you reach the outer walls of the Citadel. The main entrance is locked until you get the Citadel Gate Lever. But there is another way to get inside.
Finding the Coin Pouch
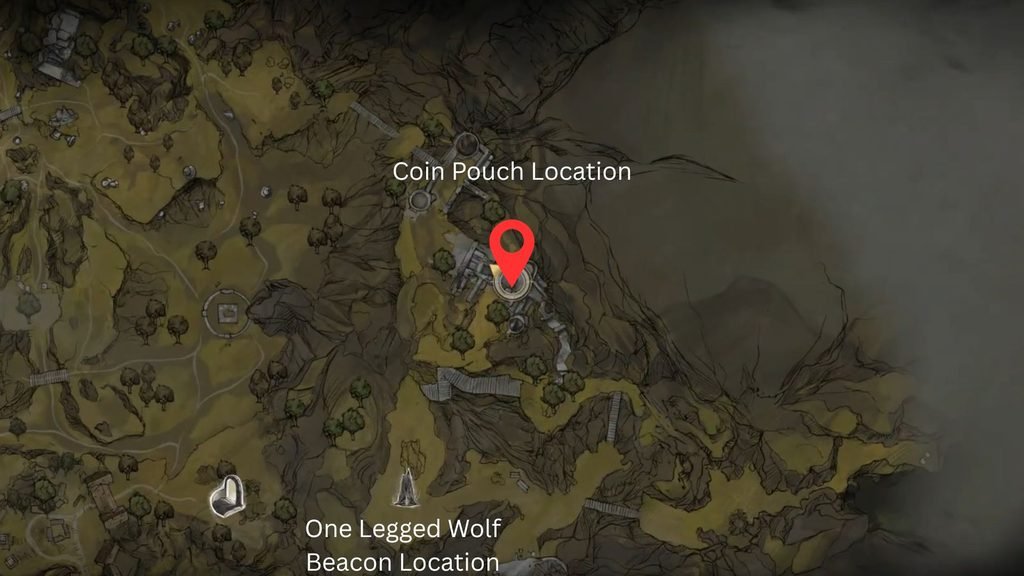
If you just want to check out the Citadel first and don’t wish to fight any enemies, I found a coin pouch in a random location that transported me inside the Citadel of Penance. To find the coin pouch, head over to the One-Legged Wolf beacon and follow the dirt path north.
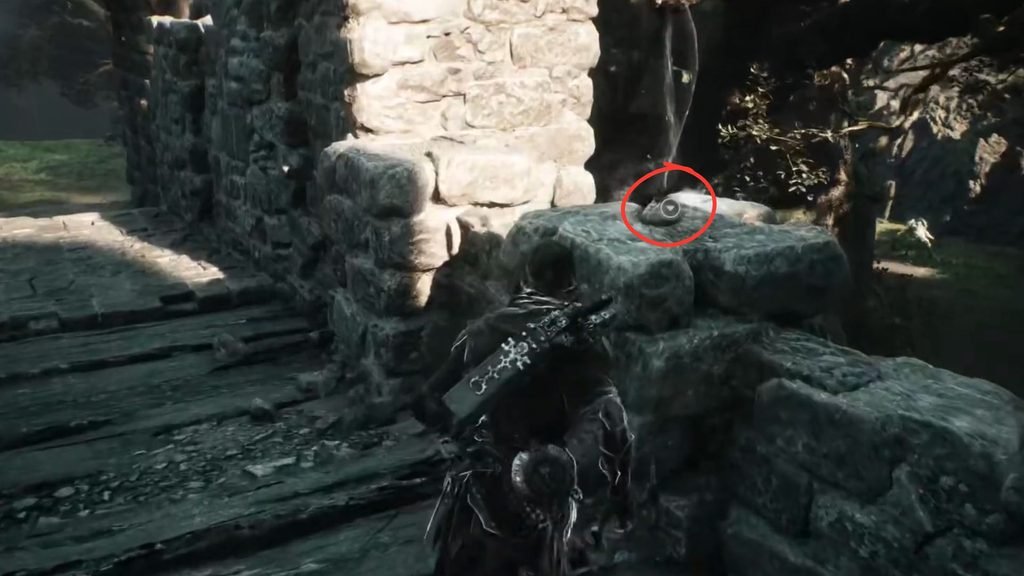
Jump down the broken bridge and go right after dropping down the wooden platform below. Go through the wooden archway and take the stairs on the left. Once you reach the stone bridge, look to your right. On the wall of the bridge is a pouch you can interact with. This will take you to the Citadel cell.
Activating the Beacon
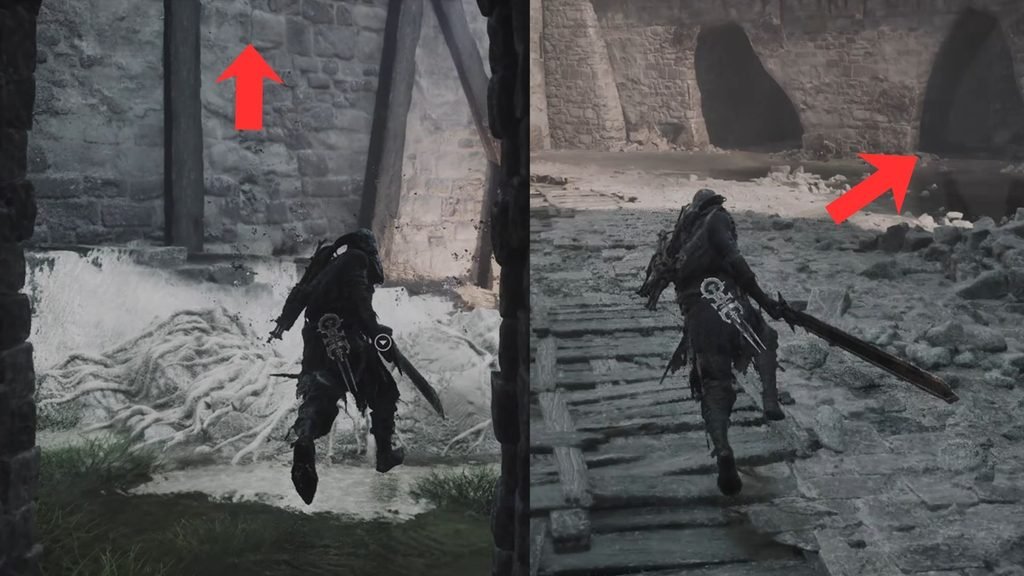
Exit the cell and go left. Continue to go straight ahead and follow the curves of the path without deviating. You will soon reach a dead end, which requires you to scale the wall ahead. After jumping upwards, go left and pass through the archway near the puddle. After going down the ramp, you will find the Citadel of Penance beacon near the tree in the center of the area. Activate it to return to this spot anytime.
Finding the Citadel Gate Lever
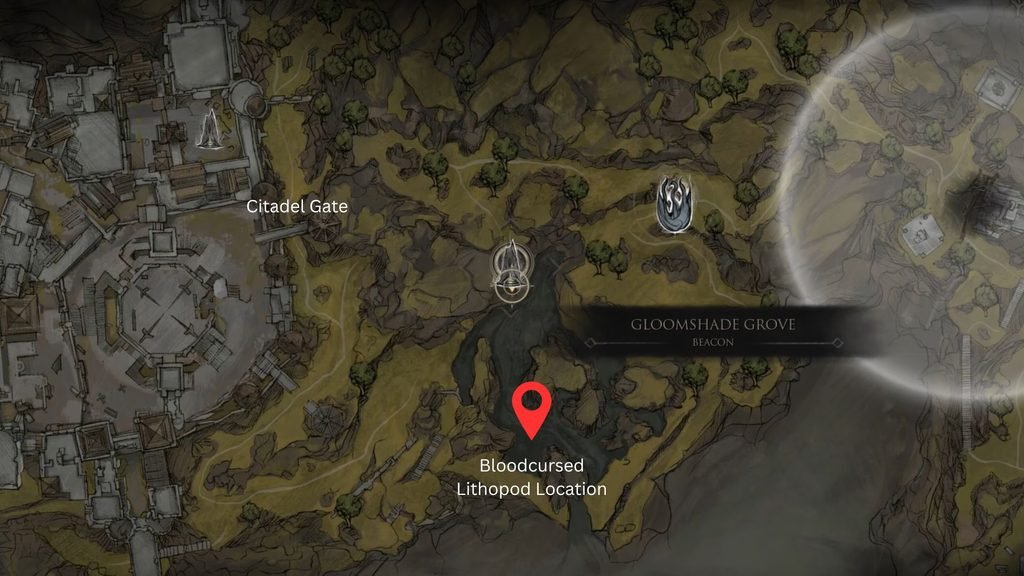
If you wish to find the gate lever instead, then be prepared to fight a mini boss for it. I generally won’t recommend this method if you wish to cheese the game quickly, but if you are up for a challenge, then you need to find the Bloodcursed Lithopod. The quickest way to find this enemy is from the Gloomshade Grove beacon. From the beacon, walk a bit forward until you find a large tree, then take the path on the right.
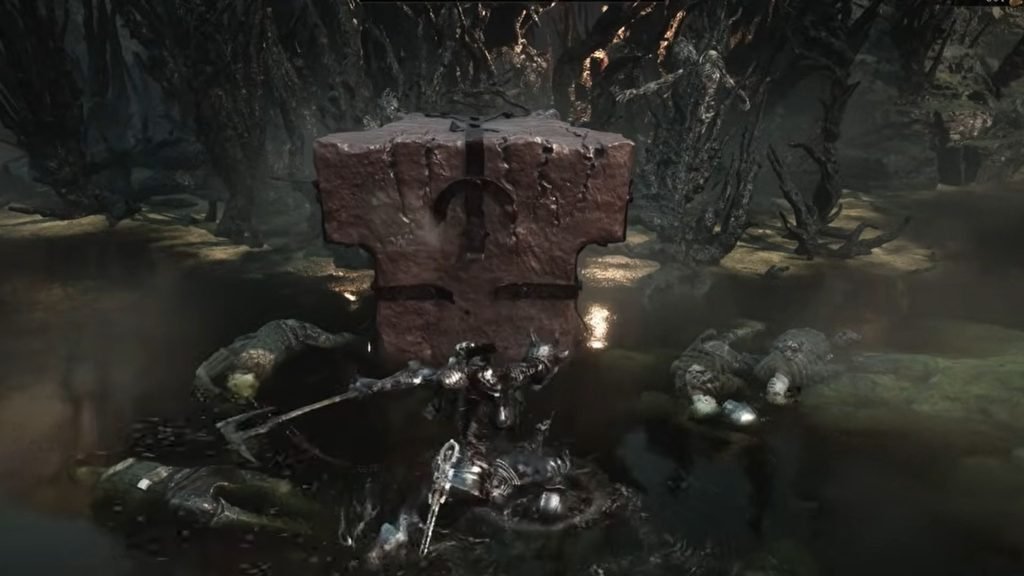
Jump off the ledge and continue to jump down the ledge to your right. You will land on a stream, and if you follow the stream south, you will find the Bloodcursed Lithopod. This boss isn’t particularly tough, as I could take it down using my Axe and Dagger. If you want, you could fight it from a distance using any sidearm of your choice. Just dodge roll behind it and continue to hit the enemy until it is dead. Pick up the Citadel Gate Lever after it is down.
Finding the Citadel Gate
Head back to the Gloomshade Grove beacon and follow the dirt path to the left. Head inside the cave and go right. You will spot the Citadel gate in the distance. Stand in front of the gate and use the lever on the right side of the gate wall. After unlocking the gate, go through it and go right. Enter the archway to find the Citadel beacon and activate it.
What’s Inside the Citadel of Penance
You can find the Warden boss fight if you step into the elevator beside the cell you were in after picking up the coin pouch on the bridge. You will find the elevator on your right. Step in the center of the elevator to be taken up to the Warden’s arena.
Warden Boss Fight Preparation
My choice for this fight is the Axe and Dagger with the Bulwark and Duality Stones. I used Tiel for the shadow dash ability to get around the boss, but even Proxima is a great pick. If you are planning to go ahead with Proxima, then I recommend switching to the Iconoclast instead. A Level 1 Arbiter’s Prize will infuse the weapon with Bloodcurse, making it easier to zap the Warden’s HP.
Warden Boss Fight Guide
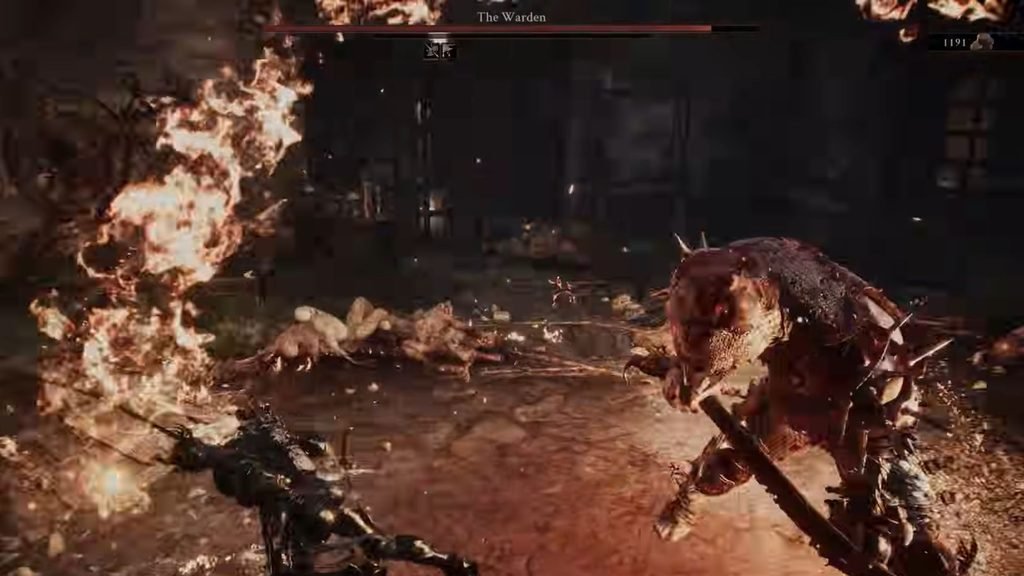
The Warden’s primary attacks deal heavy Burn damage, as it uses a flaming mace to swing at you several times. Initially, it will slam down its mace once or twice before attempting a flurry of combo swings. None of them are blockable, so I recommend not trying. Instead, dodge-roll around the boss and combo-hit its back. It is also possible to parry the attacks, but for that, the boss has to stay stationary.
I like to corner the boss so its movements are restricted, and the Warden will deal just one blow before standing still. This gave me enough time to position myself to take in the next blow and effectively parry the attack. If lucky, this can create a knockback effect, and you can quickly jump in and land a few heavy attacks before the boss gets up.
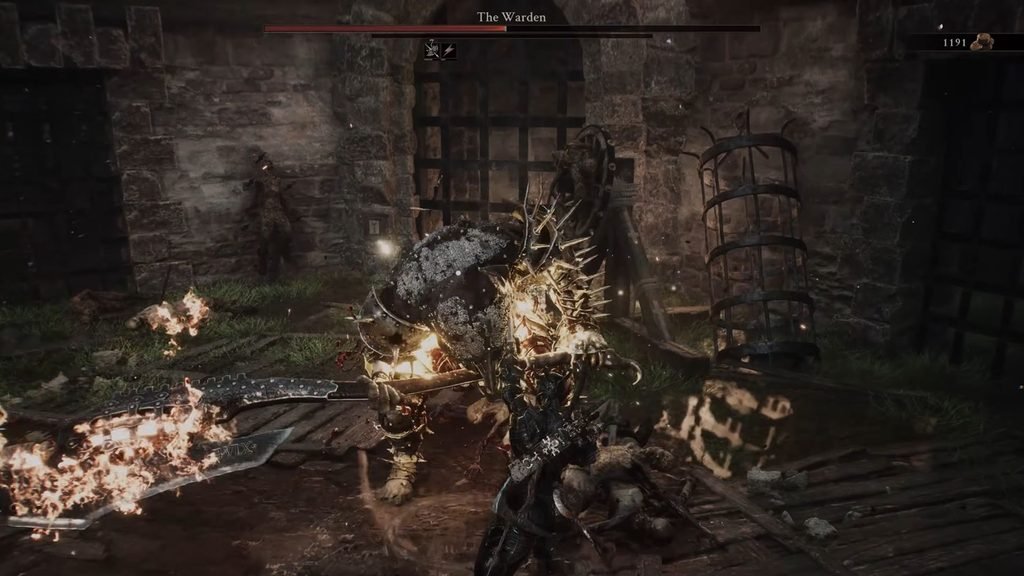
In all this, be sure you don’t end up cornering yourself. The arena is packed with objects that could easily trap you, so dodge-roll around the arena to get familiar with it. As far as possible, landing hits on its back is the best way to quickly bring the boss down.
Once defeated, you won’t just gain 5000+ Gloom, but you will also gain the Eredrim shell. Eredrim is a great Shell for crowd control, perfect for areas where you could easily be outnumbered.
