

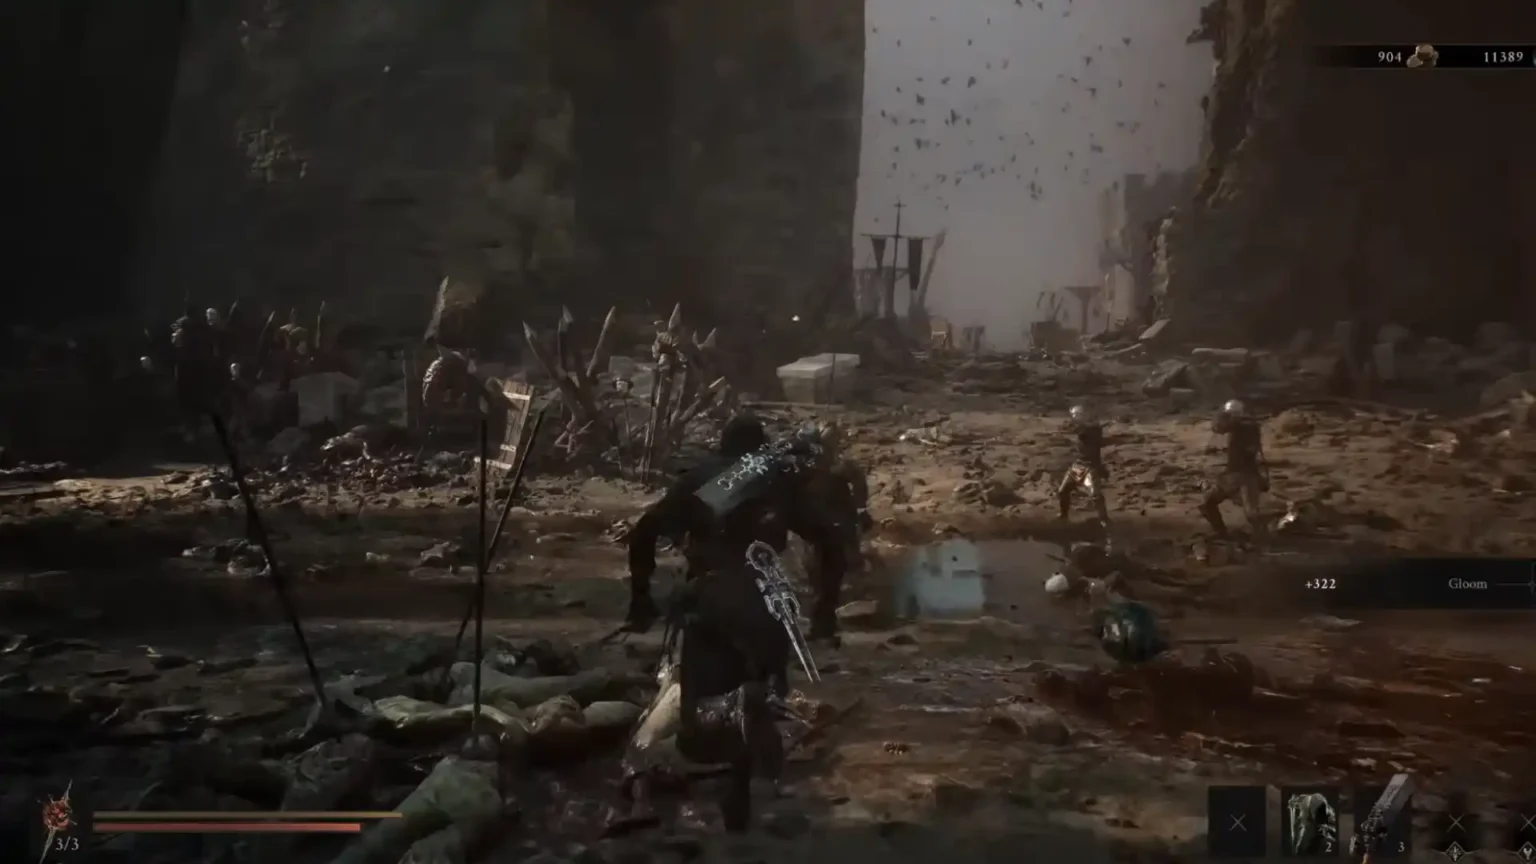

Ever since the trailer dropped for Mortal Shell 2, the guns have pretty much been the highlight in the minds of many looking forward to the game. The game showcased a decent number of both ranged and melee weapons in its promotional action gameplay footage. With the full release of the game, I can now say that as far as sidearms are concerned, the game more than delivers on the variety and effectiveness front.
Just like the game’s melee weapon variations, each sidearm feels and looks different and fires differently from the others. A sidearm of your choosing can become a weapon of mass destruction once you have chosen a perfect Seal and Tarstone for your build.
If you want to experience a different type of sidearm to blow up enemies in combat encounters, here we will take a look at the location details of all eight sidearms found in Mortal Shell 2.
All Sidearm Locations in Mortal Shell 2
Here we will take a look at all eight sidearms found in the world of Mortal Shell 2. While the first sidearm is a freebie, the rest require defeating a boss in dungeons or navigating through dark caverns alone. I’ve pointed out all the location details and boss encounters you will come face to face with when you are hunting down the sidearms in Mortal Shell 2.
Naylshotte
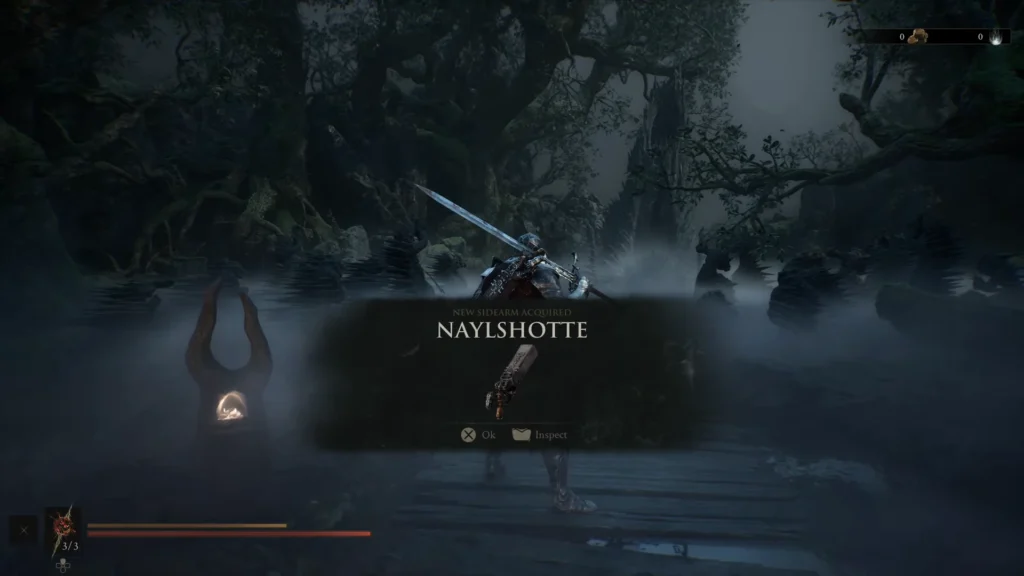
You will get this weapon automatically at the start of the prologue.
Troubadour’s Lute
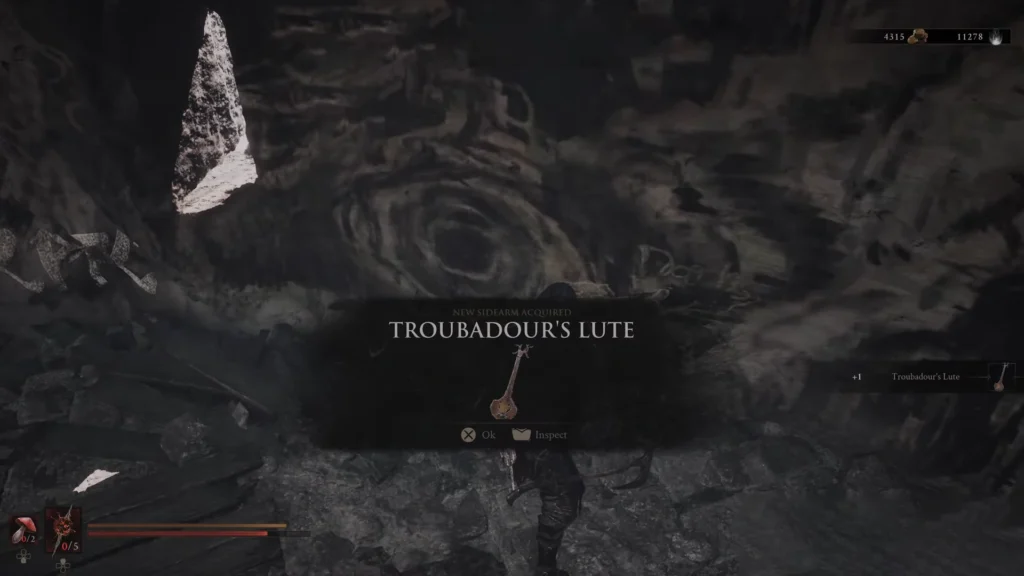
Head to One Legged Wolf Beacon and then make your way southeast from the spot to find the Tavern. Get inside the tavern, take the stairs to the stage, and you will find the weapon next to the man playing the guitar. This sidearm is technically a lute, but when you ‘play’ the lute, it causes confusion among enemies. Enemies will then go berserk and start attacking each other while you are at the back playing a lute.
Forgotten Crossbow
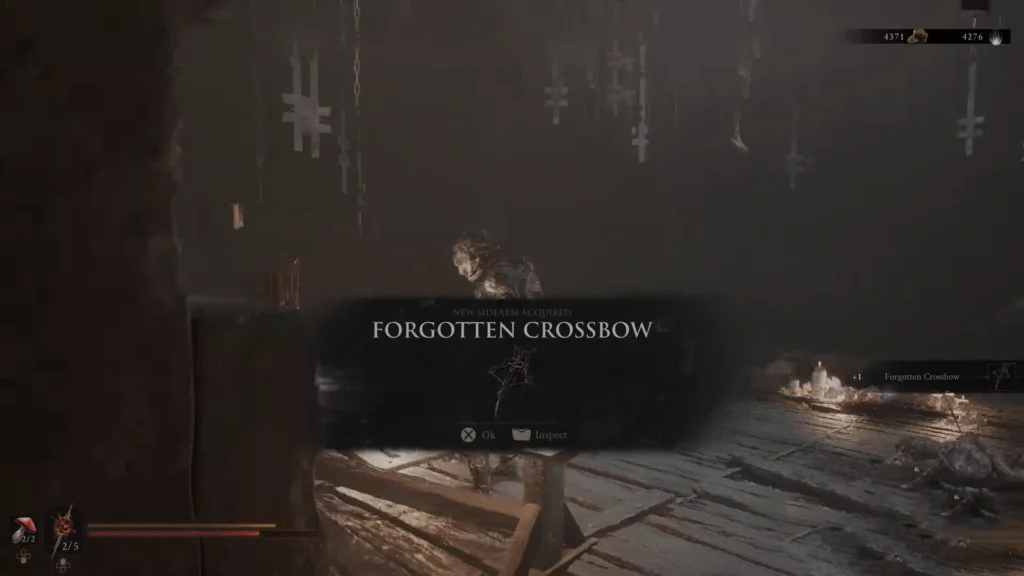
Get to Blackridge Pass Beacon, and now make your way to the Flooded Village dungeon. This can be accessed by removing the illusory wall in the area. Get inside the dungeon, take the elevator all the way to the very bottom to reach the area.
Now your goal is to grab the Damp Key. After grabbing the key, make your way to the locked door, open it, and then grab the weapon on the desk.
Salvaged Trebuchaxe
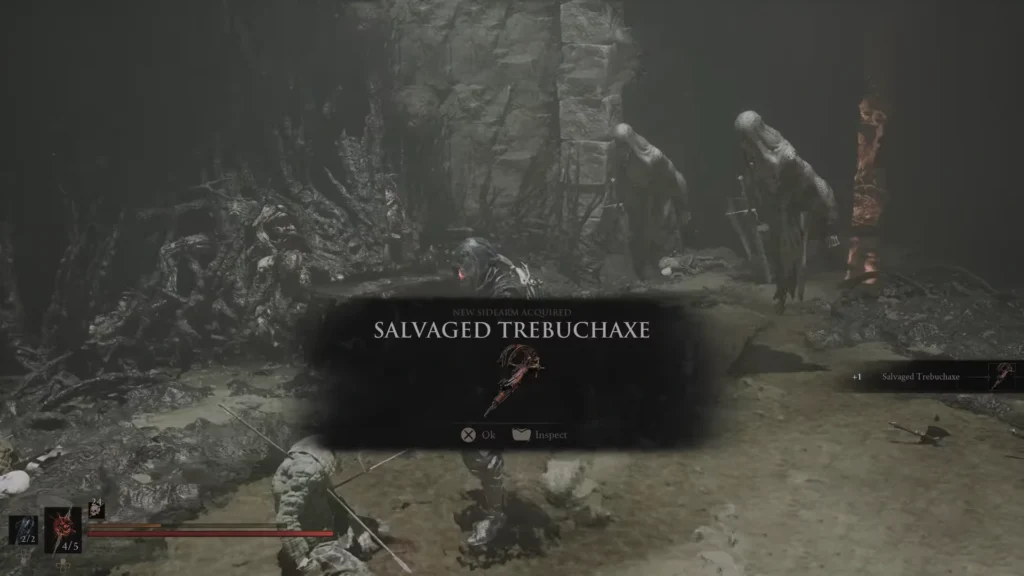
Salvaged Trebuchaxe is located at the Ravaged Hideout dungeon. Now make your way all the way to the end of the dungeon, and you will find a dead corpse in the middle with a spear piercing through the body. Interact with the corpse to grab the Salvaged Trebuchaxe. Getting the weapon unlocks the Chop Chop trophy in the game.
Caged Hystrix
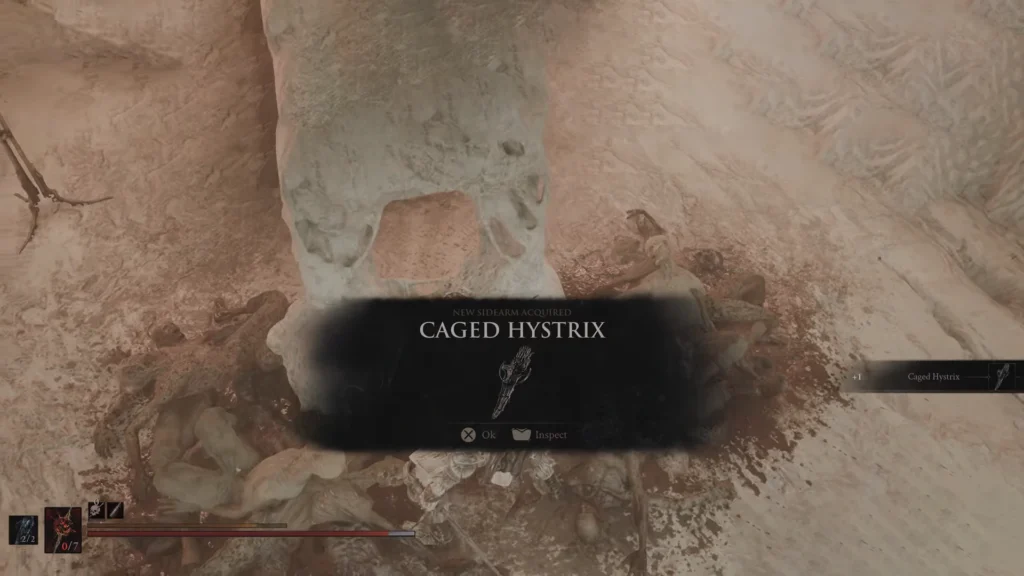
Head to the Silent Steps beacon, then make your way southeast from the spot to start the encounter against the Sariel boss fight. The boss fight will have multiple stages; after each defeat, the boss will then flee to the next section. Keep on following the boss until you finally kill the boss. Killing the boss will award you with Clockwork Scythe, and also opens a new route leading to the upper floor. Take the stairs, and right at the end you will find the Caged Hystrix sidearm. Unlocking this weapon pops the achievement Spiked in the game.
Cursed Child
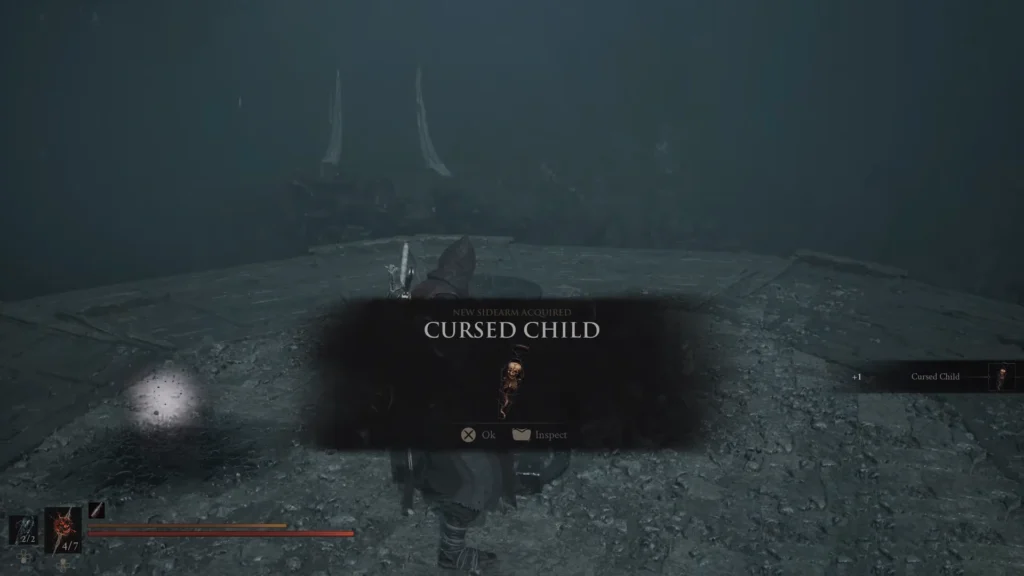
Get to Revered Beacon Dungeon, located north of Sester’s Gate Beacon. Make your way into the dungeon, and you will quickly be hit by a light beam from a place high up, far away, like the Eye of Sauron, watching over your every move. Here you need to hide behind the wall to keep yourself safe from the light and slowly move forward to the light source.
Eventually, you will find the altar projecting light in the arena on the top of the tower. The only thing you should do is interact with the altar to destroy the source, and you will be rewarded with Cursed Child. Getting the sidearm also unlocks the trophy or achievement, Beautiful Baby.
Tip: The light from the tower burns your flesh, and you can use the light on enemies too. Bait the enemies to be in an open space, where they will be hit by the light and get burned.
Triarch Repeater
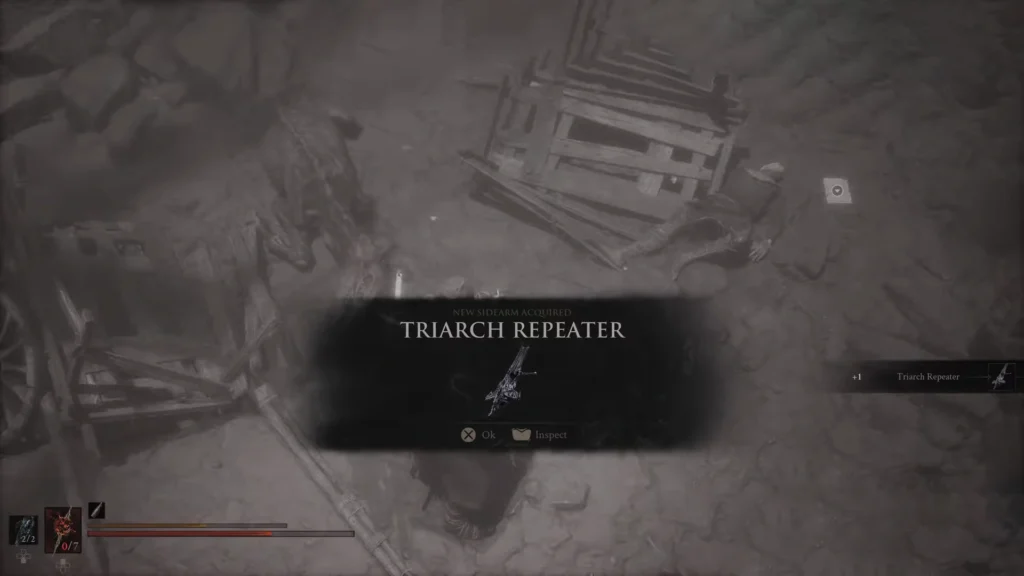
Get to Castigator’s Keep Beacon; directly north of the beacon, you will find Blackwell Cavern Dungeon. Get inside the dungeon, and you will find a broken caravan on the ground with objects scattered around the area. In the middle, you will find a corpse. Interact with the corpse to obtain the Triarch Repeater. Obtaining the sidearm unlocks the Old Painless trophy in-game.
Note: Blackwell Cavern is dark with little to no sign of light. Always be careful navigating the tunnels inside Blackwell Cavern, as
Ballistazooka
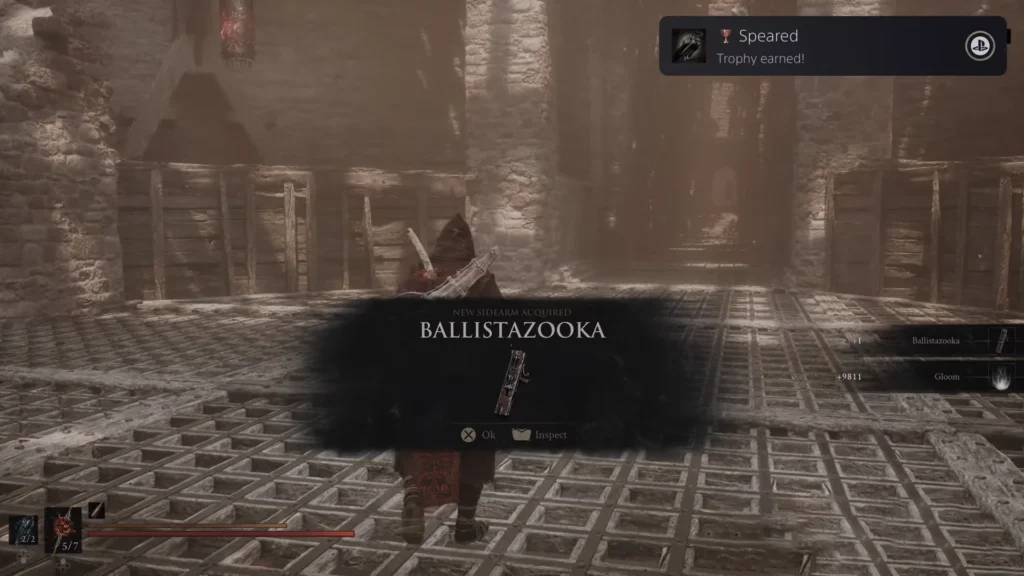
Make your way to the Gate of Mammon Beacon point, then head northeast from the spot to find the Sentry’s Grave Dungeon located inside the Lonesome Spire. Make your way to the end of the dungeon, defeat the Subjugated Guardian boss, and you will be awarded the last weapon in the game, “Ballistazooka.”
Note: The boss can be a difficult fight for many reasons. One of them is the boss’s projectile attack, which explodes on impact. The best way around it is by staying close to the boss as much as possible; you will not be entirely safe, as the boss will then resort to a headbutt move. But dodging headbutt moves is far easier to guard or dodge than any of its exploding projectile attacks.
Defeating the boss earns you the Speared trophy in Mortal Shell 2. Congratulations, now you have all 8/8 sidearms in Mortal Shell, unlocking the final achievement, Lots of Guns in the game.
