


The Blackmarrow Key in Mortal Shell 2 is one of the many secrets in the game that comes with no description, and the game refuses to hand out any guide to help you find the chest for the Blackmarrow Key and what kind of reward waits at the end.
But like a lot of secrets in the game, the Blackmarrow Key is one of the unique items that unlocks a specific secret that you definitely don’t want to miss out on. Here we will take a look at how to use the Blackmarrow Key and where exactly you can get this in Mortal Shell 2.
Blackmarrow Keys in Mortal Shell 2
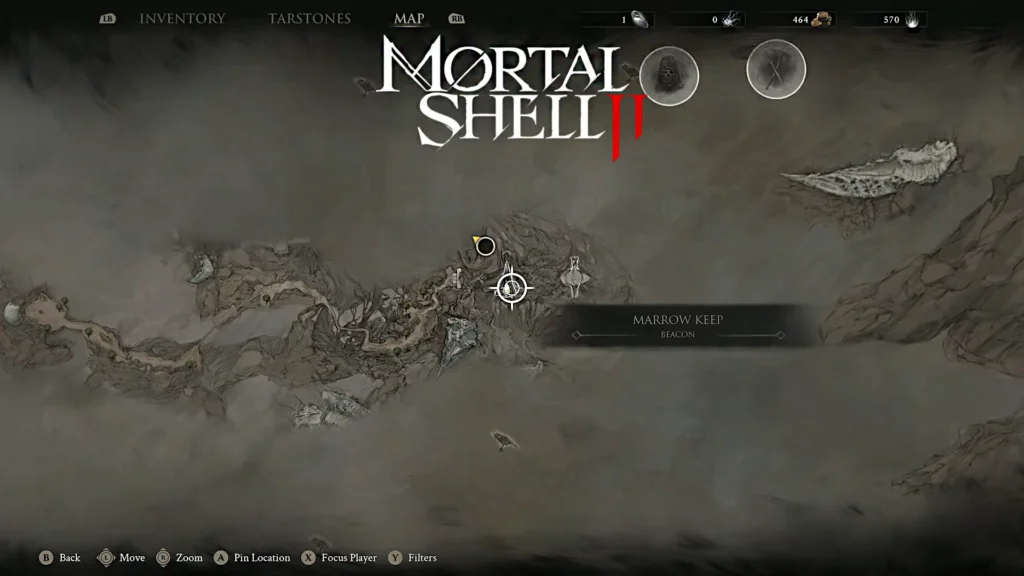
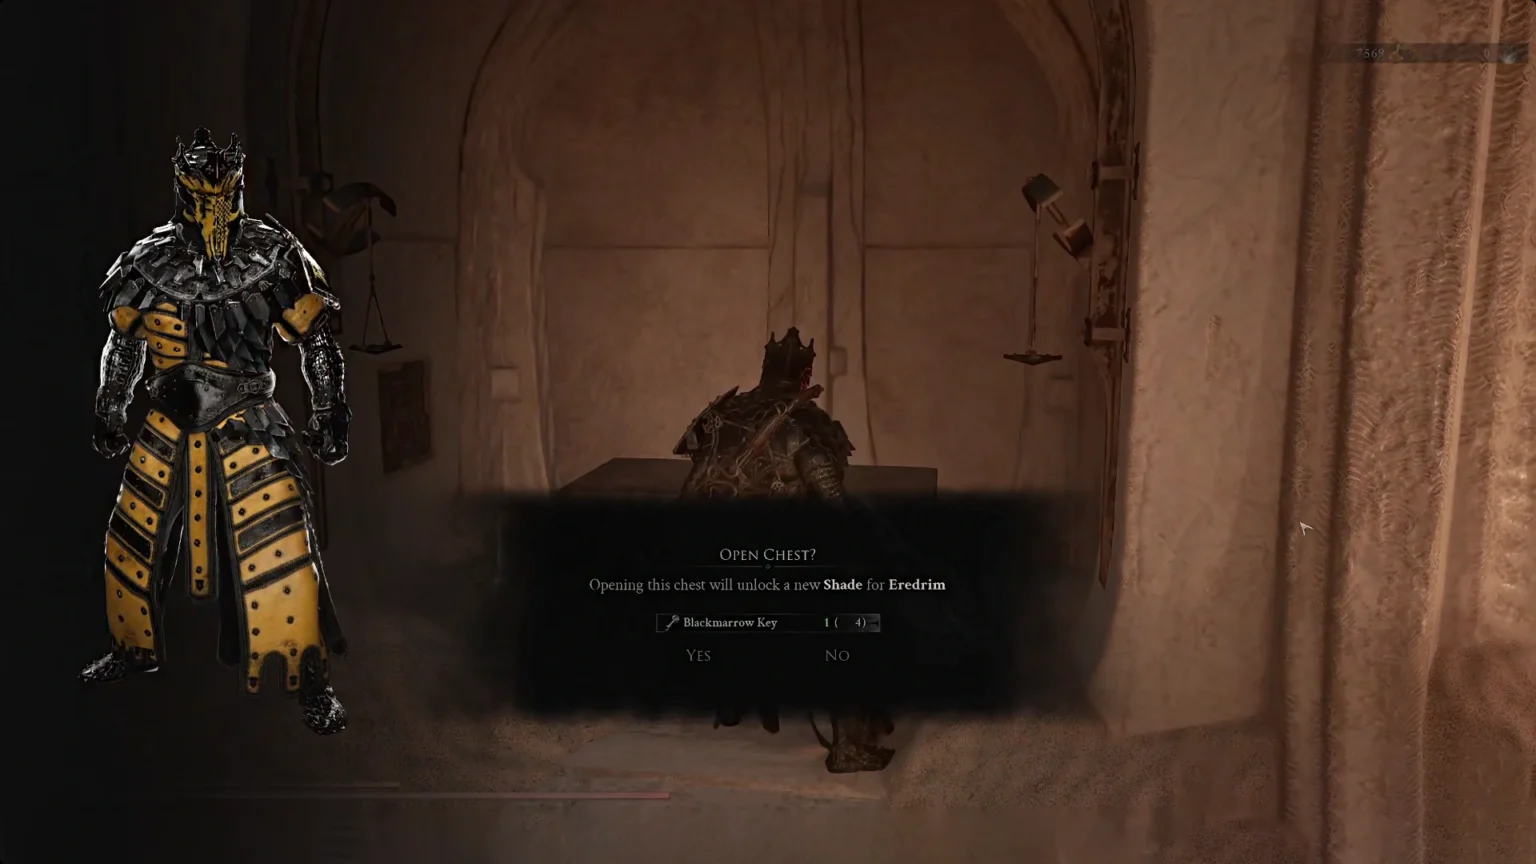
Blackmarrow keys are special keys that unlock specific chests in Marrow Keep, rewarding the player with Shade or skin for shells in Mortal Shell 2.
Once you have found a Blackmarrow key, the next step is to head over to Marrow Keep, make your way to the chest, and use the key to unlock it. Once you insert the Blackmarrow key, it disappears from the inventory, which means you need to find another one to open another chest in the room.
There are a total of eight chests in the room, each linked to eight shells found in Mortal Shell 2. The name of Blackmarrow Keys will be the same, but the chest will have a different description, all tied to the eight different shells found in the game.
Note: You can only open the chest in the Marrow Keep after you have obtained the Shell attached to the chest. If you want to open the chest to get a new shade for Smert, then you need to have the Smert Shell in your possession along with the Blackmarrow Key. The same rule applies for all eight chests in the room.
You can change the Shade by resting at a Beacon point and selecting the option to Change Shade. This option will appear only after you acquire one from a chest by using the Blackmarrow Key.
How to Get a Blackmarrow Key in Mortal Shell 2
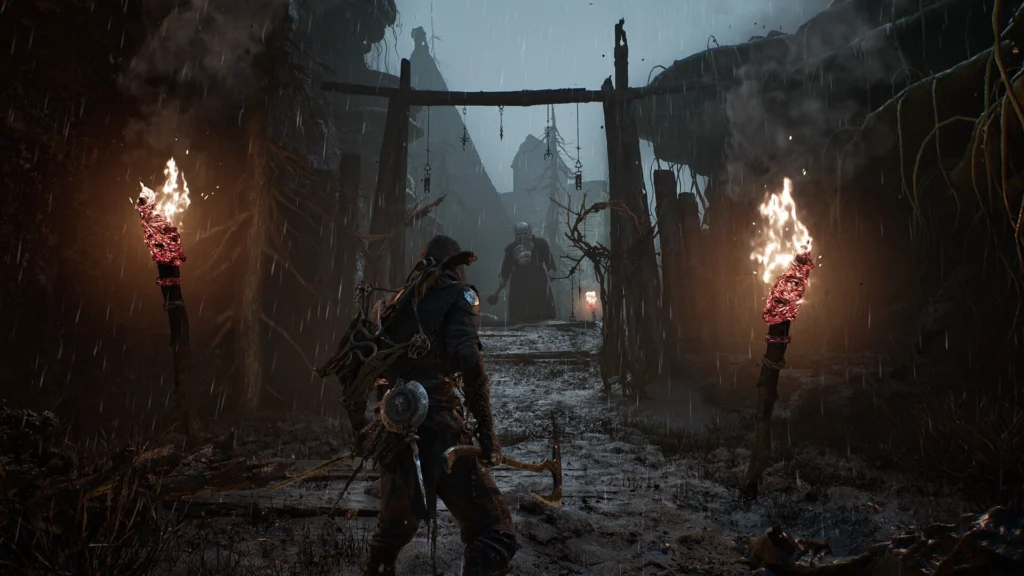
So far, there are many ways to earn the Blackmarrow Key; it can be purchased from a merchant, and we also came across some of them by looting a treasure chest at the end of a dungeon. Here are all the ways we found to get the Blackmarrow Key in Mortal Shell 2:
| Blackmarrow Key Lists | Locations |
| Blackmarrow Key #1 | Head over to Abandoned Outpost Beacon in the Mammon region. Now move south from the beacon point to come across an NPC named The Collector, the Night Merchant. (Must be Done in Night Mode) Now buy the Blackmarrow Key from the merchant for 1500 Gold. |
| Blackmarrow Key #2 | Head over to Marrow Keep’s white tomb area, and you will find a hidden entrance to Desolate Keep; this is to the left as you enter the Training area. It is a secret dungeon, and completing it will reward you with a Blackmarrow Key. [It is a difficult dungeon; I would advise you try the dungeon out at over level 20.] |
| Blackmarrow Key #3 | Get to the Shrine of Sorrows Dungeon located southwest of the Mushroom Village Beacon. (Must be Done in Night Mode) Unlike all the other dungeons on the list, this one is special, as it offers a first-person dungeon, which does shake up the gameplay a bit and makes the whole experience feel new. |
| Blackmarrow Key #4 | Head over to the Abbey Entrance Beacon in Mammon. Move southeast from the spot to get into the castle to face the three Sester enemies near the bridge. After defeating them, take the bridge to get to the tower on the other side and pick up Map of Mammon #1 from the statue. Now head left, walk all the way to the edge of the scaffolding, jump down, and follow the path to find the chest containing Blackmarrow Key. |
| Blackmarrow Key #5 | Child’s Feeding Ground Beacon, which unlocks after defeating the Lost Child boss in Sanguine Caverns. First, cleanse the corruption inside the Cleanse Beacon dungeon to get +26 Ova. After getting it, you will automatically teleport back to Marrow Keep. Now again head back to Child’s Feeding Ground beacon and choose “Enter Dungeon”. Make your way back to the same room where you cleansed the corruption, and you will spot a new room. Enter the room, open the chest to get the Blackmarrow Key. |
| Blackmarrow Key #6 | WIP |
| Blackmarrow Key #7 | WIP |
| Blackmarrow Key #8 | WIP |
